
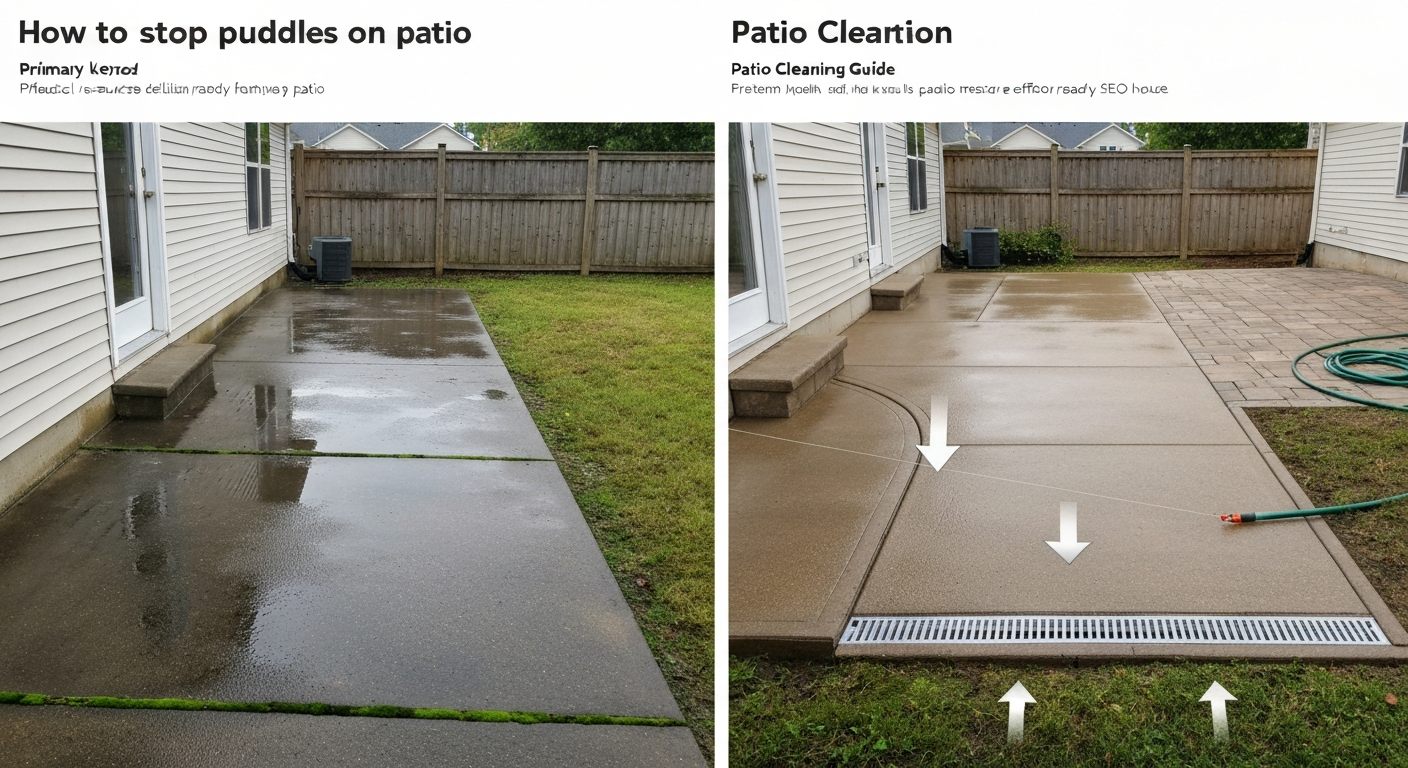
To stop puddles on a patio, you need to fix one of four root causes: the surface is sloped toward the house instead of away from it, the joints between pavers or stones have eroded and are holding water, a drain is blocked or missing entirely, or the base beneath the patio has settled unevenly. Most patios need at least a 2% grade (that is 1/4 inch of drop for every foot of run) to drain reliably. Get that slope right, keep joints tight, and make sure water has somewhere to go, and puddles stop forming.
How to Stop Puddles on Patio: Fixes, Drainage & Cleaning

Dylan Hale
27 Jul 2026
Why patio puddles form: the short version
Water pools on a patio for surprisingly simple reasons, but each one requires a different fix. The International Building Code (IBC) requires impervious surfaces within 10 feet of a building foundation to slope at least 2% away from the structure. That is the legal minimum, and it is also the practical minimum for any patio that drains properly. When that slope is missing, wrong, or was never installed, water has nowhere to go.
This guide walks through the full process: diagnosing exactly why your patio puddles, choosing the right fix for your material and budget, and deciding when a job is genuinely DIY-friendly versus when you should call a drainage contractor. For a focused walkthrough on how to fix standing water on a patio, see the guide for step-by-step diagnostics and repairs how to fix standing water on patio. For step-by-step solutions and diagnostics, see how to stop water pooling on a patio. Whether you have a concrete slab, brick pavers, flagstone, travertine, or natural stone, the diagnostic approach is the same, even though the repairs differ. I also cover what renters and people without power equipment can realistically do without tearing up a surface they do not own.
Fast diagnostic checklist: spot the cause before you spend a penny
Before buying anything or hiring anyone, walk your patio after the next rainfall and look for these specific signs. Each one points to a different fix.
- Water pools near the house wall: Almost always a grading problem. The patio surface slopes toward the foundation instead of away from it.
- Water sits in the middle of the patio: The surface has a low spot, usually from base settlement or a slab that was poured flat rather than sloped.
- Puddles form at paver joints: Eroded or open joints are collecting and holding water instead of letting it pass through.
- Water backs up around a drain cover: The drain is clogged with debris, or the drain outlet is undersized or blocked further down the line.
- Flooding comes from the side or above: Check roof gutters, downspouts, and any under-deck drainage. A blocked gutter or a downspout dumping water directly onto the patio is a common culprit that gets misdiagnosed as a grading problem.
- Moisture appears when there is no rain: This is often condensation or sweating, particularly on concrete slabs, which is a different problem from surface drainage.
- Wet patches along a wall or under a deck: Under-deck runoff or wall splash-back rather than a patio drainage fault.
Simple tests to map the problem
I always run these four checks before touching anything. They take under an hour and they have saved me from fixing the wrong thing more than once.
The hose test
Run a garden hose at a steady flow onto the patio surface and watch where water travels. Does it flow toward the house? Does it pool in one spot and stay? Does it reach the drain? Film it on your phone. This single test tells you the flow path better than any measurement and gives you a before-and-after reference once you fix the problem.
String-line or laser level slope check
Run a string line from the house edge of the patio to the outer edge and attach a line level (or use a laser level). For every foot of run, you want to see 1/4 inch of drop toward the garden. On a 10-foot-wide patio, that is a 2.5-inch total drop. If your string line is level or slopes back toward the house, you have found your problem. A straightedge laid across low spots will also show you any localized dips where water is collecting.
Joint probe test
Push a thin screwdriver or a bamboo skewer into the joints between pavers or flagstones. Joints that are solid resist; joints that have eroded let the tool drop in 1/2 inch or more. Crumbling or absent jointing material is a water trap and also allows weeds to establish roots that push pavers apart further.
Drain dye or visual drain inspection
If you have a drain on the patio, remove the cover and look inside with a flashlight. Debris, soil, and root matter are common blockages. You can also add a small amount of food-grade dye to water and pour it at the drain inlet to confirm it actually flows through. If water backs up around the drain within seconds of pouring, either the drain or the outlet pipe is blocked.
Temporary vs permanent fixes: what to expect from each approach
Not every puddle problem requires breaking out a jackhammer. Some fixes take 20 minutes; others take a weekend and some basic equipment. Here is a realistic comparison of what each category of solution delivers.
| Fix type | Effort level | Cost range | How long it lasts | Best for |
|---|---|---|---|---|
| Squeegee and dry: push water off manually | Very low | Free | One session only | Renters, temporary relief before a fix |
| Unblock or clean drain | Low | $0–$30 | Long-term if maintained | Clogged drain as sole cause |
| Re-point joints with polymeric sand | Medium | $30–$100 DIY | 5–10 years with maintenance | Paver and flagstone patios with eroded joints |
| Add a downspout extension or diverter | Low | $10–$40 | Long-term | Runoff from gutters hitting the patio |
| Resurface/overlay concrete with slope correction | Medium-high | $200–$600 DIY | 10–15 years | Concrete slab with minor slope issues |
| Install a channel or surface drain | Medium-high | $150–$500 DIY | 20+ years | Patios with persistent pooling, no existing drain |
| Install a French drain around patio perimeter | High | $300–$800+ DIY | 20+ years | Large patios, high groundwater, or runoff from garden beds |
| Full re-grade and base replacement | Very high | $1,000–$5,000+ professional | 20+ years | Severe settlement, base failure, or wrong original installation |
If you are a renter, your realistic DIY options are: unblocking drains, adding downspout extensions, using removable rubber drain inserts or surface gravel trays to redirect flow, and placing raised paver tiles (snap-together deck tiles) over the wet area to lift foot traffic above standing water. Always get landlord permission before making any physical changes to a drainage path.
Tools and safety basics
For most of the DIY fixes in this article you will need: a string line and line level (or a laser level), a rubber mallet, a flat-bladed trowel, a stiff broom, a garden hose, safety glasses, and gloves. For joint repairs involving polymeric sand or mortar, add a bucket for mixing and knee pads for working on the surface. For drain installation, add a spade, a wheelbarrow, and a hand tamper or plate compactor (rentable at any tool-hire shop for around $50–$80 per day). When working with any masonry cleaner or efflorescence remover, always wear gloves and eye protection and keep a hose handy to rinse skin contact.
Re-grading and adding slope
Re-grading is the most permanent solution for a chronically flat or back-pitched patio, but the method depends on what your patio is made of and how bad the problem is.
Small concrete patios: resurfacing with a sloped overlay
If your concrete slab is structurally sound (no large cracks, no hollow spots when you tap it) but just flat or slightly pitched the wrong way, a self-leveling or broom-finish resurfacer can build up the low side and restore proper fall without full demolition. For issues with surface moisture or condensation on concrete, see our guide on how to stop concrete patio from sweating for targeted prevention and treatment tips. The process: clean the slab thoroughly (remove any oil, mold, or laitance with a suitable concrete cleaner and rinse well), etch the surface if the existing concrete is sealed or smooth, mix the overlay product according to the manufacturer's ratio (typically around 4 to 6.5 quarts of water per 50 lb bag depending on the product), feather it in thickest at the house end and thinnest at the outer edge to create your 1/4 inch per foot fall, then broom-finish for grip. Most products allow foot traffic within 24 hours. I have found this approach works well on slabs under about 15 feet wide; beyond that, getting consistent slope with an overlay alone gets difficult.
Paver, brick, flagstone, and stone patios: lifting and re-setting
For patios laid on a sand or aggregate bed, you can lift the affected section, re-grade the base, and re-lay the pavers with the correct slope. Here is the step-by-step process for a small to medium repair area (up to about 50 square feet). Larger areas follow the same logic but require more base material and a plate compactor.
- Mark and remove the affected pavers: Use a flat pry bar and rubber mallet. Label or photograph the pattern so you can re-lay them correctly.
- Excavate down to the base layer: Remove degraded or poorly graded bedding sand. If the aggregate base beneath it looks soft, displaced, or muddy, you need to replace that too (see the base repair section below).
- Re-grade the base: Add or remove aggregate base material to achieve the correct slope. Use your string line to confirm 1/4 inch per foot fall toward the drainage point. Compact in layers no thicker than 4 inches loose at a time.
- Screed a 1-inch bedding sand layer: Use ASTM C33 concrete sand (coarse, washed). Screed it flat at the correct grade using two screed rails as guides.
- Re-lay the pavers: Set them back in the same pattern, tapping level with a rubber mallet. Check periodically with your string line to keep the slope consistent.
- Compact and joint: Run a plate compactor over the surface with a rubber mat underneath to protect the paver face. Sweep joint sand or polymeric sand into the joints and compact again.
- Run the hose test again to confirm drainage is working.
A note on travertine and natural stone: these materials chip and scratch more easily than concrete pavers, so always use a rubber mat under the plate compactor and consider hand-tamping near the edges. Travertine also has natural voids (called pits) that can collect water; a penetrating breathable sealer (not a film-forming sealer) helps prevent this without trapping moisture below the surface.
Larger patio re-grades: when you need professional help
If the entire patio is pitched the wrong way, the base has failed over a large area, or you are dealing with a concrete slab that needs more than 1 inch of slope correction, the job almost always requires breaking out the existing surface, re-grading the subgrade, and rebuilding from scratch. At that point, proper compaction to 90 to 95% Proctor density (a standard construction specification) requires a plate compactor at minimum and ideally compaction testing. I would call a patio or drainage contractor for anything larger than about 100 square feet of full rebuild.
Installing drainage systems
When re-grading alone is not enough, or when the patio genuinely has nowhere to drain to, you need to add a drainage system. For practical tips on how to keep patio under deck dry, see the related guide for solutions specific to covered patios. There are three main types, and choosing the right one depends on where the water is coming from and where it can go.
Channel (trench/linear) drains
A channel drain is a long narrow inlet, usually set flush with the patio surface, that collects water across its full length and routes it to an outlet pipe. These are the best option when water pools along a wall or at the low edge of a patio. Installation involves cutting a trench across the patio, setting the channel body in concrete with a fall of at least 1% to 2% along its run (about 1/8 to 1/4 inch per foot toward the outlet), connecting the outlet to a suitable discharge point, and finishing flush with the surrounding paving. Insufficient fall inside the channel causes water to sit in it and sediment to build up, so getting the level right during installation matters more than the brand you choose.
French drains
A French drain is a gravel-filled trench with a perforated pipe at the bottom that intercepts and redirects subsurface water. On patios, French drains work best around the perimeter to capture runoff from garden beds or lawn areas that would otherwise flow onto the patio. For a residential installation, the standard setup is a 4-inch perforated HDPE or PVC pipe wrapped in geotextile fabric, surrounded by washed gravel, in a trench 8 to 24 inches deep, with a minimum 1% slope (about 1 inch per 8 to 10 feet) toward the outlet. The outlet must discharge to a suitable location: a dry well, a planted area away from the foundation, or (with permits) the municipal storm system. Important: most councils prohibit connecting private drainage to the sanitary sewer, and many require permits before connecting to the public storm drain. Check your local stormwater rules before you dig.
Surface (point) drains
A surface drain is a single inlet, usually round or square with a grated cover, set at the lowest point of the patio. If your patio already slopes toward a central or corner low point, adding or unblocking a surface drain here is often the simplest permanent fix. The drain body sits in the base, the outlet pipe runs to an appropriate discharge point, and the grate sits flush with or just slightly below the finished surface level. Like channel drains, the outlet pipe needs at least 1% slope to prevent standing water in the pipe itself.
What about downspouts and gutters?
Before installing any drain, check whether a blocked or poorly positioned downspout is the actual culprit. A downspout dumping water directly onto a patio can overwhelm any drainage system. Adding a downspout extension (a flexible plastic pipe, usually $10 to $30) to direct water at least 4 to 6 feet away from the patio is one of the cheapest and most effective drainage fixes I have come across. Clean gutters at least twice a year, especially before autumn leaf fall.
Repointing and joint repair
Eroded or open joints between pavers, bricks, and flagstones do two things: they let water pool in the joint itself, and they allow water to penetrate the base below, which leads to settlement and worse pooling over time. Fixing joints is often the most cost-effective single repair you can make.
Polymeric sand: the go-to for pavers
Polymeric sand is a fine sand mixed with a water-activated binder. Once activated, it hardens into a flexible, weed-resistant joint filler that resists washout far better than plain sand. The process is straightforward, but the details matter:
- Surface must be completely dry: wet or damp pavers cause the binder to activate prematurely and leave a haze that is difficult to remove.
- Sweep the sand into dry joints until they are full: use a stiff broom in multiple passes.
- Compact the surface with a plate compactor (rubber mat on top): this seats the sand into the joints properly.
- Sweep off all excess sand from the surface: any sand left on top will haze when wetted.
- Activate with light water misting: follow the manufacturer's timing exactly. Alliance Gator's guidance, for example, gives specific activation windows per area (around 90 seconds of misting per 50 square feet for some products). Do not flood it; multiple light mists are better than a single heavy soak.
- Keep off the surface until fully cured per the product data sheet, and keep rain off for the window specified (typically 24 hours).
The most common failures I see with polymeric sand: pavers were damp, excess sand was not fully swept off before activation, or it rained before curing was complete. If the joints turn white and powdery after application, the surface was too wet at installation or the binder washed out. The only reliable fix is to remove the affected material and redo it properly on a dry day.
Dry pointing: for natural stone and irregular joints
Dry pointing uses a semi-dry mortar mix brushed into joints and then lightly misted to activate. It suits flagstone, natural stone, and irregular joints that are too wide or uneven for polymeric sand alone. The technique works well for patios where traditional wet repointing is too messy or where joints are between 1/4 inch and 1 inch wide. Use a Type S mortar for exterior patio joints at grade (Type N is suitable for above-grade walls but Type S gives better durability and water resistance for horizontal outdoor surfaces in contact with the ground).
Mortar repointing: for brick and tight stone joints
Traditional wet mortar repointing involves raking out old joint material to a depth of about 3/4 inch, dampening the joint (not soaking it), packing in fresh mortar with a pointing trowel, and tooling it to match the existing profile. For exterior patio brickwork at ground level, Type S mortar is the correct spec. Match the mortar color as closely as possible, especially on older or historic brickwork. Allow full cure (28 days for full strength, though the surface can be walked on after 24 to 48 hours in normal conditions).
One cleaning note relevant to this site: if you see white powdery deposits (efflorescence) on brick or concrete joints after repointing or after rain events, do not reach for muriatic acid as a first step. Manufacturers like PROSOCO specifically advise against muriatic acid on brick and many pavers because it can etch and stain the surface. A formulated efflorescence remover or light-duty concrete cleaner, applied per the label instructions with the surface pre-wetted, is the safer and more reliable approach.
Repairing or replacing the base
When the joints are fine and the slope looks correct but puddles still keep forming, the problem is usually below the surface. A failed or poorly compacted base settles unevenly, creating low spots that no amount of resurfacing or repointing will fix permanently.
How to tell if the base has failed
Lift a paver or flag in the puddle zone. If the bedding sand or gravel beneath is wet, muddy, or has shifted, the base is compromised. You should see a firm, dry, well-graded aggregate beneath approximately 1 inch of bedding sand. Soggy or displaced material means water is getting in from above (drainage failure) or below (groundwater), and the base has not been draining or compacting properly.
Compacting and replacing aggregate base
The standard depth for a pedestrian residential paver patio base is 4 to 6 inches of compacted crushed aggregate. Typical structural base depths follow industry guidance: 4–6 inches of compacted crushed aggregate for normal pedestrian residential patios, increasing to 8–12 inches (or more) for freeze‑thaw climates, weak subgrades, or where occasional vehicular loads occur (Paver Calculator & Installation Overview, Tallyard (ICPI/industry-aligned guidance summary)) blank" rel="noopener noreferrer">Paver Calculator & Installation Overview — Tallyard (ICPI/industry-aligned guidance summary). In freeze-thaw climates or on soft subgrades, increase this to 8 to 12 inches. When replacing base, work in lifts no thicker than 4 inches loose before compacting. Each lift needs to be compacted to roughly 90 to 95% Proctor density before adding the next one. In practice for a DIY job, that means multiple firm passes with a plate compactor until the surface stops moving and feels solid underfoot. Place 1 inch of ASTM C33 bedding sand on top of the compacted base, screed it to grade, then re-lay your pavers. Common stepwise paver repair (industry standard): remove and label affected pavers, remove degraded bedding and base to sound material, install/compact new properly graded aggregate base in lifts, screed 1 inch bedding sand (ASTM C33) and re‑lay pavers, compact with plate compactor using a mat, refill joints with joint sand or polymeric sand and clean surface blank" rel="noopener noreferrer">Standard repair steps: remove and label affected pavers, remove degraded bedding and base to sound material, install and compact new properly graded aggregate base in lifts, screed 1 inch of ASTM C33 bedding sand and re‑lay pavers, compact with a plate compactor (use a rubber mat for natural stone), then refill joints with joint sand or polymeric sand and clean the surface..
Switching to a permeable base
If you are rebuilding the base anyway, consider a permeable base system. Instead of a dense compacted aggregate that sheds water laterally, a permeable open-graded base (typically #57 stone or similar angular open-graded aggregate) allows water to drain vertically through the base into the subgrade rather than pooling on top. This works best when the underlying soil has reasonable permeability (sandy or loamy soils) and when combined with permeable joint material in the paving layer above. On clay-heavy soils, permeable bases drain slowly and may need a collector pipe at the bottom. Permeable setups also require different joint materials (chip stone or open-graded sand rather than polymeric sand, which would seal the joints and defeat the purpose).
When to call a professional
Call a drainage contractor or patio specialist when: the pooling covers more than a third of the patio and points to a base failure across the whole area; water is reaching the house foundation; the patio sits against a retaining wall or slope that is directing subsurface water toward the structure; you need to connect drainage to the municipal storm system (permits and inspections are nearly always required); or the subgrade is visibly soft, muddy, or has organic material that needs to be excavated and replaced. For everything else, the fixes in this guide are genuinely within reach of a competent DIY homeowner with a free weekend and rented equipment.
Ongoing prevention and maintenance
The fastest way to get puddles back after a good repair is to let maintenance slide. Here is what I do every year to keep a patio draining well. For techniques on keeping water out of the patio materials themselves, see our guide on how to waterproof patio. If your patio has an overhead cover, also see our guide on how to stop condensation on a patio roof for tips specific to roof ventilation, insulation, and moisture control.
- Clear gutters and downspouts twice a year (spring and autumn) and add downspout extensions if any outlet is closer than 4 feet to the patio edge.
- Inspect and sweep joints annually: top up any joints that have lost material before they erode completely.
- Keep the drain grate clear of leaves, debris, and soil wash-in. A blocked drain undoes everything else.
- Apply a penetrating breathable sealer to natural stone and travertine every 2 to 3 years. This reduces water absorption without trapping moisture below the surface. Avoid thick film-forming sealers on horizontal patio surfaces as they can peel and create water traps.
- For under-deck spaces, ensure adequate ventilation and clear any debris that blocks airflow. Moisture that cannot escape creates condensation and accelerates surface damage.
- After pressure-washing any patio (which strips joint sand and loosens mortar), re-inspect and top up joints within a few weeks. Pressure washing is excellent for cleaning, but it regularly needs to be followed by a joint repair pass.
- Run the hose test at the start of each spring to confirm drainage paths are still working correctly.
Puddles on a patio are almost never a mystery once you know what to look for. In my experience, the majority of cases come down to one of two things: not enough slope away from the house, or joints that have eroded and are letting water pool and penetrate. Fix those two issues on the right material with the right method, keep drains clear, and your patio should stay dry for years. For a short, actionable checklist on how to keep patio dry, see our practical guide for ongoing prevention and maintenance.
FAQ
What quick checks can I run to diagnose why my patio is pooling water?
Simple DIY diagnostics: (1) String/level test — run a string between the house edge and far edge of the patio and measure drop; target slope is about 2% (≈1/4 in per ft). (2) Straightedge across suspected low spots to find deflection/ponding. (3) Hose/flood test — run a garden hose at the highest point and watch where water travels and if drains/catch basins accept it; record photos/video. (4) Inspect joints, grout, and surface permeability for blocked gaps or sealed surfaces. (5) Check gutters, downspouts, roof runoff, and under‑deck runoff paths that may be dumping water onto the patio.
How much slope does a patio need to avoid puddles?
Aim for a minimum 1–2% slope (industry rule-of-thumb ≈1/8–1/4 in per ft; IBC guidance near buildings calls for at least 2% within 10 ft of foundations). That gives positive drainage without a noticeable walking slope. Use a string-level, laser level, or straightedge to confirm.
What temporary fixes can renters or homeowners try without heavy tools?
Temporary, low-cost options: use a squeegee or push broom to move water off the patio after storms; place coarse gravel or paver spacers in low spots to raise small areas; add flowerpot saucers or rubber leveling shims under loose pavers; install a temporary surface channel (plastic channel drain kits) that routes water to the yard; run a garden hose to a temporary outlet during heavy rain. These are stopgaps until a permanent fix can be done.
How do I fix low spots in pavers or stone without replacing the whole patio?
Small localized repairs: lift the affected pavers/stone, remove degraded bedding and any soft base. Add/compact new crushed aggregate base in 2–3 in lifts (hand tamper for small areas), level with screeded bedding sand (~1 in for pavers), re-lay units, compact with a plate compactor or hand tamper, and refill joints with joint sand or polymeric sand. For natural stone on mortar beds, remove stone and reset on fresh mortar or compacted granular base depending on original method.
When should I use polymeric sand or regular joint sand?
Use polymeric sand for joints where you want weed/ant efflorescence control and slightly higher joint stability; follow manufacturer instructions (sweep dry into dry joints, compact, remove excess, and mist to activate). Avoid polymeric sand if the subbase remains saturated — moisture can prevent curing or cause washout/haze. Use plain sand or specialized joint mortar for very wide joints or historic stone where flexibility and breathability matter.
What are appropriate drainage installations I can DIY vs when to call a pro?
DIY-friendly: installing short downspout extensions, surface slope corrections of a few inches using compacted aggregate and sand, installing above-ground channel drains with simple fall, and connecting yard drains to existing garden beds. Pro/contractor needed: major regrading of patio or yard, replacing deep aggregate base with heavy compaction/equipment, installing buried French drains that tie into municipal systems or require permits, reworking under‑deck waterproofing, and complex channel/trench drains requiring precise slope and outlet points.
Next Articles
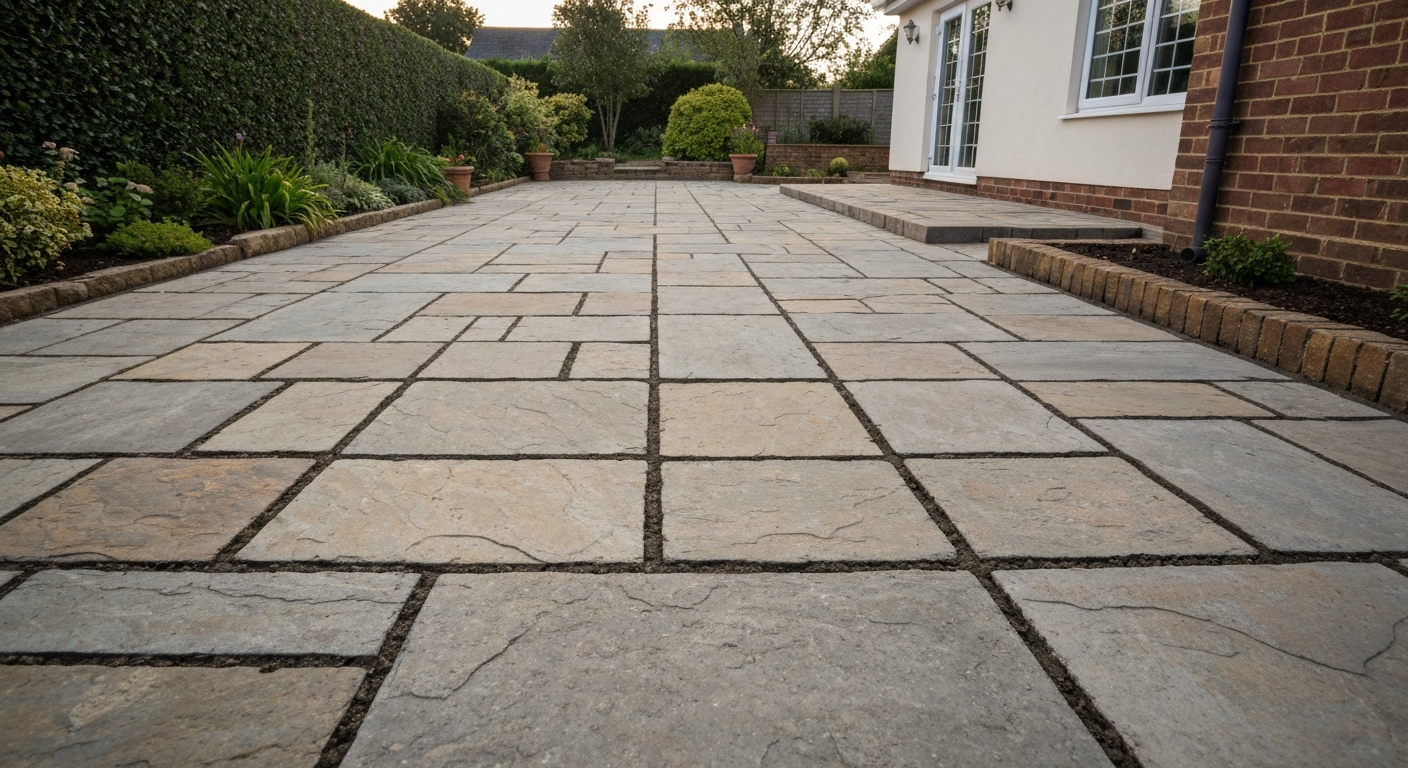
How to Dry Point a Patio: Complete DIY Repointing Guide
How to dry-point a patio: step-by-step DIY, tools & mortars, drainage fixes, curing, costs & troubleshooting
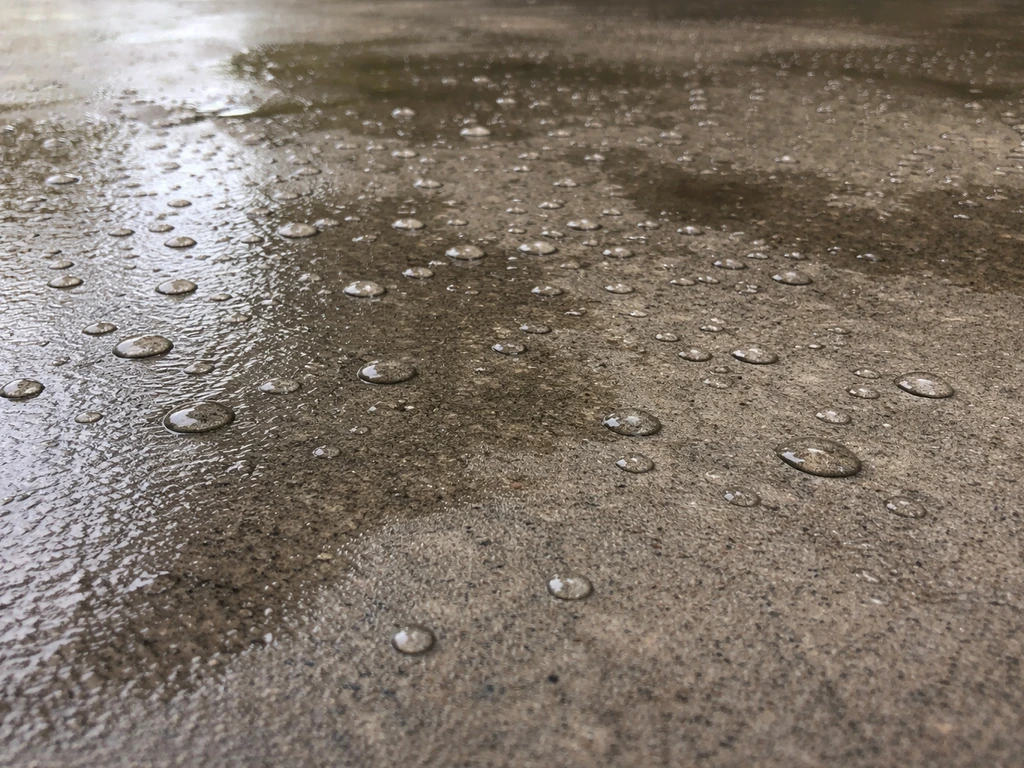
How to Stop Concrete Patio From Sweating: Fix Moisture
Stop concrete patio sweating with quick diagnostics, cleanup steps, sprinkler and drainage fixes, and proper sealing cho
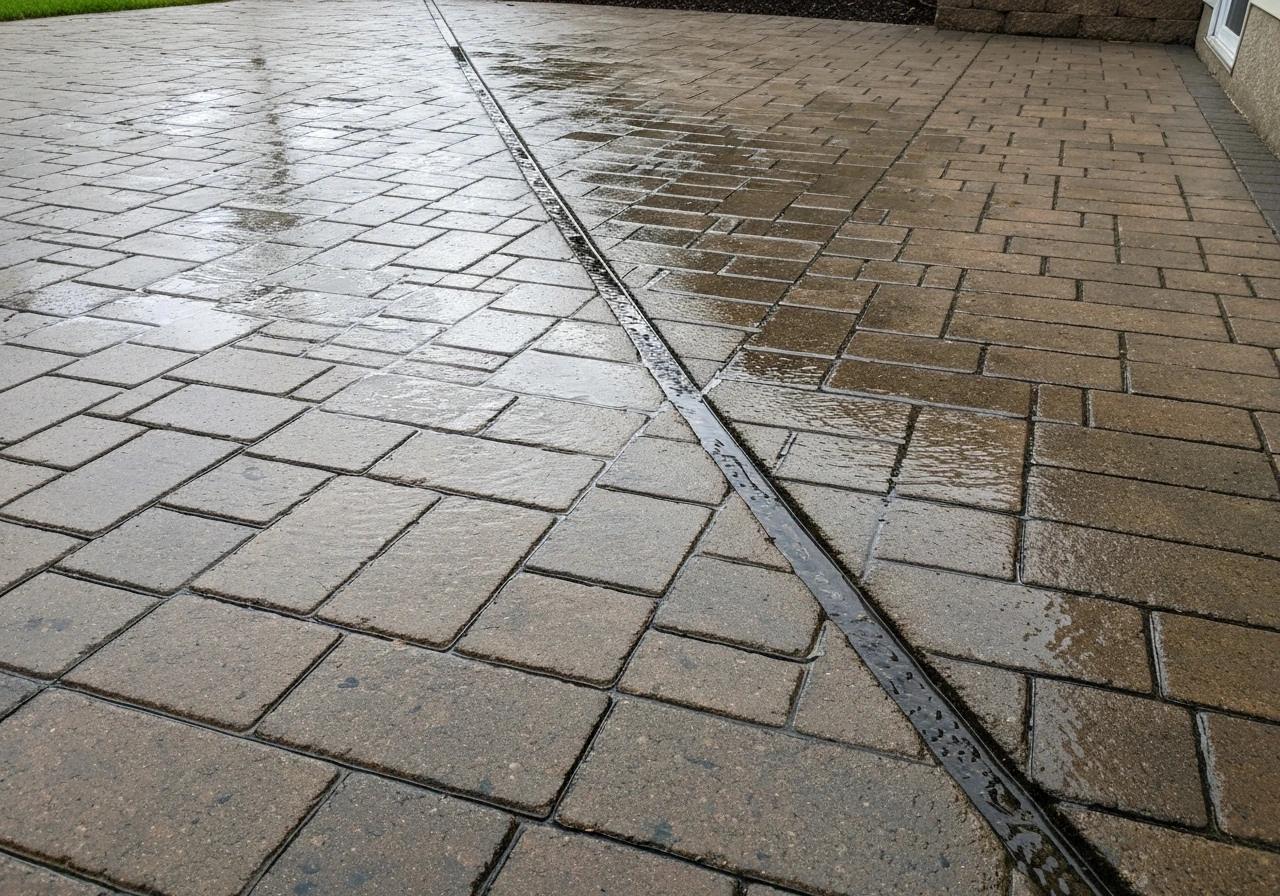
How to Keep Patio Dry: Diagnose, Fix, and Clean Today
Step-by-step how to keep patio dry: find the water source, fix drainage and runoff, then clean mold and stains by materi