
Concrete patio sweating is almost always caused by one of two things: warm, humid air hitting a cooler slab and condensing on the surface (like a cold drink on a hot day), or moisture wicking up through the slab from a wet base or poor drainage underneath. Both look the same from above, but the fix is completely different. The good news is you can figure out which one you're dealing with in about 15 minutes, and most of the real solutions are within DIY reach this weekend.
How to Stop Concrete Patio From Sweating: Fix Moisture

Dylan Hale
8 Jul 2026
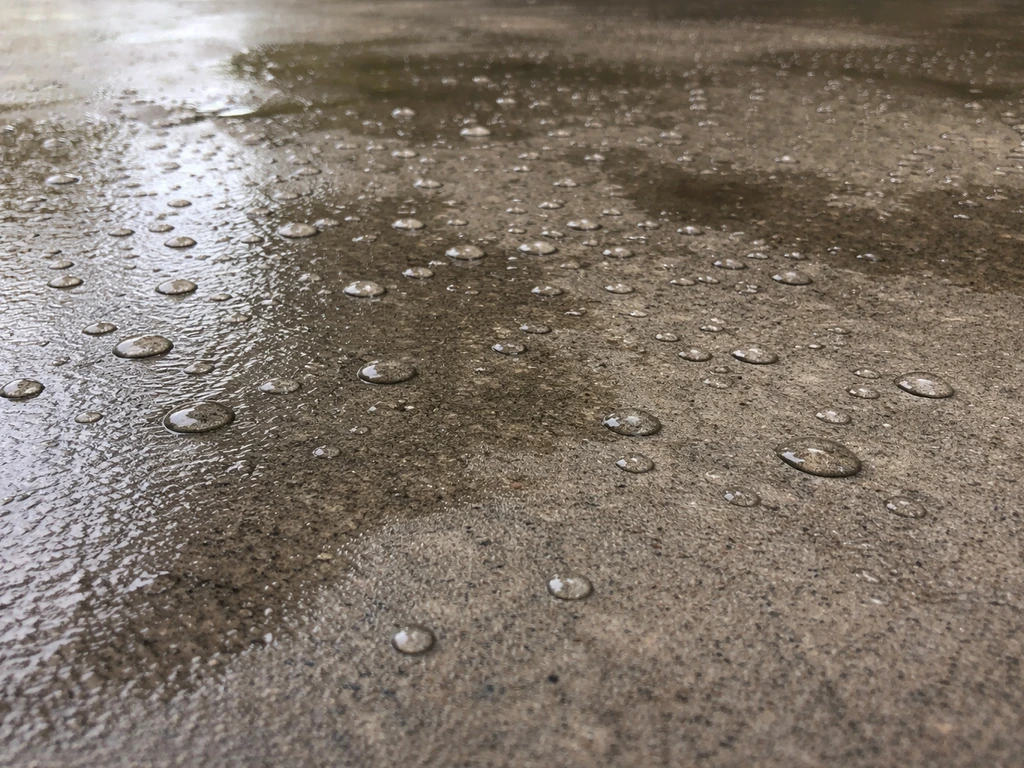
What's actually happening when your patio sweats
People use the word 'sweating' loosely, so it's worth being clear about what's going on physically. There are three distinct mechanisms, and they need different treatments.
Surface condensation
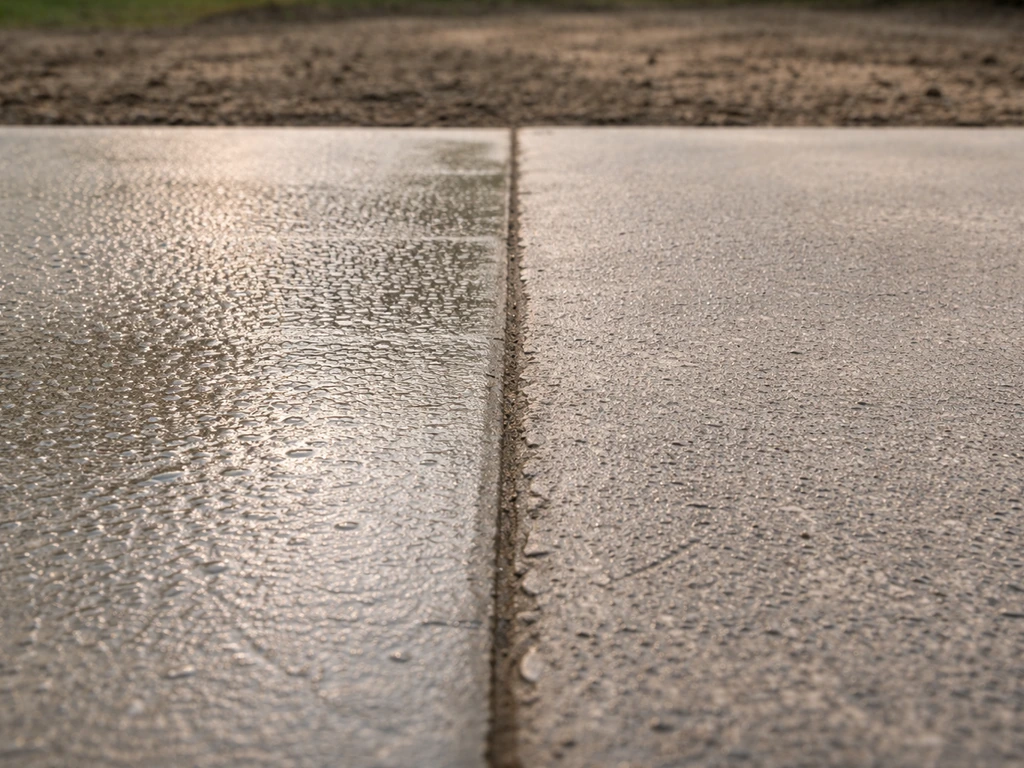
This is the most common type, especially in spring and early summer. Your concrete slab holds onto cold overnight temperatures, then warm humid air rolls in during the day. When that warm air touches the cooler surface, moisture condenses out of the air right onto the concrete, just like it does on the outside of a cold glass. You'll notice it mostly in the mornings, it usually disappears as the slab warms up, and the whole patio tends to look wet evenly rather than in patches. Shaded patios get this worse because they stay cooler longer.
Moisture rising through the slab (vapor transmission)
Concrete is porous. If the ground beneath your slab is persistently wet, whether from poor drainage, a high water table, a nearby downspout, or irrigation overspray, moisture can wick upward through the slab and appear at the surface. This is called vapor transmission or rising damp. Unlike condensation, it tends to linger longer into the day, it's often worse near the edges or at cracks, and you might also notice efflorescence (white chalky deposits) alongside the moisture. That white residue is actually dissolved salts being carried up and deposited as the water evaporates, a reliable sign that moisture is moving through the slab rather than just landing on top of it.
Surface water running onto the patio
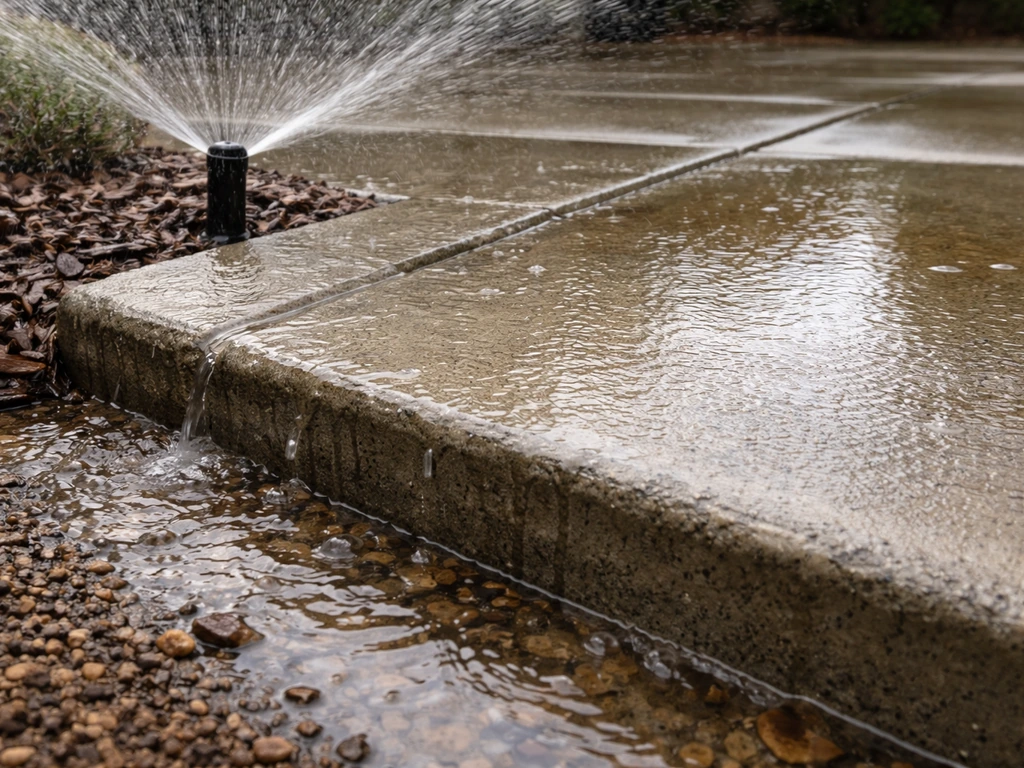
Sometimes what looks like sweating is actually surface water from sprinklers, runoff from a higher garden bed, or a downspout dumping water too close to the patio edge. This one is easy to overlook because the water source is often intermittent. The patio looks fine on dry days and then 'sweats' after watering or rain. If you're also dealing with pooling in certain spots, this is almost certainly a contributing factor. If you have pooling or wet spots, the most direct way to stop puddles is to remove the water source and fix runoff pathways so water does not reach the slab stop puddles on patio.
Quick diagnostics you can do right now
Before you buy a sealer or rent a pressure washer, spend 15 minutes confirming what you're actually dealing with. Here's the fastest way to sort it out.
The plastic sheet test (for rising moisture)
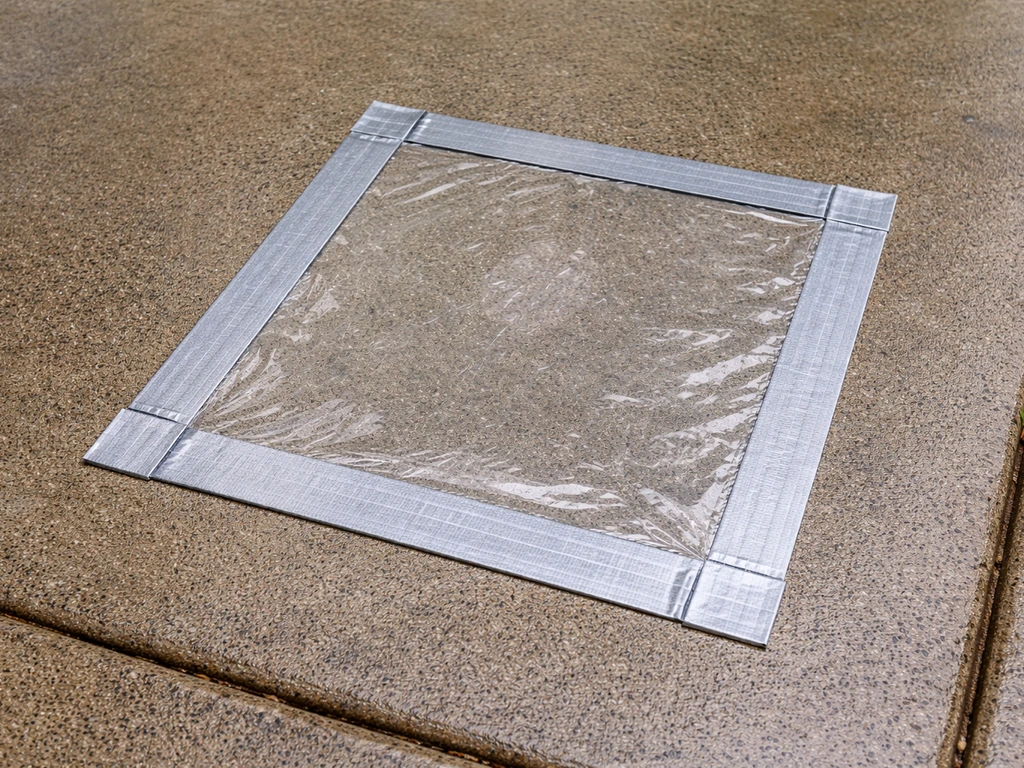
Tape a 12-by-12-inch piece of plastic sheeting flat to a dry section of your patio with duct tape on all four edges. Leave it for 24 hours. When you peel it up, check which side is wet. If moisture has collected on the underside (the side touching the concrete), you have moisture coming up through the slab. If the moisture is on the top side or the sheet is dry underneath, condensation from the air above is the more likely culprit. Run this test in two or three spots including near the edges and near any cracks, because moisture often migrates through specific pathways.
Check the edges and joints first
Rising moisture tends to concentrate at perimeter edges, control joints, and anywhere there's a crack. If your wettest spots are along the sides where the patio meets the lawn, or along seams in the concrete, that points to moisture moving up and through rather than condensing from the air uniformly. Condensation from air is typically more even across the whole surface.
Look for efflorescence
White, powdery, or chalky streaks on your concrete are efflorescence, and their presence confirms that moisture has been moving through the slab and carrying dissolved salts to the surface. It's not just a cosmetic problem. It tells you the slab has a sustained moisture source underneath it that needs addressing before you apply any sealer.
Observe the timing and pattern
Keep a simple log for two or three days. Note when the moisture appears (morning, after rain, after irrigation runs), where it appears (whole surface, patches, near one edge), and how long it sticks around. Condensation almost always clears within a couple of hours as the slab warms. Moisture from below tends to linger, especially in shaded spots. Irrigation or runoff sources will correlate directly with your watering schedule or rainfall events.
Advanced option: in-situ RH testing
If you really want to know how much moisture is inside your slab (useful if you're planning to seal or coat it), you can do in-situ relative humidity testing using probe kits from companies like Wagner Meters or Lignomat. These follow the ASTM F2170 method: you drill holes into the slab, insert probes, and measure the RH inside after about 24 hours of equilibration. It's overkill for most homeowners dealing with a damp patio, but if you've been fighting this for years or you're investing in an expensive coating, it's worth knowing your actual slab RH before you commit to a product.
Stop the water at the source first
No sealer or treatment will work long-term if you're still feeding water into the slab from outside. If you want a truly waterproof patio, the key is to stop the moisture source first and only then choose the right sealer for the cause. This step gets skipped constantly, and it's the reason people re-treat their patios every year. Sort out the source first.
Adjust sprinklers and irrigation
Walk your irrigation system while it's running and see exactly where the spray lands. Overspray hitting the patio edge is incredibly common and is often the primary moisture source for patios adjacent to lawn or garden beds. Adjust sprinkler heads so they're aimed away from the patio, or switch to drip irrigation for any beds that border the concrete. Even a small amount of regular irrigation water hitting the patio edge repeatedly is enough to keep the base soil persistently wet.
Fix your grading
blank" rel="noopener noreferrer">Concrete patios should slope away from the house at roughly 1/4 inch per foot (about a 2% slope). If your patio is flat or, worse, pitches toward the house or toward low spots in the lawn, water pools and sits rather than sheeting off. If you are seeing water pooling on your patio, check the slope and low spots first before you seal the concrete water pools and sits. For minor grading issues around the patio perimeter, you can regrade the surrounding soil so it slopes away from the concrete edge and allows runoff to drain into the lawn or a garden bed rather than sitting against the slab. Don't build soil up against the side of the slab, as that traps moisture.
Deal with downspouts
A downspout discharging within a few feet of your patio can saturate the ground right next to the slab. The standard recommendation is to direct downspout discharge at least 6 feet away from any hardscape using an extension or buried drain pipe. Splash blocks help disperse the water so it doesn't undermine or saturate one spot, but if the area is flat, the water can still find its way back toward the patio. A buried pipe that carries the water further into the yard or to a proper drainage outlet is a more reliable fix than just adding a splash block.
Check for standing water nearby
If water pools on or near your patio after rain (a related issue worth addressing properly in its own right), that standing water is a direct moisture reservoir for your slab. If you’re trying to solve standing water on a patio, start by checking whether water is pooling due to runoff or sprinkler overspray before you choose any sealer. Improving drainage in those areas, whether through regrading, adding a French drain, or installing a channel drain at the patio edge, addresses the root cause rather than treating the symptoms.
Clean the surface before you treat anything
This step matters more than most people realize. Applying a sealer over mildew, algae, or efflorescence traps the problem under the coating and causes it to fail faster. Clean the surface properly first and you'll get dramatically better results from any treatment.
Removing mold, mildew, and algae
For light mildew or a musty smell, diluted white vinegar (1 part vinegar to 1 part water) applied with a brush or pump sprayer, left for 10 to 15 minutes, then scrubbed and rinsed off works well and is safe around pets and plants. I've found it handles early-stage biological growth without affecting the concrete surface. For heavier mold, green algae, or significant darkening, you need something stronger. A diluted sodium hypochlorite (bleach) solution works best here: mix 1 cup of regular household bleach per gallon of water, apply it across the affected area, let it dwell for 10 minutes, scrub with a stiff-bristle brush, then rinse thoroughly with a hose or pressure washer. Keep it off nearby plants and rinse bordering vegetation with plain water if any solution drifts. Gloves and eye protection are non-negotiable with bleach.
Removing efflorescence
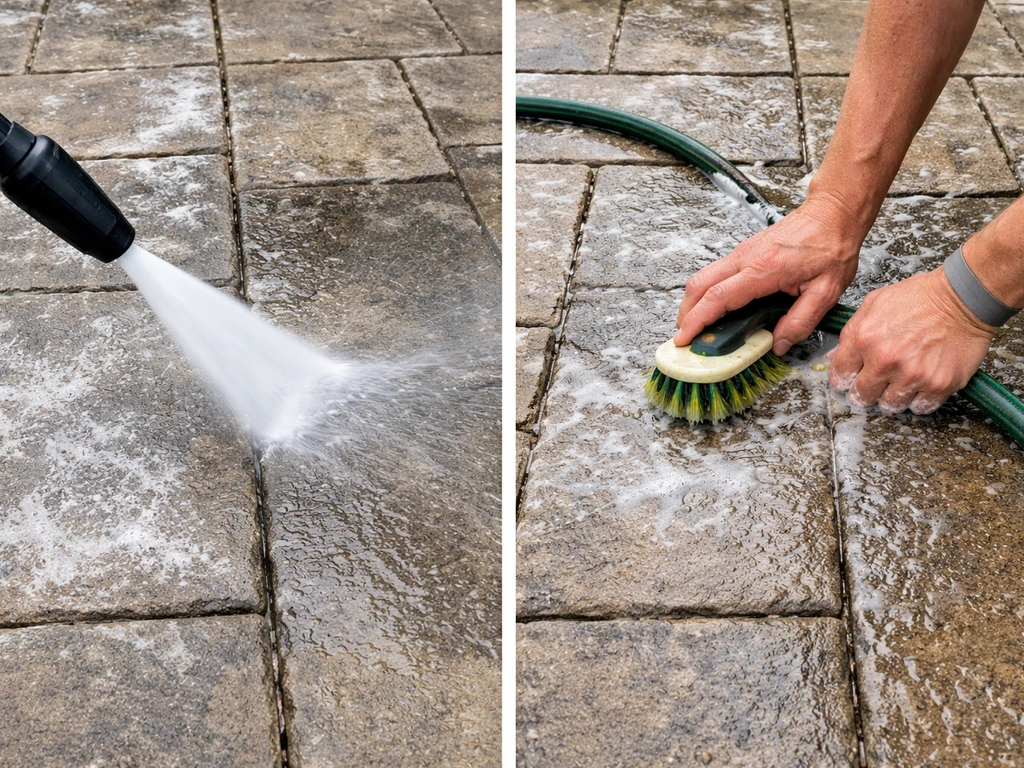
Dry-brush loose efflorescence off first with a stiff brush. For stubborn deposits, you need an acid-based cleaner. Diluted muriatic acid is the traditional option (typically a 1:10 ratio with water, acid added to water, never the reverse), but I'd recommend commercial efflorescence removers first because they're buffered and easier to control. Apply, let it fizz for a few minutes, then scrub and rinse extremely well. A few important cautions: always neutralize acid-treated concrete by rinsing with a baking soda and water solution (about 1 cup per gallon) before the final rinse, never use muriatic acid near adjacent limestone, travertine, or natural stone because it will etch and discolor those surfaces, and don't use it on a very hot day because it evaporates fast and the fumes are genuinely unpleasant. Vinegar (undiluted) can handle very light calcium deposits if you prefer to avoid acid entirely, but for true efflorescence built up over months, it's usually not strong enough.
Pressure washing vs. manual scrubbing
A pressure washer (2,000 to 3,000 PSI with a 25-degree fan tip) makes cleaning faster and rinses more thoroughly, but a stiff deck brush and a hose absolutely get the job done if you don't have one. The key is making sure the surface is fully rinsed after any chemical treatment. Residual bleach or acid under a sealer will cause problems. Let the concrete dry completely before moving to any sealer application, typically 48 to 72 hours of dry weather.
The right treatment depends on what's causing the moisture
This is where a lot of people go wrong. They buy a sealer at the hardware store without knowing whether they need to let the slab breathe or block moisture from moving through it. The two needs require opposite products.
| Moisture cause | Right product type | Avoid |
|---|---|---|
| Condensation from air (no rising moisture) | Film-forming sealer (acrylic, epoxy, polyurethane) or densifier | Nothing specific, but confirm no rising moisture first |
| Moisture rising through slab (vapor transmission) | Penetrating breathable sealer (silane, siloxane) or vapor barrier membrane from below | Film-forming sealers, which can trap moisture and bubble/peel |
| Both condensation and some vapor transmission | Penetrating sealer first; address drainage, then reassess film-forming options | Skipping the drainage fix and going straight to coating |
| Efflorescence present | Fix moisture source, remove efflorescence, then penetrating sealer | Any sealer applied over active efflorescence |
Breathable (penetrating) sealers
Silane and siloxane-based penetrating sealers soak into the concrete and repel water without creating a surface film. Because they don't form a layer on top of the concrete, moisture vapor can still escape upward rather than being trapped. This makes them the right choice when you have any vapor transmission from below, and they're also the safer choice if you're not 100% sure you've fully solved your drainage issues. They typically last 3 to 5 years on an outdoor slab and don't change the appearance significantly.
Film-forming sealers
Acrylic, epoxy, and polyurethane sealers create a physical barrier on the surface. They're great for blocking condensation and surface water from penetrating, and they can give your patio a nicer finish. But if your slab has active moisture coming up from below, a film-forming sealer will trap that moisture under the coating. The sealer blisters, peels, and fails within a season. Only use film-forming sealers once you're confident the slab is dry and the drainage situation is resolved.
Densifiers
Concrete densifiers (sodium or lithium silicate-based) react with the concrete itself to fill pores and harden the surface. They reduce the porosity of the slab, which limits how much moisture can move through it in either direction. They're a good complement to penetrating sealers for older, porous slabs.
Step-by-step DIY plan to tackle this weekend
- Day 1, morning: Do the plastic sheet test in 3 spots (edges, center, any cracked areas). Tape down securely and leave for 24 hours.
- Day 1, afternoon: Walk your irrigation while it's running and check for overspray on the patio. Adjust any heads that are hitting the concrete or the soil immediately adjacent to it. Check your downspouts and add extensions if they're discharging within 6 feet of the patio.
- Day 1, afternoon: Inspect the ground slope around the patio perimeter. If soil is built up against the slab edge, pull it back and regrade so it slopes away. This takes 30 minutes with a flat shovel and a rake.
- Day 2, morning: Check your plastic sheet results. Note which spots show moisture on the underside vs. top side.
- Day 2: Mix your cleaning solution. For mildew and algae: 1 cup bleach per gallon of water. For efflorescence: commercial efflorescence remover per label, or very careful diluted muriatic acid (1 part acid to 10 parts water, acid into water). Wear gloves and eye protection for both.
- Day 2: Apply cleaner to the patio surface, working in sections. Dwell time: 10 minutes for bleach solution, 5 minutes for efflorescence remover. Scrub with a stiff-bristle brush. Rinse very thoroughly with a hose (or pressure washer at 2,000 to 3,000 PSI, 25-degree tip, 12 to 18 inches from surface). If you used acid, apply a baking soda neutralizing rinse (1 cup per gallon of water) before the final water rinse.
- Day 2 to 4: Let the slab dry completely. Don't rush this. 48 to 72 hours of dry weather with no irrigation or rain hitting the patio.
- Day 4 or 5: Apply your sealer. If you have confirmed rising moisture, use a penetrating silane or siloxane sealer. If the slab tested dry and your drainage is sorted, you can use a film-forming acrylic sealer. Follow the product's application temperature range (most require 50 to 90 degrees F, and don't apply in direct strong sunlight). Apply thin coats with a roller or pump sprayer, allow proper dry time between coats.
- After sealing: Re-check the area weekly for the first month to confirm the fixes are working.
What to avoid
- Don't apply any sealer over a wet or damp slab. It will fail.
- Don't mix bleach and vinegar or bleach and any acid-based product. The combination creates toxic chlorine gas.
- Don't use muriatic acid on an enclosed or poorly ventilated space. Work outdoors with the wind at your back.
- Don't use a film-forming sealer if you haven't confirmed you've resolved the moisture source underneath.
- Don't pressure wash at close range (under 12 inches) or with a 0-degree tip. You can etch and damage the concrete surface.
- Don't seal during rain or immediately after. Most sealers need the surface temperature to be above 50 degrees F and should be applied in dry conditions.
Keeping it from coming back
Once you've solved the immediate problem, a simple maintenance routine keeps it from creeping back. If you want to keep patio dry long term, focus on preventing water from reaching the slab and recheck for any new moisture sources. The main thing to understand is that concrete patios don't fail all at once. They fail gradually through small, ignored maintenance items: an overgrown bed that redirects water toward the slab, a sealer that's worn off and never been reapplied, a crack that lets moisture in and then freezes and expands in winter.
Annual maintenance checklist
- Every spring: Check and adjust irrigation heads for overspray onto the patio. Trim back any plantings that are directing water toward the slab.
- Every spring: Inspect the slope of soil around the patio perimeter. Erosion and garden bed buildup can change your grading over a single winter.
- Every spring: Inspect cracks and control joints. Fill small cracks with a concrete crack filler before they let moisture in. Large or widening cracks may need professional evaluation.
- Every 1 to 2 years: Clean the patio with a diluted bleach solution or a purpose-made concrete cleaner to prevent mildew and algae buildup from getting established.
- Every 3 to 5 years (or when water stops beading): Reapply your sealer. Penetrating sealers last roughly 3 to 5 years outdoors. Film-forming sealers may need recoating every 2 to 3 years depending on traffic and sun exposure.
- After heavy rain events: Walk the patio perimeter and check for pooling. Catch drainage problems early before they become slab problems.
Ventilation and shading for condensation-prone patios
If your patio is enclosed by fencing, hedges, or walls on multiple sides with limited airflow, condensation will always be worse because air can't circulate and carry humidity away. Improving airflow by trimming dense plantings near the slab helps more than people expect. Shade from a pergola or shade sail also reduces temperature swings between night and day, which is the core driver of condensation. A cooler slab that doesn't swing from cold at night to sun-baked by noon will condense less moisture. This is most relevant for covered or enclosed patios. If you're dealing with condensation on a patio roof or cover, that's a slightly different issue. If you are seeing condensation on a patio roof or cover, focus on controlling interior humidity and adding airflow under the roofline.
Your next step based on what you found
If your plastic sheet test showed moisture on the underside, start with drainage and grading fixes before anything else. Clean the surface, then apply a penetrating sealer once you've given those fixes a few weeks to take effect. If your moisture is coming up from below, this is closely related to how to keep patio under deck dry, since the same drainage and vapor-transmission principles apply. If the moisture was on the top of the sheet (or the sheet was dry), you're dealing primarily with condensation. Clean the surface, let it fully dry, and apply a film-forming sealer to reduce how much moisture the surface absorbs. If you had efflorescence anywhere, treat that specifically before sealing, and investigate where the ongoing moisture source is because efflorescence doesn't happen without a reason. Get the source under control and the rest of the fixes will actually hold.
FAQ
How can I tell whether my “sweating” is condensation or moisture rising from below?
If the wetting happens mainly in the morning and fades within a couple of hours as the patio warms, that points to condensation. If it keeps getting wetter or stays damp longer, especially near edges, cracks, or control joints, it usually indicates moisture vapor moving up from the soil.
Where exactly should I place the plastic-sheet test patches?
Do the plastic-sheet test in more than one spot, including one near a patio edge (where vapor often enters through perimeter paths) and one over the center. Moisture can travel through specific routes like cracks or control joints, so one test location can miss the main pathway.
Can sprinkler schedules or wind cause concrete patio sweating even if I rarely see puddles?
Sprinkler overspray can be intermittent, so schedule patterns matter. Check for wetness after each irrigation run and also watch the spray direction at low pressure or when wind is present, because drift can change where water lands on the slab.
What should I do if I see white chalky deposits along with the wetness?
Yes. Efflorescence means dissolved salts are being carried to the surface by ongoing moisture movement. Treating only with a surface sealer without addressing the moisture source can lead to rapid coating failure (blistering, peeling) because the salts keep coming up.
Can I use a film-forming sealer to stop sweating if I am not sure what’s causing it?
Film-forming sealers (acrylic, epoxy, polyurethane) are the wrong choice when moisture is actively coming up from below, because they trap vapor and accelerate failure. If your sheet test suggests moisture on the underside, prioritize drainage, allow time for the slab to dry, and use a penetrating (silane/siloxane) sealer instead.
How long should I wait after cleaning before applying a sealer?
Plan on curing and drying time before sealing. After cleaning with chemicals, you generally need 48 to 72 hours of dry weather, and the slab should be visibly dry and not cool-to-the-touch with residual dampness.
How do I confirm the moisture is not coming from garden beds or lawn irrigation runoff?
If nearby landscaping is irrigated heavily, even “correct” sprinkler placement can still create edge dampness from overspray or runoff downhill toward the patio. Use a quick water-source check by temporarily turning off irrigation for a few days and seeing whether the wetting stops.
What’s the most common grading mistake that keeps causing patio sweating?
If the patio is flat or sloped toward the house, water can pond and keep the base soil saturated, which drives vapor transmission and long-lasting dampness. Regrade the surrounding soil away from the slab and do not build up soil against the side of the concrete edge.
How can I fix patio sweating caused by a downspout?
Downspouts that discharge near the patio can saturate the soil right along the edge and keep moisture feeding upward. Extending discharge farther (commonly at least 6 feet) or using a buried line to move water away is more reliable than relying only on a splash block.
Why is patio sweating worse in a covered or enclosed area?
Covered or fenced patios often show worse condensation because humidity is trapped near surfaces and air circulation is limited. Trimming plants for airflow and increasing ventilation under the cover can reduce the temperature and humidity conditions that drive condensation.
My patio gets wet only in patches after storms, what should I check first?
If the wetness appears after rain or irrigation but only in certain zones, treat it like a water-routing issue first. Add or adjust drainage pathways (for example, directing runoff away, fixing low spots, or installing edge drainage) before spending money on sealers.
What are the main cleaning mistakes that cause sealers to fail?
Use cleaning methods that match the problem, then neutralize and rinse thoroughly. With acids, proper neutralization with baking soda solution before final rinsing is important, and you must fully rinse so residues do not interfere with bonding or future coatings.
Should I regrade or adjust drainage before sealing, and how long should I wait?
To avoid trapping moisture, let the “root cause” fixes settle first. After changing grading or redirecting downspouts, wait a few weeks before sealing so the subgrade has time to dry and the moisture pathway is actually reduced.
What’s the safest cleaning approach if I see mildew or algae on the damp concrete?
Light mildew and musty odor often respond to a mild vinegar dilution, but heavier mold and algae typically need bleach-based cleaning followed by thorough rinsing and protection of nearby plants. Don’t coat over active biological growth, because it can continue under the sealer.
Next Articles
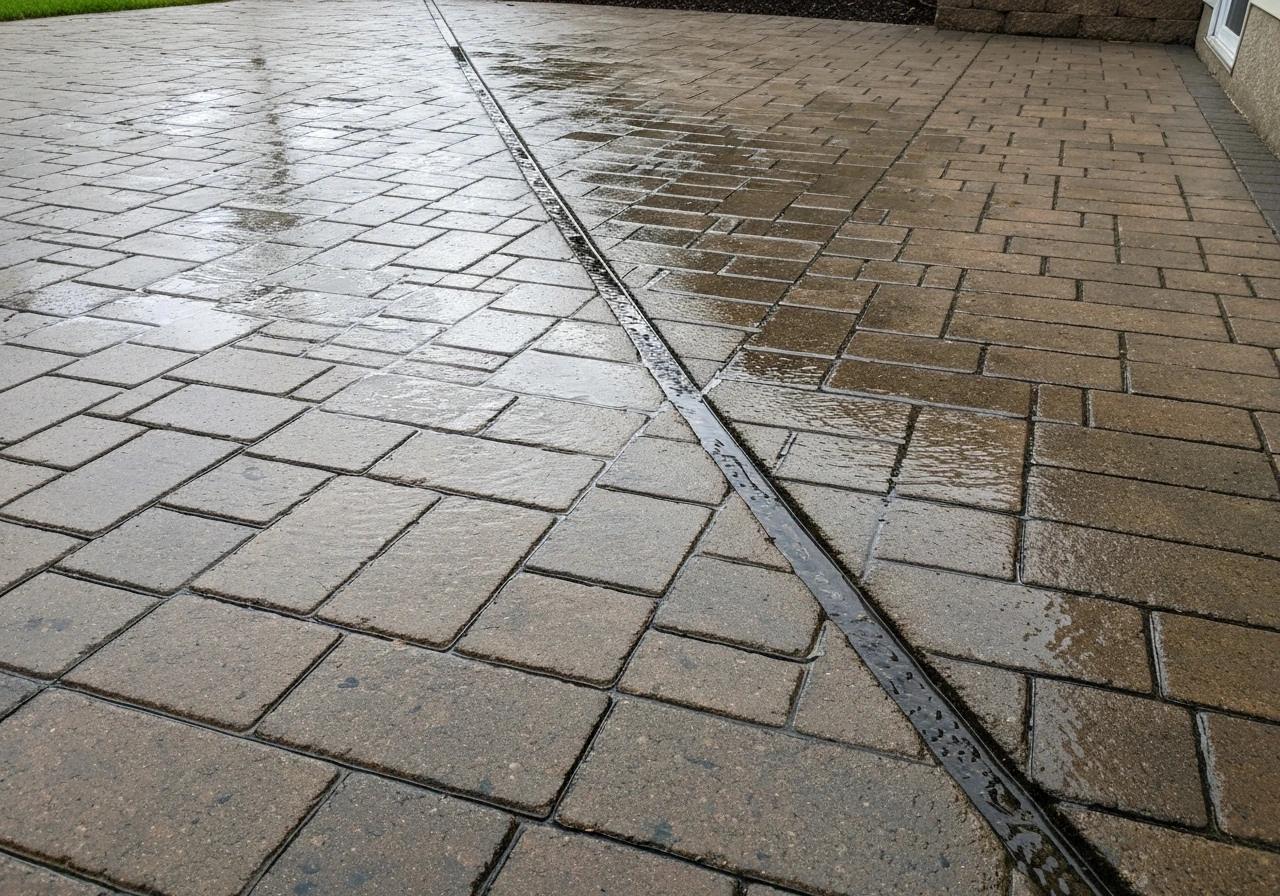
How to Keep Patio Dry: Diagnose, Fix, and Clean Today
Step-by-step how to keep patio dry: find the water source, fix drainage and runoff, then clean mold and stains by materi
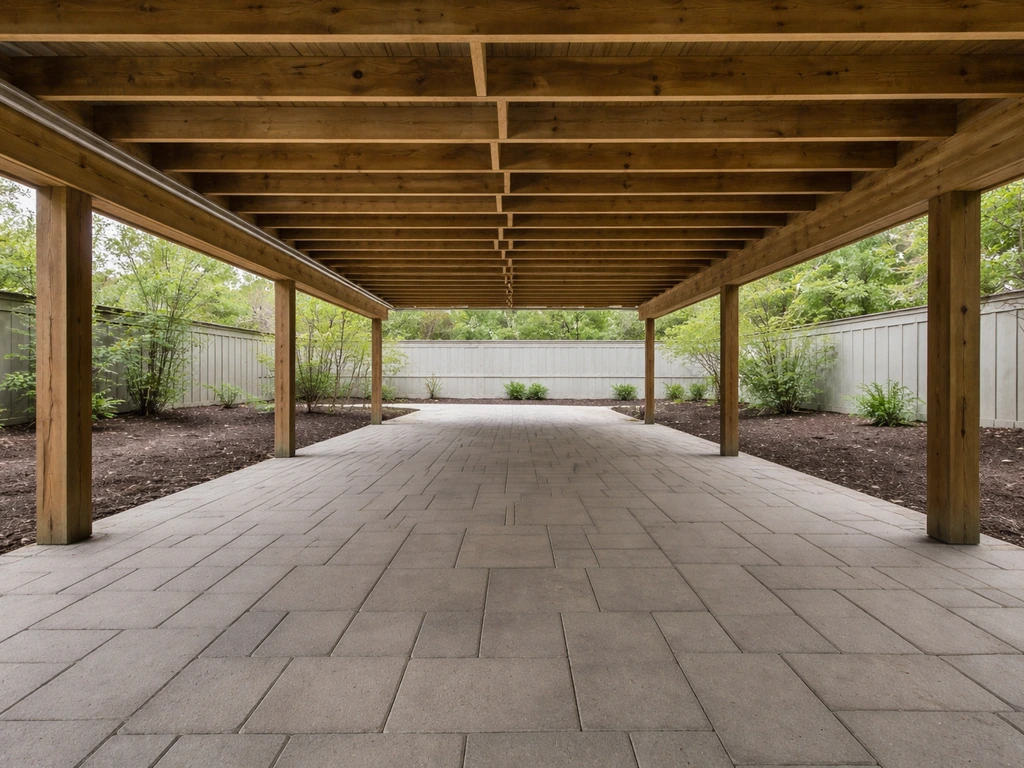
How to Keep Patio Under Deck Dry: Fix Moisture Fast
Diagnose why your under-deck patio stays wet and fix leaks, drainage, and cleanup for concrete, pavers, stone, and trave
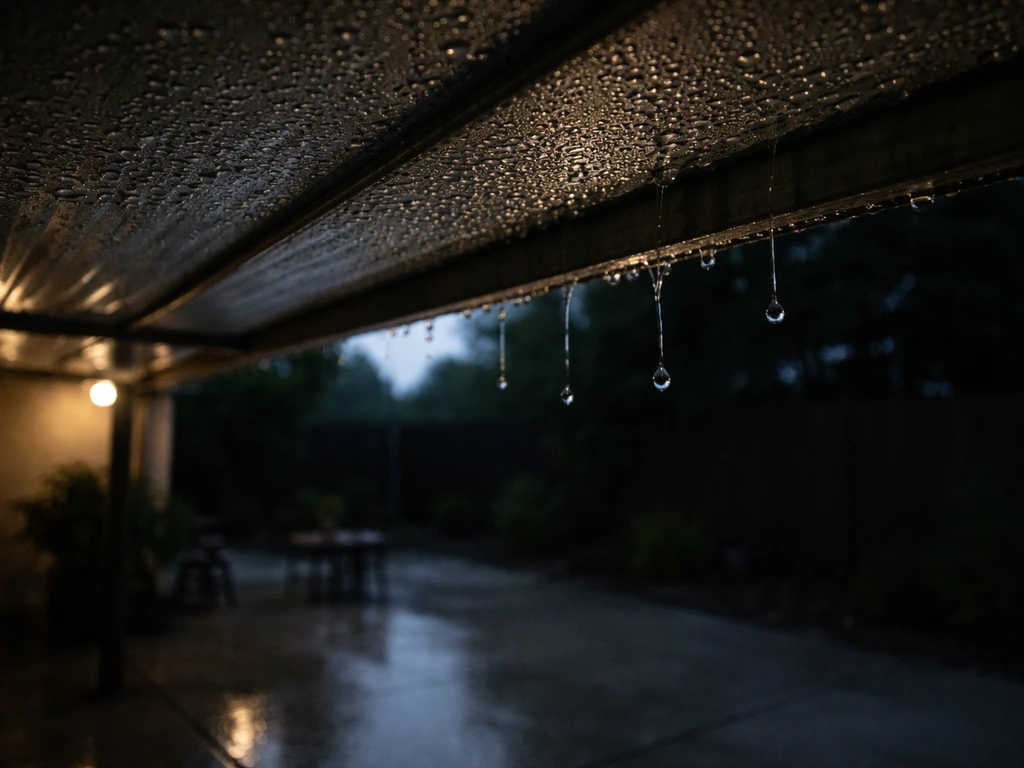
How to Stop Condensation on a Patio Roof Today
Stop metal patio roof condensation today with cause checks, ventilation and insulation fixes, and safe mold and rust cle