To keep a patio dry, you need to fix the source of moisture first, then seal or treat the surface to resist what remains. If you’re wondering how to stop puddles on patio, the fastest path is fixing drainage and then sealing only after the surface is properly dry. That means checking your patio's slope, clearing drainage paths, managing runoff from gutters and plants, and choosing a sealer matched to your patio material. Once the water has somewhere to go, you stop the mold, algae, and slip hazards that come with a chronically damp surface.
How to Keep Patio Dry: Diagnose, Fix, and Clean Today

Dylan Hale
4 Jul 2026
Diagnose why your patio stays wet

Before you buy a single product, spend 10 minutes figuring out where the water actually comes from. I've seen homeowners seal a patio that had a drainage problem and end up with water trapped under the sealer, which is worse than doing nothing. The fix has to match the cause.
Walk outside right after a rain and look for where water collects. Then ask yourself these questions:
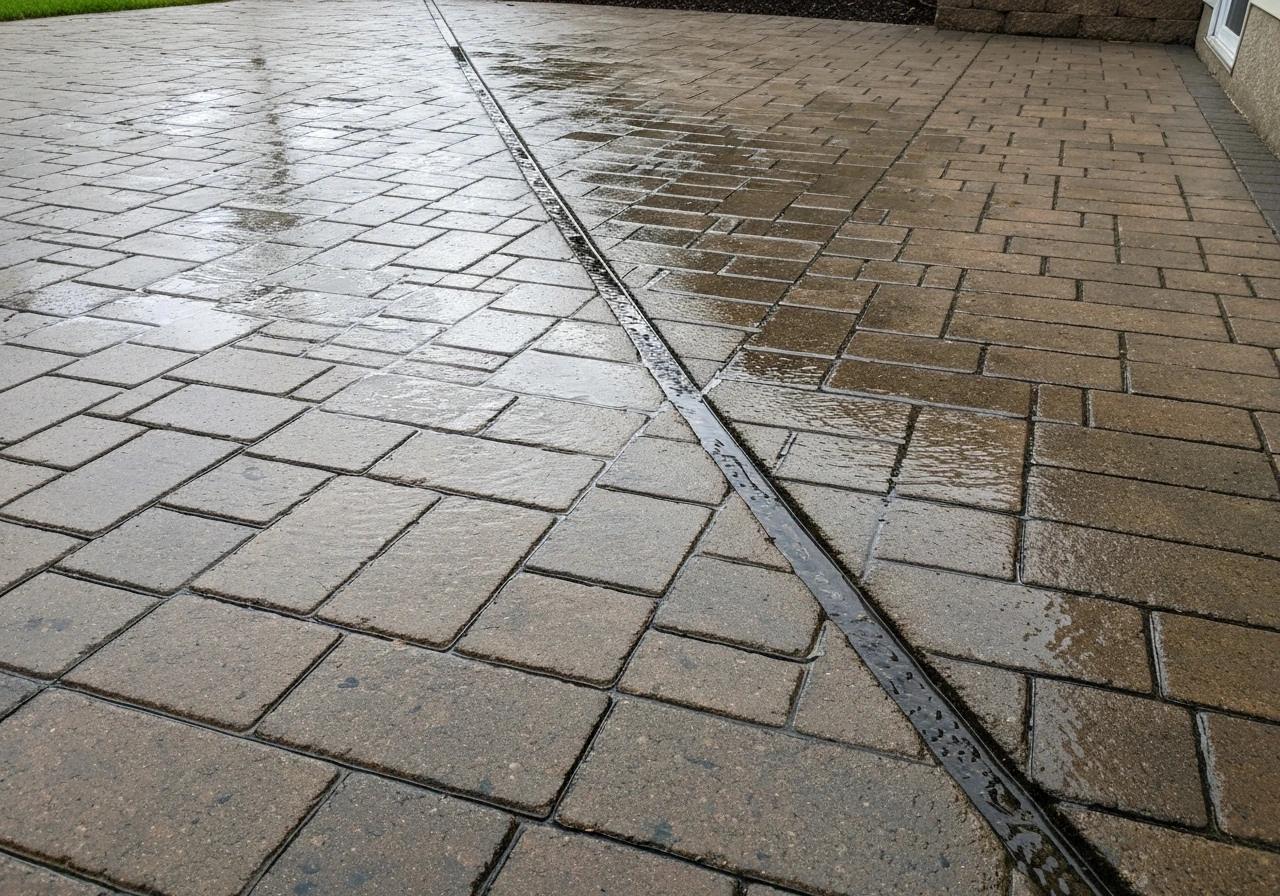
- Does water pool in specific spots, or is the whole surface wet? Pooling in one area usually points to a slope or drainage problem. Uniform wetness often means the surface is absorbing water rather than shedding it.
- Is the wet patch near a downspout, garden bed, or wall? That points to runoff or splash-back, not a grading issue.
- Does the patio sweat on warm mornings even without rain? That's condensation from temperature differentials, a different problem entirely.
- Are there cracks or gaps in the joints between pavers or stones? Water can sit in those gaps, feed weeds, and wick into the surface from below.
- Does the patio dry out eventually, just slowly? Slow drying usually means poor airflow combined with a surface that absorbs moisture rather than repelling it.
The most common culprits are: wrong slope (water runs toward the house instead of away), clogged or absent drainage channels, gutter/downspout overflow landing on or near the patio, plant beds that retain and release moisture against the patio edge, and sprinkler patterns that overshoot onto the surface. Identifying which one or which combination you're dealing with tells you exactly where to start.
Check your patio's slope right now
A properly graded patio should fall away from the house at roughly a 2% grade, which works out to about 1 inch of drop for every 4 feet of run, or 1/4 inch per foot. If you have a standard 4-foot level, place it on the patio surface pointing away from the house. A practical field method is to use a level and [convert the measured rise over the level’s length into inches per foot](https://scienceinsights.
org/how-to-read-a-level-for-slope-bubble-and-digital/) to determine the fall rate. Slip a 1/4-inch shim under the far end. If the bubble reads level with that shim in place, your slope is correct. If the bubble reads level without the shim, the patio is flat and water will sit.
If it reads level only with the shim under the house-side end, the patio is actually sloping toward the house and you have a more serious problem that likely needs regrading or a channel drain added.
Best drainage fixes to reduce standing water
Once you know the slope situation, you can choose the right drainage fix. Once you know the slope situation, you can choose the right drainage fix, which is the core of how to fix standing water on patio. These range from simple DIY solutions to bigger projects, and most homeowners can start with the easy ones before going further.
When the slope is wrong
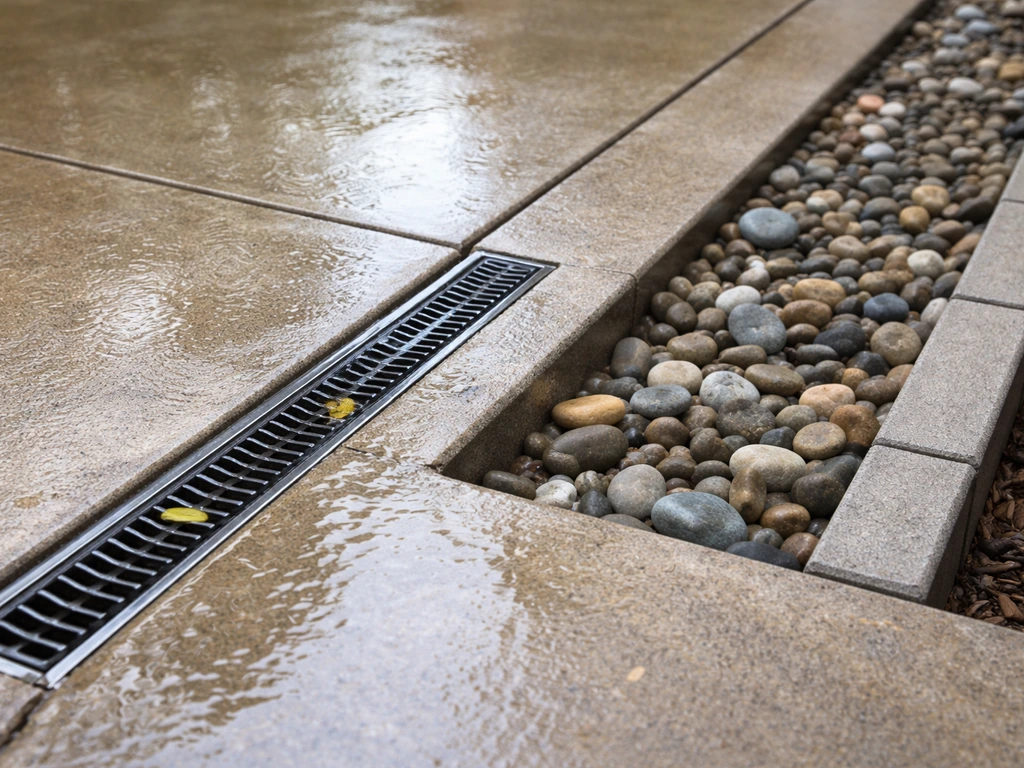
If your patio is flat or pitching toward the house, the most practical fix without a full rip-and-relay is adding a channel drain (also called a linear drain or trench drain) across the lowest point. These sit flush with the surface and redirect water into a pipe that leads away from the structure. For patios where regrading is possible, adding or improving the base material under pavers and relaying them at the correct slope is the permanent fix, but it's a bigger job.
Clear and extend your downspouts
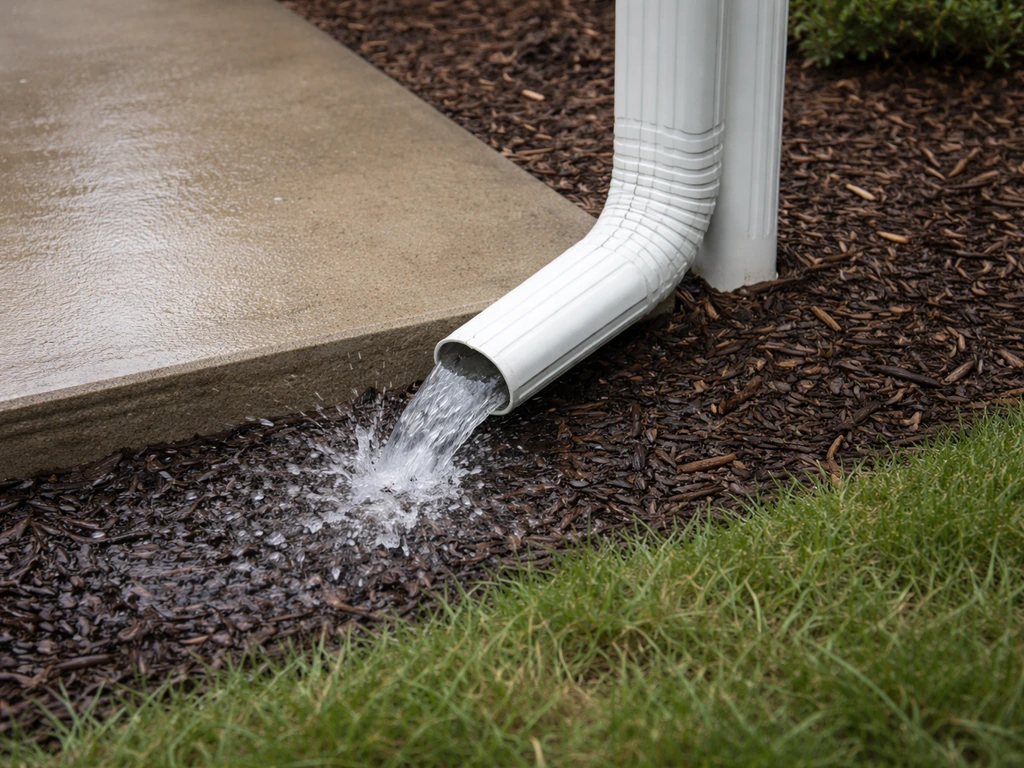
This is the most overlooked fix. A downspout that dumps water 6 inches from your patio edge will keep it wet no matter what you seal it with. Check that gutters are clean and water flows freely, then add downspout extensions that carry water at least 6 feet away from the patio. Flexible accordion-style extensions cost under $10 and take five minutes to install. If the discharge point still ends up near the patio, a buried perforated pipe leading to a gravel dry well further out in the yard is the next step.
Fix the edges and soil around pavers
Garden beds raised higher than the patio surface act like a dam, backing water onto the patio after rain. Pull back mulch and soil from the patio edge so there's a clear fall away from the surface. If you have pavers with wide joints, check that the polymeric sand or jointing compound is intact. Broken-down joint material lets water sit in the gaps and migrate down into the base, which eventually causes pavers to shift and creates low spots where water pools. Refilling joints with polymeric sand is a straightforward DIY job that makes a real difference.
Control sprinkler overspray
If your irrigation system sprays onto the patio, adjust the heads to reduce the arc, reduce the throw distance, or switch to drip irrigation for beds adjacent to the patio. Consistently watering a patio surface with a sprinkler keeps it perpetually damp, which accelerates mold and algae growth regardless of what sealer you use. If you want to stop a concrete patio from sweating, focus on moisture sources and use a sealer only after the surface is properly dry sealer you use.
Waterproofing and sealing options by patio material
Sealing your patio is one of the best long-term tools for keeping it dry, but the right sealer depends heavily on your material. Using the wrong product can either do nothing or cause damage. One rule applies to every material: never seal over trapped moisture. If your surface is wet or hasn't fully dried after rain, wait.
For a new concrete slab, wait the full 28 days of curing before applying any sealer. For any surface, do a plastic sheet test: tape a 12-inch square of plastic sheeting to the surface and leave it for 24 hours. If you see condensation under the plastic when you peel it up, moisture is migrating up from below and sealing now will trap it.
| Patio Material | Recommended Sealer Type | Notes |
|---|---|---|
| Concrete | Penetrating silane/siloxane or acrylic topcoat | Penetrating sealers don't change appearance and allow vapor transmission; acrylics give a sheen but need reapplication every 1-3 years |
| Brick | Penetrating silane/siloxane | Avoid film-forming sealers on brick; they trap moisture inside and can cause spalling |
| Natural stone (granite, slate) | Impregnating stone sealer | Test in a hidden spot first; some dense stones don't absorb sealer and don't need it |
| Pavers (concrete or clay) | Penetrating or joint-stabilizing sealer | Joint-stabilizing sealers harden the sand in joints and reduce weed growth |
| Travertine | Impregnating/penetrating sealer, pH neutral | Travertine is porous and acid-sensitive; avoid acidic cleaners before sealing |
| Flagstone | Penetrating natural-look or enhancing sealer | Enhancing sealers deepen color; use penetrating type to avoid peeling on uneven surfaces |
Prep is everything before sealing. Once you've addressed the standing-water cause, you'll be ready to move on to how to dry point a patio as a finishing step for a more uniform look. Clean the surface thoroughly and let it dry completely, typically 48 to 72 hours of dry weather after cleaning. Apply sealer in moderate temperatures, between about 50°F and 90°F, and avoid direct hot sun during application since it causes the sealer to cure too fast and leave streaks or cloudiness. Most penetrating sealers go on with a pump sprayer or roller and need only one coat, though some products recommend two thin coats on porous materials like travertine or brick.
Manage splash zones and roof/plant runoff
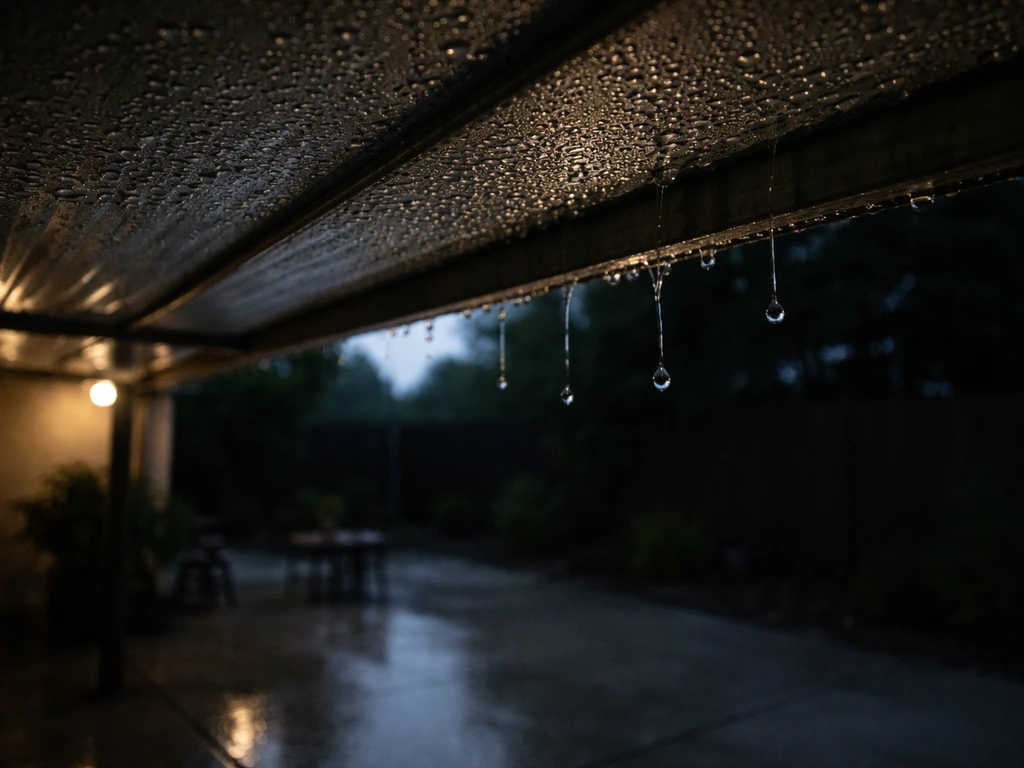
Even with perfect drainage and a good sealer, your patio can stay wet if water is constantly reintroduced from above and around it. To stop condensation on a patio roof, address the moisture coming down from above and add proper ventilation and air movement under the roof Even with perfect drainage and a good sealer. Splash-back from hard rain hitting a wall, planter, or the patio edge itself can keep a 2-foot strip chronically damp. Here's what actually helps:
- Add a gravel border (3 to 4 inches wide) between the patio edge and any garden beds. Gravel absorbs splash energy and lets water drain down rather than run back onto the patio.
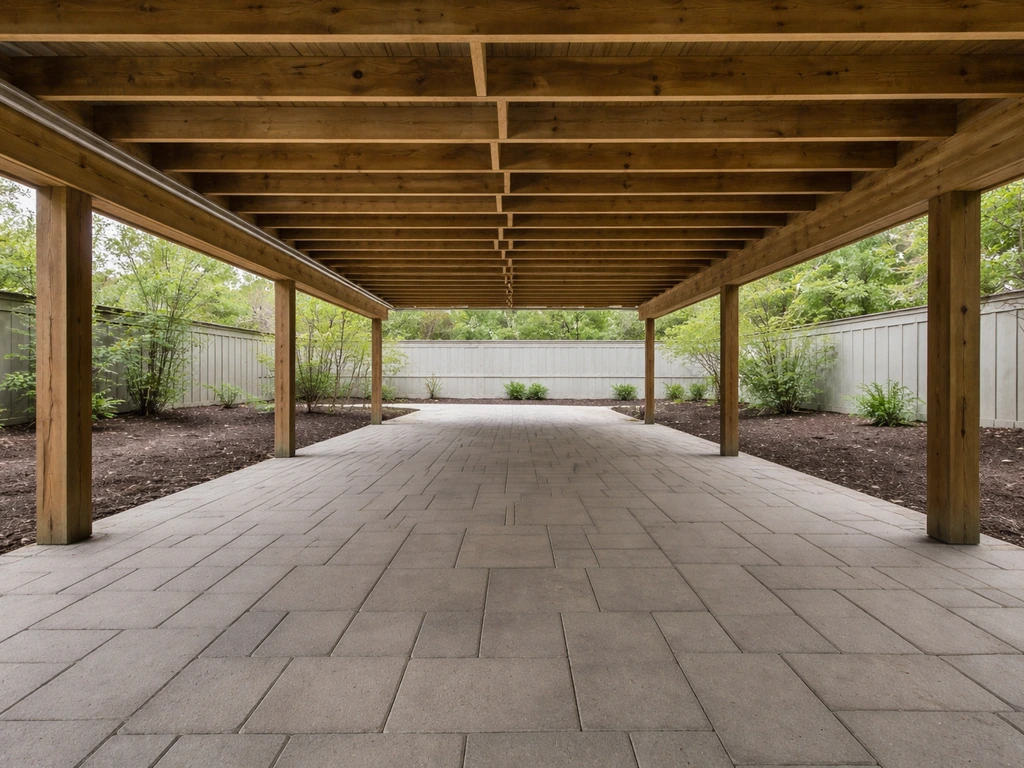
- If you have a covered patio or pergola, make sure the roof has guttering or a drip edge that directs water off the side rather than straight down onto the patio perimeter.
- Check for roof valleys above the patio that concentrate water in one stream during rain. A diverter installed in the valley redirects this flow away from the patio below.
- Raise planters off the surface with pot feet or a small stand. Planters sitting directly on the patio trap moisture underneath and create permanent damp circles.
- If you use patio furniture with solid bases, move it occasionally so water and organic debris don't accumulate and stay wet under the legs.
If your patio sits under a deck overhead, that's its own specific challenge, since deck boards funnel drips in concentrated lines and the shaded space dries slowly. The combination of drainage management and surface sealing is especially important in those situations.
Cleaning and preventing mold/mildew on damp patios
A chronically damp patio almost always develops mold, mildew, or green algae within a season or two. Cleaning these off isn't just cosmetic. The organisms hold moisture against the surface, accelerate staining, and make the surface slippery. Cleaning first and then improving drainage is the right order. Don't seal over mold or algae.
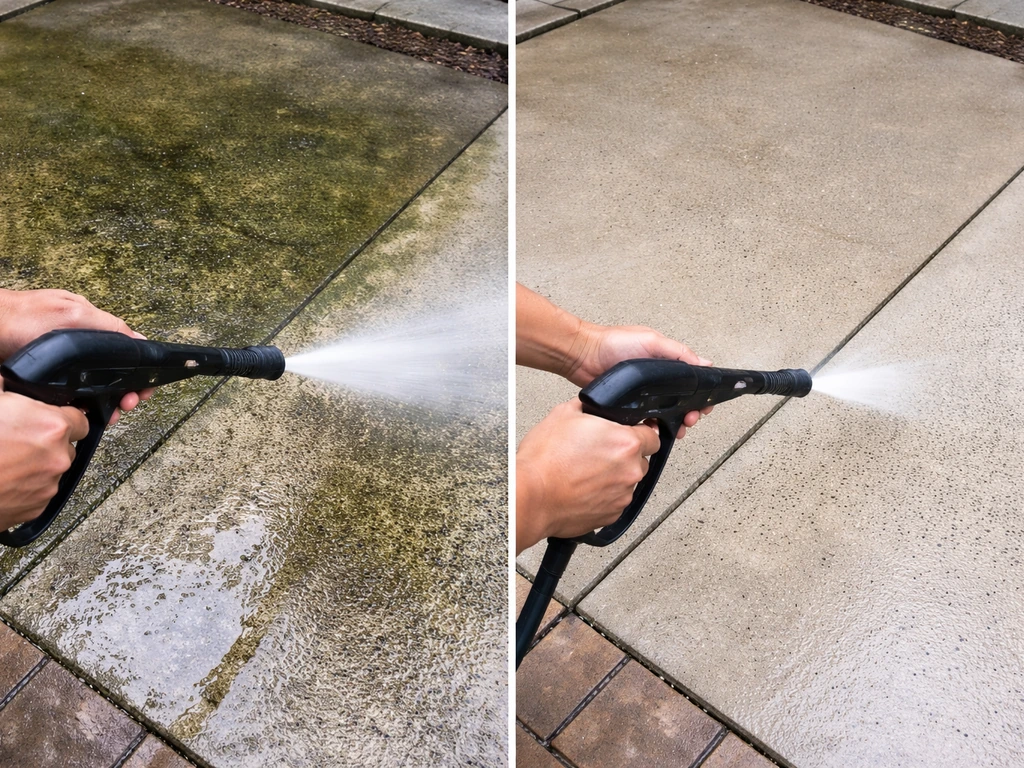
Pressure washing vs. manual scrubbing
For most concrete and paver patios, a pressure washer (1,500 to 2,500 PSI) combined with a surface cleaner attachment does the fastest and most thorough job on mold and algae. Use a wider fan tip (25 or 40 degree) rather than a zero-degree tip, which can etch concrete and damage mortar joints. For softer or more delicate materials like travertine, flagstone, or older brick, I'd skip the pressure washer or drop to a very low PSI (under 1,200) and stick mostly to a stiff-bristle brush and cleaning solution.
Choosing the right cleaner for your situation
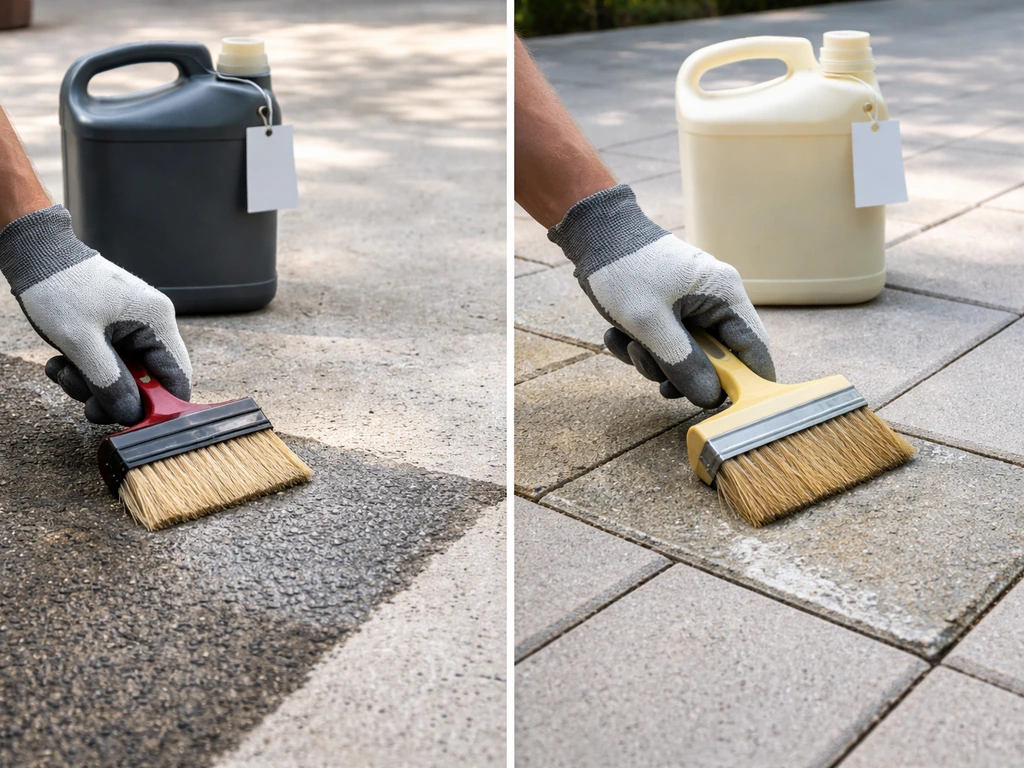
For mold, mildew, and green algae on concrete and pavers, a diluted sodium hypochlorite solution (standard household bleach at roughly 1 part bleach to 10 parts water) is highly effective. Apply it, let it dwell for 10 to 15 minutes, scrub if needed, then rinse thoroughly. This works fast and kills the organism rather than just removing the visible growth. The downsides: it can lighten some colored surfaces, it's not great near garden beds or grass due to runoff, and you should wear gloves and eye protection.
For a gentler approach that's safer around pets and plants, white vinegar (undiluted or at a 1:1 ratio with water) kills mold and mildew effectively, just more slowly. Apply it, let it sit for 30 to 60 minutes, then scrub and rinse. I've found this works better as a preventive treatment applied after cleaning than as the primary cleaner on a heavily affected surface. It's genuinely effective on light to moderate mold on brick, natural stone, and travertine where bleach could cause discoloration or react with the surface.
Muriatic acid is sometimes mentioned for patio cleaning, but I'd reserve it for specific jobs like removing efflorescence (white mineral deposits) from concrete or brick, not for routine mold removal. It's aggressive, requires full protective gear (gloves, goggles, respirator), needs to be heavily diluted (typically 1 part acid to 10 or more parts water), and must be neutralized with a baking soda solution after application. It's also completely off the table for travertine, limestone, and any calcium-based stone since it will etch and damage the surface.
A simple maintenance cleaning routine
- Every 2 to 4 weeks during wet seasons: sweep off debris (leaves, dirt) that trap moisture against the surface.
- Every 2 to 3 months: spray the surface with a diluted vinegar solution or a patio-safe outdoor cleaner and rinse off to knock back algae before it establishes.
- Once or twice a year: do a full clean with your chosen cleaner (bleach solution for concrete/pavers, vinegar or stone-safe cleaner for natural stone), scrub or pressure wash, rinse, and inspect the joints and sealer condition.
- Reseal as needed: most penetrating sealers last 3 to 5 years; acrylics 1 to 3 years. Do the water bead test: drip water on the surface. If it soaks in rather than beading, it's time to reseal.
Keep floors slip-safe while you dry them out
This part matters more than people realize. A wet patio covered in algae or moss is genuinely dangerous, and the transition period while you're improving drainage and waiting for treatments to work is when slip risk is highest. Don't ignore it.
- If you have an active algae or moss problem, clean it off before anything else. Algae creates a slick biofilm that's more dangerous than plain water on the surface.
- Anti-slip patio strips or anti-slip outdoor tape can be applied to steps and high-traffic paths while you work on the underlying problem. These are inexpensive and peel off cleanly later.
- Some clear sealers include a fine grit or aggregate additive that improves traction without changing the look of the surface. This is worth asking about when you buy your sealer, especially for smooth concrete or polished stone.
- Keep the surface clear of leaf litter, especially in autumn. Wet leaves on a patio are one of the most slippery surfaces you'll encounter.
- Until your drainage fix is complete, consider outdoor rubber-backed mats in the areas you walk most. Remove and dry them regularly so they don't become their own mold source.
- If kids or elderly family members use the patio, treat slip prevention as urgent and non-negotiable, not an afterthought.
Getting a patio genuinely dry long-term is a layered job: fix the drainage, manage the water sources, seal the right material the right way, and keep up with a simple cleaning routine. Each layer reinforces the others. Skip the drainage work and even the best sealer won't keep up. Skip the cleaning and moisture feeds mold that defeats your drainage fixes. Start with the diagnosis, work through the list, and most homeowners will see a real difference within one wet season.
FAQ
Can I just seal my patio to stop it from staying wet, even if I don’t know where the water is coming from?
You should not. If the patio is wet or water is collecting due to slope, downspout overflow, or clogged drains, sealing first can trap moisture under the coating. Do the “plastic sheet test” (tape a 12-inch square of plastic for 24 hours) to confirm there is no condensation or moisture migrating upward before applying any sealer.
How long should I wait after rain before I can seal or treat a patio?
Don’t go by guesswork. After cleaning, plan for about 48 to 72 hours of dry weather before sealing, and only seal when the surface is fully dry to the touch and visually uniform. For new concrete, wait the full 28 days of curing, then verify dryness again with the plastic sheet test if the area has stayed damp historically.
What if my patio slopes correctly, but water still pools near one area?
Pooling despite correct overall slope usually points to a localized low spot, damaged base, or joint failure. Check paver joints for washed-out or degraded polymeric sand, and look for settlement around drains or utility penetrations. A small channel drain, spot-base repair, or re-leveling the lowest section can be more effective than re-sealing the entire patio.
Will a pressure washer permanently fix the “wet” problem if I clean the algae and stains?
No, cleaning removes biology and staining, but it does not stop the underlying moisture source. Use pressure washing only after you have started addressing drainage and water inputs, and avoid sealing over organisms. If the water source continues, mold and algae typically return quickly even with fresh cleaning.
Is bleach always safe to use on a patio?
Bleach (sodium hypochlorite) can be effective on concrete and pavers, but it can lighten some colored surfaces and it can harm nearby plants and grass due to runoff. If you have gardens nearby, consider protecting vegetation and controlling runoff, or use a gentler vinegar-based treatment, especially on brick or natural stone where discoloration risk is higher.
How do I clean without etching if my patio is concrete?
Avoid zero-degree tips and be careful about holding the wand too close, since etching and mortar-joint damage can occur. Use a surface cleaner attachment or a wider fan tip (for example 25 or 40 degree) at a safe distance, and test a small area first if your concrete is older or already spalling.
What should I do if my downspout discharges, but the water still lands on the patio after extensions?
If a downspout extension still ends near the patio, the next step is to move the discharge farther away from the house using a buried perforated line that feeds a gravel dry well deeper in the yard. Also confirm gutters are clean so the flow is consistent during storms, since partial clogs can cause the patio to get hit only during heavier rain.
My patio is under a deck, how is that different from an exposed patio?
Deck-overhang patios often stay damp longer because shaded areas dry slowly and deck boards can funnel drips into concentrated lines. Focus more on clearing moisture sources from above, improving drainage around the patio edges, and using sealing and cleaning practices appropriate for the patio material, since the area may not dry out between rain events.
Can I fix wetness by adjusting sprinklers only, or do I still need drainage work?
If sprinkler overspray is the main cause, adjusting heads, reducing arc, and switching nearby beds to drip irrigation can significantly reduce dampness. However, if you see pooling right after rain, that points to slope, blocked channels, or downspout runoff rather than irrigation, so drainage corrections are still required.
How do I prevent slippery moss and algae during the time I’m doing drainage repairs?
Treat it as a safety-critical transition. Keep foot traffic off the affected area if possible, clean growth promptly (don’t seal over it), and prioritize drainage fixes early in the process. Wet algae can become slippery fast, so prioritize removal and keep the surface dry during the repair and waiting periods.
What is the best order of operations when my patio is both wet and has algae or mildew?
Address water sources first in a way that reduces ongoing soaking, then clean biological growth, then seal only after the surface is fully dry and confirmed moisture is not migrating up. Don’t apply sealer over mold or algae, and don’t seal if the plastic sheet test shows condensation after 24 hours.
What’s the simplest check to know whether jointed pavers need attention?
Inspect the joints for gaps and check whether jointing material has washed out or broken down, especially along the patio edge where water re-enters. If polymeric sand is missing or weak, refilling joints typically helps stop water from collecting in and migrating through the base.
Next Articles
How to Keep Patio Under Deck Dry: Fix Moisture Fast
Diagnose why your under-deck patio stays wet and fix leaks, drainage, and cleanup for concrete, pavers, stone, and trave
How to Stop Condensation on a Patio Roof Today
Stop metal patio roof condensation today with cause checks, ventilation and insulation fixes, and safe mold and rust cle

How to Waterproof Patio: Step-by-Step by Material
Step-by-step how to waterproof a patio by material, with cleaning, sealing choices, repair prep, and troubleshooting.