You can remove moss from patio grout with a stiff brush, a targeted cleaner, and a good rinse. For most patios, a solution of oxygen bleach (like OxiClean) mixed with water, applied to the grout lines, left to dwell for 15 to 20 minutes, then scrubbed with a stiff-bristled brush and rinsed thoroughly will kill the moss and lift it out of the grout. If you have a pressure washer, a 1500 PSI pass with a 25-degree fan-tip nozzle gets the job done faster. The key is matching your method to your patio material, because what works great on concrete pavers can permanently etch travertine or flagstone.
How to Remove Moss From Patio Grout Safely and Effectively

Dylan Hale
29 Apr 2026
Why moss keeps coming back to your grout lines
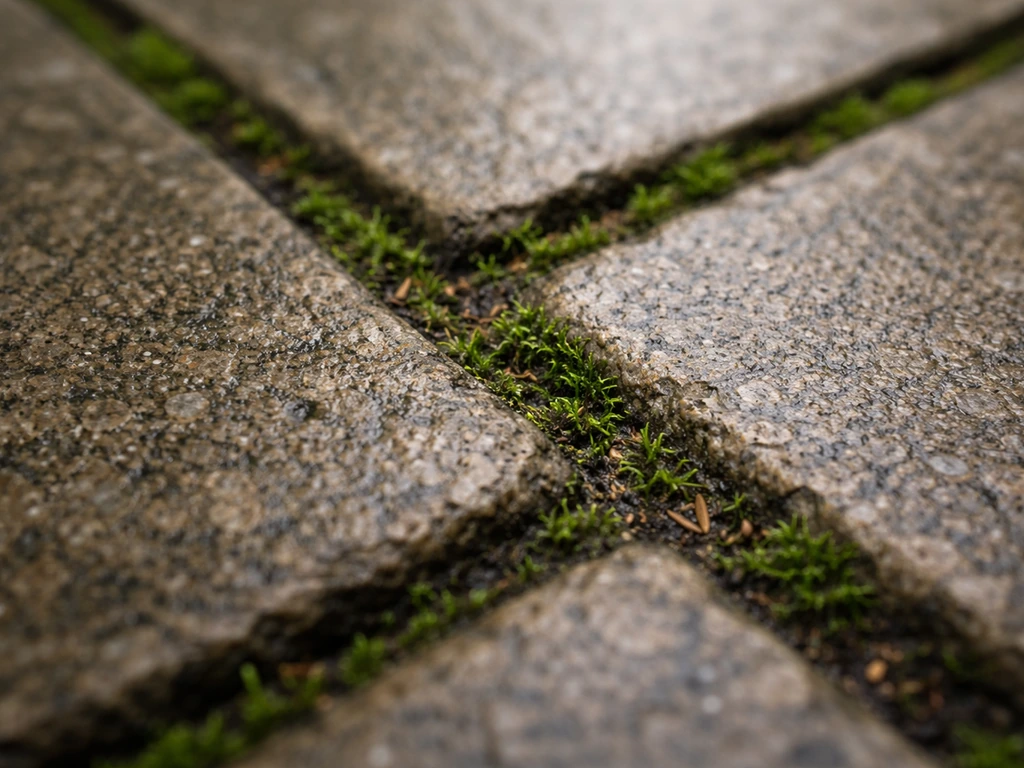
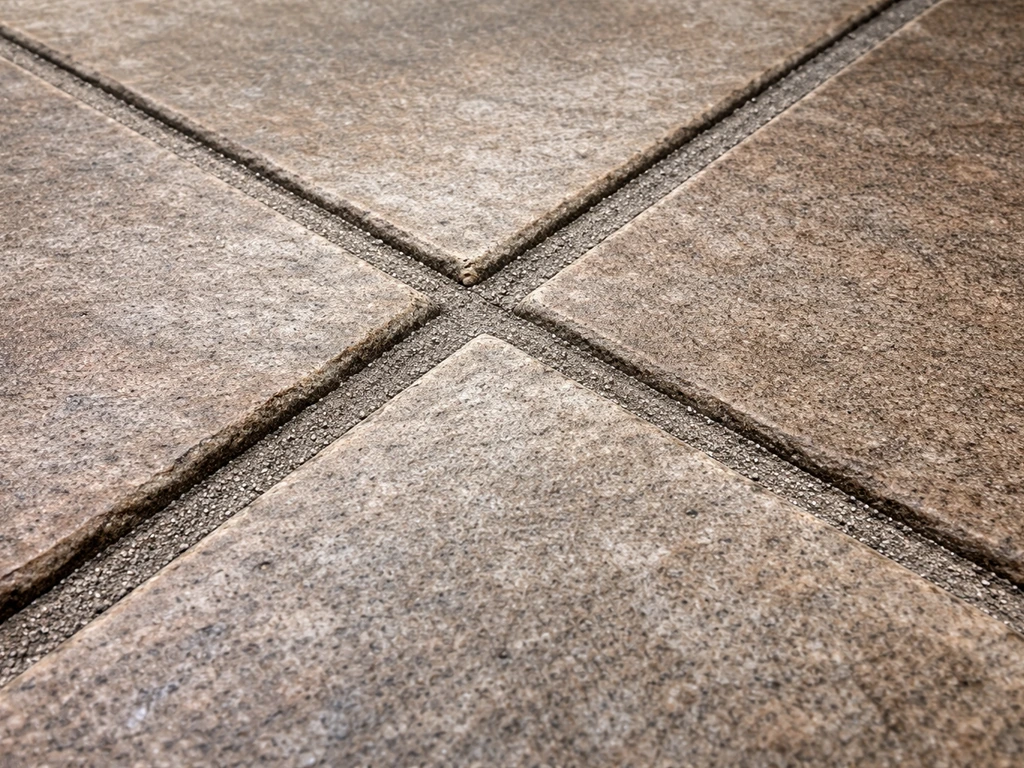
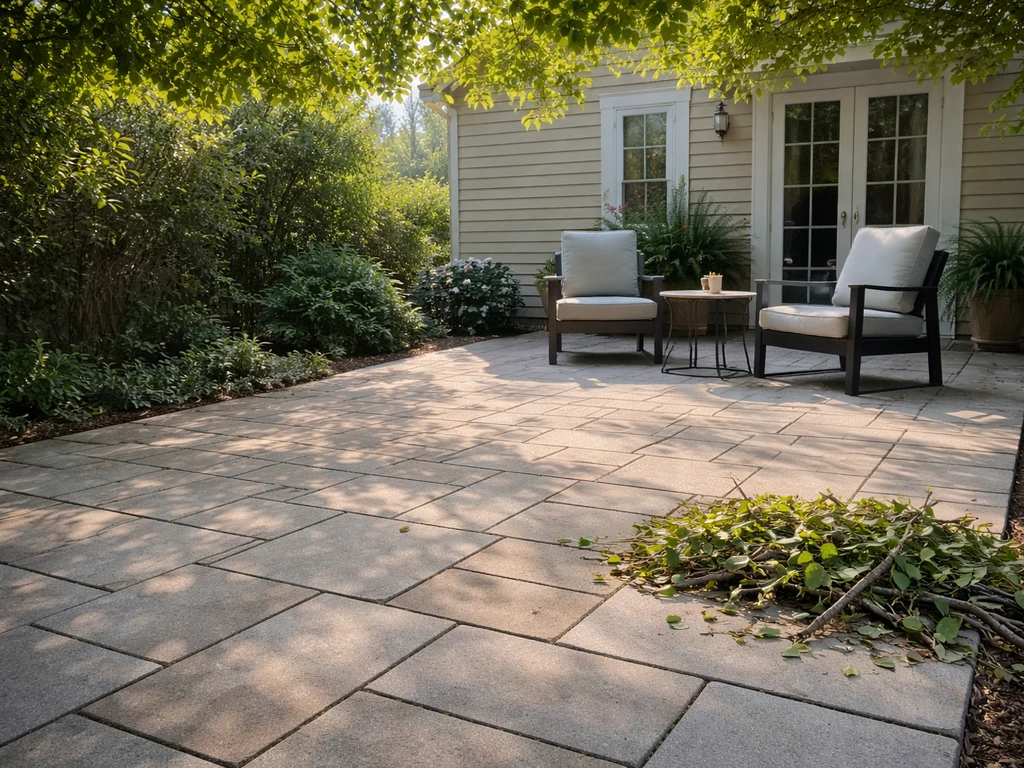
Grout lines are basically a custom-built moss habitat. They collect moisture, trap organic debris like leaf litter and soil, and tend to stay shaded longer than the flat patio surface around them. Moss doesn't need soil or sunlight to survive, it just needs consistent dampness and something to anchor to. Grout gives it both. Poor drainage that leaves the patio surface wet for hours after rain, overhanging trees or fences that block drying sunlight, and any organic buildup sitting in the joints all accelerate moss growth significantly. That's why you'll often see moss concentrated in one corner of a patio, usually the shadiest, dampest spot.
The other thing worth knowing: chemical treatments for moss are almost always temporary unless you also fix the conditions driving the growth. If water still pools in your grout lines, or a fence keeps that corner in shade all day, moss will be back within a season. Cleaning is step one, but prevention is what actually keeps the grout looking clean year after year.
Before you start: protect the area and do a spot test
A few minutes of prep work here saves you a lot of trouble later. Moss cleaners and even pressure washing can damage nearby plants, irritate pets, and stain adjacent surfaces if you're not careful.
- Move potted plants off the patio entirely. For in-ground plants or borders right next to the patio, drench them with plain water first, which helps dilute any chemical that splashes onto them, and cover them with a plastic sheet if you're using bleach-based products.
- Keep pets and kids off the patio until the area is rinsed clean and fully dry.
- Put on your PPE before you open any cleaning product: rubber gloves, safety goggles (not just glasses), and older clothes you don't mind bleaching. If you're using sodium hypochlorite in a confined space, a basic respirator is worth it.
- Do a spot test in a hidden corner of the patio, ideally a spot where a piece of furniture usually sits. Apply your chosen cleaner, wait the full dwell time, rinse, and check for discoloration, etching, or finish damage before treating the whole patio. This step is non-negotiable if your patio is natural stone, travertine, or slate.
Manual removal: scraping and brushing moss out of grout
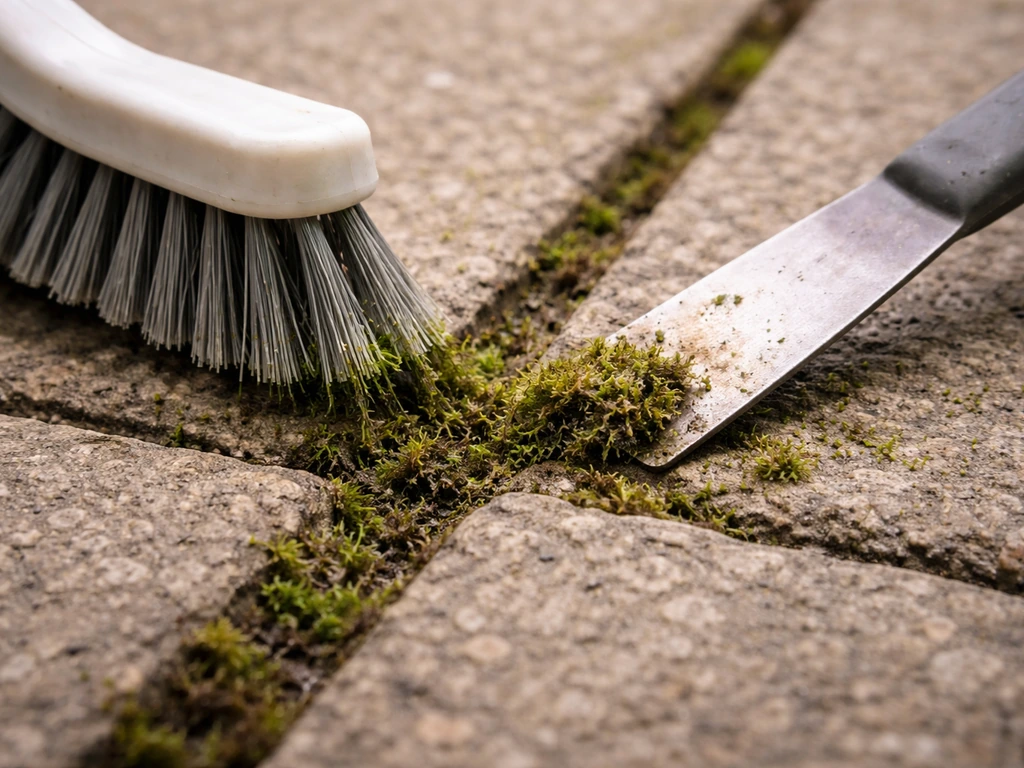
If you don't have a pressure washer, or if your patio is made of a sensitive material that can't handle high-pressure water, manual removal is completely effective. It just takes more elbow grease. I'd actually recommend starting with manual scraping before applying any chemical, because it removes the bulk of the moss and lets your cleaner contact the grout directly instead of just sitting on top of a thick mat of moss.
- Use a stiff-bristled deck brush or a dedicated grout brush to dry-scrub the affected lines first. Working dry pulls up the loose surface growth and makes the rest of the job easier.
- For thicker patches, use a plastic scraper, an old flathead screwdriver, or a grout brush with a narrow head to physically dislodge the moss from the joint. Avoid metal scrapers on softer grout or natural stone as they can score the surface.
- Sweep up all the debris and dispose of it. Don't just hose it into your garden beds, because viable moss fragments can re-establish elsewhere.
- Apply your chosen cleaning solution directly to the grout lines and let it dwell for the recommended time (more on that below).
- Scrub again with a stiff brush, working in short back-and-forth strokes along the grout line rather than circular motions, which just spreads debris onto the tile or paver surface.
- Rinse thoroughly with a garden hose on a strong-stream setting. Make sure you flush the grout lines fully so no cleaner residue is left behind.
For tight grout lines between pavers or tiles, a narrow grout brush or even an old toothbrush gives you better contact than a wide deck brush. It's slower, but you'll actually clean the bottom of the joint rather than just skimming the surface. If you're curious about techniques specifically for getting into narrow joints, there's more detail in the guide on how to use a brush in patio grout.
Which cleaner to use: oxygen bleach, sodium hypochlorite, vinegar, or acid
This is where most people go wrong, either by using something too aggressive for their patio material, or by using something so gentle it doesn't actually kill the moss. Here's how the main options compare.
| Cleaner | Works well on | Avoid on | Dwell time | Notes |
|---|---|---|---|---|
| Oxygen bleach (OxiClean, etc.) | Concrete, brick, most pavers, grouted tile | Unsealed natural stone (test first) | 15–20 minutes | Safest starting point; won't bleach plants if diluted; won't discolor most grout |
| Sodium hypochlorite (household bleach, 5–10%) | Concrete, brick, dense pavers | Natural stone, colored grout, near plants | 10–15 minutes (diluted 1:10 with water) | Very effective but can bleach grout color, harm vegetation, and degrade sealers over time |
| White vinegar (undiluted or 50/50 with water) | Brick, concrete (light moss only) | Travertine, limestone, slate, flagstone, marble | 20–30 minutes | Gentler but acidic; kills light moss; NEVER use on calcium-carbonate stones as it will etch them permanently |
| Muriatic acid | Extreme cases on bare concrete only | All natural stone, colored/sanded grout, sealed surfaces, anywhere near plants | Very short contact (2–5 min max) | Last resort only; causes irreversible etching on any reactive stone; always dilute and neutralize; not recommended for routine moss removal |
My go-to recommendation for most homeowners is to start with oxygen bleach. Mix roughly 1 cup of oxygen bleach powder per gallon of warm water, pour or brush it directly onto the mossy grout lines, wait 15 to 20 minutes, then scrub and rinse. It kills the moss rather than just lifting it, which means it won't regrow from the root structure nearly as fast. It's also much safer around plants than sodium hypochlorite, and it won't bleach out colored grout if you've got it.
Sodium hypochlorite (standard household bleach) works faster and is slightly more aggressive against stubborn moss, but dilute it properly (1 part bleach to 10 parts water) and rinse very thoroughly afterward. It can degrade grout sealers with repeated use, so if you've sealed your grout recently, try oxygen bleach first. And definitely skip bleach entirely on natural stone like travertine or flagstone.
Vinegar gets mentioned a lot as a 'safe natural option,' and it is gentler on plants and the environment, but it's still acidic. Even a penetrating sealer won't protect calcium-carbonate stones like travertine, limestone, or marble from acid etching. If your patio has any of those materials, skip vinegar entirely. Muriatic acid is overkill for moss and carries serious risks of permanent surface damage and chemical burns, so unless you're a professional dealing with extreme mineral buildup on bare concrete, leave it on the shelf.
Using a pressure washer on mossy grout lines
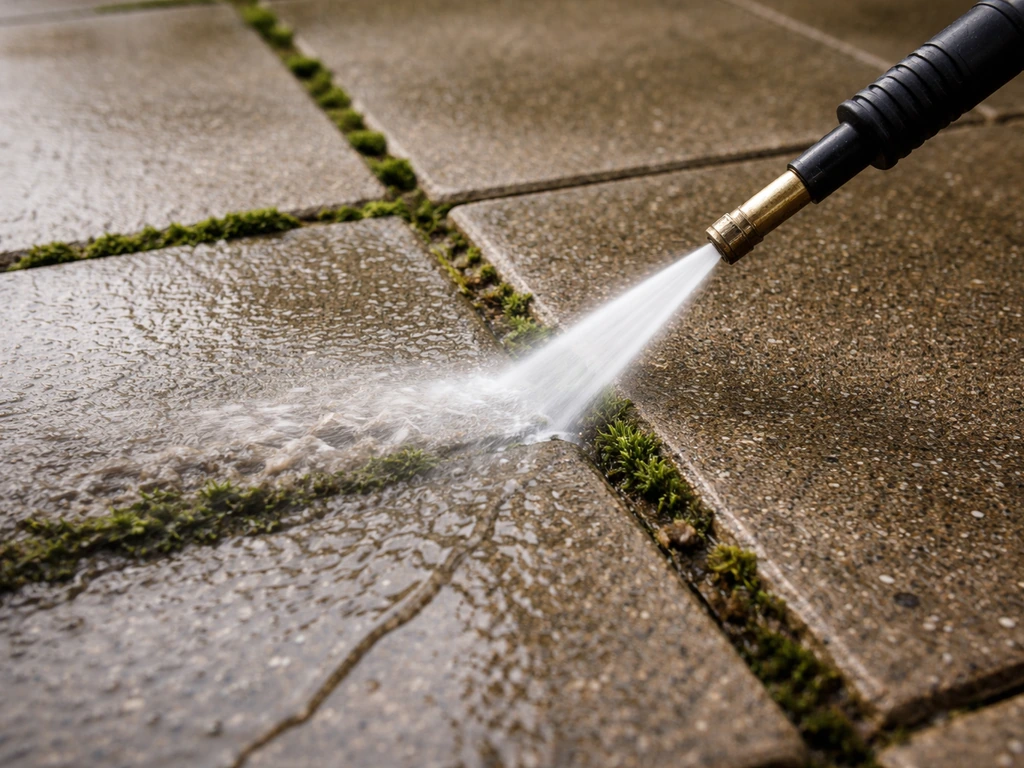
A pressure washer speeds up moss removal dramatically and does a great job of flushing out the grout lines, but pressure settings and technique matter a lot. Too much pressure in grout lines can erode the grout itself, especially in older installations or anywhere with sanded grout that's already a little soft.
- Set your pressure washer to around 1500 PSI for most concrete and brick paver patios. For natural stone or older grouted tile, stay closer to 800–1000 PSI and use a wider fan tip.
- Always use a fan-tip (25-degree or 40-degree) nozzle rather than a zero-degree or rotary nozzle. The fan tip disperses the water across a wider area, reducing direct impact and protecting both the grout and the tile surface.
- Hold the wand at roughly a 45-degree angle to the grout line and keep it about 12 inches away from the surface. Moving at a shallow angle rather than blasting straight down helps lift moss out rather than driving it deeper.
- Work in consistent passes along the grout lines rather than randomly hosing down the whole patio surface.
- If you've applied a chemical cleaner first, let it dwell fully before pressure washing, then use the washer as your rinse and agitation step.
For very narrow grout lines between small tiles, a grout-cleaning attachment (sometimes called a surface cleaner with grout tool) can help you get into the joint precisely without blasting adjacent tile. If you're renting a pressure washer and not sure about PSI, start at the lower end and work up. You can always add more pressure, but you can't undo eroded grout. If you want to go deeper on pressure washing techniques specifically for patio grout, the guide on how to clean patio grout covers surface cleaner attachments in more detail.
Stopping moss from growing back
Cleaning removes the visible moss, but if the conditions that caused it haven't changed, you'll be back scrubbing grout lines in six months. These are the steps that actually break the cycle.
Fix the moisture and drainage first
Check whether water is pooling on or near the patio after rain. After you remove the moss and clean the grout, drying it properly is the next step so it is less likely to come back how to dry grout a patio. If the surface doesn't drain well, that standing moisture is the single biggest reason moss comes back. Look at the slope of your patio (it should angle slightly away from the house) and clear any debris from grout lines and drainage gaps that might be causing water to sit. If certain grout lines always stay wet, something structural may need attention.
Reduce shade where you can
Trim back overhanging branches or shrubs that keep parts of the patio in constant shade. Even an extra hour or two of direct sunlight per day makes a meaningful difference in how quickly the surface dries out after rain.
Seal the grout
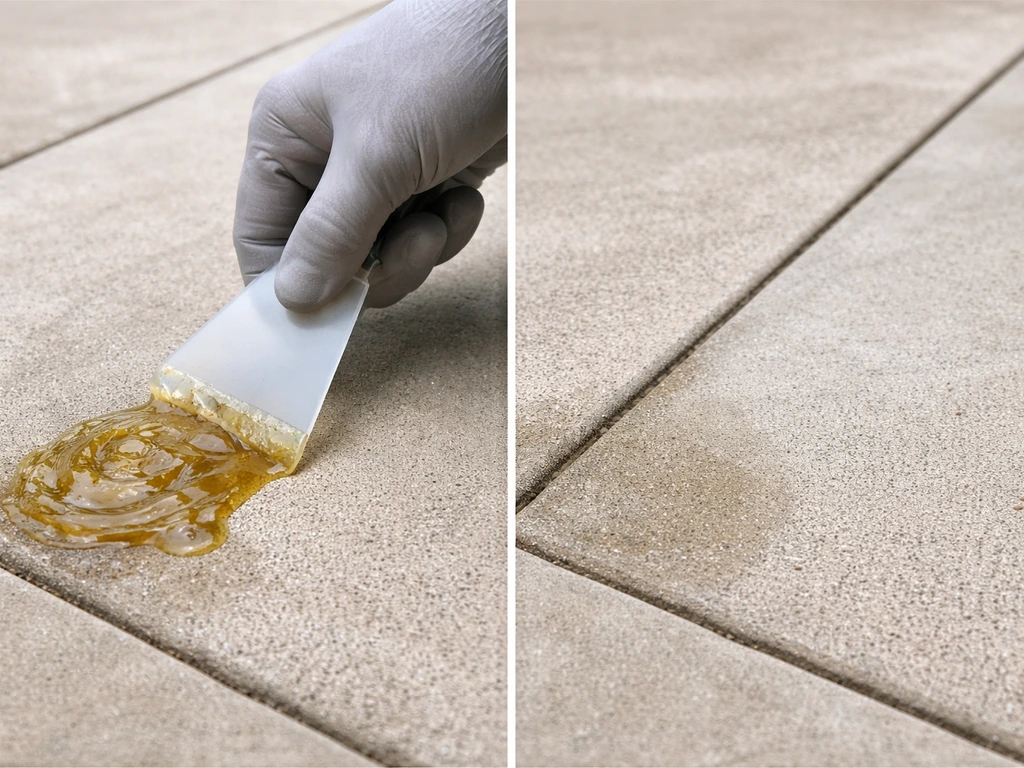
A quality penetrating grout sealer won't kill existing moss, but it significantly reduces the porous surface area where moisture and organics accumulate. Once the patio is fully clean and dry (give it at least 48 to 72 hours), apply a sealer rated for your patio material. For concrete and pavers, a silane-siloxane or acrylic sealer works well. For natural stone, use a stone-specific penetrating sealer. Just note that sealing protects against staining and moisture absorption, but it won't protect against acid etching if you later use an acidic cleaner, so keep that in mind for future maintenance.
Set a simple maintenance schedule
A quick sweep and a light scrub of grout lines every month or two during the damp season prevents moss from getting established in the first place. It's far easier to clear early-stage growth with a stiff brush and a bucket of diluted oxygen bleach than to deal with a fully colonized patio in spring. Once a year, after your main seasonal clean, check whether your grout sealer is still performing (water should bead on the surface) and reseal if it isn't.
Special considerations: travertine, flagstone, slate, and older patios
If your patio is made from natural stone, especially travertine, limestone, slate, or irregular flagstone, the rules change significantly. These materials are reactive to acids, which means vinegar, muriatic acid, and even some commercial descalers will chemically etch the surface on contact, producing dull, discolored marks that are permanent. A penetrating sealer doesn't prevent this, because the acid still contacts the stone surface even if the sealer slows it down slightly.
For natural stone patios, stick to pH-neutral or alkaline cleaners specifically formulated for stone, or use plain oxygen bleach diluted well (half the usual concentration as a starting point) after doing a careful spot test. Use a soft brush rather than stiff-bristled nylon for scrubbing, and keep pressure washing on the lower end of the 800–1000 PSI range with a wide fan tip. Avoid the zero-degree nozzle entirely on natural stone.
If your grout is already crumbling or missing in spots, moss removal may accelerate that damage, and the real fix is regrouting rather than just cleaning. Physically scraping badly degraded grout can pull out more than you intend. If your patio grout is in poor condition overall, it's worth reading through the guide on how to remove patio grout so you understand when cleaning transitions into a repair job.
For very heavily infested patios, older installations, or valuable natural stone where you're genuinely unsure about compatibility, calling a professional stone restoration or patio cleaning company is the right move. The cost of a professional clean is a lot lower than repairing etched travertine or replacing blown-out grout lines. Use that call as a reset, then maintain the surface yourself going forward with the gentler routine methods described here.
FAQ
Can I remove moss from patio grout without using bleach or acids?
Yes, but plan on more scrubbing and repeat treatments. Start with manual scraping to remove the mat, then use an oxygen-based cleaner formulated for outdoor grout (or a pH-neutral cleaner) and give it a longer dwell time, about 30 to 45 minutes. Rinse thoroughly and repeat after a week if any green residue remains.
How soon after cleaning will moss come back?
If the moisture conditions are unchanged, you can see regrowth in 3 to 6 months. The fastest way to judge whether you fixed the cause is to check after the next heavy rain, do grout lines stay visibly wet or does water pool in the same corner.
What dwell time is safe for oxygen bleach on grout?
For most patios, 15 to 20 minutes is enough, longer is not automatically better. If you extend dwell time, keep the surface wet and avoid letting it dry out before scrubbing, since drying can leave residues or uneven whitening.
Is it okay to use a pressure washer after applying a moss cleaner?
Often yes, but don’t blast immediately. Let the cleaner dwell first, then rinse with moderate pressure and keep the nozzle at a slight angle so you flush the joint rather than gouging it. If grout is older or sanded, use lower pressure and avoid lingering in one spot.
How do I avoid bleaching discoloring colored grout or adjacent surfaces?
Do a small test in an inconspicuous area first, then protect nearby surfaces by wetting them beforehand and rinsing quickly after scrubbing. Colored grout can lighten unevenly if oxygen bleach is too concentrated or left too long, so consider reducing the mix by about 25 to 50% for a first pass.
What’s the best way to clean moss from very narrow joints?
Use a narrow grout brush or a dedicated grout tool so cleaner reaches the bottom of the joint. Wide deck brushes tend to skim the surface, leaving moss or organic debris in the lower part of the grout line that can regrow.
Should I scrape off moss before applying any chemical cleaner?
In most cases, yes. Removing the bulk first improves chemical contact and reduces the chance you are just washing a thick moss layer around. If grout is crumbling, scrape only loose surface growth, don’t dig with metal tools.
Can I use vinegar to remove moss from grout if my patio is stone?
Avoid it on calcium-carbonate stones like travertine, limestone, or marble. Even if you use a sealer, acid can still etch the stone on contact and create permanent dull spots.
Will sealing the grout prevent moss permanently?
Sealing helps reduce moisture absorption and slows regrowth, but it does not stop moss if water keeps pooling or drainage is poor. Apply sealer only after the patio is fully clean and thoroughly dry, and recheck slope and drainage gaps if certain lines stay wet.
How do I know whether my grout is too damaged for aggressive moss removal?
If grout is missing, soft, cracking, or you notice sand falling out when you scrub, aggressive cleaning can worsen it. In that case focus on stabilization and plan on regrouting rather than treating it as a simple moss problem.
What monthly maintenance works best during wet seasons?
Do a light preventive scrub on damp-season weeks, use a stiff brush with diluted oxygen bleach, and rinse. Early-stage moss clears much faster than established colonies, and repeated light treatments reduce the need for high-pressure or harsher chemicals.
What should I do if a corner always stays shady and moss returns despite cleaning?
Treat it as a drainage and drying issue, not just a cleaning issue. Clear debris from grout and drainage gaps, improve patio airflow by trimming overhanging vegetation, and consider whether water is being redirected toward that corner from nearby slopes or landscaping.
Next Articles

How to Remove Thompson’s Patio Sealer Step by Step
Step-by-step removal of Thompson’s patio sealer on concrete, brick, pavers, and stone, with safety, tests, and cleanup.
Can You Remove Patio Sealer? How to Strip It Safely
Learn if you can remove patio sealer and how to strip it safely by type, material, and method.
How to Remove Resin From Patio Safely by Surface Type
Step by step guide to remove resin from patio by surface type with safe scraping, softening and solvent methods.