You can remove Thompson's patio sealer using a chemical stripper, a solvent like xylene or acetone (for film-forming acrylic types), or mechanical methods like pressure washing and scraping. The approach that works depends entirely on which Thompson's product was used and what surface you're working on. Get that part right first and the rest of the job goes much smoother.
How to Remove Thompson’s Patio Sealer Step by Step
Dylan Hale
29 Apr 2026
First: figure out what type of Thompson's sealer you're dealing with
Thompson's WaterSeal makes more than one kind of product, and they don't all strip the same way. The two main types you'll run into on patios are film-forming sealers (usually acrylic-based) and penetrating sealers (silane-siloxane waterproofers). Knowing which one you have changes everything about how you approach removal.
Film-forming acrylics sit on top of the surface and create a visible sheen or coating you can feel with your fingernail. These respond well to chemical strippers and solvents. Penetrating silane-siloxane waterproofers, like Thompson's WaterSeal Clear Multi-Surface Waterproofer, soak into the pores of concrete, brick, and stone rather than forming a surface film. They're invisible once dry, don't peel or flake, and are significantly harder to fully remove because the product has chemically bonded inside the material.
Here's a quick way to tell them apart before you buy anything: pour a small amount of water on the sealed surface. If it beads up on what looks like an existing coating or you can see a glossy film, you're dealing with a film-former. If the surface looks completely normal but water still beads and there's no visible coating, it's almost certainly a penetrating product. Peeling, flaking, or a whitish milky haze is a strong sign you have an acrylic that has failed.
Test a hidden spot before you commit
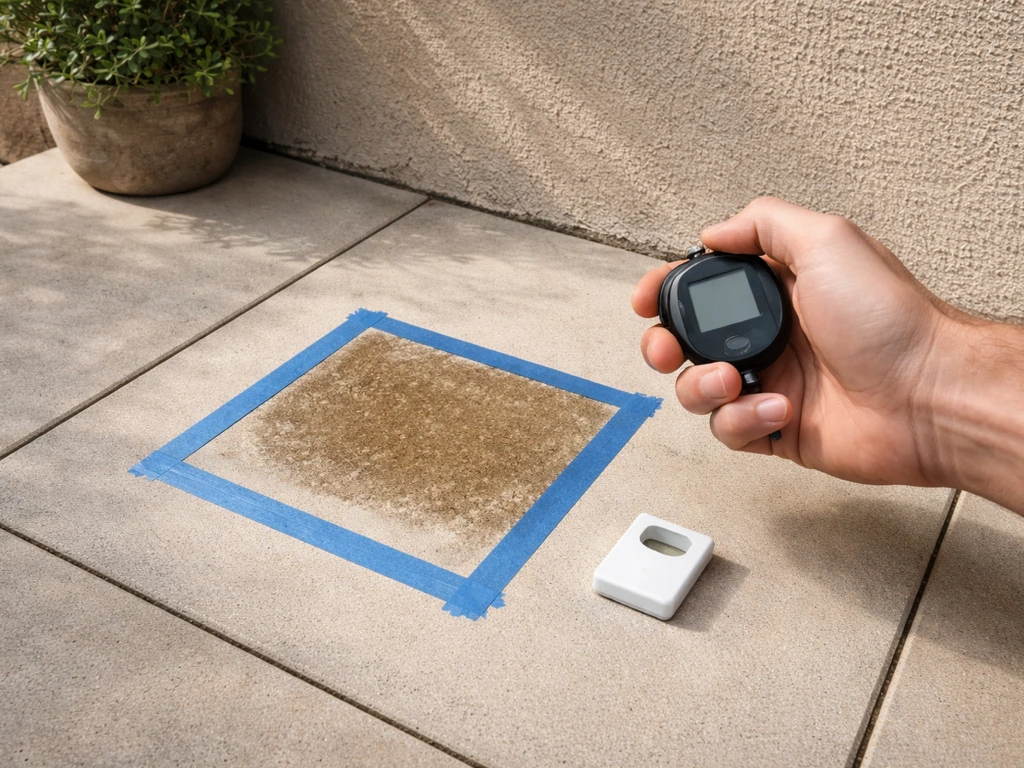
Before applying any stripper or solvent to your whole patio, pick a small inconspicuous area, maybe 12 inches square in a corner, and run your chosen product there. Wait the full dwell time, rinse, and look at what happened. Did the sealer lift? Did the surface color change or show any etching? This test takes 30 minutes and can save you from a very expensive mistake, especially on natural stone or old brick.
Safety and surface prep before you start
Most strippers and solvents used for this job are not friendly to skin, eyes, or lungs. Chemical strippers often contain sodium hydroxide or glycol ethers, and solvent-based products like xylene are flammable and produce strong fumes. Even so-called 'safer' citrus-based strippers can irritate skin with prolonged contact. Treat all of them with respect.
- Wear chemical-resistant gloves (nitrile is fine for most strippers; use heavier rubber gloves for strong solvents)
- Protect your eyes with safety glasses or a face shield, not just sunglasses
- Work in a well-ventilated space; if you're in an enclosed courtyard or under a covered patio, run a fan to move air
- Wear old clothes and closed-toe shoes you don't mind ruining
- Keep a bucket of clean water nearby to rinse skin immediately if you get splashed
Protect your plants and lawn before you start. Saturate soil around any garden beds or grass adjacent to the patio with plain water first, which reduces absorption of runoff. Then cover plants closest to the work area with plastic sheeting or old towels. Rinse everything again with clean water immediately after you're done. Many strippers and solvents are harmful to vegetation and can leach into soil if you're not careful.
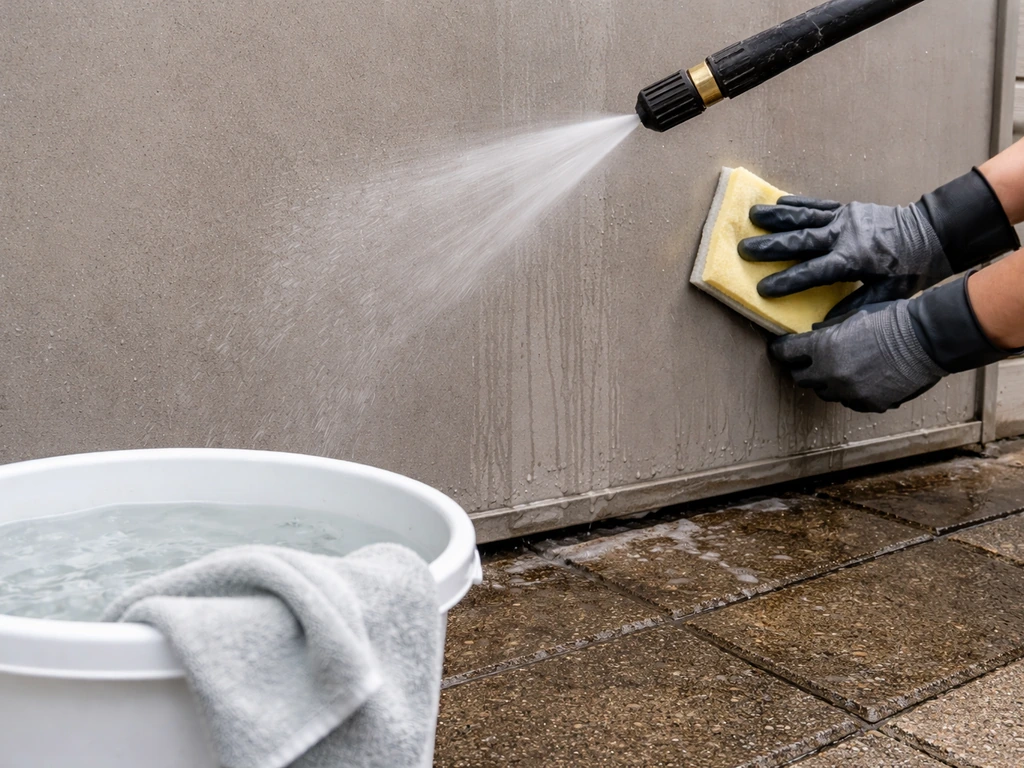
On the surface itself: sweep away all loose debris, leaves, and dirt. If there's any standing moss, algae, or heavy grime on the sealer, clean that off first. You want the stripper or solvent making contact with the sealer itself, not fighting through a layer of organic matter. Thompson's own guidance for any new sealer application stresses thorough surface cleaning beforehand, and the same principle applies to removal.
For runoff control, work in sections and avoid letting large volumes of chemical-laden water flow directly into storm drains or natural waterways. Divert runoff onto a gravel area if possible, or collect it with a wet vac or absorbent materials if you're working close to a drain.
Chemical stripping vs. mechanical removal: which one to use

You have two main roads here: chemical stripping (using a dedicated stripper or a solvent to break the bond of the sealer) or mechanical removal (physically abrading or blasting the sealer off). Most jobs benefit from combining both, but knowing where to start saves you time and effort.
Chemical stripping
For film-forming acrylic Thompson's sealers, a dedicated concrete/masonry sealer stripper is your best starting point. Look for products labeled as 'sealer remover' or 'coating stripper' for concrete. These are typically alkaline (sodium hydroxide-based) or solvent-based. Apply the stripper to a dry or slightly damp surface, let it dwell according to the label (usually 15 to 30 minutes, sometimes up to an hour for thick coats), then scrub with a stiff-bristle brush or broom and rinse thoroughly.
Xylene and acetone are solvent options that work specifically on acrylic sealers. Xylene is more effective on fully cured acrylics; acetone works faster but evaporates quickly so you need to work in smaller sections. Apply with a brush or roller, let it soften the coating for 5 to 10 minutes, then scrub and rinse. Both are flammable, so no open flames, no smoking, and no power tools that generate sparks nearby.
For penetrating silane-siloxane waterproofers, chemical stripping is largely ineffective because there's no surface film to dissolve. You can try a strong alkaline cleaner or a sodium hydroxide-based stripper, which can partially degrade the siloxane chemistry inside the pores, but results are inconsistent. Honestly, if you're dealing with a penetrating product and just want to re-seal with a different product, your best option is often to clean the surface thoroughly and apply a compatible new sealer over it rather than fighting an invisible treatment that has bonded inside the stone.
Mechanical removal
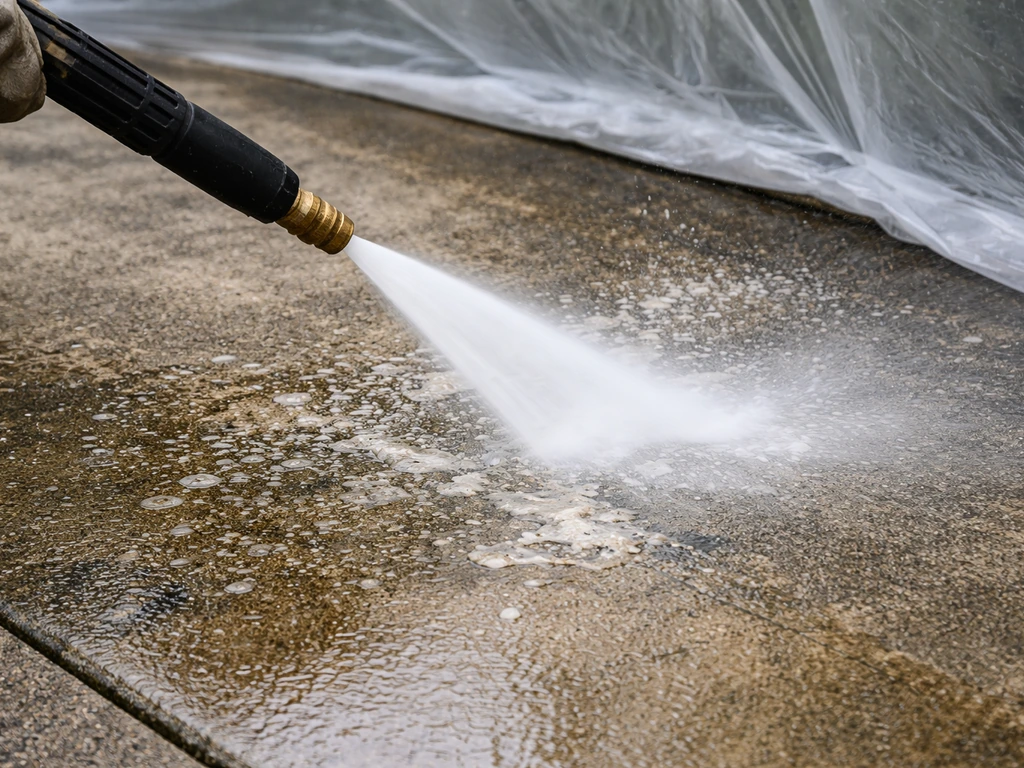
Pressure washing is the most accessible mechanical method and works well as a follow-up to chemical stripping, but also has some standalone effect on softer or failed acrylic coatings. For concrete, use 2,500 to 3,500 PSI with a 25-degree fan tip, keeping the nozzle 6 to 8 inches from the surface and moving in consistent overlapping passes. For brick and pavers, drop to 1,500 to 2,000 PSI to avoid blowing out mortar or damaging the surface. For natural stone like travertine or flagstone, stay under 1,200 PSI and use a wider 40-degree tip to avoid chipping or etching.
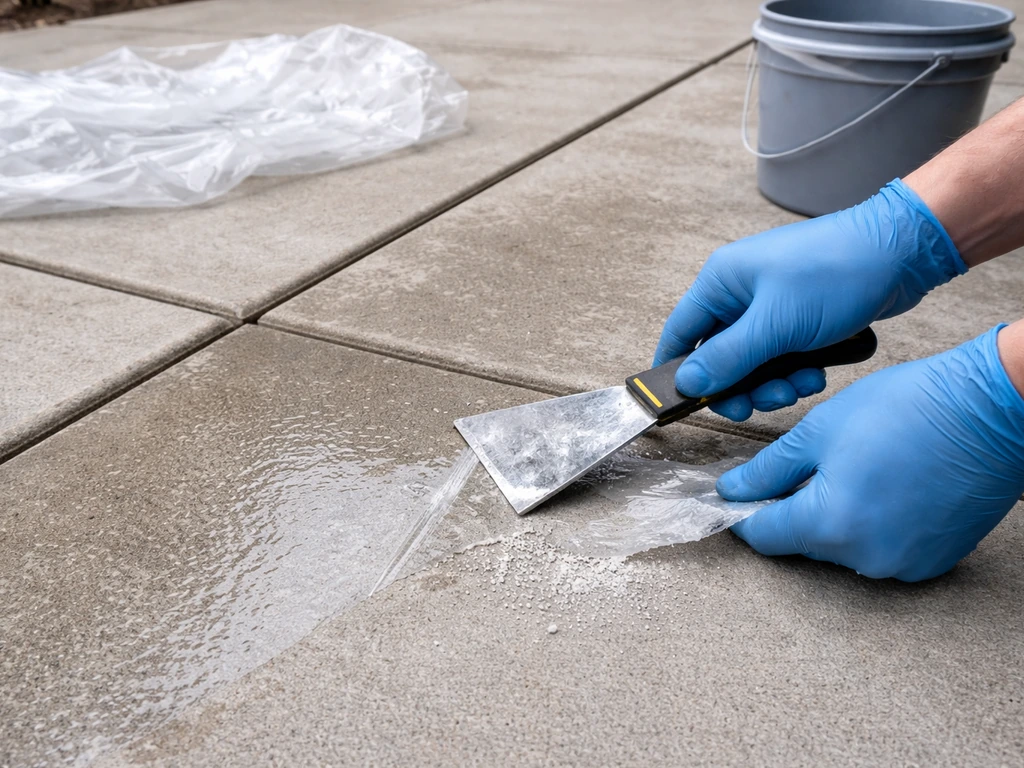
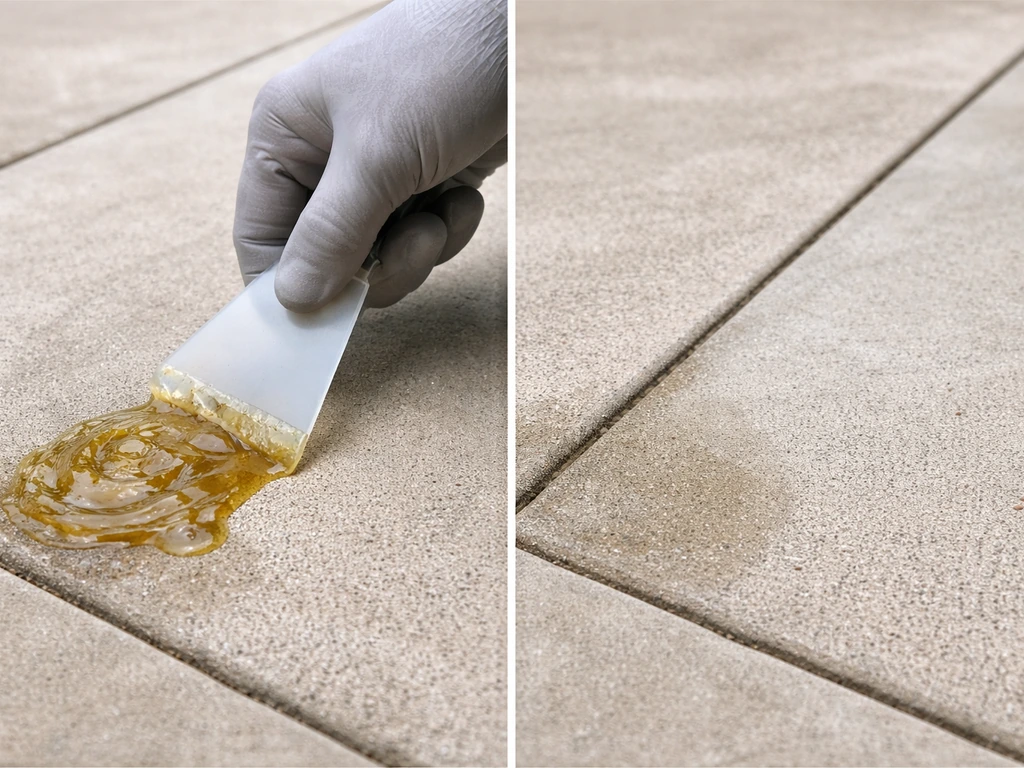
Manual scraping works for thicker acrylic coatings that have softened from a chemical stripper. Use a plastic scraper rather than a metal one where possible, especially on softer stone, to avoid scratching. On concrete, a stiff floor scraper or even a wire brush can help shift loosened material. This is slower but gives you more control and is the right call when you're working near decorative or patterned sections you don't want to damage.
Grinding or sanding with a floor buffer and diamond pad is an option for heavy acrylic build-up on concrete, but this is aggressive and will visibly change the surface texture. It's a last resort for situations where multiple chemical applications haven't done the job.
Removal techniques by patio material
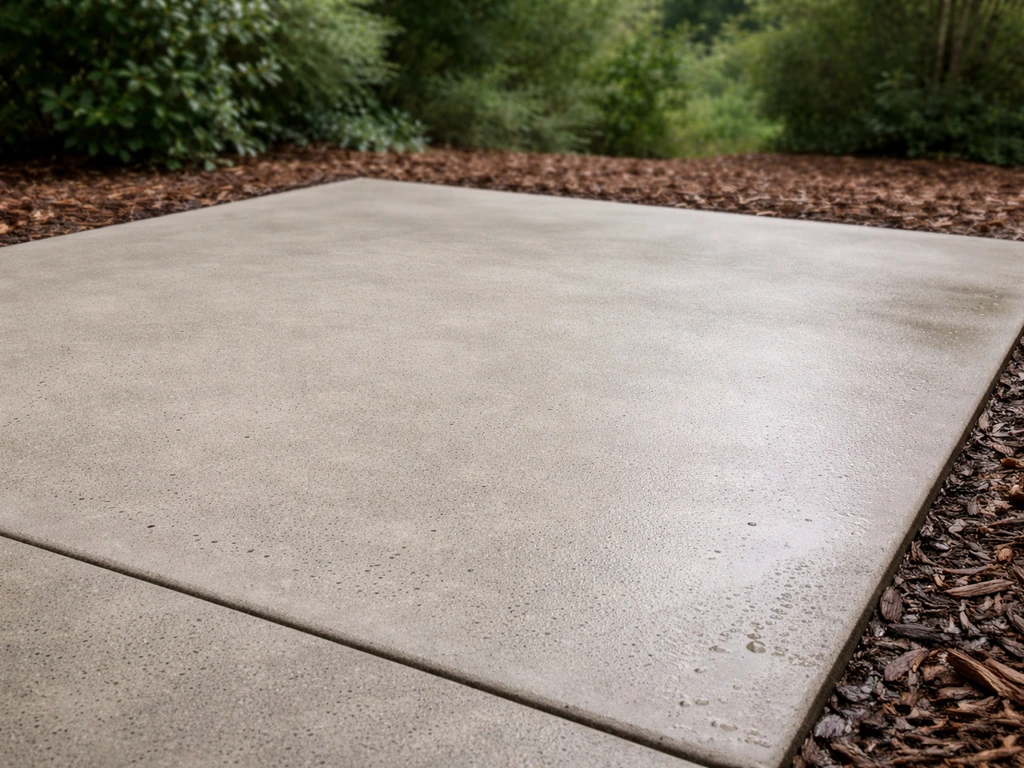
Concrete
Concrete is the most forgiving surface to work on. Most alkaline strippers and solvents are safe here, and you can use higher pressure washing without much risk of surface damage. Apply your chosen stripper, scrub well, pressure wash at 2,500 to 3,000 PSI, and repeat if needed. Concrete can handle multiple applications without harm. If the acrylic has built up over several years of re-sealing, you may need two or three rounds of stripper before it fully releases. I've found letting the stripper sit closer to the maximum recommended dwell time makes a real difference on thick coats.
Brick and masonry
Brick is more porous and the mortar joints are the vulnerable point. Avoid high-pressure washing directly along mortar lines. Stick to alkaline strippers and avoid strongly acidic products, which can discolor brick and degrade mortar. Apply the stripper, let it dwell, scrub with a stiff nylon brush, and rinse at moderate pressure (1,500 to 2,000 PSI). For brick with a heavy coating that's peeling or flaking, a plastic scraper helps lift the loose material before you apply stripper so you're not just re-wetting the same failed coating.
Pavers
Concrete pavers handle strippers reasonably well, but natural stone pavers (travertine, sandstone, slate) need a gentler approach. The main risk with pavers is losing the polymeric sand in the joints if you over-pressure-wash. Keep pressure at 1,500 to 2,000 PSI, use a fan tip rather than a rotary/turbo nozzle, and direct the spray across the paver faces rather than straight into the joints. If the sealer has also soaked into the joint sand, you'll likely need to remove and replace the jointing sand after stripping anyway.
Stone, travertine, and flagstone
Natural stone requires the most caution. Travertine is calcium carbonate-based, which means it reacts badly to acidic products. Never use muriatic acid or vinegar on travertine or limestone flagstone as a stripper or cleaner during this process. Stick to pH-neutral or slightly alkaline strippers. Test any product in a hidden spot first and watch closely for any color change, etching, or surface roughening. Pressure wash at low PSI (under 1,200) with a wide-angle tip, and rely more on dwell time and scrubbing than on blast force. For penetrating sealers on stone, I'd strongly suggest consulting a stone restoration professional if the water-repellency is causing adhesion issues with a new product, rather than trying aggressive chemical removal.
| Surface | Max Pressure (PSI) | Safe Strippers | Avoid |
|---|---|---|---|
| Concrete | 2,500 to 3,500 | Alkaline strippers, xylene, acetone | Nothing specific, most products safe |
| Brick/Masonry | 1,500 to 2,000 | Alkaline strippers, citrus-based | Strong acids (mortar damage) |
| Concrete Pavers | 1,500 to 2,000 | Alkaline strippers, mild solvents | High-pressure in joints |
| Natural Stone Pavers | 1,000 to 1,500 | pH-neutral or mild alkaline | Acids, xylene (test first) |
| Travertine/Flagstone | Under 1,200 | Mild alkaline, pH-neutral only | Muriatic acid, vinegar, strong solvents |
Rinsing, neutralizing, and dealing with haze or residue
After stripping, rinse the surface thoroughly with a garden hose or pressure washer using plain water. If you are also dealing with resin stuck on the surface, use the same kind of stripping approach and rinse thoroughly to keep it from interfering with adhesion <a data-article-id="F719FD6E-BDC6-4DE6-8C19-88FD711CACE9">remove resin from patio</a>. use the same kind of stripping approach and rinse thoroughly to keep it from interfering with adhesion <a data-article-id="F719FD6E-BDC6-4DE6-8C19-88FD711CACE9">remove resin from patio</a> how to remove patio stone sealer. Don't rush this step. Stripper residue left on the surface will interfere with any new sealer you apply and can continue to break down the surface material. Rinse until you no longer see any foam or slick residue in the runoff.
Neutralizing is important if you used a strongly alkaline stripper on a surface you plan to re-seal soon. A diluted solution of white vinegar and water (roughly 1 part vinegar to 10 parts water) applied after rinsing and then rinsed off again will bring the pH back toward neutral. Thompson's own guidance for deck stripping recommends using a brightener to neutralize the surface after using their Maximum Strength Deck Stripper before any reapplication, and the same logic applies to patio surfaces. Note: skip the vinegar step entirely on travertine, limestone, or any calcium carbonate stone.
A whitish haze or milky residue is one of the most common problems after partial sealer removal. This is usually either emulsified acrylic that hasn't fully lifted, leftover stripper residue, or efflorescence (mineral salts) that the stripping process has brought to the surface. For acrylic haze, apply another round of solvent (acetone works well for spot treatment) and scrub, then rinse. For efflorescence or mineral haze, a diluted muriatic acid wash (1 part acid to 10 parts water) works well on concrete and brick, applied carefully and neutralized with baking soda solution afterward. Again, never use muriatic acid on natural stone.
When the sealer refuses to budge: troubleshooting
If you've applied a stripper, waited the full dwell time, scrubbed hard, pressure washed, and the sealer is still largely intact, a few things might be going on. The most common culprit is a thick multi-year build-up of an acrylic sealer. In this case, apply stripper again, but this time cover the treated area with plastic sheeting to prevent evaporation and extend the effective dwell time by another 30 to 60 minutes. The extra contact time usually makes a meaningful difference.
Another possibility is that the stripper you chose isn't matched to the sealer chemistry. Alkaline strippers are designed for acrylic and polyurethane coatings. If someone used a solvent-based or epoxy-style sealer, you may need a solvent-based stripper instead. If you're unsure what was applied, try a small test with xylene. If xylene softens it, you're dealing with a solvent-sensitive product. If nothing works, it's likely a penetrating sealer that simply can't be mechanically or chemically removed without grinding or surface abrasion.
Surface discoloration after stripping is usually a sign of one of two things: the stripper reacted with the surface material itself (etching from acid on stone, for example) or the sealer was protecting a color that has now been exposed to UV and looks different from the rest of the area. For acid etching on concrete, a light sanding can even out the texture. On stone, this may need professional polishing. For UV discoloration, applying a new sealer typically evens out the appearance once the surface is fully dry.
If you're dealing with a penetrating Thompson's WaterSeal product that you need to remove because a new sealer won't bond over it, consider contacting the manufacturer of the new sealer first. Many penetrating silane-siloxane waterproofers are compatible as a base coat for certain topical sealers, particularly other penetrating products. The problem often isn't that the old sealer must be removed but that the wrong new product is being chosen.
After the sealer is off: drying, re-cleaning, and what to do next
Give the surface at least 24 to 48 hours to dry before doing anything else, longer if the weather is cool or humid. A fully dry surface is critical for two reasons: moisture trapped in concrete or stone can cause a new sealer to turn white or fail to bond, and it lets you see the actual condition of the surface before deciding on next steps.
Once dry, do a final inspection. Look for any remaining haze, patchy areas where the old sealer is still visible, or sections that have a different sheen from the rest. Touch up those spots with another round of stripper or solvent spot treatment before moving on. Do one more rinse and let it dry again.
Before applying a new sealer, do a moisture test on concrete: tape a piece of plastic sheeting (about 18 inches square) to the surface with duct tape on all edges and leave it for 24 hours. If you see condensation under the plastic when you peel it up, the surface is still too wet to seal. Wait longer and re-test.
- Clean the bare surface with a dedicated concrete or masonry cleaner to remove any stripper byproducts, oils, or residue that could interfere with adhesion
- Rinse thoroughly and allow to dry completely (24 to 72 hours depending on conditions)
- Run the plastic sheeting moisture test before applying any new sealer
- Choose a new sealer that matches your surface type and your goals: penetrating silane-siloxane for water repellency without changing appearance, acrylic for a slight sheen and moderate protection, or a dedicated stone sealer for travertine and flagstone
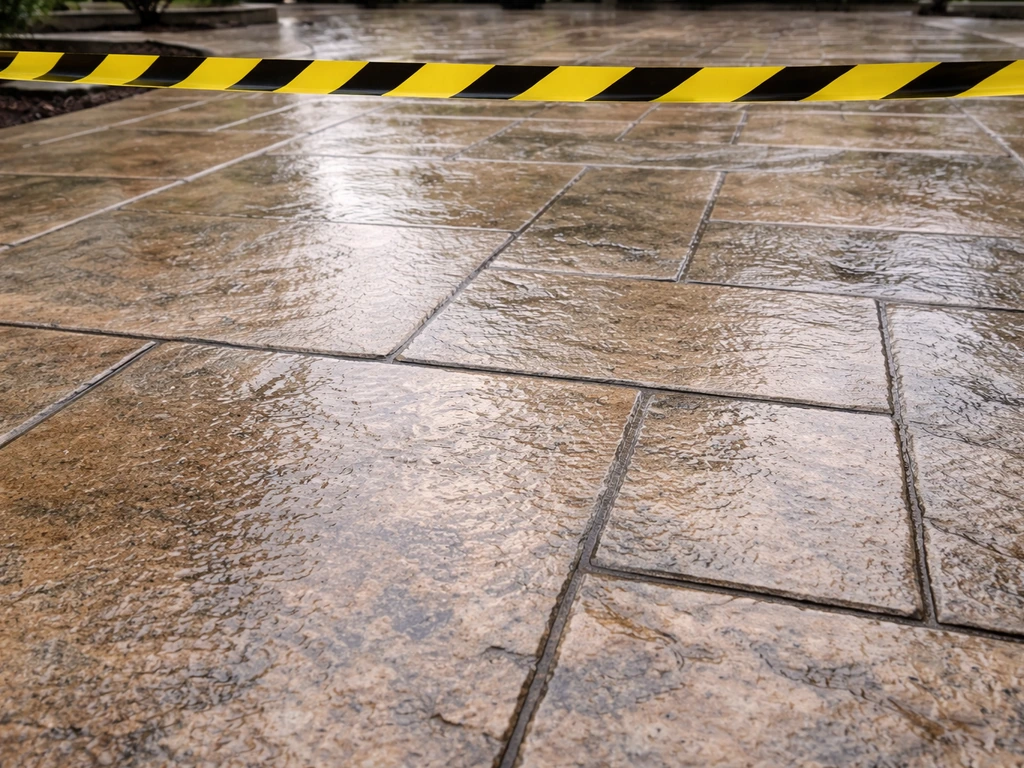
- Apply in thin, even coats and follow the manufacturer's cure time before foot traffic
If you're planning to re-seal and want to know how long to stay off the surface after the new application goes down, that depends on the product and conditions. For detailed timing, use the product label and follow the guidance on how long to stay off patio after sealing how long to stay off the surface after the new application goes down. And if you're considering a different brand or type of sealer going forward, make sure the new product is compatible with your specific material and previous surface chemistry. Getting the removal right means the next sealer will bond properly and last as long as it should. Then you can follow the application steps for Sika patio sealer so the new coating bonds and cures correctly Sika patio sealer application steps.
FAQ
What should I do if I’m not sure which type of Thompson’s patio sealer I have (film-forming vs penetrating)?
If you do not know whether your Thompson’s is film-forming or penetrating, start with the water-bead test on a small area (in the article) and then do a second check: lightly sand a hidden spot. If you see dusty polymer-like powder or the coating smears, it behaves like a film and will usually respond to solvent or sealer remover. If nothing changes and the surface stays “normal,” expect a penetrating product and focus on compatible re-coating rather than aggressive stripping.
Can I speed up removal if the stripper isn’t working after the first pass?
Yes, you can sometimes remove old sealer faster by extending dwell time, but do it safely. Instead of leaving chemicals longer than the label allows, cover the treated section with plastic sheeting to slow evaporation for an additional 30 to 60 minutes (only where the label permits). Always keep runoff off plants and drains, and rinse thoroughly after.
Is it okay to combine different cleaners or strippers to remove Thompson’s sealer faster?
Mixing products is a common mistake. Do not combine alkaline strippers with acid products or other cleaners, because you can create reactions that discolor or etch the substrate, and you can also create dangerous fumes. If you used an alkaline stripper, follow the article’s neutralizing guidance (and skip vinegar on travertine or limestone) before applying anything else.
How do I know I removed all residue before applying a new sealer?
Pressure washing can leave a residue film even if the sealer looks gone. After rinsing, check by wiping the surface with a white towel. If the towel picks up a slick or milky transfer, keep rinsing until it stays clean. For tight control, use garden-hose rinsing after the high-pressure step on delicate stone, then allow full drying before testing for adhesion.
What’s the best way to tell whether the milky haze is residue or efflorescence?
On concrete, the “whitish haze” problem is often trapped emulsified acrylic, efflorescence, or leftover stripper. A practical decision aid: if the haze appears quickly after rinsing and feels slick, treat it as acrylic residue (spot acetone and scrub). If the haze looks like chalky salts and continues to show up as it dries, treat it as efflorescence and address it after drying.
If it’s a penetrating Thompson’s sealer, can I still apply a new sealer without fully removing it?
For penetrating Thompson’s products, expect limited chemical lift. If your goal is adhesion for a new coating, do a simple bond test: apply the new sealer to a small patch and after full cure, try to rub and lightly scrape. If it powders or peels, you likely need either a different compatible base coat (penetrating over penetrating) or mechanical surface preparation matched to your stone or concrete type.
Can I remove Thompson’s patio sealer with scraping instead of chemicals?
Yes, but only for film-forming acrylic where the coating has softened. Use a plastic scraper to avoid gouging, and scrape after dwell time when the sealer is lifted, then follow with a thorough rinse. For heavy, multi-year buildup, the article’s “strip then mechanical” approach is often more effective than scraping alone.
Why does my patio look blotchy after stripping, and should I seal it anyway?
If you see patchy darker or lighter spots after stripping, do not immediately add more sealer. Let the surface dry completely, then compare sheen and absorbency. UV color shift often evens out after sealing, but etching or substrate reaction may require light abrasion or professional stone polishing. Retesting after full cure is the safest way to avoid sealing over damage.
What should I change if I reapply stripper and the sealer is still mostly intact?
For concrete, small failures often come from the sealer not being fully softened. Cover the treated area with plastic to extend dwell time (within label limits), scrub again, then rinse. If you suspect the chemistry was mismatched (for example, wrong stripper for a solvent-sensitive product), try xylene on a test patch and then commit only after you see lift.
How reliable is the plastic-sheet moisture test, and what if it shows condensation?
Yes. The plastic sheeting moisture test is specifically useful when resealing soon because trapped moisture can cause whitening or bond failure. If condensation appears, wait longer and re-test. Also avoid sealing after rain or heavy dew until the surface stays consistently dry for the required window in the label guidance.
How long should I wait after stripping before applying a new patio sealer, especially in humid weather?
Use the product label as the final authority for recoat timing, but also plan around weather and cure conditions. In cooler or humid conditions, you may need extra drying time beyond “dry to touch.” If the surface still shows dampness in pores or looks darker when wet, extend drying and re-check before applying any new sealer.
Next Articles
Can You Remove Patio Sealer? How to Strip It Safely
Learn if you can remove patio sealer and how to strip it safely by type, material, and method.
How to Remove Resin From Patio Safely by Surface Type
Step by step guide to remove resin from patio by surface type with safe scraping, softening and solvent methods.
How Long to Stay Off Patio After Sealing: Timelines
Learn how long to stay off a sealed patio, with curing timelines by sealer type, material, and weather, plus safe readin