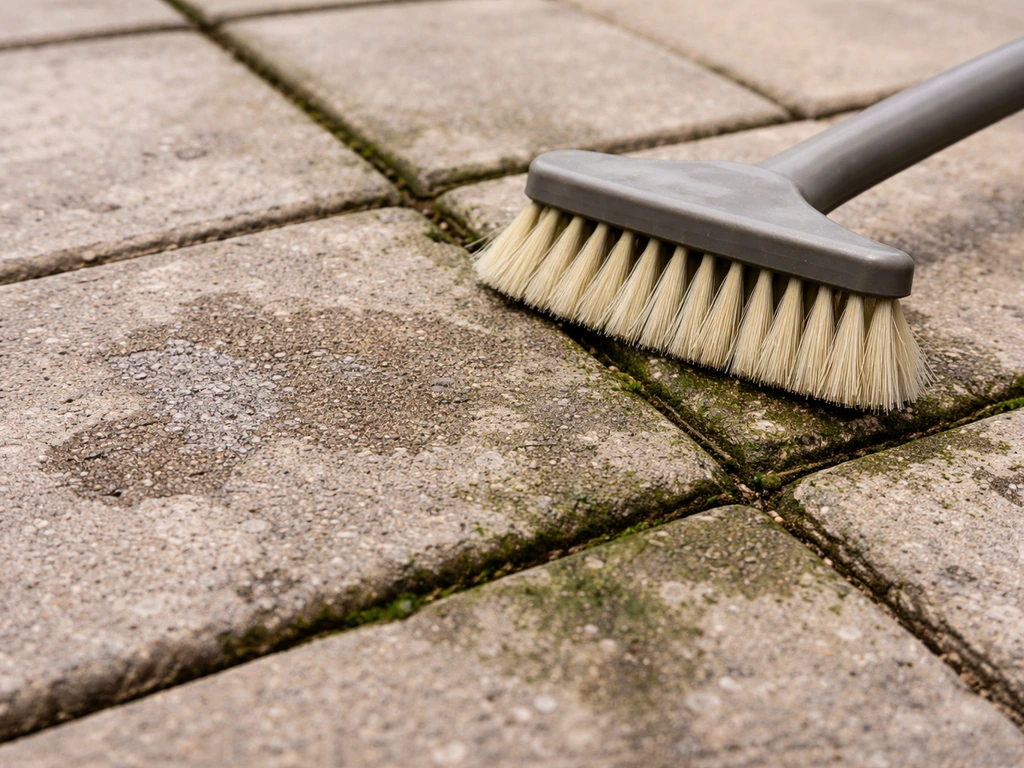
To clean patio grout with a brush, you want a stiff nylon grout brush or scrub brush, a cleaning solution matched to how dirty and what type of grout you have, and a simple technique: wet the joints, apply your cleaner, let it dwell for a few minutes, then scrub back and forth along the grout line with firm pressure before rinsing thoroughly. That core process handles most dirt, mildew, and algae buildup without damaging your pavers or grout. The details below will help you pick the right brush, avoid the most common mistakes, and know when to step up to something stronger.
How to Use a Brush in Patio Grout: Step-by-Step

Dylan Hale
29 Apr 2026
Choosing the right grout brush for outdoor patio joints
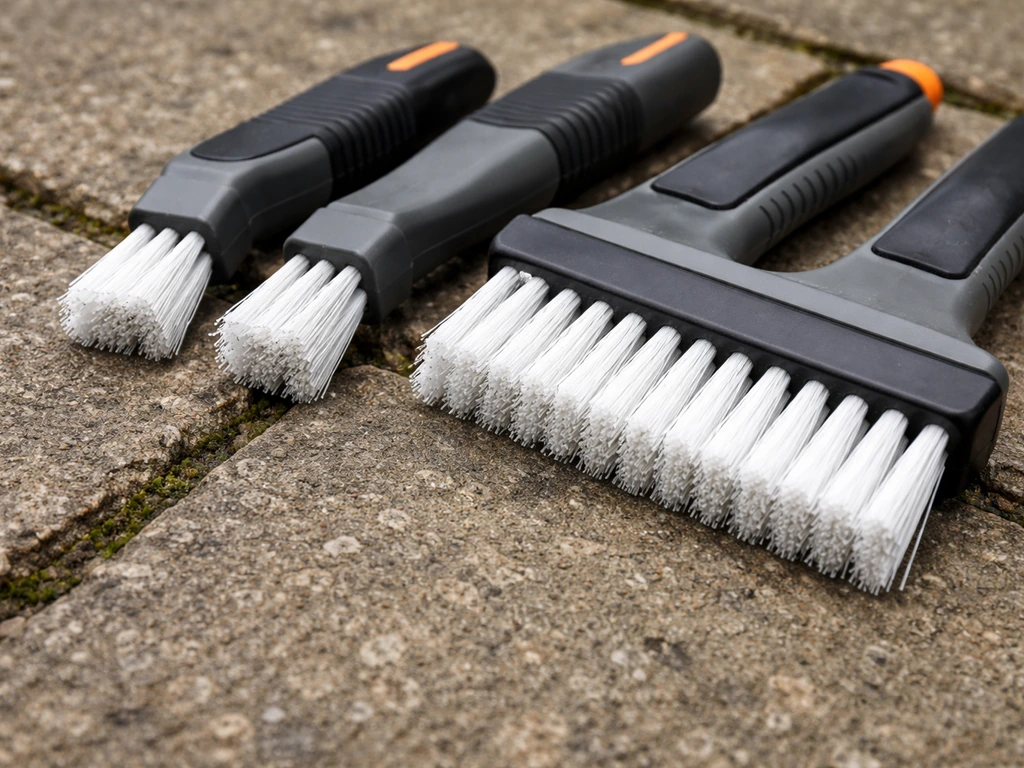
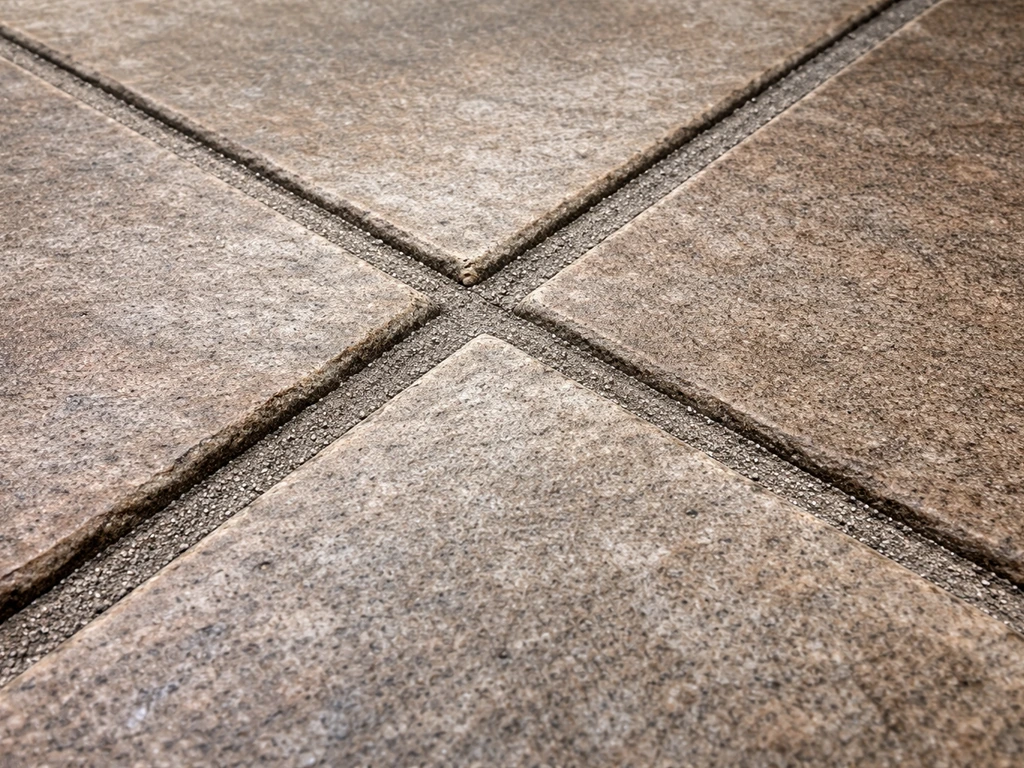
The brush you use matters more than most people expect. Outdoor patio grout lines are narrow, often recessed, and caked with a mix of dirt, algae, and sometimes years of grime. A standard sponge or soft-bristle brush just pushes the mess around. What you actually need depends on the width of your grout joints and how sensitive your paver surface is.
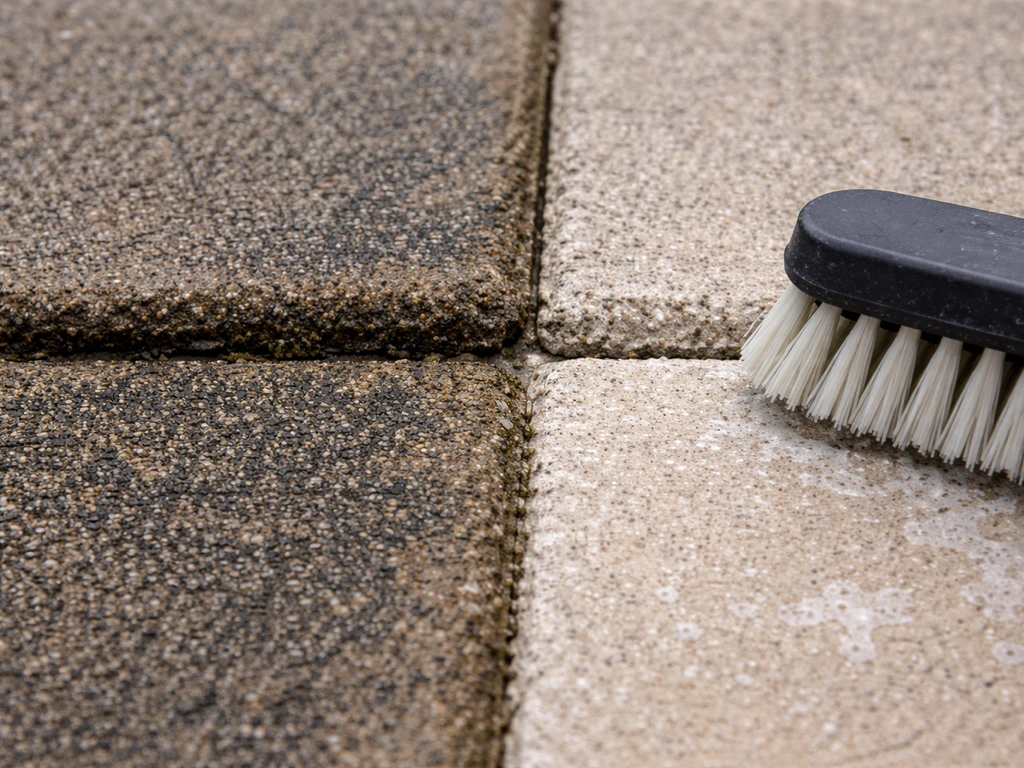
For most outdoor patio jobs, a stiff nylon bristle brush is the go-to choice. It's firm enough to dislodge embedded dirt and biofilm but won't scratch most pavers, brick, or natural stone. Look for a grout brush specifically designed with a narrow head that fits into grout lines, or use a tile and grout brush with a pointed tip. These typically cost $5 to $15 and are available at any hardware store.
A heavier-duty option is a natural tampico or union fiber bristle scrub brush, which is good for wide grout joints between large pavers. These have more surface area and work well for bigger sections. For very stubborn mineral deposits or old hardened grout haze, a narrow brass-bristle brush can be used carefully, but I'd test it on a hidden spot first since it can scratch softer stone like travertine or tumbled marble. Wire (steel) brushes are the most aggressive option and should generally be avoided on patio grout unless you're raking out damaged joints before re-grouting. They can scratch tile faces and gouge soft grout.
| Brush Type | Best For | Avoid On | Relative Aggression |
|---|---|---|---|
| Stiff nylon grout brush | Most outdoor pavers, brick, concrete grout | Very soft/polished stone | Medium |
| Natural fiber scrub brush | Wide joints, large paver sections | Narrow grout lines (poor fit) | Medium-Low |
| Brass bristle brush | Hardened haze, stubborn deposits | Travertine, tumbled marble, soft stone | Medium-High |
| Wire/steel brush | Removing damaged grout before repair | Finished tile surfaces, sealed grout | High |
One more thing: a long-handled deck scrub brush saves your back when working over a large patio. Just make sure the bristles are stiff enough to actually reach into the grout joints and not just skim over the paver surface.
Prep steps before you scrub
Skipping prep is the number one reason brushing takes twice as long and produces half the results. Spend ten minutes on this first and the actual scrubbing goes much faster.
- Clear the patio surface. Remove all furniture, planters, and mats. You need open access to every grout line, and you don't want cleaners sitting on furniture or plant leaves.
- Sweep or blow off loose debris. Get rid of leaves, dirt, sand, and anything sitting on top of the grout joints before you introduce any water. Scrubbing over loose grit just scratches surfaces and dilutes your cleaner prematurely.
- Rinse the patio down with a garden hose. A good pre-rinse loosens surface dirt, brings embedded dust to the surface, and pre-wets the grout so it doesn't immediately absorb your cleaning solution before it has a chance to work. This is especially important on hot days when the patio surface dries fast.
- Protect nearby surfaces and plants. If you're using bleach or a stronger cleaner, wet down any grass, garden beds, or plants adjacent to the patio first. This dilutes any cleaner that drifts or runs off. Cover any metal furniture legs, decorative edging, or drainage grates that could be affected by acid-based cleaners.
- Check your grout condition. If you notice chunks of grout missing, cracked joints, or grout that crumbles when you poke it, handle the repair side first. Scrubbing damaged grout makes it worse and water infiltration into those joints causes more problems. If you need to remove and replace grout, tackle that before any cleaning.
If your patio has a sealer on it already, check whether it's still intact. Water that beads up on the surface means the sealer is active. A cleaner applied over an intact sealer may not penetrate the grout lines as well, so you may need to scrub with a bit more pressure or use a product designed to work through sealers.
Cleaning solutions to pair with brushing
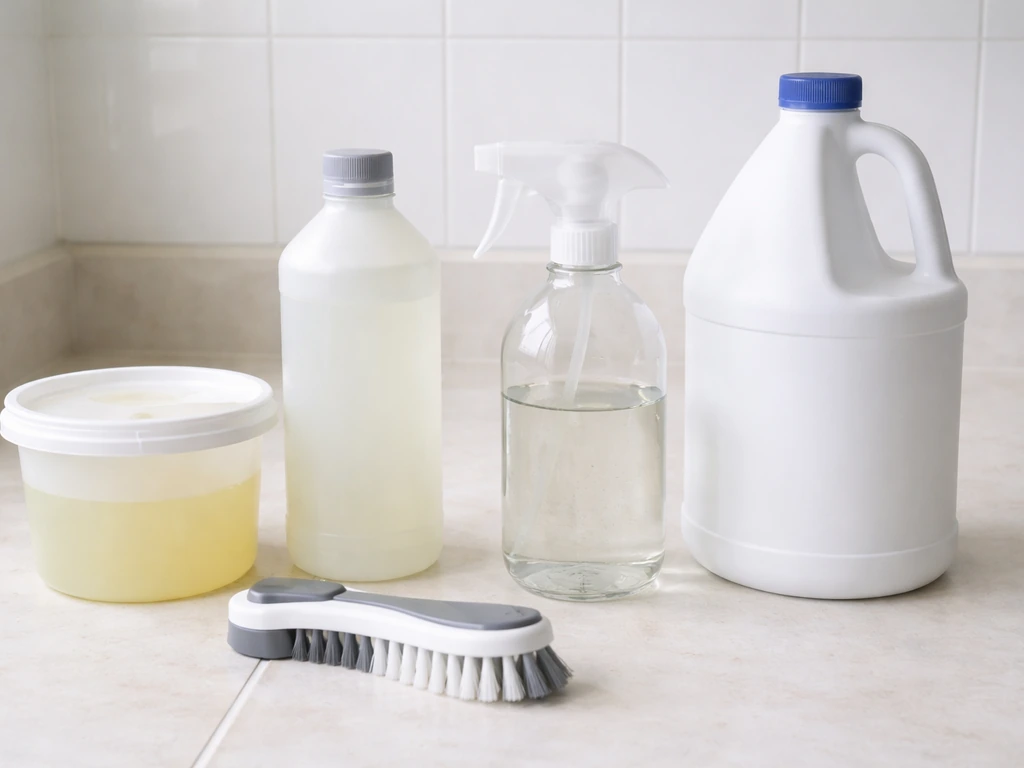
The cleaner you use alongside the brush does most of the heavy lifting, so matching it to your stain type and grout material is important. Here's how I think about the options, from gentlest to strongest.
Dish soap and warm water (everyday maintenance)
For routine cleaning when the patio just looks dull and dusty, a few drops of dish soap in a bucket of warm water is genuinely effective when paired with a stiff brush. It's safe on all patio materials and grout types, leaves no damaging residue, and costs almost nothing. Don't underestimate it for light jobs.
pH-neutral cleaners (the safest choice for cement-based grout)
If your patio has cement-based grout (which most outdoor patios do), a pH-neutral, purpose-made tile and grout cleaner is the safest regular-use option. Industry guidance from major grout manufacturers specifically recommends pH-balanced cleaners for cementitious grout maintenance and cautions against acid-based products, including vinegar, for routine use. These cleaners won't erode the grout binder over repeated applications the way acids can.
Vinegar (light organic stains, use carefully)
White vinegar diluted with water (roughly 1:1) can cut through light algae and surface mildew, and it's a popular choice for people who want to avoid harsher chemicals. It's genuinely useful in some situations, and occasional use on porcelain or ceramic tile with cement grout is unlikely to cause damage. That said, I wouldn't use it regularly on cement-based grout because the acidity can slowly degrade the grout surface over time.
Avoid it entirely on natural stone (travertine, limestone, marble) since acid etches those surfaces. In a related r/CleaningTips thread about vinegar on black limestone, commenters warned that vinegar can cause etching and staining on natural stone [Avoid it entirely on natural stone (travertine, limestone, marble) since acid etches those surfaces. ](https://www. reddit.
com/r/CleaningTips/comments/1snyt5i/blacklimestonestainedwithvinegar/). And critically: never mix vinegar with bleach.
That combination creates chlorine gas, which is seriously dangerous.
Sodium hypochlorite (bleach) for mold, mildew, and algae
For actual mold, mildew, algae, and biological growth in grout joints, diluted sodium hypochlorite (household bleach, typically a 1:10 bleach-to-water ratio for outdoor use) is one of the most effective options available. It kills the organism rather than just removing visible color, which is why the staining is less likely to come back quickly. Apply it to pre-wet grout, let it dwell for 5 to 10 minutes, scrub with your nylon brush, then rinse thoroughly.
Do not mix bleach with ammonia, vinegar, or any acid-based cleaner under any circumstances. The resulting gases are hazardous. Use bleach on a calm day, wear gloves and eye protection, and keep pets and kids off the patio while you work and until it's fully rinsed.
Sulfamic acid (for stubborn mineral deposits and grout haze)
When you have stubborn mineral staining, efflorescence (that white powdery residue), or hardened grout haze that brushing with a neutral cleaner won't shift, a saturated sulfamic acid solution is the safer acid option to reach for. Mix sulfamic acid crystals in room-temperature water until saturated, apply to the affected joints, let it sit for a few minutes, then scrub and rinse. It's considerably safer than muriatic acid and is the recommended approach when acid cleaning is genuinely needed for cement grout with no specific manufacturer instructions available.
Muriatic acid (last resort only)
Muriatic acid (hydrochloric acid) is sometimes mentioned for patio cleaning, but I'd avoid it for grout joints. It's highly corrosive, produces dangerous fumes, can damage grout and many natural stone surfaces, and is explicitly not recommended for cement grout by professional guidance. If you're dealing with a situation that genuinely requires acid cleaning, go with sulfamic acid first. Save muriatic acid for extreme masonry situations and only if you're experienced with it and have the right protective equipment.
| Cleaner | Best Use Case | Safe on Cement Grout? | Safe on Natural Stone? | Mix with Bleach? |
|---|---|---|---|---|
| Dish soap + water | Light dirt, routine maintenance | Yes | Yes | No need to mix |
| pH-neutral tile cleaner | Regular maintenance, all grout types | Yes (recommended) | Yes | No |
| Diluted white vinegar | Light algae, occasional use | Use sparingly | No (etches stone) | Never |
| Diluted bleach (1:10) | Mold, mildew, algae, biological stains | Yes (with caution) | Patch test first | Never mix with anything |
| Sulfamic acid | Mineral deposits, efflorescence, grout haze | Yes (when needed) | Patch test first | No |
| Muriatic acid | Last resort only | Not recommended | No | No |
How to brush patio grout effectively
Technique makes a bigger difference than most people realize. I've seen people spend an hour scrubbing and barely improve the grout because they were working the wrong way. Here's what actually works.
The basic approach
- Pre-wet the grout lines with your hose. Dry grout absorbs cleaning solution too fast and you end up with poor contact time.
- Apply your chosen cleaning solution directly to the grout joints. For bleach or liquid cleaners, a squeeze bottle or small pump sprayer gives you better control than pouring from a bucket. For powders like sulfamic acid, mix in a bucket first.
- Let the solution dwell. This is the step most people skip. Give the cleaner 5 to 10 minutes to penetrate and break down the stain or biofilm before you touch it with a brush. For heavy mold or algae, you can extend that to 15 minutes. Don't let it dry out though; mist it lightly if needed to keep it active.
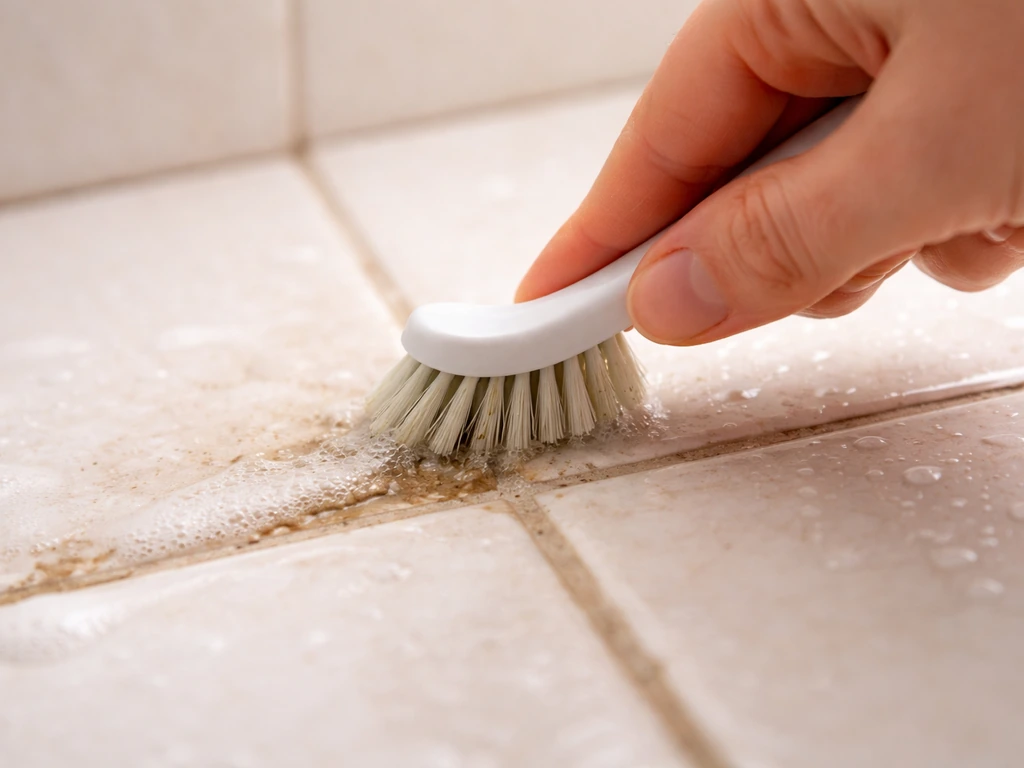
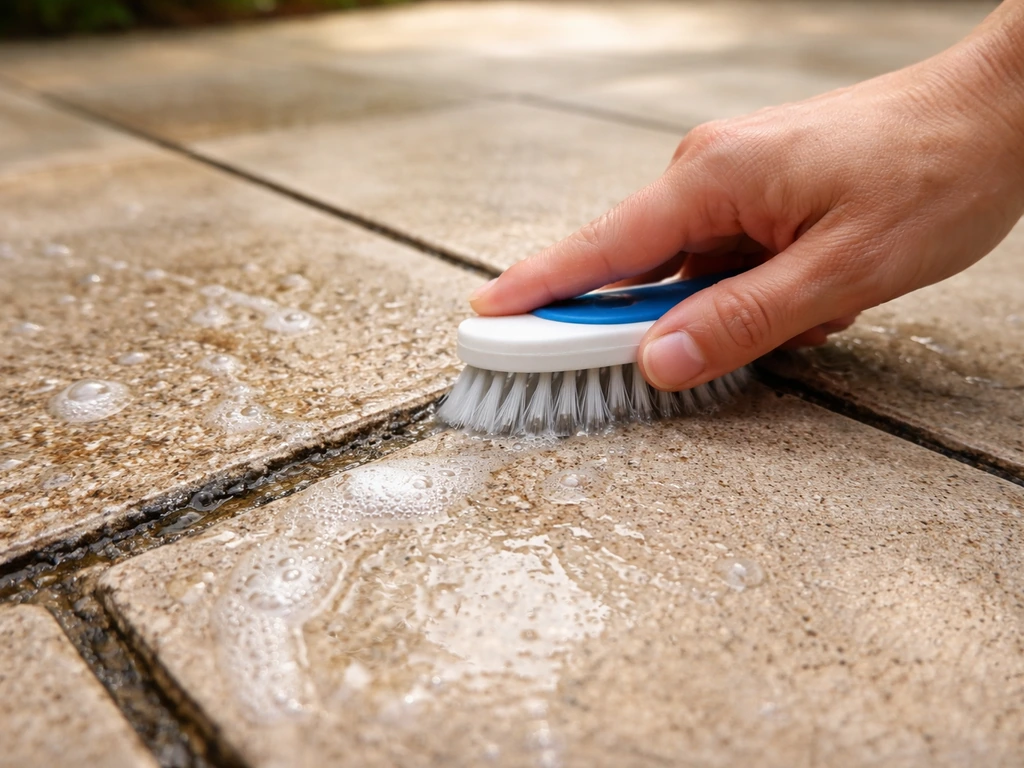
- Scrub along the grout line, not across it. Position the brush head so the bristles are working directly in the joint. Use a firm back-and-forth motion along the length of the joint rather than scrubbing in circles. This channels your pressure into the grout rather than onto the paver face.
- Apply firm, consistent downward pressure. You want the bristles to flex slightly as they push into the joint. If the bristles are barely bending, you're not applying enough pressure. If the brush is skipping and chattering, ease up slightly.
- Work in sections of about 3 to 4 square feet at a time. Don't apply cleaner to the whole patio at once. The solution will dry or lose effectiveness before you get to it, and you'll end up rinsing partially-cleaned sections back over areas you already scrubbed.
- Rinse each section before moving on. Once you've scrubbed a section, rinse it with the hose before the dirty water can run into and re-soil adjacent grout lines. Work from one end of the patio to the other consistently.
Angle and pressure tips
Hold the brush at roughly a 45-degree angle to the grout line rather than perfectly upright. This lets the bristle tips get down into the joint more effectively. On very narrow joints (under 1/4 inch), a pointed-tip grout brush or even an old toothbrush works better than a wide scrub brush. For wider joints on flagstone or large concrete pavers, a stiffer deck brush with a narrow face gives you more coverage per stroke without losing contact with the joint.
Avoiding re-soiling
One mistake that wastes a lot of effort: rinsing dirty water back over clean sections. Always rinse your work in the direction the water naturally drains off the patio. Keep a separate bucket of clean water nearby to rinse your brush periodically, because a brush loaded with dirty water and cleaner residue just redistributes the grime instead of removing it.
Rinsing, drying, and protecting grout after cleaning

Rinsing matters more than it sounds. Cleaner residue left on grout and paver surfaces can attract dirt faster, leave streaks, or continue reacting with the surface after you're done. Once you've finished brushing a section, rinse it thoroughly with a strong flow from a garden hose. Go over it twice if you used bleach or an acid-based product. You're looking for the water running clear off the surface with no suds or discoloration. After scrubbing and rinsing, you can dry the grout properly so it’s ready for sealing and long-term durability.
Avoid leaving standing water sitting in the grout joints after cleaning. This is especially relevant for cement-based grout, where prolonged moisture can lead to weakening and efflorescence over time. On a warm day, the patio will air-dry naturally within a few hours. If it's cool or overcast, give it extra time before assessing whether you need another pass.
Once the grout is fully clean and dry, sealing is well worth the effort. A penetrating grout sealer makes future cleaning much easier because dirt and biological growth can't bond as deeply into the porous grout surface. Most sealers can be applied 48 hours after cleaning, but check the specific product instructions since timing and weather conditions vary. Follow the product's direction for application; most outdoor grout sealers are brushed or rolled on and wiped off any excess before they cure. If you're working with a new grout installation, the same waiting window applies before you seal.
Troubleshooting: when stains and mold won't budge
If you've scrubbed and the grout still looks stained or discolored, here's how to diagnose what went wrong and what to try next.
Not enough dwell time
This is the most common mistake. If you apply cleaner and immediately start scrubbing, the product hasn't had time to break down the stain. Go back, re-apply, and wait the full 10 to 15 minutes before scrubbing again. For older, deeply set staining, you may need two or three applications with proper dwell time each round.
Wrong cleaner for the stain type
Mold and algae respond to bleach-based cleaners. Mineral deposits and efflorescence need an acid approach (sulfamic acid, not bleach). General grime responds to neutral cleaners and mechanical scrubbing. If you're using the wrong product for the stain type, no amount of scrubbing will fully fix it. Identify what the stain actually is before choosing your cleaner.
Brush too soft or too wide
If the bristles aren't stiff enough to actually reach down into the grout joint, you're essentially cleaning the paver face, not the grout. Try a stiffer, narrower brush and confirm it's fitting into the joint itself.
Deep-set staining or grout that's actually stained, not just dirty
If mold has been growing in the grout for a long time, the staining can penetrate deeply. Bleach will kill the live growth, but the discoloration may remain. At this point, you have a few options: a grout colorant/stain can restore the appearance, or if the grout is badly deteriorated, removing and re-grouting the affected joints is the most thorough solution.
If you're dealing specifically with moss that's taken root in the grout, mechanical removal followed by chemical treatment is a more involved process covered separately in guides on removing moss from patio grout lines. If you are dealing specifically with moss that has taken root in the grout, you will likely need to use targeted moss-removal steps in addition to normal brushing.
If you are dealing with moss, follow the specific steps for how to scrape moss off patio grout lines before you choose your cleaner removing moss from patio grout lines. Follow the specific steps for how to remove moss from patio grout lines before you choose your cleaner. For step-by-step instructions on that heavier moss issue, see our guide on how to remove moss from patio grout moss from patio grout lines.
If you want to switch back to grout cleaning, this guide on how to clean patio grout covers the brush, cleaner, dwell time, and rinsing steps how to remove moss from patio grout lines.
When to switch to pressure washing
If manual brushing with the right cleaner and proper technique still isn't producing acceptable results, a pressure washer with a narrow-angle nozzle (25 or 40 degree) can blast out embedded debris from grout joints much more effectively than any brush. Use it at moderate pressure (1200 to 1500 PSI is usually enough for patio cleaning) to avoid eroding soft grout. A surface cleaner attachment keeps the pressure even and reduces the risk of streaking. Pair pressure washing with a pre-treatment of your cleaning solution for the best results.
Safety tips and material compatibility
A few hard rules to keep yourself safe and your patio intact:
- Always test any cleaning solution on a small, hidden area of grout first and let it dry before proceeding. This is especially important on natural stone like travertine, flagstone, and limestone, which can be etched or discolored by acidic or highly alkaline cleaners.
- Never mix bleach with vinegar, ammonia, or any acid-based cleaner. The combination produces chlorine gas or chloramines, which are seriously hazardous. Use one product, rinse thoroughly, then switch if you need to try something else.
- Wear nitrile or rubber gloves and safety glasses whenever you're working with bleach, acid-based cleaners, or any concentrated solution. Even diluted bleach can irritate skin and eyes.
- Work in a ventilated area and avoid working in direct sun on a hot day with bleach or acid cleaners. Heat accelerates evaporation and can concentrate fumes.
- Keep pets and children off the patio while cleaning and until the surface is fully rinsed and dry.
- Do not use vinegar or any acid on natural stone surfaces (travertine, limestone, marble, tumbled stone). It etches the surface and causes permanent damage.
- Do not use wire brushes on finished tile faces or delicate stone. Reserve them for removing damaged grout before repair work, and even then, test first.
- Do not leave any cleaning solution (especially bleach or acid) sitting on grout past the recommended dwell time. Oversaturation and extended exposure weakens cementitious grout.
- If you're cleaning a newly dry-grouted patio, confirm the grout has fully cured before applying any chemical cleaner. Typically this means waiting at least 72 hours, though cooler or damp conditions require more time.
Your practical next steps for today
If you're ready to tackle the patio grout today, here's the condensed action checklist to work from:
- Pick your brush: stiff nylon grout brush for most situations, brass for stubborn deposits on hard surfaces, avoid wire brushes on finished surfaces.
- Identify your stain type: biological growth (mold, algae, mildew) goes to bleach solution; mineral/efflorescence goes to sulfamic acid; general grime goes to pH-neutral cleaner or dish soap.
- Clear the patio, sweep it, and pre-rinse with the hose.
- Protect nearby plants, grass, and metal fixtures.
- Apply your cleaning solution to pre-wet joints, let it dwell 5 to 15 minutes (don't let it dry out).
- Scrub along the grout line with firm, consistent pressure at a 45-degree angle, working in small sections.
- Rinse each section thoroughly before moving on, directing water away from already-clean areas.
- Let the patio dry fully (several hours minimum).
- Assess results: if staining remains, repeat with a longer dwell time or step up your cleaner. If brushing alone isn't doing it, consider a pressure washer pass.
- Once clean and dry (48 hours minimum), apply a penetrating grout sealer to protect the joints going forward.
For most standard patio grout cleaning jobs, this process handles everything from routine dirt to moderate mold and algae. If you're dealing with a more specific problem like heavy moss growth embedded in the joints or you need to remove and replace deteriorated grout entirely, those situations call for a slightly different approach that goes beyond brushing alone. If you specifically need to tackle how to remove patio grout itself rather than just scrub stains, switch to the detailed grout-removal steps next.
FAQ
Can I clean patio grout with a brush in direct sunlight or on a hot day?
Yes, but only if it dries and stays compatible with your grout and paver. As a practical rule, avoid hot sun while the cleaner is on the joints, and let the patio fully dry before sealing (if you seal too soon, moisture can get trapped and weaken the bond).
Should I use bleach on all discolored patio grout, even if I am not sure what caused the staining?
Not usually. Use bleach only for biological growth, and use it only after you pre-wet the grout so the dwell time works evenly and you avoid “spot bleaching” that can leave light patches. Also rinse twice if you used bleach.
Why does my grout look worse after brushing, even though I’m scrubbing hard?
Dissolve or scrub from a settled “clean side to dirty side” approach. Keep a separate rinse bucket and do not dip your brush back into the dirty solution after you have started working a section, because you will redeposit grime back into the joint.
Can I start with a pressure washer instead of brushing, and will it damage grout?
For narrow recessed joints, pressure washing often works better after mechanical pre-cleaning, because hardened buildup can shield embedded debris from the water stream. Use a 25 to 40 degree nozzle at moderate pressure and keep the nozzle moving to prevent gouging.
How do I protect plants, pets, and nearby surfaces while using cleaners or bleach?
Yes. Put tape or plastic over nearby landscaping and protect painted or sealed surfaces, because splash-back and residues can stain pavers, discolor grout edges, or harm plants. Afterward, rinse the surrounding area thoroughly.
What should I do differently if my patio is already sealed and water beads on the surface?
Check the sealer by doing a small water test on grout-adjacent pavers first. If water beads, your cleaner may not penetrate well into the grout lines, so you may need longer dwell time and slightly firmer scrubbing, or a product designed for sealed surfaces.
After rinsing, my grout looks darker or patchy, is that permanent?
If the joint is still wet, the grout can look darker and you may chase stains that are only temporary. Wait until the joints are dry, then reassess color. If it is still stained, reapply the matched cleaner with proper dwell time.
How can I identify whether my patio grout issue is mold, algae, or mineral efflorescence before choosing a cleaner?
Pick based on grout type and what you are seeing. If it is a white powder or crust, treat as mineral deposit or efflorescence, not mold, and avoid bleach. If you see green, black, or fuzzy growth, start with a biological cleaner like diluted bleach.
What is the sign that I’m using the wrong brush size or shape for my grout lines?
If you cannot get bristles into the joint, you are not cleaning the grout you think you are. Use a pointed grout brush for very narrow joints under about 1/4 inch, or a narrower deck scrub brush face for wider joints so bristles actually contact the grout depth.
If bleach removed the mold but the grout is still stained, what are my options?
Sometimes. If the discoloration is deep and the grout binder is damaged, you may need a grout colorant, or re-grouting for badly deteriorated joints. A “kill” step with bleach may stop growth, but it will not necessarily restore the original color.
Do I really need to rinse twice if I used stronger cleaners like bleach or sulfamic acid?
Yes, especially when acids or bleach are involved. Rinse until water runs clear, then let dry fully. For any section treated with bleach or an acid-based product, going over it a second time with rinse water is a safer finishing step.
Can I use vinegar regularly instead of buying a grout cleaner?
Try to avoid it. Vinegar can slowly etch cementitious grout with repeated use, and it is not appropriate for natural stone like travertine or limestone. If you want a lighter option, stick to pH-neutral grout cleaners for routine maintenance.
Next Articles
How to Clean Patio Grout: Step-by-Step for Every Stain
Step-by-step patio grout cleaning for dirt, mildew, algae, rust and stains, with safe methods for each surface type.
How to Remove Moss From Patio Grout Safely and Effectively
Step-by-step ways to remove moss from patio grout, using safe brushing, vinegar or bleach, and prevention tips.

How to Remove Thompson’s Patio Sealer Step by Step
Step-by-step removal of Thompson’s patio sealer on concrete, brick, pavers, and stone, with safety, tests, and cleanup.