Tree resin and sap can be removed from a patio using a combination of mechanical scraping, gentle heat to soften the resin, and a solvent like rubbing alcohol, mineral oil, or a commercial product like Goo-Gone. The exact approach depends on your patio material: concrete, brick, and pavers tolerate more aggressive methods, while travertine, flagstone, and polished stone need careful, pH-neutral chemistry and patience. Fresh resin is always easier to deal with than aged, hardened sap, so the sooner you tackle it the better.
How to Remove Resin From Patio Safely by Surface Type
Dylan Hale
29 Apr 2026
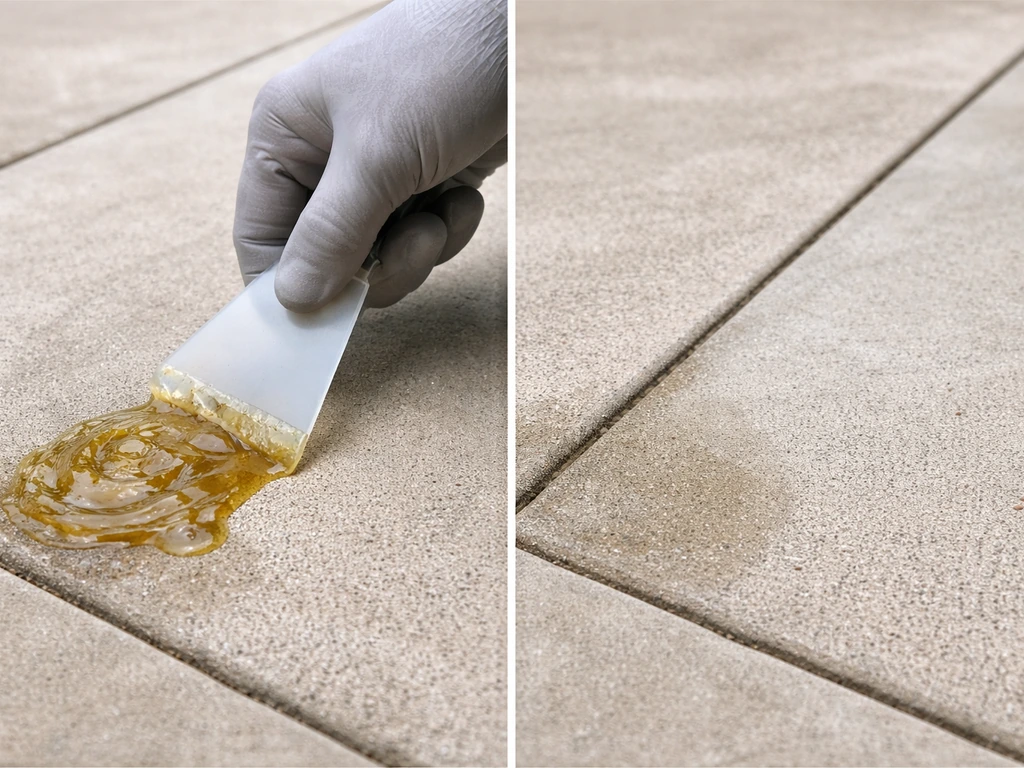
Figure out what you're dealing with first
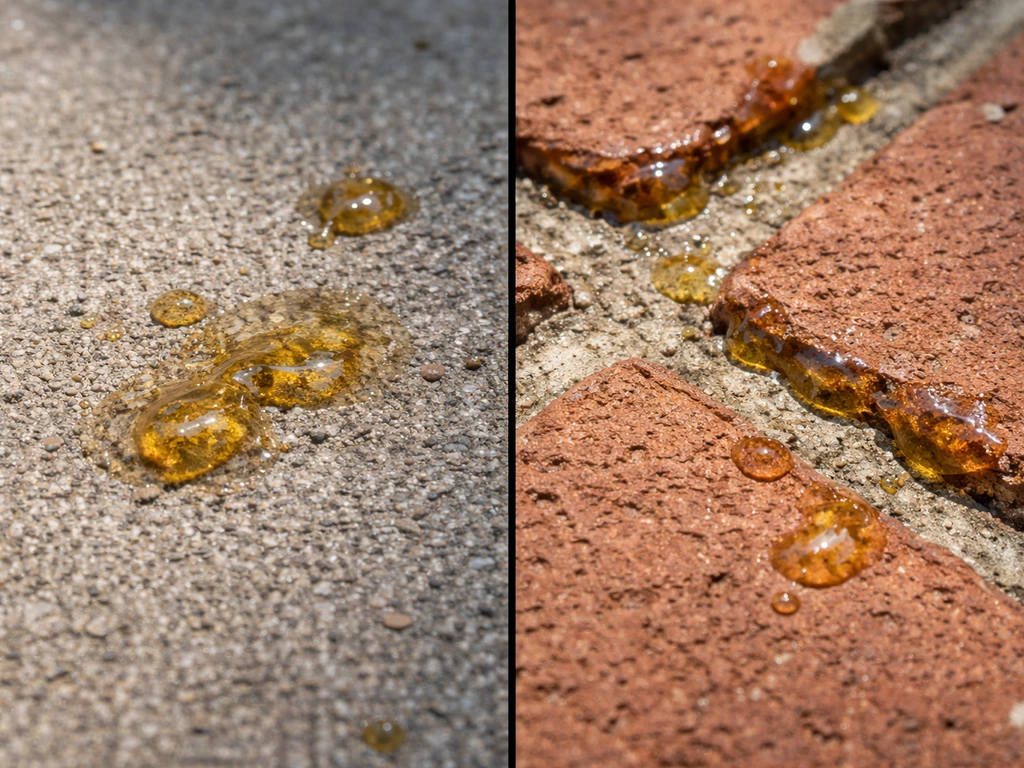
Before you reach for any product, take a minute to identify both the type of resin and the surface beneath it. Tree sap and pine resin are the most common culprits on patios, and they behave similarly: they start tacky, then gradually harden and bond more deeply into porous surfaces over weeks. Synthetic resins from craft projects, epoxy drips, or outdoor furniture can also end up on patios, and those often need a different chemical approach.
For the surface, run a quick check: concrete and brick are forgiving and porous but can be etched by strong acids. Natural stone like travertine, limestone, and flagstone is acid-sensitive and scratches easily. Pavers sit somewhere in the middle depending on whether they're concrete-based or natural stone. If you're not sure, err on the side of the gentler method.
- Fresh tree sap (tacky, amber-colored): responds well to warm soapy water plus rubbing alcohol or mineral oil
- Hardened/aged resin (crusty, dark patch): needs mechanical scraping first, then solvent treatment
- Epoxy or synthetic resin: usually requires acetone or a dedicated adhesive remover — check your surface tolerance first
- Resin staining (dark shadow with no raised residue): treat as a deep stain using poultice or repeat alcohol applications
Safety prep before you start
Even for relatively mild solvents, a little prep goes a long way toward protecting you, your plants, and the surrounding surface. Rubbing alcohol and denatured alcohol are highly flammable, so keep them away from any open flame or hot surfaces, and work in a well-ventilated area. Commercial tree sap removers often carry stronger fume warnings, so read the SDS sheet and ventilate properly if you're working in a covered outdoor area or pergola. Nitrile gloves and safety glasses are the minimum PPE for any solvent work.
For your plants and nearby surfaces, here's what I'd do before applying any product:
- Move potted plants at least 3 feet from the work area
- Wet down any in-ground plants, grass, or mulch beds adjacent to the patio with plain water — this dilutes any chemical overspray
- Cover any decorative metalwork, outdoor furniture legs, or painted surfaces with plastic sheeting or old towels
- Tape cardboard around the base of outdoor lights or fragile stone edging if you're using a scraper
- Keep pets and children indoors until the area is fully rinsed and dry
If your patio has been recently sealed, check whether the solvent you plan to use is compatible with the sealer type. Certain solvents can lift or cloud a topical sealer. When in doubt, test in a hidden corner first and let it sit for a few minutes before proceeding.
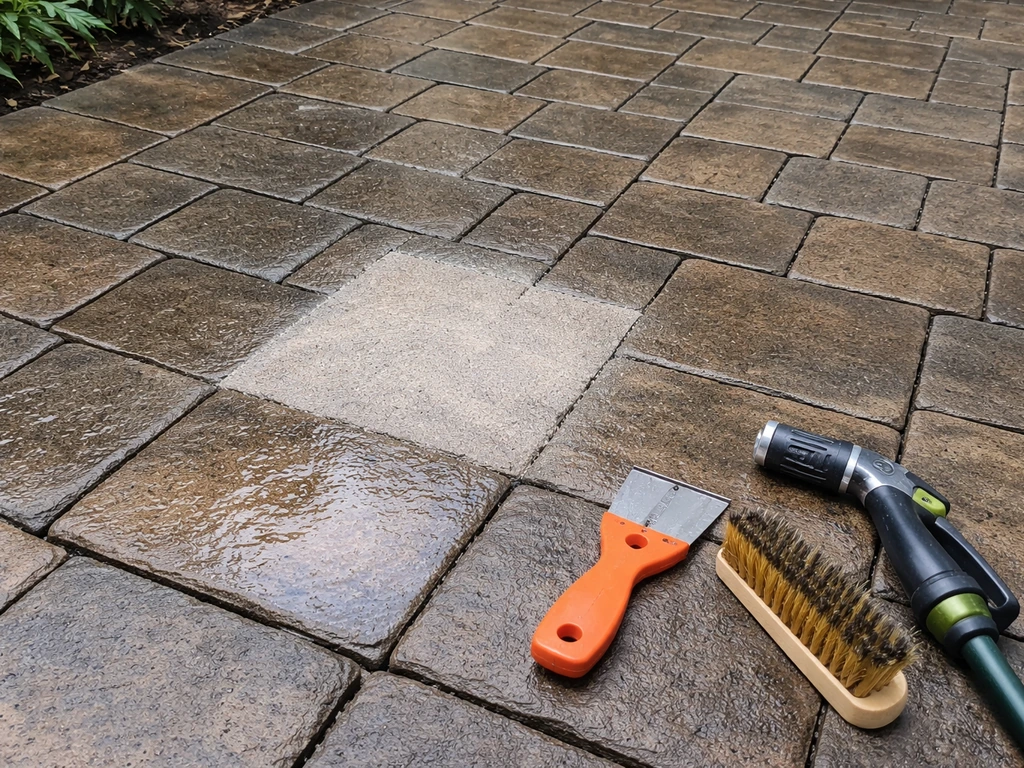
Mechanical scraping and controlled heat
For hardened resin, start by removing as much physical material as you can before any liquid goes down. A plastic putty knife or an old credit card works well for this and won't scratch most patio surfaces. On concrete or brick you can use a metal scraper, but keep it at a low, shallow angle (around 15 to 20 degrees) to avoid gouging the surface. Chip away from the edges of the resin deposit inward rather than stabbing at the center.
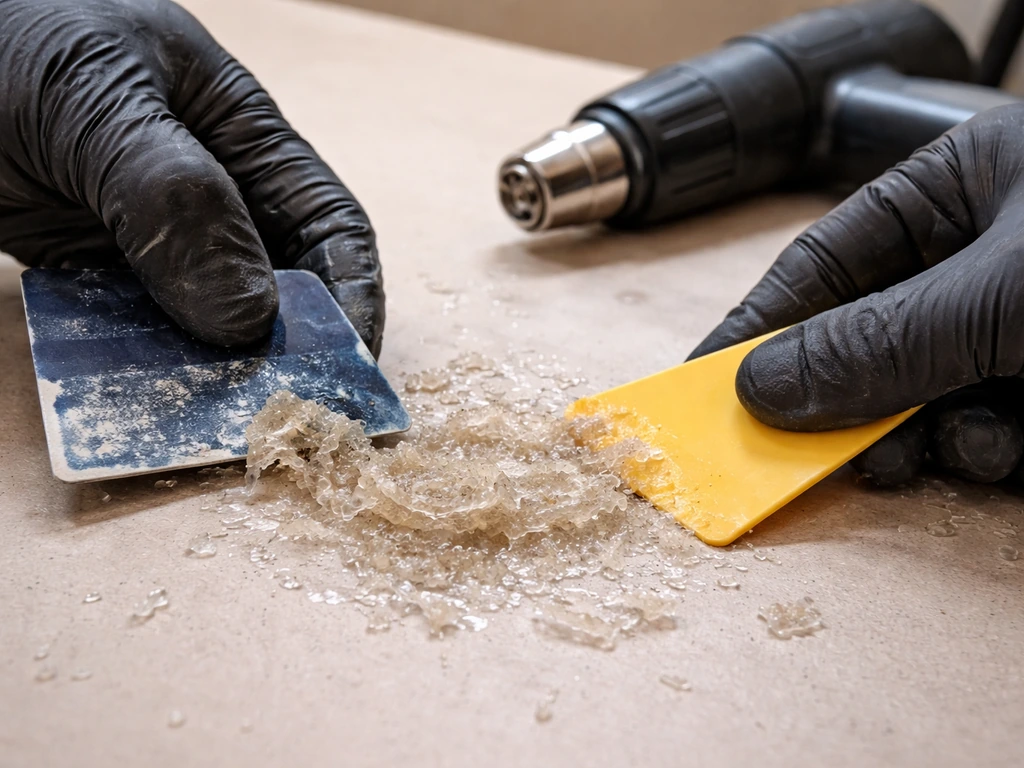
Heat is your friend for softening resin before scraping, but you need to use it carefully. A standard hair dryer on its highest setting works well and is the right level of heat for this job. Hold it about 4 to 6 inches from the resin spot and move it in slow circles for 30 to 60 seconds. You'll see the resin start to gloss over and soften. Wipe or scrape immediately while it's warm. Repeat in short sessions rather than blasting one spot continuously.
I'd steer clear of a heat gun for this task. A heat gun runs significantly hotter than a hair dryer and concentrates that heat in a tight area. On sealed concrete, painted pavers, or any stone surface, that concentrated heat can blister a sealer, cause thermal shock in natural stone, or discolor the surface. The hair dryer gets the job done without those risks.
Which solvent to use, and when
Once you've physically removed as much resin as possible, a solvent breaks down what remains. The key is to start with the safest option for your surface and only escalate if needed. Here's how I'd rank them:
| Solvent | Best for | Avoid on | Notes |
|---|---|---|---|
| Warm soapy water | Fresh sap on any surface | Nothing (safe universally) | Always try this first; soak for 5 minutes |
| Mineral oil | All surfaces including stone | Nothing (very safe) | Apply, let sit 2 minutes, wipe and follow with soapy water |
| Rubbing alcohol (isopropyl) | Concrete, brick, pavers, sealed stone | Polished or unsealed travertine (can dull finish) | 70% works; 90% works faster. Highly flammable — no open flame |
| Goo-Gone / Dissolves-It | Concrete, decorative concrete, sealed pavers | Unsealed porous stone | Apply on cloth, not directly on surface; rinse thoroughly after |
| Commercial tar/sap remover | Concrete, brick, tougher resin deposits | Acid-sensitive stone | Ventilate well; follow product dwell time instructions |
| Acetone | Epoxy/synthetic resin on concrete or brick | Travertine, marble, limestone, sealed surfaces, decorative concrete | Last resort; can strip sealers and bleach some surfaces |
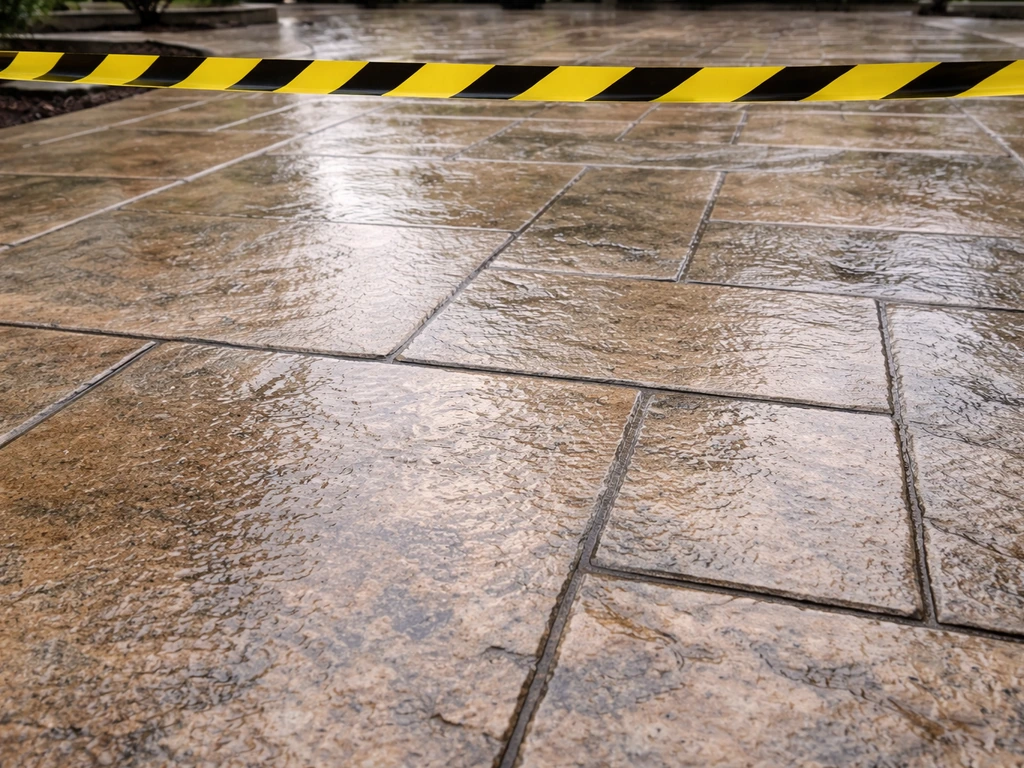
One firm rule for decorative concrete specifically: avoid MEK, xylene, paint thinner, and acetone. These solvents can attack the sealer or the colorant layer in stamped and stained decorative concrete, causing irreversible damage. Stick to Goo-Gone or a mild citrus-based cleaner for those surfaces.
To apply any of these solvents, put them on a cloth or paper towel first, press it onto the stain, and let it dwell for 2 to 5 minutes before wiping. Don't pour solvent directly onto the patio surface, it spreads the resin into a wider area and wastes product. For stubborn spots, a second application with a 10-minute dwell time usually finishes the job.
Cleaning up after the resin is gone
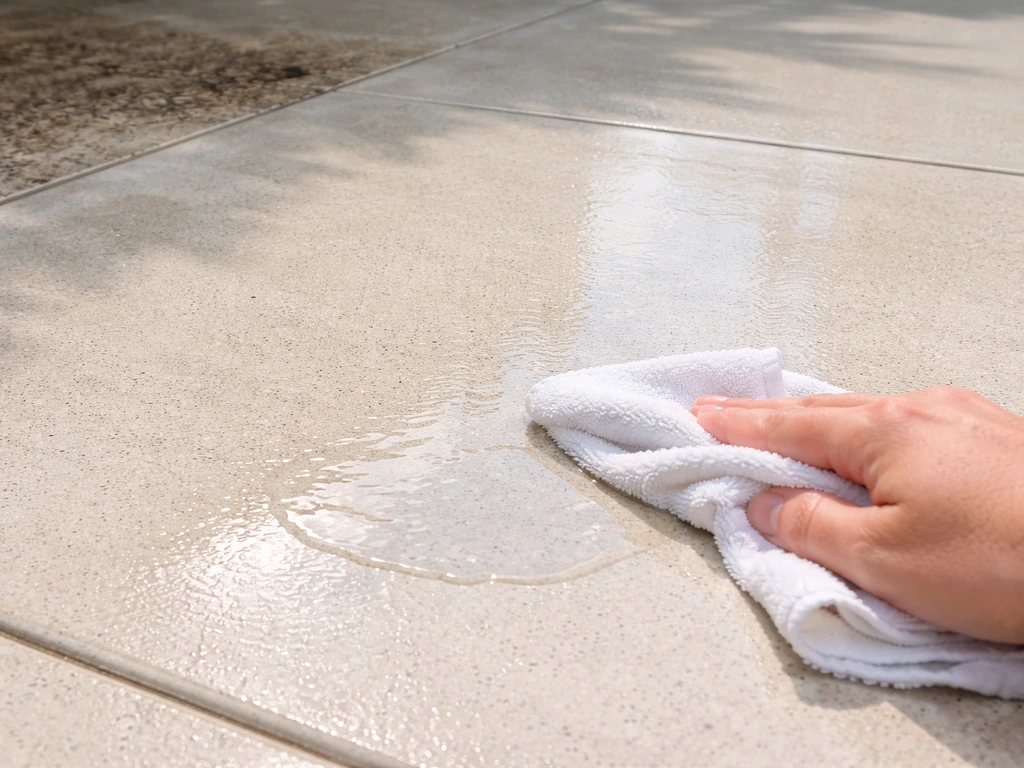
After you've lifted the resin, you'll almost always have a greasy or tacky residue from the solvent and dissolved sap. Don't skip this cleanup step, it can attract dirt and feel unpleasant underfoot. Wash the area with warm water and a few drops of dish soap, scrubbing with a stiff brush. Then rinse thoroughly with clean water. If you're using a hose, a good strong rinse is enough. If you have a pressure washer, a low-pressure rinse (around 500 to 800 PSI) works well here without risking surface damage.
If a faint shadow or dark stain remains after the resin itself is gone, that's often a tannin or oxidation mark left by the sap. Apply rubbing alcohol again and increase the dwell time to around 10 minutes, then scrub and rinse. For porous stone or concrete, a poultice product (like Miracle Sealants Liquid Poultice) can draw out residual staining from deeper in the material. Mix it according to directions, apply a thick layer over the stain, cover with plastic wrap, and let it dry over 24 hours before scraping and rinsing.
Check the area once it's fully dry. Residual tackiness after drying usually means there's still dissolved resin on the surface. A follow-up treatment with a clean cloth and fresh solvent will resolve it. If the area looks lighter or slightly discolored compared to the surrounding patio after cleaning, that can be a sign of minor etching or sealer removal, and the surface may need to be resealed. If your patio sealer is causing discoloration or preventing proper cleaning, you may need to remove it before re-sealing remove patio stone sealer. If you’re dealing with a patio sealer that’s been damaged or you want to switch products, you may need to remove the old sealer before cleaning the resin spots sealer removal.
What works (and what doesn't) by patio material
Concrete
Standard concrete is the most forgiving surface here. You can use rubbing alcohol, mineral oil, commercial sap removers, or Goo-Gone with confidence. For decorative or stamped concrete, stay away from acetone and harsh solvents as mentioned above. Prompt action matters most on concrete because sap that sits for weeks can start to bond into the porous matrix and become much harder to extract without a poultice.
Brick
Brick handles mechanical scraping and most solvents well. The mortar joints are more porous and absorbent than the brick face, so avoid letting solvent pool in the joints for long periods. Rinse well after treatment and check that the joints haven't absorbed any resin during the process. A stiff natural-bristle brush (not wire) works well for scrubbing between courses.
Natural stone (general)
For any natural stone, avoid acids entirely. Muriatic acid and other acid-based cleaners used for concrete etching will etch stone surfaces, leaving dull, rough patches. I know it's tempting to grab a strong cleaner, but the discoloration and texture damage isn't reversible. Stick to pH-neutral or slightly alkaline cleaners, mineral oil, or specifically formulated stone-safe sap removers.
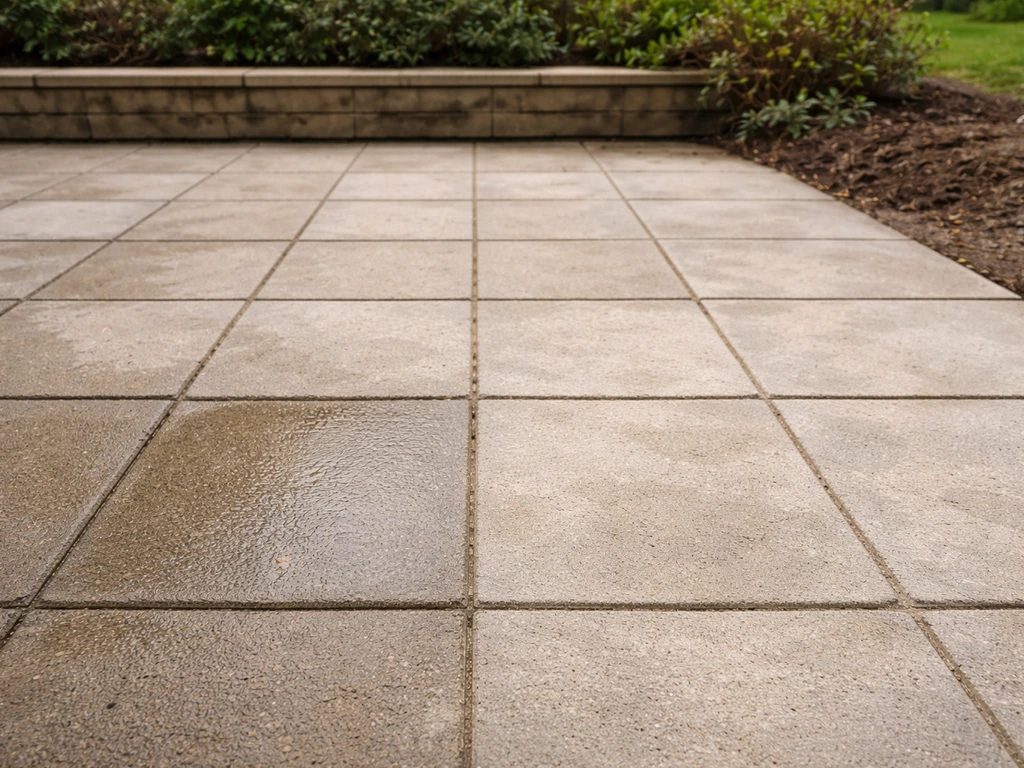
Pavers
Concrete pavers behave like concrete: fairly tolerant of rubbing alcohol and mild solvents. Natural stone pavers (granite, slate, bluestone) need the same care as natural stone above. Check whether your pavers are sealed before applying any solvent, since solvents can lift a sealer and leave the paver surface unprotected. If you've recently sealed your pavers, you may want to handle this carefully.
Travertine
Travertine is the most delicate common patio material and needs the most careful approach. It's calcium-based, so acids etch it immediately. Even some mild solvents can dull a polished travertine finish. For resin removal on travertine, I'd start with warm water and a pH-neutral cleaner, then try mineral oil applied on a soft cloth. If staining persists, a poultice product formulated for acid-sensitive stones (like Miracle Sealants Liquid Poultice) is the right tool. Always rinse travertine thoroughly with clean water after any treatment and let it fully dry before assessing the result. If you're seeing discoloration from previous cleaning attempts, test any new product in a small representative area first.
Flagstone
Flagstone varies widely by composition, and the surface is often irregular, which makes scraping trickier. Use a plastic scraper to avoid scratching the surface. Rubbing alcohol works on most flagstone types, but test in a hidden spot first. The uneven surface means residue can hide in low spots and crevices, so a scrubbing brush and a thorough rinse are essential in the cleanup phase.
Keeping resin off your patio going forward
If you have overhanging trees, especially conifers, pines, or sweetgums, sap on the patio is going to be an ongoing reality rather than a one-time problem. The best long-term defense is a good patio sealer. Once you have the resin fully cleaned up, you can apply a Sika patio sealer using the correct prep and application steps for your surface good patio sealer. If you used a different product like Thompsons patio sealer, use the same approach but verify compatibility before applying any solvent or cleaner Sika patio sealer. A penetrating sealer fills the surface pores and creates a barrier that prevents resin from bonding into the material. Sap will still land on the surface, but it won't sink in, making cleanup much faster.
For quick-touch cleanup when you catch fresh sap early, keep a small spray bottle of rubbing alcohol and a roll of paper towels near your patio supplies. Fresh sap wiped up within a day or two comes off with almost no effort. The longer it sits, the harder the job gets. A 30-second wipe after you notice it saves a lot of scraping later.
If you're thinking about re-sealing after a resin cleanup, make sure the surface is fully clean and dry before applying any new sealer. If you're thinking about re-sealing after a resin cleanup, make sure the surface is fully clean and dry before applying any new sealer, and also plan for how long to stay off patio after sealing. Residual solvent or tackiness trapped under a sealer will cause adhesion problems and an uneven finish. On sensitive surfaces like travertine or polished stone, the sealer you choose also determines what future cleaning products are safe to use, so it's worth considering compatibility.
- Trim overhanging branches where feasible to reduce sap drip onto the patio surface
- Lay an outdoor rug under tree canopies for seating areas — easy to shake out and clean
- Re-seal concrete, pavers, and natural stone every 1 to 3 years depending on foot traffic and sun exposure
- After storms or high-wind events, do a quick visual scan and wipe up any fresh sap the same day
- Store a small cleanup kit (isopropyl alcohol, soft rags, plastic scraper) in your patio storage so you're always ready for a fast spot clean
FAQ
Can I use a pressure washer to remove resin from my patio? If so, what pressure should I use?
Yes, but do it carefully. If you have a pressure washer, keep the nozzle moving and use the lowest pressure setting that still removes residue, then do a plain water rinse afterward. Avoid targeting resin deposits for long bursts, especially on brick mortar joints and natural stone, because blasting can drive softened sap deeper into pores and increase shadowing later.
Would a steam cleaner be better than a hair dryer for removing tree resin?
For most patios, steaming is less effective than a hair dryer and can raise issues with sealing and grout. Heat from a hair dryer lets you control where the heat goes, and you can wipe or scrape immediately while the resin softens. If you try steam, work in short passes and confirm the sealer and surface type first with a hidden-area test.
How do I know whether a remaining stain is leftover resin, tannin, or etching?
It depends on the solvent and the resin type. If the spot looks greasy again after it dries, it usually means dissolved resin is still present and needs another solvent dwell, not just water. If the area remains darker or uneven after the tack is gone, it can be an oxidation or tannin stain that responds better to longer alcohol dwell or a poultice, depending on the material.
I cleaned resin but my patio still feels slippery or tacky. Can I seal over it anyway?
First, confirm the patio is fully dry and tack-free before sealing. Then test the cleaner on a small spot and wait for it to dry, because some products leave an oily film that prevents sealer bonding (especially with penetrating sealers). If you see any hazing, patchiness, or ongoing tackiness, switch to mechanical removal plus a compatible solvent, then rinse and dry longer before you reseal.
What’s the safest way to scrape resin without making a bigger mess?
Avoid scratching and avoid spreading the resin. Use a plastic scraper or an old card, lift from the edges inward, and stop once the resin stops moving rather than forcing it. Pouring solvent can spread the material, so always apply solvent to a cloth or towel, press it onto the stain, and let it dwell before wiping.
How can I tell if the resin on my patio is natural sap or something like epoxy?
Don’t assume all “sap” behaves the same. Pine resin and tree sap are often removable with rubbing alcohol or mild solvents, but epoxy, resin glue, and craft adhesives can require different chemistry and may not respond well to alcohol. If the material is hard like plastic or forms an uneven bead, try identifying it (tree vs synthetic) and test a tiny spot with the gentlest compatible method before escalating.
If my patio is sealed, can I still use rubbing alcohol or Goo-Gone on resin spots?
Yes, if it’s truly the same surface but new to you. The risk is that the sealer may already be partially lifted or etched, and incompatible solvents can widen the damage. Always test any solvent in a hidden area, because “sealed” doesn’t mean “solvent-proof,” and decorative concrete in particular has specific solvent sensitivities.
Why does the cleaned area look blotchy compared with the rest of the patio?
Patchiness after cleaning often means the resin was removed unevenly, leaving a mix of solvent residue, tannin staining, or minor sealer removal. Let the area dry completely, then reassess. If the texture is intact but color varies, treat the stain (alcohol with longer dwell or poultice). If the surface looks dull or rough, you may have damaged the sealer and should plan a reseal after surface corrections.
Can I cover the patio while the solvent is working or while it dries?
It’s not ideal. Many solvents remain flammable and can become trapped under coverings, raising odor and making cleanup harder. If you must cover the patio, do it after the area is completely dry and no longer tacky, and keep windows or doors nearby ventilated. For anything that requires a dwell time, plan to uncover and monitor rather than sealing it in.
How long should I wait after resin removal before I reseal or walk on the patio?
A good rule is to wait until the resin treatment has been fully rinsed (when applicable), the surface is dry to the touch, and there’s no lingering tackiness or solvent odor. For resealing, follow the sealer’s specified recoat window and remember that curing time can be longer in cool or humid weather. If you still smell solvent or see residue, extend drying and avoid sealing early.
Next Articles
How Long to Stay Off Patio After Sealing: Timelines
Learn how long to stay off a sealed patio, with curing timelines by sealer type, material, and weather, plus safe readin
How to Remove Patio Stone Sealer: Step-by-Step Guide
Step-by-step removal of patio stone sealer, with tests, safer methods, chemical options, and prep for resealing
How to Apply Sika Patio Sealer: Step-by-Step Guide
Step-by-step how to apply Sika Patio Sealer: prep, cleaning, coating method, curing times, coverage, and fixes for strea