To clean patio grout safely, start by identifying your grout type and patio material, then choose the right cleaner: a diluted bleach solution (about 1/3 cup per gallon of water) handles mold and mildew on concrete or brick; oxygen bleach works well for algae and organic stains on most surfaces; vinegar is your maintenance option for light grime; and muriatic acid is a last resort, only for stubborn mineral deposits on acid-tolerant surfaces. Apply, let it dwell for 10 to 15 minutes, scrub with a stiff brush, and rinse thoroughly. That's the whole framework, and this guide walks you through every step with the right approach for your specific patio.
How to Clean Patio Grout: Step-by-Step for Every Stain

Dylan Hale
29 Apr 2026
Identify your grout type and patio material first
This step saves you from expensive mistakes. Using the wrong cleaner on the wrong surface can etch stone, bleach out colored grout, or dissolve the grout itself. Spend two minutes here and you'll clean with confidence.
What kind of grout do you have?
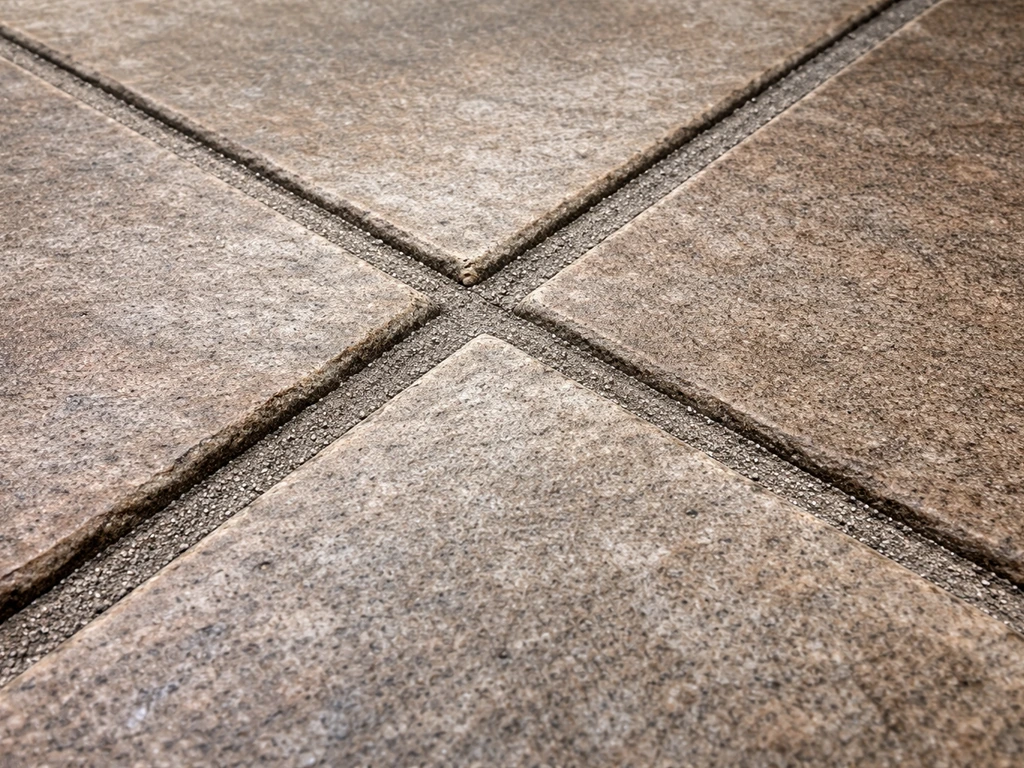
The two most common types outdoors are sanded and unsanded grout. Sanded grout contains fine sand particles mixed into the cement base. You can usually see or feel the gritty texture, and it's typically used in joints wider than about 1/8 inch. Unsanded grout is smoother, used in narrower joints. Then there's epoxy grout, which is non-porous, much harder, and highly stain-resistant. If your grout has almost no staining despite years of use, you may have epoxy. Epoxy grout needs only gentle cleaning and is not compatible with acid-based cleaners. If you're unsure, scrape a tiny bit with a fingernail: cementitious grout (sanded or unsanded) will produce a faint powder; epoxy will not budge.
What's the surrounding patio surface?
The patio surface dictates what chemicals you can safely use. Concrete and brick are the most forgiving and can handle diluted bleach and, if needed, carefully diluted acid. Natural stone such as travertine, limestone, marble, and slate is acid-sensitive, meaning even vinegar can etch the surface over time. Sandstone and flagstone fall in the middle. Porcelain and ceramic pavers are generally tolerant but can have textured surfaces that trap debris. Knowing this matters most when you get to the chemical section below.
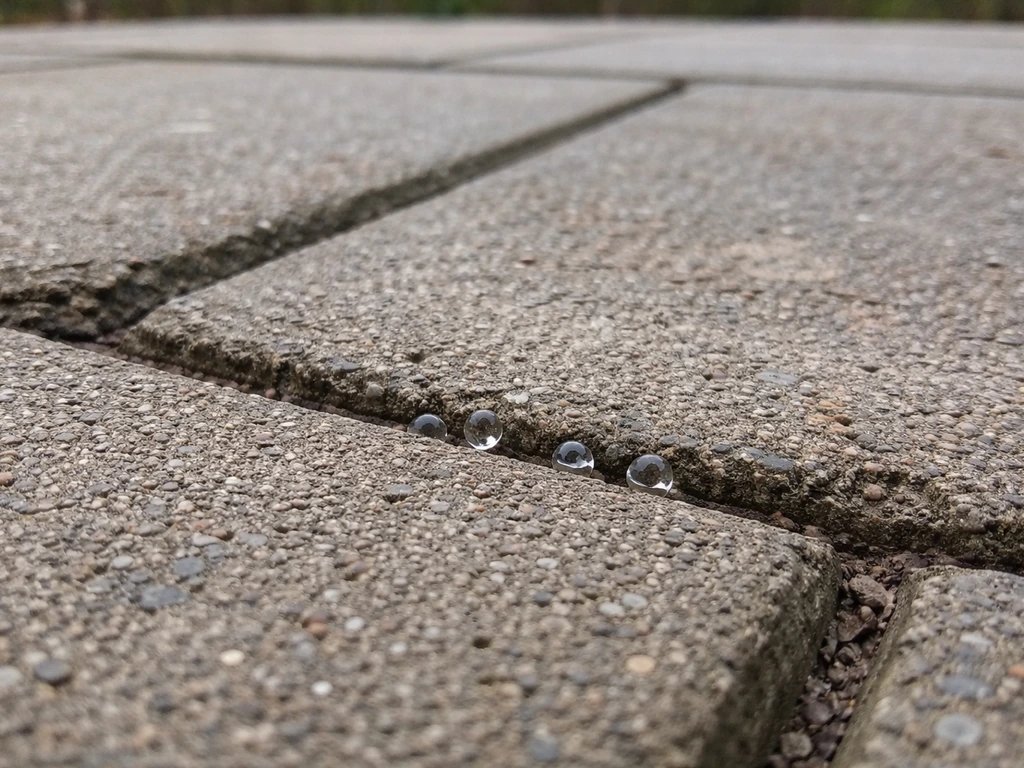
Run a quick water test to check for sealer
Drip a few drops of water onto the grout line. If the water beads up and sits on top, the grout is sealed. If it soaks in or darkens the surface within 30 seconds, the sealer has worn off or was never applied. This matters because sealed grout is more stain-resistant but can be damaged by aggressive scrubbing or strong acids. Unsealed grout is more porous and absorbs stains deeper, so it may need a longer dwell time or a repeat cleaning. If you're working on natural stone tiles, this test also tells you whether the stone itself needs resealing after cleaning.
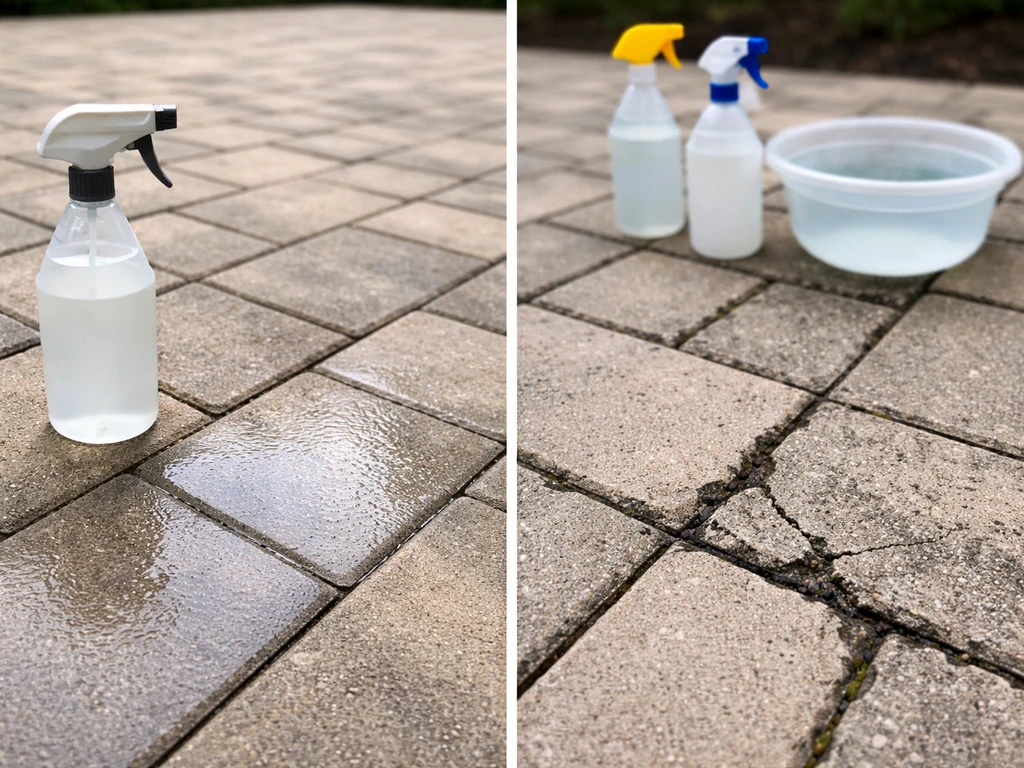
Quick safety setup before you start
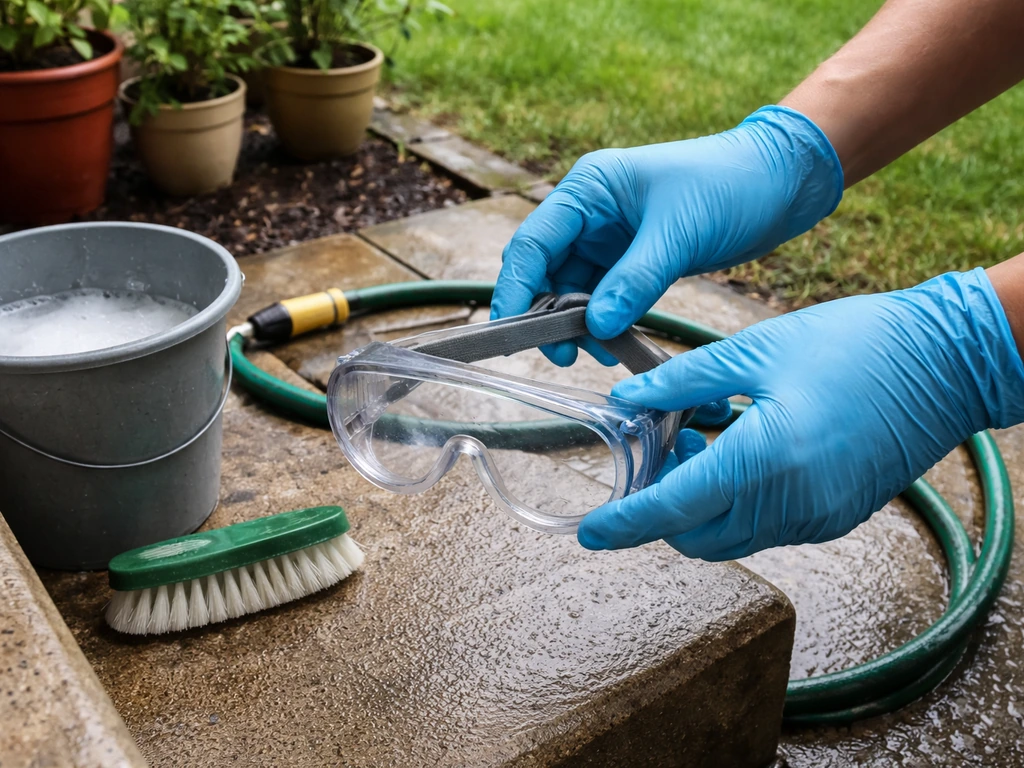
No matter which cleaning method you use, a few minutes of prep protects your plants, your skin, and nearby surfaces. I've skipped this on a rushed afternoon and paid for it with bleached grass and irritated eyes, so don't skip it.
- Wet down any grass, plants, or shrubs bordering the patio before you start, and rinse them again after you finish. This dilutes any cleaner runoff before it can cause damage.
- Cover nearby painted surfaces, metal furniture legs, or decorative stone trim if you're using bleach or acid. A plastic tarp or old towels work fine.
- Wear rubber gloves and eye protection for any chemical cleaning, including bleach solutions. If you're using muriatic acid, add an N95 respirator and old clothes you don't care about.
- Work in a well-ventilated outdoor area, but avoid windy days that blow spray back onto you or onto plants.
- Never mix bleach with ammonia-based cleaners or with acid-based cleaners. Mixing bleach with acids produces chlorine gas, which is a genuine safety hazard.
- If you're pressure washing, keep children and pets off the patio until the surface is fully dry and rinsed.
Day-to-day maintenance cleaning and mildew removal
For regular upkeep, you don't need anything heavy-duty. A stiff-bristle brush, warm water, and a small amount of dish soap handles routine dirt and light biological buildup. Scrub the grout lines in short back-and-forth strokes, then rinse with a garden hose. I do this about once a month on my own patio and it keeps things from getting out of hand.
For early-stage mildew (the gray or light black tinge that appears in shaded or damp areas), a vinegar solution is a good starting point, especially if you have pets or want to avoid chemicals. Mix equal parts white distilled vinegar and water, apply it to the grout, let it sit for 5 to 10 minutes, scrub, and rinse. This works well on concrete and brick grout. Avoid using vinegar on natural stone patios such as travertine or limestone, because the acid in vinegar etches those surfaces over time.
For slightly heavier mildew that vinegar doesn't fully clear, step up to oxygen bleach. Dissolve the powdered oxygen bleach in warm water according to the product label (a common starting ratio is about 1 cup per gallon for maintenance cleaning), apply it to wet grout lines, let it dwell for 10 to 15 minutes, scrub, and rinse well. Oxygen bleach is color-safe on most grout, gentler on surrounding vegetation than chlorine bleach, and effective against organic growth.
Stain-specific treatments
Mold and heavy mildew
When mildew has gone dark and spread across multiple grout lines, chlorine bleach is the most effective solution for concrete, brick, and non-stone pavers. Mix 1/3 cup of household bleach per 1 gallon of water. Apply to the affected grout, let it dwell for 10 minutes, scrub with a stiff brush, and rinse thoroughly. Don't leave bleach solution sitting longer than 15 minutes without rinsing, and don't let it dry on the surface. For natural stone patios, use oxygen bleach instead since chlorine bleach can discolor some stones.
Algae and green organic growth
Algae loves shaded, damp grout. Oxygen bleach dissolved in warm water is highly effective here and safe for most patio surfaces including brick and concrete. Apply the solution, give it at least 10 to 15 minutes to break down the organic matter, then scrub and rinse. For recurring algae problems, the underlying issue is usually moisture and shade, so prevention is key (more on that below).
If you're also dealing with moss growing in grout lines, that's a slightly different problem worth addressing separately. To remove moss from patio joints, use the right cleaner for your surface and focus on breaking up the growth, then rinse thoroughly and dry completely moss growing in grout lines.
If you are searching for how to scrape moss off patio surfaces, focus on loosening the growth first and then clean the area to prevent it from coming back moss growing in grout lines. If you find moss in the grout lines, use the right moss-removal approach and avoid cleaners that could damage your patio surface moss growing in grout lines.
Rust stains
Rust stains come from metal furniture, planters with drainage, or iron minerals in water. They don't respond to bleach at all. You need an oxalic-acid-based rust remover or a commercial rust stain remover designed for masonry. Apply it to the stain, let it dwell according to the product label, then scrub and rinse. On natural stone, test a small hidden area first because oxalic acid can lighten some stones. Do not use muriatic acid for rust; it can actually set rust stains deeper.
Grease and oil stains
Fresh grease responds well to dish soap applied directly, scrubbed in with a stiff brush, and then rinsed. For older, set-in grease, apply a degreaser or a paste made from baking soda and dish soap directly to the grout. Let it sit for 15 to 20 minutes to break down the oil, then scrub vigorously and rinse. You may need two or three applications for deeply set stains. Avoid using bleach on grease, as it doesn't break down oil and can actually lock in some organic compounds.
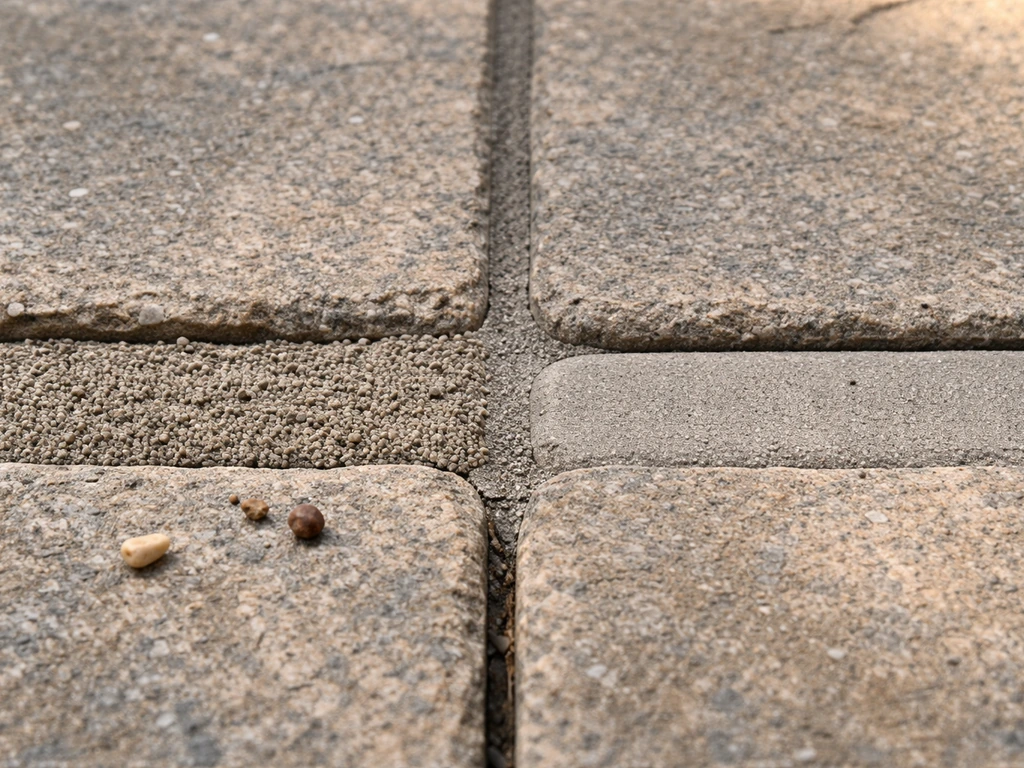
Efflorescence (the white chalky haze)
Efflorescence is mineral salt deposits that migrate through grout and concrete as water evaporates. It looks like a white powdery or chalky residue across the surface. For light efflorescence, a stiff dry brush and then a scrub with warm water can remove it. For heavier buildup on concrete or brick, a diluted acid cleaner is effective. Acid Magic (a buffered acid product) can be diluted in a range of about 1 part product to 2 to 6 parts water depending on severity. Apply carefully, let it dwell briefly, scrub, and rinse very thoroughly. On acid-sensitive surfaces like travertine, limestone, or marble, do not use any acid product. Use only pH-neutral or alkaline efflorescence removers specifically labeled safe for those materials.
DIY deep-clean methods: scrubbing, soaking, and pressure washing
Manual scrubbing and soaking (the safe default)
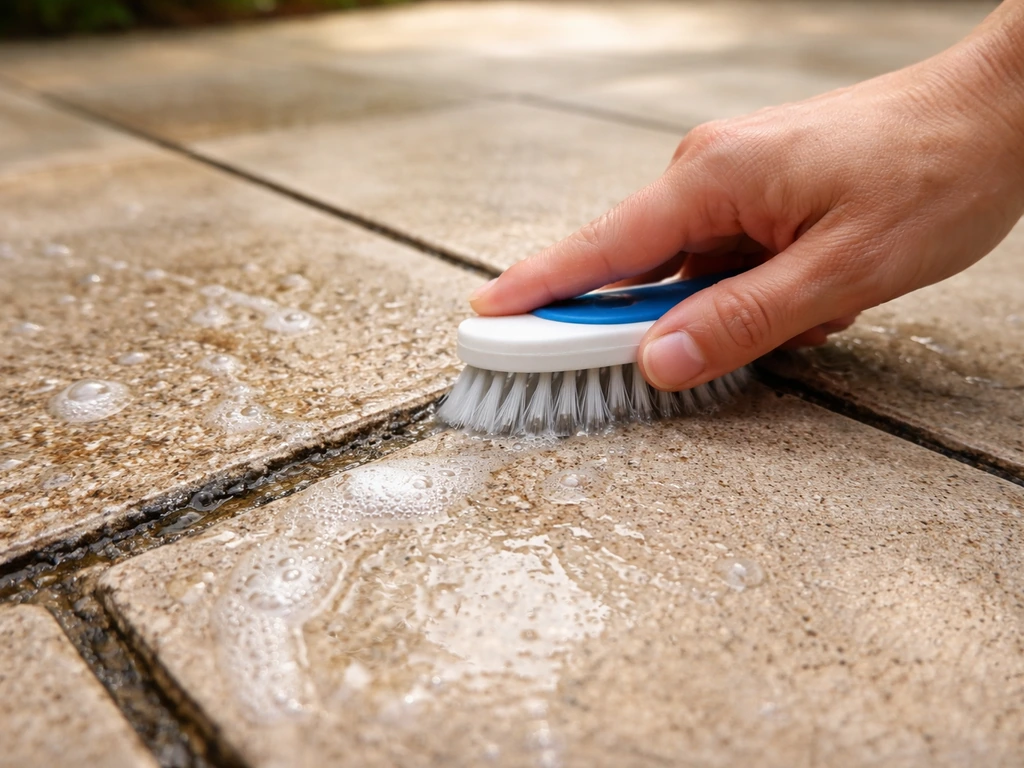
For most homeowners cleaning their own patio, manual scrubbing with the right cleaner gets excellent results without any risk of damaging grout or dislodging pavers. The basic workflow is the same regardless of what cleaner you're using: wet the grout lines first, apply your chosen cleaner, allow it to dwell for 10 to 15 minutes so it can break down what you're targeting, then scrub with a stiff-bristle brush (a grout brush or a deck scrub brush both work), and rinse thoroughly with a garden hose. For large areas, work in sections of about 4 to 6 square feet at a time so the cleaner doesn't dry out before you get to it.
Pressure washing: when it helps and when to be careful
Pressure washing speeds up rinsing and blasts out loosened debris efficiently, but it's not always appropriate. If your pavers are older, fragile, or already have cracked grout, high pressure can dislodge the grout or even shift the pavers themselves. If you do use a pressure washer, keep the pressure at around 1500 PSI or below for pavers and grout. Use a 25-degree or 40-degree fan nozzle rather than a pinpoint zero-degree nozzle.
Keep the wand moving constantly and hold it at least 12 inches from the surface. Never aim the spray directly along a grout line at close range; that's exactly how grout gets blown out. Pressure washing alone without a cleaner won't remove mold, efflorescence, or stains, so always treat the stain first, then use the pressure washer for rinsing and final cleanup.
Choosing and using the right chemicals
This is where people get confused, so here's a straightforward comparison of the main options and when to use each.
| Cleaner | Best for | Works on | Avoid on | Key notes |
|---|---|---|---|---|
| White vinegar (diluted 1:1) | Maintenance cleaning, light mildew | Concrete, brick, ceramic/porcelain pavers | Travertine, limestone, marble, any acid-sensitive stone | Safe for plants and pets; won't kill deep mold |
| Oxygen bleach | Algae, organic growth, mildew | Most surfaces including brick, concrete, pavers | Check label for natural stone compatibility | Color-safe, gentler on vegetation than chlorine bleach; dissolve fully in warm water |
| Chlorine bleach (1/3 cup per gallon) | Heavy mold, mildew, bacteria | Concrete, brick, ceramic/porcelain | Natural stone, colored grout (test first), metal trim | Never mix with ammonia or acids; rinse plants before and after |
| Oxalic acid-based rust remover | Rust stains only | Concrete, brick, most pavers | Sensitive stone (test first) | Does not work on organic growth or efflorescence |
| Muriatic/buffered acid (diluted 1:2 to 1:6) | Stubborn efflorescence, mineral deposits | Concrete, brick (acid-tolerant surfaces only) | Travertine, limestone, marble, metal, painted surfaces | Last resort only; full PPE required; neutralize with baking soda solution after rinsing |
| pH-neutral stone cleaner | General cleaning on natural stone | Travertine, marble, limestone, slate, flagstone | N/A | The safest choice for acid-sensitive surfaces; use this instead of vinegar or bleach on stone |
A word on muriatic acid: it is genuinely a last resort, not a first step. I've seen it ruin travertine patios and dissolve grout when used incorrectly. If you are dealing with heavy buildup, focus on safe deep-clean steps first, and then consider regrouting if the grout is already deteriorating dissolve grout.
If you go this route, always add acid to water (not the other way around), apply it quickly and evenly, keep the dwell time short (under 5 minutes), and neutralize residual acid after rinsing by applying a baking soda and water solution. Never mix it with bleach or any chlorine product.
Never mix household bleach with other cleaners or disinfectants, because that can create dangerous reactions, so use bleach only as directed Never mix it with bleach or any chlorine product.
If you're on a natural stone patio, skip acid entirely and use a product specifically formulated for acid-sensitive surfaces.
Rinsing, drying, and keeping grout clean going forward
Rinsing the right way
Rinsing is not optional. After cleaning and rinsing the grout, let it dry completely so you can move on to sealing or regrouting if needed how to dry grout a patio. Leftover cleaner residue, especially bleach or acid, continues to react with the surface and can damage grout or cause discoloration. Rinse with a strong flow from a garden hose or pressure washer, working from one end of the patio to the other so dirty water flows away from already-clean areas. For bleach or acid treatments, do at least two passes with clean water. Re-rinse any plants or vegetation that could have caught overspray.
Let it dry fully before sealing
Allow the grout and patio surface to dry completely before applying any sealer, ideally 24 to 48 hours in dry weather. Sealing over damp grout traps moisture inside and can cause spalling or discoloration. If your water test earlier showed the grout was unsealed or the sealer had worn off, this is the right moment to apply a penetrating grout sealer once everything is clean and dry.
Prevention: how to keep grout clean longer
The biggest factors driving grout problems are moisture, shade, and organic debris sitting in the joints. Here's what actually makes a difference long-term:
- Seal your grout every 1 to 2 years with a penetrating sealer appropriate for your patio material. Sealed grout repels water, resists staining, and is dramatically easier to clean.
- Sweep or blow the patio weekly to prevent leaves, soil, and debris from packing into grout joints and feeding organic growth.
- Do a light scrub with a diluted vinegar or oxygen bleach solution every month or two, especially in shaded sections where moisture lingers.
- Improve drainage if water pools on any section of your patio after rain; standing water is the primary cause of efflorescence and algae.
- Move planters and furniture occasionally to prevent moisture from getting trapped in one spot underneath them.
- Trim overhanging vegetation that keeps sections of the patio in permanent shade, since sunlight is your best natural mold inhibitor.
If you're dealing with organic growth specifically in the grout lines, like moss taking hold between pavers, that's worth addressing as its own problem since the roots can actually wedge into the grout and cause physical damage over time. If you're also dealing with moss growing in grout lines, that's a slightly different problem worth addressing separately how to remove moss from patio grout. Similarly, if your grout has deteriorated to the point where chunks are missing or crumbling, cleaning won't fix that and you'll need to look at regrouting before sealing makes any sense.
FAQ
Can I use the same cleaner for every patio and grout line, or do I need to match it to the surface?
You should match it to both grout type and patio material. Even if the stain looks similar, acids and chlorine bleach can damage natural stone and can discolor or weaken certain grout finishes, especially on travertine, limestone, marble, and slate. When in doubt, do a small spot test in a hidden area and wait for the full dry time before committing to the rest of the patio.
How do I tell if my grout is sealed well enough that I should extend the dwell time?
Use the water-sit test, then adjust dwell. If water beads up, the grout is still sealed, so cleaners often work mainly on the surface and prolonged dwell increases the chance of residue. If water soaks or darkens the grout quickly, dwell time can be longer or you may need repeat passes because the cleaner has to penetrate deeper stains.
What’s the safest way to pre-treat before scrubbing if the grout is really dirty?
Pre-rinse with warm water and remove loose debris first, then apply your cleaner to wet grout lines. Let the solution dwell within the recommended window and scrub in sections so it does not dry on the surface. Drying before rinsing is one of the most common causes of chalky residue and uneven whitening.
Should I use vinegar for heavy mildew or only for light grime?
Vinegar is best for light biological buildup and maintenance, not heavily dark, widespread mildew. For darker mildew that keeps coming back after vinegar, step up to oxygen bleach rather than relying on repeated vinegar soaks. Also avoid vinegar on acid-sensitive natural stone because it can cause gradual surface etching.
What should I do if I accidentally used acid or bleach on natural stone?
Rinse immediately with plenty of clean water and continue rinsing for at least two passes, then let the area dry fully. After drying, check for surface dullness or discoloration. If you notice ongoing changes, stop and use a pH-neutral cleaner suitable for the stone type, then reassess whether resealing or professional guidance is needed.
Is it okay to pressure wash to remove grout stains instead of scrubbing?
Pressure washing alone usually won’t remove embedded mold, algae, efflorescence, or rust. It can also blow out weak or cracked grout, especially if you use a pinpoint nozzle or high pressure. If you do use a pressure washer, treat the grout first, then use low pressure and fan nozzles for rinsing and debris removal only.
Why does my grout look white or powdery after cleaning?
That look can be leftover cleaner residue or efflorescence that was disturbed before it was fully addressed. Make sure you rinsed thoroughly, and consider that efflorescence can migrate back after cleaning if moisture still moves through the joints. For powdery mineral deposits on concrete or brick, use a pH-safe efflorescence remover designed for your patio type, especially if you have natural stone.
Can I remove rust stains with bleach, and what if the stain returns?
Bleach does not remove rust and will not fix iron-based stains. Use an oxalic-acid-based rust remover or a masonry rust product, test on a hidden spot for stone, and rinse well. If rust returns, inspect for the source, like metal furniture contact, planters with drainage, or iron-rich water supply, because repeated exposure will keep re-staining the grout.
What’s the best way to clean after removing grease, and will bleach help with old stains?
For grease, use dish soap for fresh grease, and for older set-in grease use a degreaser or a baking-soda and dish-soap paste, then scrub and rinse after the recommended dwell time. Bleach is not a good choice for grease because it does not break down oils and may leave behind discoloration or residue that makes stains harder to remove later.
How long should I wait before sealing grout after I clean it?
Let the grout and patio dry completely first, then seal ideally after 24 to 48 hours of dry weather. If grout is damp, sealing can trap moisture and lead to discoloration or spalling. Before sealing, do a quick dry-check by pressing a clean paper towel against the grout, it should come away dry without darkening.
Do I need to neutralize after using oxygen bleach or chlorine bleach?
Oxygen bleach typically does not require special neutralization beyond thorough rinsing. Chlorine bleach should be rinsed very well and not left to dry, because residue can continue to react and discolor grout. If you ever used acid-based products, you may need a neutralizing rinse approach, but follow the specific product instructions for your surface and cleaner type.
What if my grout is crumbling or missing, can I just clean it and then seal?
Cleaning is not a substitute for deteriorated grout. If grout has cracks, missing chunks, or has turned sandy and loose, sealing over it usually fails because water and debris still penetrate and keep breaking down the joints. In that case, plan for regrouting first, then seal only after the new grout cures and dries fully.
Next Articles
How to Remove Moss From Patio Grout Safely and Effectively
Step-by-step ways to remove moss from patio grout, using safe brushing, vinegar or bleach, and prevention tips.

How to Remove Thompson’s Patio Sealer Step by Step
Step-by-step removal of Thompson’s patio sealer on concrete, brick, pavers, and stone, with safety, tests, and cleanup.
Can You Remove Patio Sealer? How to Strip It Safely
Learn if you can remove patio sealer and how to strip it safely by type, material, and method.