
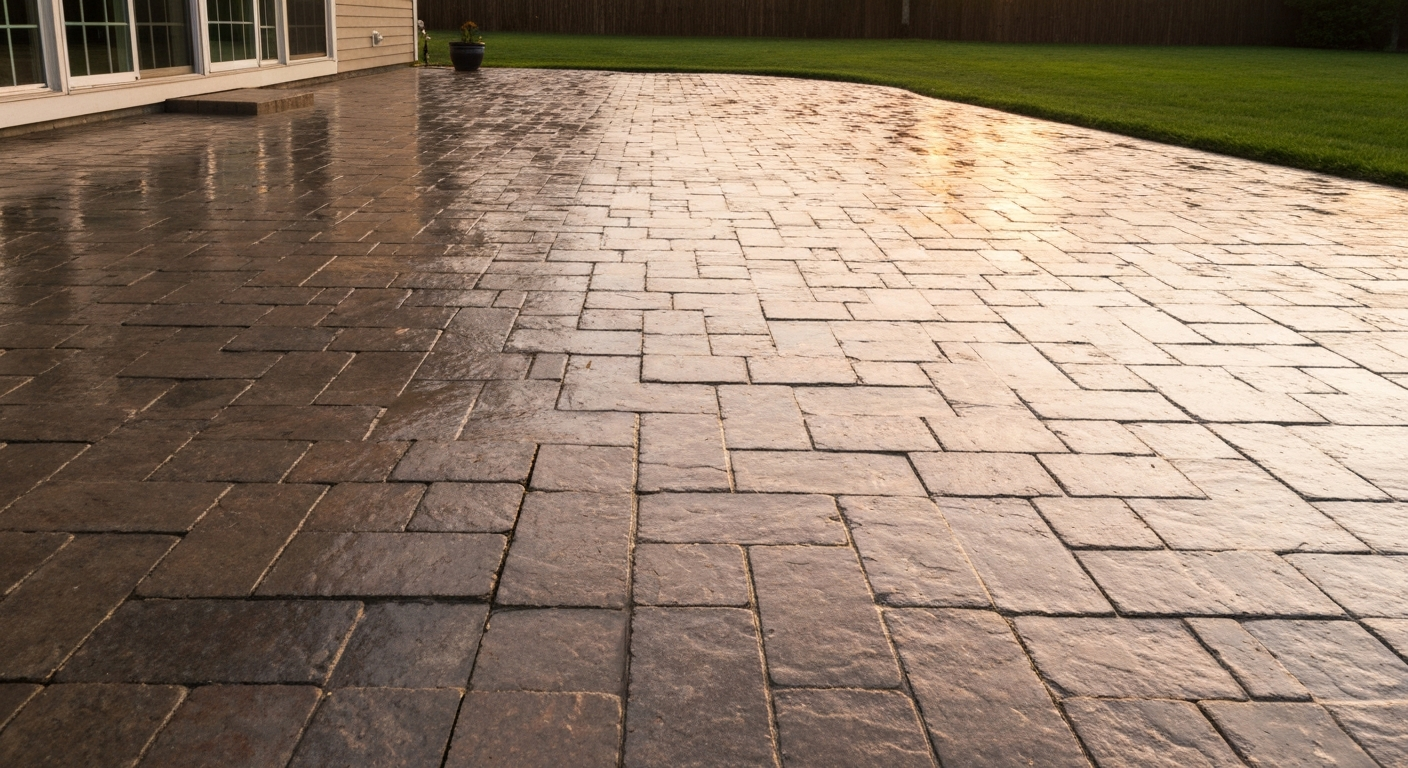
The fastest way to make patio pavers shine is a three-part process: deep clean the surface to remove dirt, mold, and stains; restore or enhance the color where fading has happened; then seal with a wet-look or color-enhancing sealer that locks in that freshly-cleaned appearance. Done right, the results last two to three years before you need to reseal. The exact steps depend on what your pavers are made of, what's staining them, and whether you have a pressure washer available, but I'll walk you through every scenario.
How to Make Patio Pavers Shine: Cleaning, Restoring & Sealing

Dylan Hale
23 Jul 2026
Choosing the right approach before you start
Not every shine method works on every paver type, and using the wrong one can cause more damage than the original dullness. Acidic cleaners that strip efflorescence off concrete pavers will permanently etch travertine and limestone. High-pressure washing that blasts years of grime off concrete slabs will strip the finish off manufactured pavers and blow out your joint sand. Before you buy a single product, run through this quick checklist.
- What material are your pavers? Concrete, brick, manufactured interlocking pavers, travertine, flagstone, or another natural stone each have specific restrictions.
- What's dulling them? General dirt and grime, mold/mildew, efflorescence, rust, oil/grease, or just faded color all need different treatments.
- Do you have joint sand? If polymeric or regular sand fills the joints, certain pressure-wash techniques and flooding methods can wash it out.
- Are you a renter or without a pressure washer? Manual soft-wash methods achieve good results but take more time and elbow grease.
- Are there plants, painted surfaces, or metal furniture nearby? Chemical cleaners and bleach solutions need containment planning.
- What finish do you want? High-gloss wet-look sealer, natural matte, or darkened color enhancement all require different products.
Once you've answered those questions, you'll know which sections of this guide apply to your situation. If your pavers are natural stone like travertine, skip any step that mentions vinegar, muriatic acid, or other acid-based cleaners; those will etch calcium-carbonate-based stones. Concrete and manufactured pavers are far more forgiving and can handle a wider range of chemical treatments.
What you'll need: tools, products, and gear
Gathering everything before you start saves multiple trips back to the store halfway through a wet, soapy job. Here's what I'd recommend having on hand, broken down by task.
Cleaning tools
- Stiff nylon-bristle broom or deck brush (not metal-bristle, which scratches stone and pavers)
- Garden hose with adjustable nozzle
- Pressure washer rated 1700–2000 psi for most pavers; a surface-cleaner attachment (11-inch models work at 1200–2000 psi, 15-inch at 2200–3200 psi) gives even coverage without direct-spray damage
- Pump sprayer (1–2 gallon) for applying cleaners and soft-wash solutions
- Plastic scraper or putty knife for removing debris from joints
- Bucket and measuring cup for mixing dilutions accurately
Cleaners and treatments
- Paver-specific cleaner (Techniseal Paver Cleaner or equivalent) for general cleaning before sealing
- Dish soap or mild pH-neutral cleaner for routine maintenance and natural stone
- White vinegar (undiluted or 50/50 with water) for light efflorescence, rust, and mold on concrete and brick only
- Bleach solution (1 part bleach to 9 parts water) for mold and mildew on concrete pavers and brick
- Sodium hypochlorite-based soft-wash concentrate for heavy mold, mixed per product instructions
- Baking soda paste (baking soda plus a small amount of water) for light oil stains and grease
- Commercial degreaser for heavy oil and grease stains
- Rust remover (oxalic acid-based) for rust stains on concrete and manufactured pavers
- Dilute muriatic acid solution (1 part acid to 8–10 parts water) for stubborn efflorescence on concrete only, as a last resort
- pH-neutral stone cleaner or stone soap for travertine, limestone, marble, and flagstone
Sealers and finish products
- Wet-look or high-gloss film-forming sealer for maximum shine on concrete pavers, brick, or manufactured pavers
- Penetrating (impregnating) sealer for natural stone and pavers where you want protection without surface sheen
- Color-enhancing or darkening sealer for faded pavers where you want to restore or deepen color
- Polymeric sand for re-jointing if pressure washing has loosened or removed joint material
Personal protective equipment (PPE)
- Chemical-resistant gloves (nitrile for bleach and degreasers; acid-resistant rubber gloves for muriatic acid work)
- Safety goggles or a full face shield, especially when using acid or pressure washing
- Old clothes or coveralls you don't mind staining
- Non-slip rubber-soled shoes
- Respirator or N95 mask when mixing or applying muriatic acid, bleach concentrates, or sodium hypochlorite
Safety, testing, and prep: do this before anything else
I always test cleaners on a small, out-of-the-way spot first, ideally an area behind furniture or along a back edge. Leave the test patch for 30 minutes, rinse it, and check for discoloration, etching, or surface change once dry. This one step has saved me from ruining entire patios on more than one occasion. A 6-inch test square costs you nothing; refinishing a full patio costs real money.
Chemical hazards to know before you start: bleach and sodium hypochlorite can bleach fabric and harm plants; always wet down surrounding lawn and garden beds before applying, and rinse them afterward. Muriatic acid is corrosive and releases irritating fumes; mix it outdoors only, always add acid to water (never water to acid), wear a full face shield and acid-resistant gloves, and have a baking soda solution ready to neutralize spills. Never mix bleach with vinegar or any acid; the combination releases chlorine gas.
Protect nearby surfaces before you start: cover metal furniture legs and any painted surfaces near the patio edge with plastic sheeting if you're using acid or bleach. Move potted plants off the patio entirely. Wet down grass and garden beds within 3 feet of your work zone. If you're pressure washing near a house foundation, direct the spray away from siding and check that weep holes and window wells are cleared.
Assessing your pavers before choosing a method
Walk the whole patio and take a close look before mixing anything. You're checking for four things: paver material and condition, joint condition, stain types, and any cracks or structural damage. Your answers determine which method is safe and which sections of this guide to follow.
| Paver Type | Safe Cleaners | Avoid | Sealer Options |
|---|---|---|---|
| Concrete pavers (manufactured) | pH-neutral cleaners, dilute bleach (1:9), paver-specific cleaners, dilute muriatic acid for efflorescence (last resort) | Very high pressure (above 2000 psi wand direct), undiluted acid | Wet-look film-forming, penetrating, color-enhancing |
| Brick | pH-neutral soap, dilute bleach (1:9), white vinegar for light stains | Muriatic acid (can damage mortar joints), very high pressure | Penetrating sealer; wet-look where desired |
| Travertine / Limestone / Marble | pH-neutral stone soap only | ANY acidic cleaner (vinegar, muriatic acid, citrus-based) — will etch permanently | Penetrating impregnating sealer only |
| Flagstone (granite, sandstone, slate) | pH-neutral cleaner; dilute bleach for mold on most flagstones | Strong acids on calcareous flagstones; very high pressure on sandstone | Penetrating sealer; natural-look enhancer |
| Exposed aggregate concrete slabs | Paver or concrete cleaner, dilute bleach for mold | Very high pressure directly on aggregate face | Wet-look or matte concrete sealer |
Check joint condition next. If the jointing sand is loose, already partially washed out, or crumbling, you should plan to re-sand after cleaning. If you have polymeric sand that is still intact and firm, treat it carefully: avoid high-pressure direct spray into joints and avoid flooding the surface, since excessive water can reactivate the polymers and pull the sand out. If you spot cracks wider than about 1/4 inch, these need to be repaired before sealing; sealing over active cracks traps moisture and the sealer will eventually delaminate.
Step-by-step basic cleaning for everyday dirt and grime
This is the right starting point for any patio that's just dull and dirty rather than stained with something specific. It's also renter-friendly and works without a pressure washer. Plan on 1–3 hours for an average-sized patio (150–300 square feet), depending on how dirty it is.
- Clear the patio completely. Remove all furniture, rugs, and planters so you can clean edge-to-edge.
- Dry sweep the entire surface with a stiff broom to remove loose dirt, leaves, and debris. Pay attention to joints and low spots where organic matter collects.
- Mix your cleaning solution: roughly 1 tablespoon of dish soap or pH-neutral cleaner per gallon of warm water for general cleaning, or use a paver-specific cleaner at the dilution on the label.
- Pre-wet the pavers with a garden hose. This prevents the cleaning solution from being absorbed too quickly into dry pavers, which reduces its effectiveness.
- Apply the cleaning solution using a pump sprayer or by pouring it from a bucket. Let it sit for 5–10 minutes so it can loosen the grime.
- Scrub with a stiff nylon deck brush using firm, overlapping strokes. For stubborn spots scrub in circles. You should see the water running off dirty rather than clean at this stage; that's normal.
- Rinse thoroughly with a garden hose, working from the highest point of the patio toward the drain or grass edge. Rinse until the water runs clear.
- Let the pavers dry fully before assessing results, at least 2 hours in warm weather, longer in shade or humidity. Wet pavers always look darker and shinier than they'll appear dry.
If the pavers still look dull after this basic clean, the issue is probably staining, faded color, or surface breakdown rather than surface dirt. Those scenarios are covered in the stain-specific and color-restoration sections below.
Pressure washing: settings, nozzles, technique, and protecting your joints
Pressure washing done right can restore pavers dramatically in under an hour. Done wrong, it strips factory finishes off manufactured pavers, exposes aggregate on concrete, and blows joint sand across the lawn. I've found that the single biggest mistake people make is using too much pressure with a pencil-point nozzle held too close to the surface.
Pressure and nozzle recommendations
- Stick to 1700–2000 psi for manufactured concrete pavers, brick, and most interlocking systems. Techo-Bloc specifically recommends this range with a fan tip.
- Use a 25-degree (white) or 40-degree (black) fan nozzle rather than a 0-degree (red) or 15-degree (yellow) nozzle. The wider the fan, the lower the impact per square inch.
- Hold the wand at least 12 inches from the surface, ideally 18 inches. Closer than 8 inches on most pavers and you risk surface damage.
- For natural stone, drop pressure to 1200–1500 psi maximum and use only the 40-degree or soap nozzle.
- A surface-cleaner attachment is the best tool for pavers: it distributes pressure evenly across a wide path (11–15 inches), eliminates the striping you get with a wand, and dramatically reduces the chance of blasting joint sand out. Make sure your pressure washer is rated within the surface cleaner's compatible PSI range before using it.
Technique to minimize joint sand loss
- Pre-sweep thoroughly so you're not pressure washing loose debris into the joints.
- Apply your cleaning solution first and let it dwell. This way you need less time and pressure with the washer itself.
- If using a wand, keep the spray moving constantly; never stop the spray directly over a joint.
- Direct spray at a shallow angle (15–30 degrees from horizontal) across the paver face rather than straight down into the joints.
- With a surface cleaner attachment, overlap each pass by about 2 inches to avoid striping, and move at a steady walking pace.
- After washing, inspect the joints. If sand has lowered, allow the surface to dry fully and top up with new jointing sand or polymeric sand before using the patio.
After pressure washing, give pavers at least 24–48 hours to dry completely before applying any sealer. Sealing damp pavers traps moisture underneath, which causes cloudiness, delamination, and a finish that peels within months.
Manual scrubbing and soft-wash options
Manual cleaning is the right call for renters without a pressure washer, anyone with delicate natural stone that shouldn't take high-pressure impact, or situations where a pressure washer simply isn't practical (small patios, balconies, tightly enclosed spaces). It also happens to be significantly gentler on joint sand, which is a real advantage if your polymeric sand is in good shape.
The soft-wash approach uses a low-pressure pump sprayer to apply a stronger cleaning solution at low pressure, then lets chemistry do the work that mechanical pressure would otherwise do. For mold and mildew on concrete or brick pavers, a sodium hypochlorite-based soft-wash solution (mixed per the product label, typically 3–5% concentration) applied with a pump sprayer, left for 15–20 minutes, and then scrubbed and rinsed is highly effective. I've found this approach removes heavy green algae and black mold stains that a basic soap scrub won't touch, without any risk of joint sand loss.
- Use a 1–2 gallon pump sprayer for applying soft-wash solutions evenly without overapplying.
- A deck brush with a long handle reduces back strain on larger patios and covers more area per stroke than a hand brush.
- For textured or rough-surface pavers, a stiff natural-bristle brush reaches into surface pores better than a smooth sponge or rag.
- For light cleaning on natural stone, apply pH-neutral stone soap with a soft cloth or soft-bristle brush; never use abrasive scrubbing pads which scratch polished stone surfaces.
- Rinse with a garden hose after manual scrubbing, using a strong flow nozzle rather than a jet. Multiple thorough rinse passes are more effective than one rushed rinse.
Cleaning without disturbing joint sand
This is one of the most common concerns I hear from paver owners, particularly those who have recently had polymeric sand installed. For step-by-step techniques that protect joint sand while cleaning, see our guide on how to clean patio pavers without removing sand. Polymeric sand contains binders that activate with water; once those binders have cured (typically 24–72 hours after installation), the sand hardens. But heavy washing, flooding, or sustained direct-pressure spray into the joints can still loosen or erode it over time.
Manufacturers like Alliance Gator are clear in their technical data sheets that polymeric sand must be completely dry at the time of installation and that misting, not flooding, is used to activate the polymers. If you're cleaning a patio with intact polymeric sand, your goal is to clean the paver surfaces without saturating the joints. Here's how.
- Start with a dry brush sweep to remove all loose debris before any water touches the surface.
- If using a pressure washer, use a surface-cleaner attachment set to the lower end of its rated pressure range, or use a 40-degree fan nozzle held at 18 inches or more from the surface.
- Never direct spray at a 90-degree angle straight into the joints. Always keep the spray angled across the paver face.
- For spot cleaning without disturbing joints, apply cleaner only to the paver surface using a cloth, sponge, or spray bottle, scrub with a brush, and rinse with a garden hose on a low-flow setting rather than blasting.
- Allow the surface to dry fully after any wet cleaning before assessing whether joints need topping up.
- If joints are low or sandy areas are visible after cleaning, re-sand with matching polymeric sand or kiln-dried jointing sand per the manufacturer's instructions before sealing.
If you're planning to re-sand and seal, the sequence matters: clean first, let pavers dry completely (48 hours minimum), apply polymeric sand and activate per instructions, let the sand cure fully, then apply sealer. See the CMHA Operation and Maintenance Guide for Interlocking Concrete Pavement (references ICPI Tech Spec 5) for manufacturer-aligned instructions on installing and activating polymeric sand and on cleaning/sealing procedures to avoid washing out or prematurely activating polymers. Reversing this order or rushing the drying time is the most common cause of patchy or failing sealer finishes.
Stain-specific treatments
General cleaning won't touch most stains. You need to match the treatment to the stain chemistry. Here's what I've found works on the most common paver stains, with specific cautions for material type.
Mold, mildew, and green algae
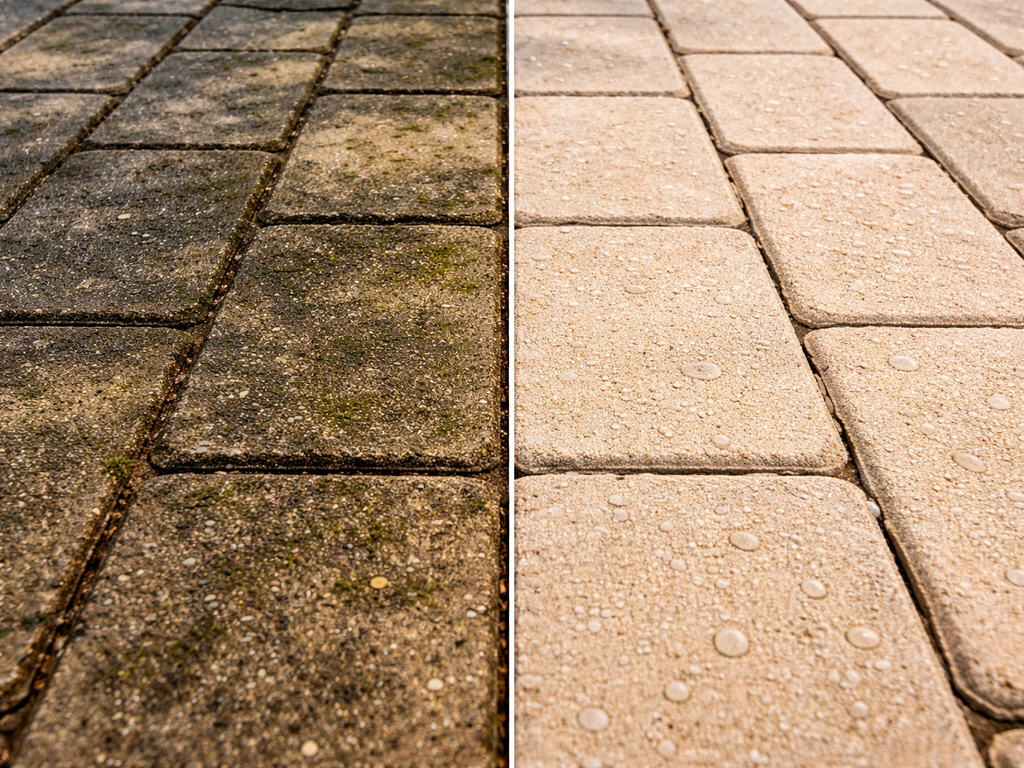
Mix 1 part household bleach with 9 parts water and apply with a pump sprayer. Let it sit for 15 minutes, scrub with a stiff nylon brush, and rinse thoroughly. This works well on concrete pavers, manufactured pavers, and brick. For natural stone, use a sodium hypochlorite-based cleaner specifically formulated for stone, or a commercial algae remover rated safe for the stone type. Do not use bleach on natural stone without confirming it is safe for your specific material; some stones and sealers are bleach-sensitive.
Efflorescence (white powdery deposits)
Efflorescence is caused by water carrying soluble salts to the surface, where they crystallize as a white, chalky film. Concrete Network and PCA-derived guidance describe efflorescence as a white, powdery salt deposit caused by moisture transport of soluble salts; light efflorescence can often be dry-brushed or water-washed while persistent deposits may require a mild acid treatment (dilute muriatic/hydrochloric acid) applied with appropriate safety precautions blank" rel="noopener noreferrer">ConcreteNetwork — Efflorescence causes and removal. On concrete pavers, light efflorescence often responds to dry brushing or a water wash with a stiff brush. For stubborn deposits, white vinegar applied undiluted and left for 10–15 minutes before scrubbing will dissolve many efflorescence deposits on concrete and brick. For step-by-step instructions and safety tips on using vinegar on pavers, see how to clean patio pavers with vinegar. For heavy or persistent efflorescence on concrete only, a dilute muriatic acid solution (1 part acid to 8–10 parts water) can be used as a last resort: apply carefully, let it fizz and react for no more than 5 minutes, scrub, and rinse very thoroughly. Always wear acid-resistant gloves and a full face shield for this step, and neutralize the area afterward with a baking soda and water rinse. Never use muriatic acid or vinegar on travertine, limestone, marble, or other calcareous stones. The acid reacts with the calcium carbonate in those stones and permanently etches the surface.
Rust stains
For rust on concrete or manufactured pavers, an oxalic acid-based rust remover is more targeted and less aggressive than muriatic acid and causes less surface damage. Apply, let it dwell for the time stated on the label (usually 5–15 minutes), scrub, and rinse. For light rust spots on concrete, I've had good results with undiluted white vinegar as a gentler first attempt before reaching for the commercial product. On natural stone, use only rust removers specifically labeled safe for stone, applied per the product instructions.
Oil and grease
Fresh oil stains should be covered with an absorbent material (cat litter, baking soda, or cornstarch) immediately. Leave the absorbent in place for at least 30 minutes, then sweep it up. Follow with a commercial degreaser or dish soap applied directly to the stain, scrub, and rinse. For set-in grease stains, a paste of baking soda with a small amount of dish soap, left for 20 minutes and scrubbed, can lift lighter deposits. Commercial degreasers work better on older stains. Avoid solvent-based degreasers on pavers with an existing sealer, as solvents can strip or cloud the finish.
Restoring faded color and getting that shine back
Once pavers are clean and dry, the most dramatic improvement in shine and color comes from sealing. See our guide on how to restore color to patio pavers for step-by-step instructions on color enhancement and sealer selection. For step-by-step tips on how to make old patio slabs look new, consult our detailed guide on restoring and sealing aged patio slabs. The type of sealer you choose determines the final look and how long it lasts. A wet-look or high-gloss film-forming sealer makes pavers look permanently wet: colors appear deeper, surfaces reflect light, and the result is a clear visual transformation. A color-enhancing or darkening sealer deepens the natural pigment of the stone or concrete without adding an obvious surface film, giving a more natural but richer appearance. A penetrating sealer, by contrast, provides protection without changing surface appearance at all.
| Sealer Type | Appearance | Best For | Reapplication Interval |
|---|---|---|---|
| Wet-look / high-gloss film-forming | Shiny, glossy, colors appear darker | Concrete pavers, manufactured pavers, brick where maximum shine is the goal | Every 2–3 years |
| Color-enhancing / darkening penetrating | Natural but richer, deeper color, no obvious film | Faded concrete, brick, natural stone; darkening grey slabs | Every 3–5 years |
| Matte film-forming | Flat finish, slight sheen, moderate color enhancement | Natural stone look with surface protection | Every 2–3 years |
| Standard penetrating (no color change) | No visible change when dry | Natural stone (travertine, limestone, flagstone) where protection is needed without altering appearance | Every 3–5 years |
Belgard recommends reapplying sealer approximately every three years as a general guide, though this varies by product, traffic levels, and climate. Always clean pavers thoroughly and treat any efflorescence or stains before sealing; sealing over dirty or discolored pavers locks in those imperfections permanently. The surface must be completely dry before applying any sealer, minimum 24–48 hours after cleaning, and longer in cooler or humid conditions.
How to apply sealer step by step
- Confirm the surface is completely clean and fully dry. Run your hand across the paver; it should feel dry to the touch with no visible moisture in joints or pits.
- Re-sand any joints that are low or that lost sand during cleaning. Allow polymeric sand to cure per manufacturer instructions before applying sealer over it.
- Apply sealer with a low-pressure pump sprayer or a roller (short-nap paint roller works well for flat pavers). Work in small sections to maintain a wet edge and avoid lap marks.
- Apply thin coats rather than flooding the surface. Most sealers are designed for two thin coats, with the first coat allowed to tack up (usually 30–60 minutes) before applying the second.
- Do not apply sealer if rain is forecast within 24 hours or if temperature is below 50°F (10°C) or above 90°F (32°C).
- Allow the sealer to cure before foot traffic, typically 4–8 hours for the first pass and 24 hours before furniture or heavy use.
- Dispose of unused sealer per local regulations; most film-forming sealers are solvent or water-based and have specific disposal instructions on the label.
Fixing scratches and minor surface damage
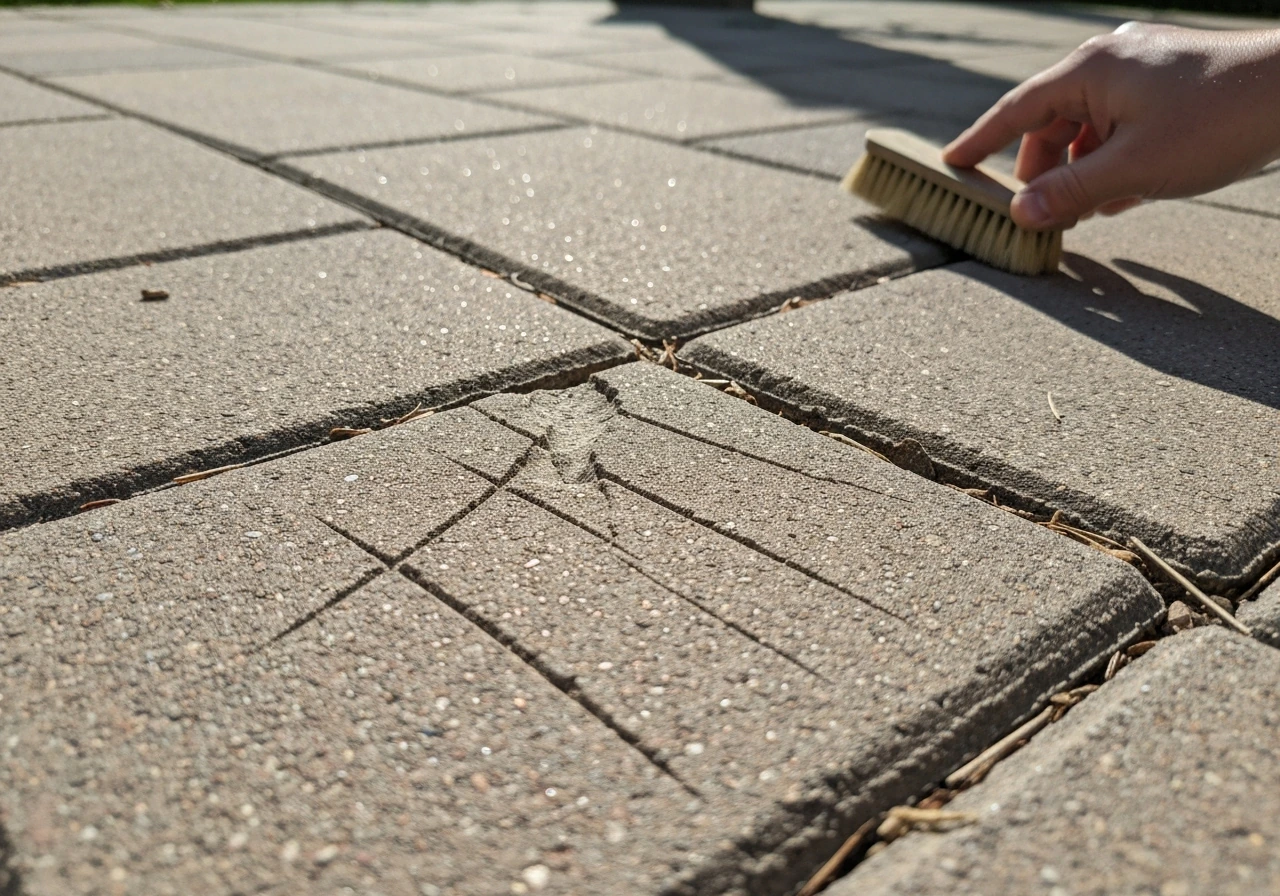
Light surface scratches on concrete or manufactured pavers are often more visible than they are structural. On sealed pavers, scratches in the sealer film can sometimes be addressed by cleaning the surface thoroughly and applying a fresh thin coat of the same sealer, which fills minor surface marks. For step-by-step fixes and DIY tips on how to get scratches out of patio pavers, see our detailed guide. Deeper scratches that penetrate the paver material itself are harder to fix without professional equipment.
For natural stone pavers with surface scratches, the options depend on how the stone was finished. Honed or polished travertine and marble can be professionally re-honed by a stone restoration contractor. Textured or tumbled stone shows scratches less obviously and often a color-enhancing sealer minimizes their appearance adequately. For badly damaged or cracked individual pavers in an interlocking system, replacement is usually the most practical option: most interlocking systems allow individual pavers to be lifted and swapped without disturbing the rest.
Renter-friendly and equipment-free options
If you're renting or simply don't want to invest in a pressure washer, you can achieve genuinely good results with a pump sprayer, a deck brush, a garden hose, and the right cleaning solutions. The soft-wash approach described earlier is specifically designed for this situation. For shine without sealing (which may not be appropriate if you don't own the property), a thorough soft-wash clean of mold and grime followed by a rinse can restore a surprising amount of natural color and freshness to pavers that looked permanently grey.
If you want to add a sealer as a renter, check your lease or get permission from the property owner first. A penetrating sealer that doesn't change surface appearance is the least controversial choice since it's invisible when dry. If the patio is concrete and you want visible shine, document the before condition with photos and confirm in writing that the landlord approves before applying any film-forming product.
Time, cost, and what to expect
| Task | Estimated Time | Approximate Cost (DIY) | Expected Result |
|---|---|---|---|
| Basic soap-and-water scrub (manual) | 1–3 hours | $5–$15 for cleaner | Removes surface dirt; moderate improvement |
| Pressure-wash clean | 1–2 hours | $0 (owned washer) or $40–$80/day rental | Significant grime removal; dramatic on heavily soiled pavers |
| Stain spot treatments | 30 min – 2 hours depending on severity | $10–$40 for specialist products | Removes most mold, rust, oil, and efflorescence when matched correctly |
| Sealing (film-forming wet-look) | 2–4 hours including prep | $50–$150 for a 200–400 sq ft patio | Visible shine, deeper color, 2–3 year protection |
| Re-sanding joints | 1–2 hours | $20–$50 for polymeric sand | Stable joints, prevents weed growth, improves appearance |
Keeping pavers shiny long-term
The shine from a good clean-and-seal job will last noticeably longer if you maintain it with simple regular care. Sweep pavers weekly to prevent organic material from sitting on the surface, since decomposing leaves and debris accelerate mold and staining. Rinse the surface with a hose after heavy rain or dusty periods. Address oil spills immediately with an absorbent and degreaser before they penetrate. Reapply sealer every two to three years, or sooner if you notice water no longer beads on the surface (this is the clearest sign the sealer has worn through).
If you're also looking to restore old or weathered slabs that have lost more than just their surface shine, or if you want to specifically darken grey pavers to a richer tone, a color-enhancing sealer or rehydration treatment can make a substantial difference. The approach to a full paver cleaning routine before any of that shine work is also worth reviewing to make sure you're starting with the best possible base. For a step-by-step guide on how to clean pavers patio, see the linked resource that covers cleaning, stain removal, and prepping for sealing.
FAQ
What is the overall process to make patio pavers shine and keep them looking good long-term?
Clean the surface of dirt and loose debris; treat stains and biological growth with appropriate cleaners; rinse and allow to dry fully; restore color if desired with a color-enhancing product or wet-look sealer; repair small surface damage or replace damaged units; choose and apply the correct sealer or finish for the paver material; and follow a regular maintenance schedule (sweeping, spot cleaning, and resealing as recommended). Test every product and method on a small hidden area first.
How do I identify what type of paver I have and why does it matter?
Inspect the surface and edges: concrete pavers are manufactured and often uniform with chamfered edges; brick pavers look like clay bricks and have a reddish or brown color; natural stone (travertine, flagstone) has irregular surface and natural veining; manufactured stone can mimic natural stone but is more uniform. Identification matters because cleaning chemistry and sealers differ—calcareous stones (travertine/limestone) are acid-sensitive, concrete benefits from alkaline cleaners and industry guidance (ICPI), and brick responds differently to color enhancers and sealers.
What are safe, general cleaning steps before attempting to restore shine?
1) Remove loose debris with a broom. 2) Pre-wet the area to loosen dirt. 3) Apply a paver-appropriate cleaner (pH‑neutral stone soap for sensitive stone; oxygen bleach or a concrete cleaner for concrete/brick). 4) Agitate with a stiff nylon brush or broom. 5) Rinse thoroughly with a hose or low-pressure washer. 6) Allow 24–72 hours to dry fully before any sealer or color enhancer.
When should I use a pressure washer and what settings avoid damage?
Use a pressure washer only after trying manual cleaning and after testing. Keep pressure modest—commonly 1200–2000 psi for pavers—and use a fan or 25–40° nozzle or a surface-cleaner attachment to avoid localized etching. Maintain the nozzle 12–18 inches away and do not direct the spray into joints to prevent washing out joint sand or damaging polymeric sand. Follow manufacturer recommendations and test a small patch first.
How do I remove common stains: mold/mildew, oil/grease, rust, and efflorescence?
- Mold/mildew: scrub with 1:9 household bleach:water or an oxygen bleach cleaner; rinse well. - Oil/grease: absorb fresh oil with cat litter or baking soda, then use a degreaser or trisodium phosphate (TSP) solution and scrub; rinse. - Rust: use a commercial rust remover formulated for masonry or a chelating rust remover; avoid acidic cleaners on calcareous stone. - Efflorescence: dry-brush light deposits or rinse; for persistent deposits use a mild acid wash (dilute muriatic acid per manufacturer guidance) only on concrete/brick with PPE and thorough rinsing; do not use acids on travertine/limestone.
Are vinegar and baking soda safe alternatives? When should I avoid them?
Vinegar (acetic acid) and other acids can clean rust and efflorescence but will etch calcareous natural stone (travertine, limestone, marble) and can damage some sealers. Baking soda is a mild abrasive and absorbent suited for oil cleanup and gentle scrubbing. Use vinegar only on acid-safe materials (concrete, some bricks) and test first; avoid acids on travertine/flagstone if calcareous.
Next Articles
How to Get Scratches Out of Patio Pavers Step by Step
Step-by-step fixes for surface scuffs or gouges on concrete, brick, or natural patio pavers with safe methods and decisi
How to Clean Patio Pavers With Vinegar Safely and Effectively
Safe, step-by-step vinegar method to clean concrete, brick or some stone pavers, plus when to avoid it and how to rinse
How to Make Old Patio Slabs Look New: Step-by-Step
Step-by-step plan to clean, remove stains and growth, then rinse and seal concrete, brick, stone, or pavers for a like-n