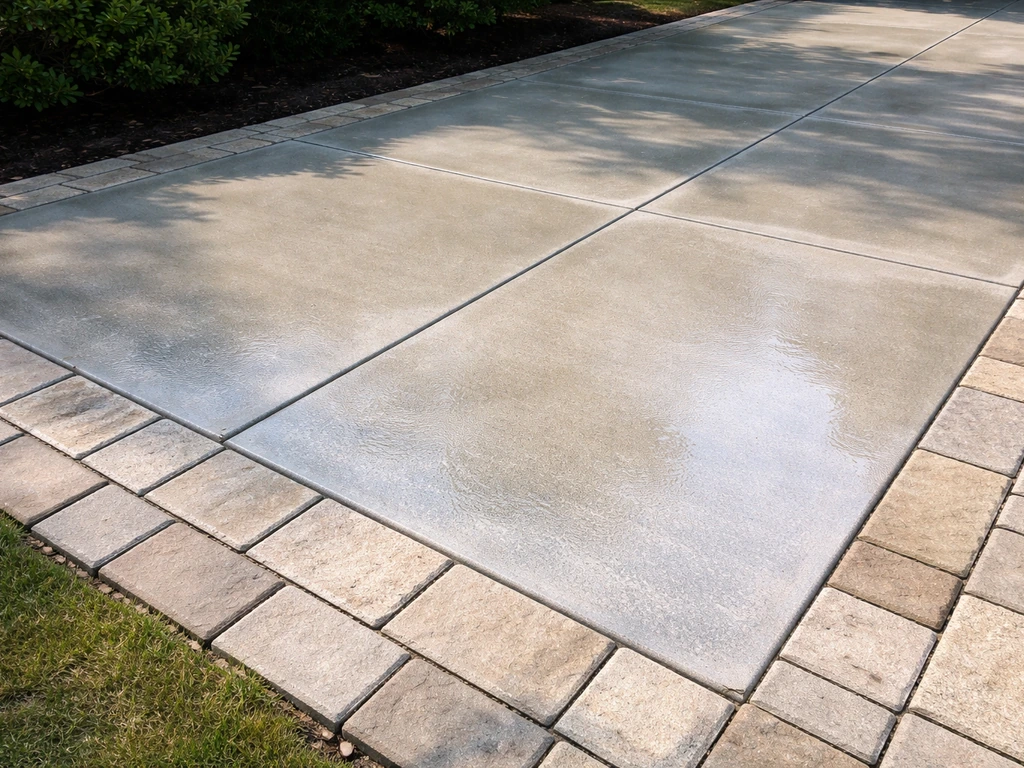
The fastest way to make old patio slabs look new is to deep-clean them with the right product for your specific stain and slab material, then seal the surface once it's dry. That combination handles about 90% of cases where slabs look dull, stained, or just old. The tricky part is that concrete, brick, natural stone, travertine, and pavers all respond differently to cleaners, and using the wrong one can leave you with bleached patches or etched surfaces that look worse than before. So the order matters: identify your material and your main problem first, then pick your method.
How to Make Old Patio Slabs Look New: Step-by-Step

Dylan Hale
22 Jun 2026
Step 1: Figure out what you're working with
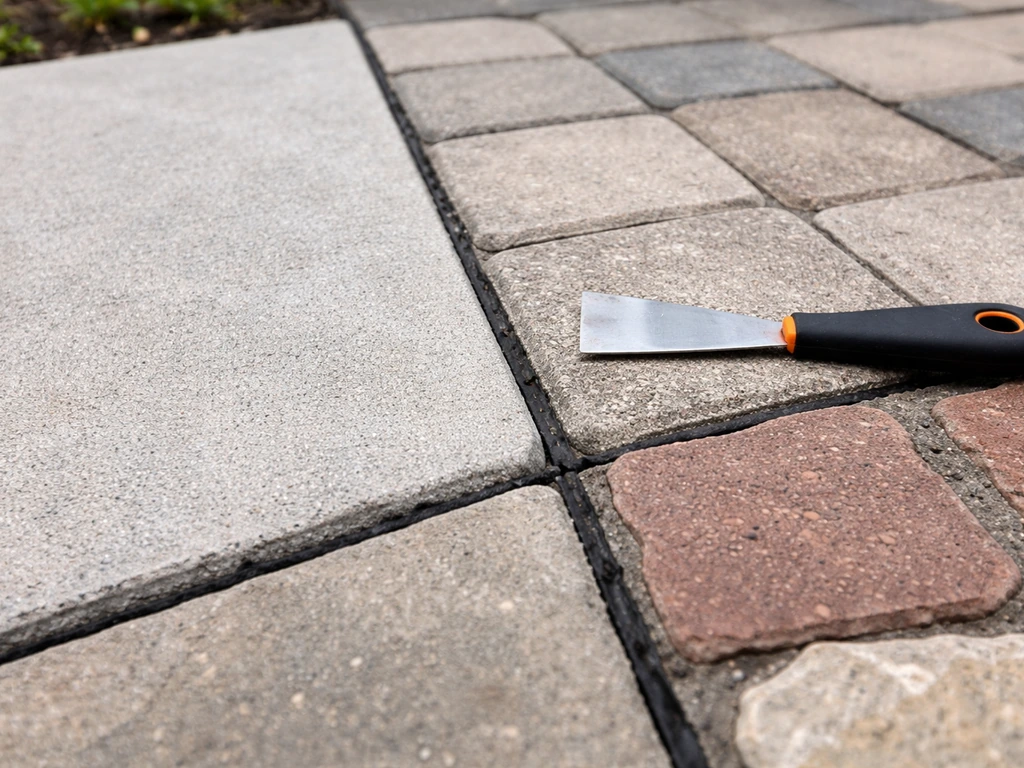
Before you buy anything or grab a pressure washer, spend five minutes doing a quick diagnosis. The method that transforms concrete slabs can genuinely damage natural stone, so this step isn't optional.
Identify your slab material
| Material | How to identify it | Key sensitivities |
|---|---|---|
| Concrete slabs | Smooth or brushed grey/beige surface, often poured in large sections with expansion joints | Can etch under high pressure or strong acid if not diluted properly |
| Brick pavers | Individual rectangular units, often reddish, laid in patterns with jointing sand | Porous; absorbs stains quickly; avoid prolonged acid contact |
| Concrete pavers | Individual units like brick but uniform and denser; often interlocked | Prone to efflorescence (white haze); avoid muriatic acid unless diluted correctly |
| Natural stone / flagstone | Irregular shapes, varied colour, feels cool; includes sandstone, limestone, slate | pH-sensitive; avoid bleach on darker stones; never use muriatic acid on limestone |
| Travertine | Creamy/beige tones, often has small pits or holes, smooth when honed | Very acid-sensitive; even vinegar can etch it; use diluted sodium hypochlorite carefully |
| Brick (clay) | Reddish-brown fired units, slightly rougher texture than concrete pavers | Do not over-acid-wash; can fade colour or dissolve mortar joints |
Identify your main problem
Once you know your material, look at what's actually making the slabs look bad. Most patios have one dominant issue, and that's what you treat first. Green or black slippery patches are almost always algae or mold. Orange or brown staining in isolated spots is typically rust. Dark spreading patches near a grill or parking area point to grease and oil. A chalky white powdery coating, especially on newer concrete or pavers, is efflorescence. General dullness and grey discolouration is usually just embedded dirt and years of organic buildup. You can have more than one issue, but treat them separately rather than hoping one product fixes everything.
Prep work before you touch a single slab
Skipping prep is how you end up with dead plants, chemical burns, or a patchwork of clean and unclean areas that's almost impossible to fix. I've found this 15-minute prep routine saves hours of frustration later.
- Clear the patio completely. Move all furniture, pots, and anything else off the surface so you can clean edge to edge consistently.
- Wet down any surrounding plants, grass, and garden beds with plain water. This dilutes any chemical splash that lands on them. Move potted plants well away from the work area.
- Put on your PPE before you open any chemical bottle. At minimum: safety glasses, chemical-resistant gloves (nitrile or rubber), and old clothing you don't mind staining. If you're using muriatic acid or any strong acid cleaner, add a respirator mask.
- Do a small test patch first. Pick a 30 x 30 cm inconspicuous corner, apply your chosen cleaner at the intended dilution, wait the recommended dwell time, rinse, and let it dry fully before committing to the whole patio. This is especially important on natural stone, brick, and coloured concrete.
- Check the weather. Don't clean in direct blazing sun (cleaners dry too fast and can streak), avoid freezing temperatures, and make sure you have a dry window of at least 24-48 hours after cleaning if you plan to seal.
Cleaning methods: manual scrubbing vs pressure washing
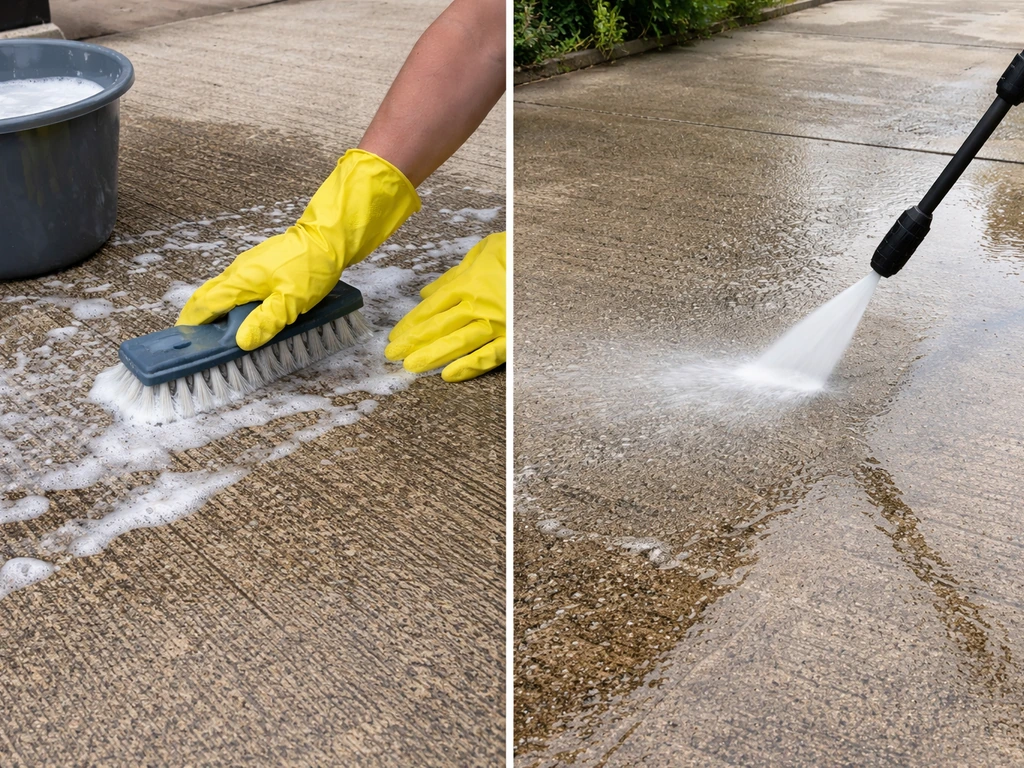
Both approaches work, and in many cases the best result comes from combining them: use chemical pre-treatment to loosen stains, then use water pressure or scrubbing to remove them. The key is understanding that pressure washing is not a universal substitute for targeted cleaning. As the Canadian Masonry Contractors Association points out, hand labour cannot be fully replaced by washing alone, and using the wrong method can spread stains or make them harder to remove.
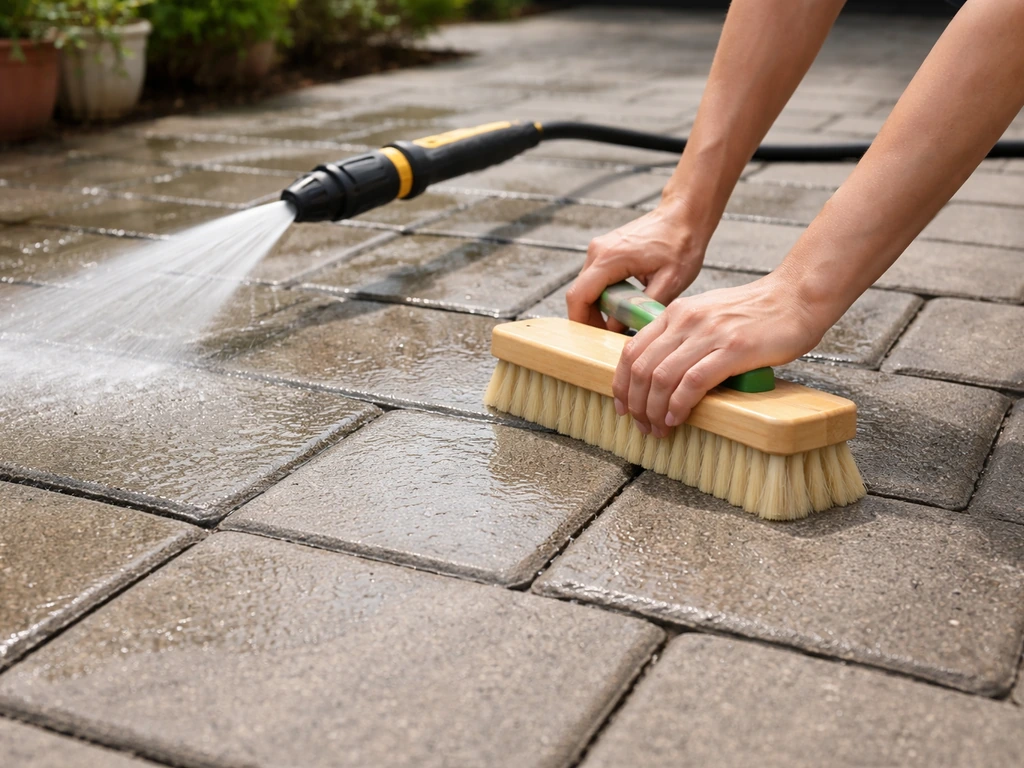
Manual scrubbing: slow but safe for every surface
Manual scrubbing is the safest method for natural stone, travertine, and older brick where the mortar joints are fragile. You need a stiff-bristled brush (not metal wire on stone or travertine), a bucket, your cleaner of choice, and some physical effort. Apply the cleaner, let it dwell for the time specified on the product label or in the section below, scrub in circular or back-and-forth motions, then rinse thoroughly. It takes longer, but you have full control over where the chemical goes and how long it contacts the surface.
Pressure washing: fast but needs the right technique
Pressure washing works well on concrete slabs, concrete pavers, and most brick surfaces. The risk is etching, which is surface scarring caused by too much pressure, too close a distance, or the wrong nozzle. Here's what I've found works reliably without causing damage:
- Use a 25-degree (green) or 40-degree (white) fan tip for general cleaning. Avoid zero-degree (red) or 15-degree (yellow) turbo tips on patio slabs as they concentrate force in too small an area and can scar the surface.
- Keep the nozzle at least 30 cm (about 12 inches) from the surface and work in consistent overlapping passes. Never let the nozzle hover in one spot.
- Stay below 3,000 PSI for concrete and pavers. For natural stone and brick, drop to 1,200-1,500 PSI maximum.
- Pre-treat stubborn stains with appropriate cleaners before pressure washing. Pressure alone won't remove rust, grease, or heavy efflorescence.
- Do not pressure wash natural stone with aggressive pressure, and avoid it entirely on travertine unless using very low pressure and a wide-fan nozzle.
How to treat specific stains
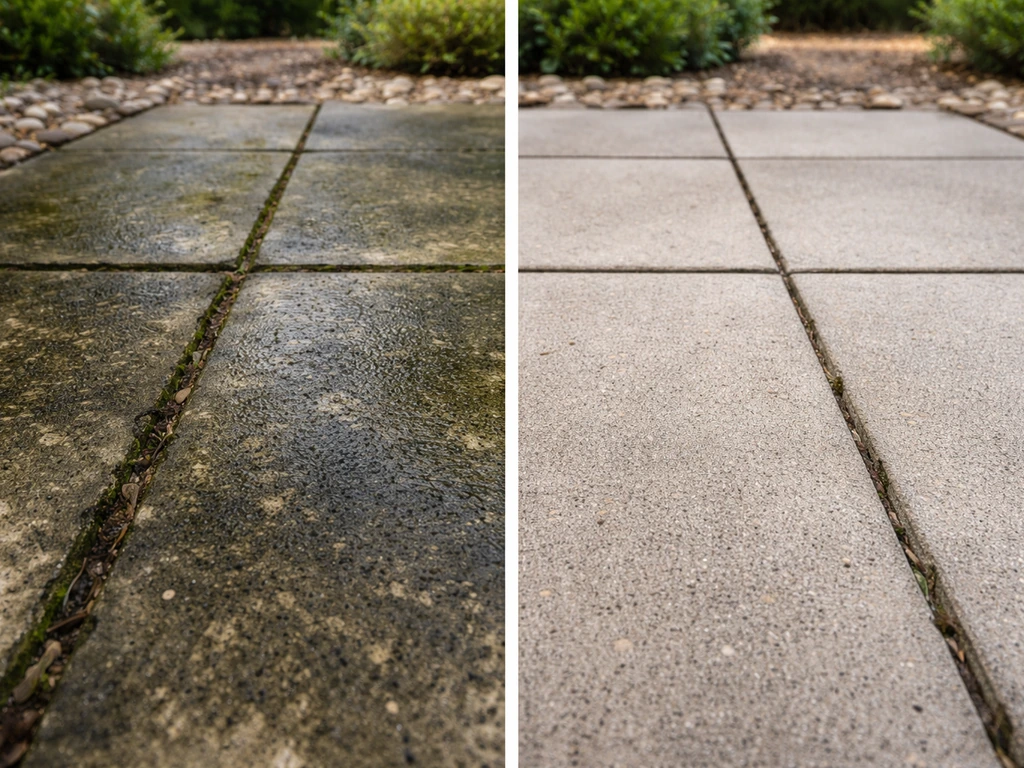
Mold, algae, and green/black organic growth
This is the most common reason patios look old and neglected, and it's also one of the most satisfying to fix because the results are dramatic. Sodium hypochlorite (the active ingredient in household bleach) is the go-to treatment here. For concrete slabs and brick pavers, mix a solution of roughly 1 part bleach to 10 parts water (targeting a working concentration of around 0.
5-1%), apply it to the affected area, let it sit for 10-15 minutes without letting it dry out, then scrub and rinse. For larger areas, you can apply through a garden sprayer. Keep the solution off surrounding plants and rinse the patio edges well after. On natural stone or travertine, use a more diluted solution and always test first.
The GSA's guidance for discoloured travertine specifically references using a 5. 25% sodium hypochlorite solution applied with cloths as a controlled method, so bleach on travertine isn't off-limits, it just needs care.
Rust stains
Rust is tricky because it bonds to the surface and regular bleach does nothing to it. You need an oxalic acid-based or phosphoric acid-based rust remover. Products like QUIKRETE Efflorescence and Rust Remover (a water-based, low-VOC concentrate) or dedicated paver rust removers from brands like Techniseal are designed for exactly this.
If your patio pavers look scratched or worn, the same targeted cleaning approach can help you remove embedded grime and restore the surface before you decide on any protection rust remover. For a DIY approach, products based on oxalic acid (sometimes sold as a wood brightener or deck cleaner) diluted at roughly 1 part product to 4-8 parts water are effective on concrete and pavers. Apply, let it dwell 5-10 minutes, scrub, and rinse.
One caution from real-world experience: spot-treating rust can leave slightly lighter patches on surrounding areas, especially on older slabs. Try to feather the treatment out slightly beyond the stain edge to blend the result.
Grease and oil marks
Fresh grease is much easier to handle than old, polymerised oil that's been baking in the sun for years. For relatively fresh marks on concrete or pavers, apply a generous amount of dish soap or a dedicated degreaser, work it into the stain with a stiff brush, let it sit for 15-20 minutes, then scrub and rinse.
After you lift the oil, finish by giving the entire paver surface a thorough rinse and then follow a complete how to clean pavers patio routine. For old, set grease, you'll likely need a dedicated alkaline degreaser, applied undiluted, left to dwell for 20-30 minutes. Pressure washing after the dwell time helps lift the emulsified oil. Avoid using acid-based cleaners on grease since acids don't break down oil.
Grease stains on natural stone are best treated with a poultice: mix a powdered cleaner (or even flour) with mineral spirits into a paste, apply it to the stain, cover with plastic wrap, and let it draw the oil out over 24-48 hours before scraping and rinsing.
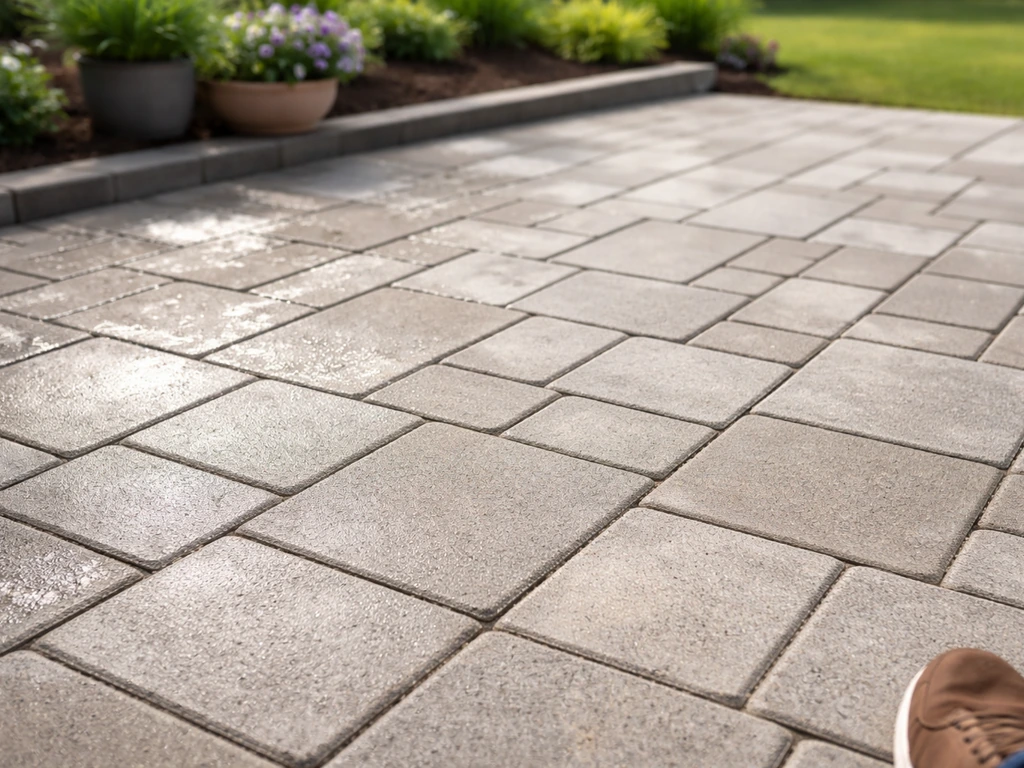
White haze and efflorescence
Efflorescence is that chalky white powder or haze that appears on concrete, brick, and pavers, and it's extremely common on newer or recently installed surfaces. It's caused by soluble salts migrating to the surface as water moves through the slab and evaporates. It's not a structural problem, but it makes surfaces look terrible.
Mutual Materials explains efflorescence as a mineral or salt-related discoloration that you can remove as part of your hardscape and masonry cleaning routine efflorescence as mineral or salt-related discoloration. The good news is it's cleanable.
For mild efflorescence on concrete pavers, products like Techniseal Paver Prep are specifically formulated for this (note: Techniseal themselves say not to use it on natural stone, wet-cast pavers, or stamped/poured concrete, so read the label). For concrete slabs and brick, QUIKRETE's Efflorescence and Rust Remover works well in four steps: wet the surface, apply the cleaner, scrub, and rinse.
Diluted muriatic acid also removes efflorescence effectively, but save that for cases where milder products have failed, and follow strict safety precautions. One important heads-up: efflorescence can reappear if the underlying moisture pathway hasn't changed. Cleaning removes the symptom, not the cause, so if your slabs get white again within a few weeks, look at drainage and whether water is pooling under the slab.
Choosing your chemical: bleach, vinegar, or muriatic acid
The three most common cleaning chemicals for patios each have a very specific role. Using them in the wrong situation either does nothing or causes damage, so here's a clear breakdown of when to use what.
| Chemical | Best for | Avoid on | Key safety note |
|---|---|---|---|
| Bleach / sodium hypochlorite | Mold, algae, mildew, organic green/black staining on concrete, brick, stone | Dark natural stone (can lighten), travertine (use diluted only), near plants without rinsing | Never mix with ammonia-based cleaners. Causes toxic chlorine gas. Use 1:10 dilution for general cleaning. |
| White vinegar (acetic acid) | Mild efflorescence on concrete, light mineral deposits, general grime where strong acids aren't suitable | Travertine, marble, limestone, any calcium-based stone (acid dissolves them) | Safer for pets and plants. Works slower. Not effective on mold or organic growth. |
| Muriatic acid (hydrochloric acid) | Stubborn efflorescence on concrete, heavy mineral deposits, mortar smears on brick | Natural stone (especially limestone, travertine, marble), painted surfaces, near metal | Dilute to at least 1:10 with water, always add acid to water not water to acid. Wear full PPE including respirator. Rinse very thoroughly. Use only as a last resort. |
| Oxalic / phosphoric acid cleaner | Rust stains on concrete, brick, and pavers | Limestone, marble, travertine (can etch) | Follow product dilution guide; typically 1:4 to 1:8 with water. Rinse well. |
| Alkaline degreaser | Grease, oil, BBQ stains on all slab types | No major surface restrictions, but test on stone first | Can be slippery; rinse thoroughly. Check pH before using near plants. |
A note on vinegar: I see it recommended everywhere as a safe all-purpose patio cleaner, and while it's fine for some jobs on concrete, I'd genuinely caution against using it on any stone that contains calcium carbonate (travertine, marble, limestone, many flagstones). Acid dissolves calcium carbonate, and the damage is permanent. If you want a gentler approach and aren't sure of your stone type, plain warm water with a pH-neutral stone cleaner is the safer choice.
If you do want to explore vinegar cleaning for specific paver types, it can work well in the right circumstances. If you're specifically trying to clean patio pavers with vinegar, make sure you match the vinegar strength to your paver type and always rinse thoroughly afterward vinegar cleaning.
One absolute rule with any cleaning chemical: never mix bleach with ammonia, and never mix different cleaning products together unless the labels specifically say it's safe. The Natural Stone Institute explicitly flags bleach-ammonia mixing as dangerous, and the same principle applies broadly. When in doubt, rinse fully between products and let the surface dry.
How to apply cleaners properly
Application technique matters as much as product choice. I've found these principles apply across almost every cleaner and slab type:
- Pre-wet the surface with clean water first. This stops the cleaner from being absorbed too rapidly into dry, porous slabs and allows it to work on the surface stain rather than soaking in unevenly.
- Apply the cleaner at the correct dilution. More concentrated is not always more effective and often causes uneven results or surface damage.
- Let it dwell for the time the product recommends. The NPS masonry cleaning guidance specifically emphasises this: dwell time is when the chemical does its actual work, and rushing the rinse wastes the treatment.
- Keep the surface damp during dwell time if conditions are hot or windy. A cleaner that dries on the surface before you rinse can leave residue that's harder to remove than the original stain.
- Rinse thoroughly and work from the highest point of the patio to the lowest, pushing dirty water away from already-clean areas.
Rinsing, drying, and making the results last

Rinse properly
A thorough rinse is non-negotiable, especially if you've used any acid-based cleaner or bleach. Residual chemicals left on the surface can continue reacting with the slab, cause discolouration, or leave salt deposits as they dry. Rinse the patio at least twice with clean water, rinse the surrounding plants and lawn again, and rinse any metal furniture or fixtures that may have been splashed.
Let it dry fully before sealing
This is the step most people rush, and it's where a lot of sealing jobs go wrong. The slab needs to be genuinely dry before a sealer goes on. Surface dampness is not enough to go by because moisture can be trapped in the pores below the surface. As a general rule, wait at least 24-48 hours after pressure washing or wet cleaning before applying any sealer, though the specific product's instructions should take precedence. For penetrating or impregnator-type sealers, the stone also needs to be dry through its depth to allow the product to penetrate properly rather than sitting on a moisture barrier.
Should you seal your slabs?
Sealing is the most effective thing you can do to stop the slabs from looking old again in another year or two. It reduces moisture penetration (which reduces efflorescence and frost damage), makes future cleaning much easier, and can enhance the colour of the slabs. After you clean and seal correctly, you can focus on how to make patio pavers shine for a more vibrant, lasting finish. The type of sealer matters a lot.
Penetrating or impregnator sealers work below the surface, don't change the look significantly, and don't peel or trap moisture the way some topical coatings can. They're generally the better choice for natural stone, travertine, and brick.
Topical sealers (film-forming) can give concrete pavers and slabs a wet look or sheen, which is a good option if you want to restore and enhance colour. If you're interested in pushing the colour enhancement further, the approach for restoring and darkening paver colour is a related topic worth exploring.
For new concrete, the standard guidance (from Cemstone and others) is to wait a minimum of 28 days after placement before sealing to allow proper curing. For existing slabs you're restoring, the main requirement is that the slab is clean, dry, and free of any residual cleaning products before the sealer goes on.
Keep them looking new with ongoing maintenance
Once your slabs are clean and sealed, the work to keep them looking good drops significantly. A few practical habits make a real difference:
- Sweep or blow off leaves, dirt, and organic debris regularly. Wet leaves sitting on slabs are one of the fastest ways to build up the green algae and mold staining you just removed.
- Rinse the patio with a garden hose every few weeks, especially after heavy rain or storms that deposit organic matter.
- Treat any new mold or algae patches early, before they spread. A diluted bleach spray and a quick scrub takes minutes when the growth is fresh.
- Reapply penetrating sealer every 2-3 years or as the manufacturer recommends. Topical sealers may need reapplication more frequently depending on foot traffic and weather exposure.
- Address drainage issues if efflorescence keeps returning. Water pooling under or against slabs will keep pushing salts to the surface regardless of how well you clean.
Putting it all together: your action plan
If you're standing in front of an old, tired-looking patio right now and want a clear sequence to follow, here it is. Identify your slab material and the dominant stain type. Gather the right cleaner, the right tools, and your PPE. Pre-wet the surface, apply the cleaner at the correct dilution, let it dwell, scrub if needed, and rinse thoroughly twice.
If the slabs still look dull after cleaning, that's often where a colour-enhancing sealer or a dedicated surface restoration product makes the difference between looking clean and looking new. If you want your patio slabs darker, choose a color-enhancing or penetrating sealer designed to deepen the tone after cleaning colour-enhancing sealer. Give the surface 24-48 hours to dry, then apply a sealer appropriate to your material.
That's genuinely the full workflow, and most patios that haven't been touched in years will look dramatically better after one thorough session following these steps.
FAQ
Can I use one cleaner for every type of patio slab to save time?
Usually no. Concrete, brick, natural stone (including travertine), pavers, and stamped/poured surfaces all have different tolerances, especially for acids and high-strength oxidizers. If you are not 100% sure of the slab material, use warm water plus a pH-neutral stone cleaner, do a small test in an inconspicuous spot, then move to targeted treatments (bleach for organic growth on concrete/brick, oxalic or phosphoric for rust, specific products for efflorescence).
What should I do if the patio looks clean right after washing but turns worse after drying?
That often means residue is reacting or drying into a haze, or the cleaner was too strong for that material. Re-rinse thoroughly with clean water (at least twice), let it dry fully, and inspect the pattern. If you see bleached patches, stop using the same chemical and switch to the gentlest compatible option (pH-neutral cleaner, or a product specifically labeled for that surface).
How can I tell whether my white chalky coating is efflorescence or something else?
Efflorescence typically shows as powdery white salts that appear or intensify as moisture evaporates, and it often can be brushed lightly and re-forms if the moisture pathway remains. If the area feels rough and etched like surface damage, or it forms a permanent dull scar right away, that points more toward etching or aggressive cleaning rather than salts.
Is it safe to pressure wash near mortar joints and edges?
It can be risky, especially on older brick, softer stone, or fragile mortar. Keep the nozzle farther back than you think, avoid blasting directly into joints, and consider manual scrubbing around edges and joints. If you see grout lines looking faded, widened, or scuffed, reduce pressure and switch to targeted dwell-and-scrub methods for those areas.
How long do I need to wait after cleaning before sealing?
At least 24 to 48 hours is a practical minimum after wet cleaning, but follow the sealer label first. For some impregnators, the surface needs to be dry not only on top but through the pores, so if you have high humidity or a cool climate, extend the wait. Sealing too early can trap moisture and make efflorescence or discoloration return faster.
Can I seal after I see a little efflorescence coming back?
It depends on the cause. Cleaning removes the symptom, but if the moisture route still feeds salts, the white haze can reappear under the sealer. Focus on drainage issues, reduce pooling, and make sure the slab is clean and completely dry before sealing. If the sealer is applied while salts are still actively migrating, you can end up with recurring spotting.
Do I need to pre-wet the patio before applying cleaner?
For many chemicals, yes. Pre-wetting helps prevent uneven absorption and reduces the chance of spotty discoloration, particularly with bleach solutions and acid-based rust or efflorescence removers. Still apply the cleaner at the correct dilution and dwell time, do not let it dry out, and rinse thoroughly afterward.
What is the safest way to test a cleaner before treating the whole patio?
Test in a small, hidden area first and wait for full dry-down before judging results. Use the same dilution and dwell time you plan for the main job. Look for three outcomes after drying: color change (bleaching or darkening), surface texture (etching or roughness), and reappearing residue (haze that shows up after rinse-drying).
Can I use vinegar to clean my patio slabs?
Be careful. Vinegar is acidic and can permanently damage patio stones that contain calcium carbonate, such as travertine, marble, limestone, and many similar flagstones. If you have concrete or certain pavers, it can sometimes work, but match the approach to the exact material, use thorough rinsing, and avoid it on unknown stone until you confirm the composition.
How do I remove rust without leaving lighter patches?
Rust spot treatment can create brightness differences because the stain bonds differently than surrounding material. Feather the treatment slightly beyond the rust edge, do not over-wait beyond the product instructions, and rinse carefully. If you are restoring a larger area, it is often better to treat the whole section uniformly rather than only the exact rust spot.
Will cleaning alone make my patio stay looking new?
Cleaning helps immediately, but without sealing and basic maintenance, patios typically re-dull as organic buildup returns and moisture keeps feeding salts or staining. For longevity, seal with the correct sealer type for your material (penetrating/impregnator for many stones and brick, film-forming for certain concrete pavers if you want sheen), then rinse and do light spot cleaning as stains appear.
What should I do if a sealer makes my patio look blotchy or patchy?
Blotching usually comes from excess moisture, uneven coverage, or applying too soon after cleaning. Stop foot traffic immediately, allow the sealer to cure per label instructions, and then evaluate. If it is still workable, some products allow additional application, but many require removal for true correction. The best prevention is ensuring the slab is fully dry and applying at the coverage rate specified on the product.
Next Articles
How to Clean Patio Pavers Without Removing Sand
Clean mold, algae and stains from pavers while keeping polymeric sand joints intact using safe pressure and rinse steps.
How to Clean Pavers Patio Step-by-Step Best Methods
Step-by-step methods to clean pavers patios, remove stains, and protect joint sand for concrete pavers.

How to Remove Thompson’s Patio Sealer Step by Step
Step-by-step removal of Thompson’s patio sealer on concrete, brick, pavers, and stone, with safety, tests, and cleanup.