
Most 'scratches' on patio pavers aren't true scratches at all. Before you grab sandpaper or a grinder, it's worth knowing that surface scuffs, polymeric sand haze, efflorescence, and dirty grout lines are routinely mistaken for physical damage. When the damage really is a scratch, the fix depends almost entirely on two things: how deep it goes and what your pavers are made of. A light scuff on a concrete paver takes about 20 minutes to buff out. A gouge in travertine or a chipped brick is a different job entirely. This guide walks you through diagnosing what you're actually dealing with, then choosing the right repair path so you don't make things worse. If you also want a richer, darker look after repairs, look at how to darken patio slabs with the right cleaning and sealing approach for your material.
How to Get Scratches Out of Patio Pavers Step by Step

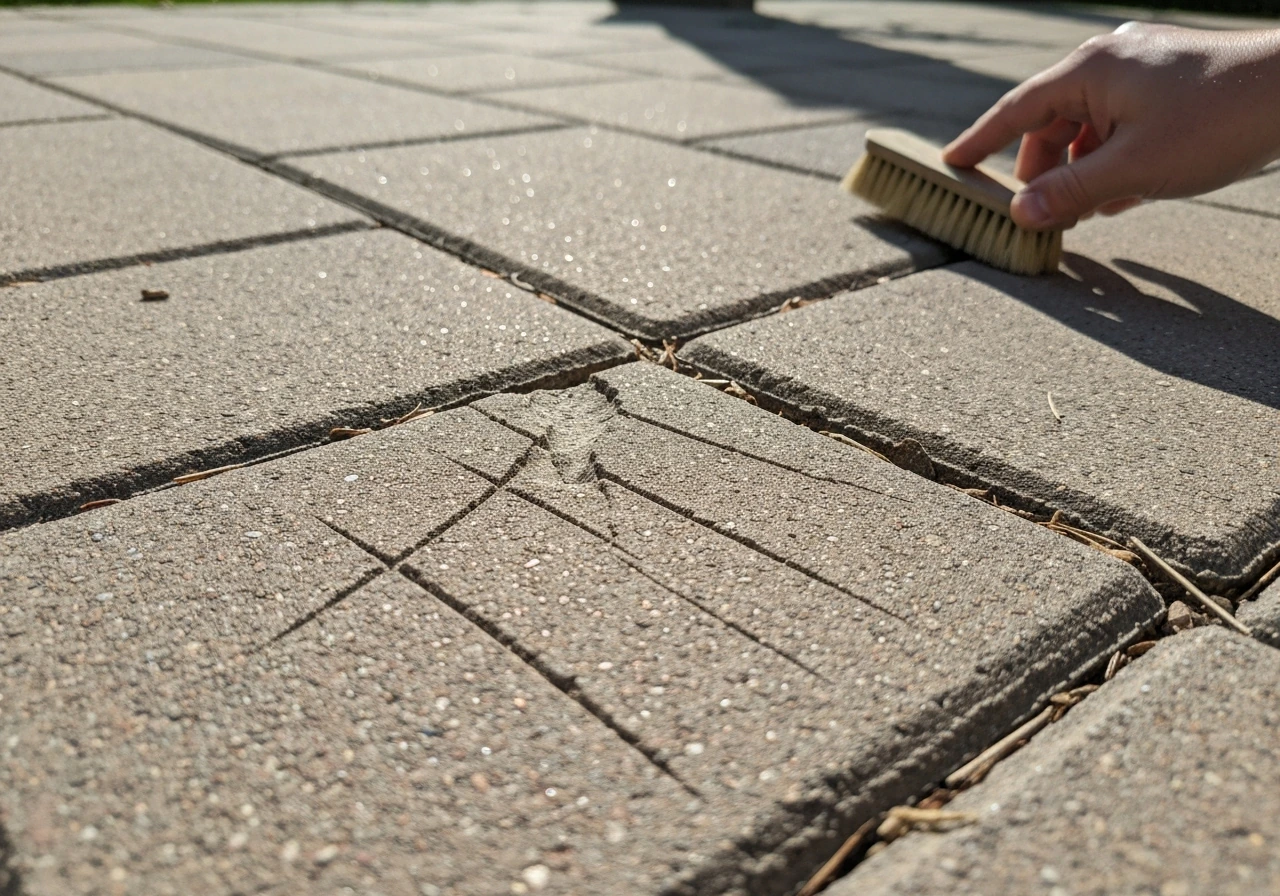
Step 1: Figure out what you're dealing with (material and scratch type)
The two questions you need to answer before touching anything are: what are my pavers made of, and is this actually a scratch? Both answers change everything about how you proceed.
Know your paver material
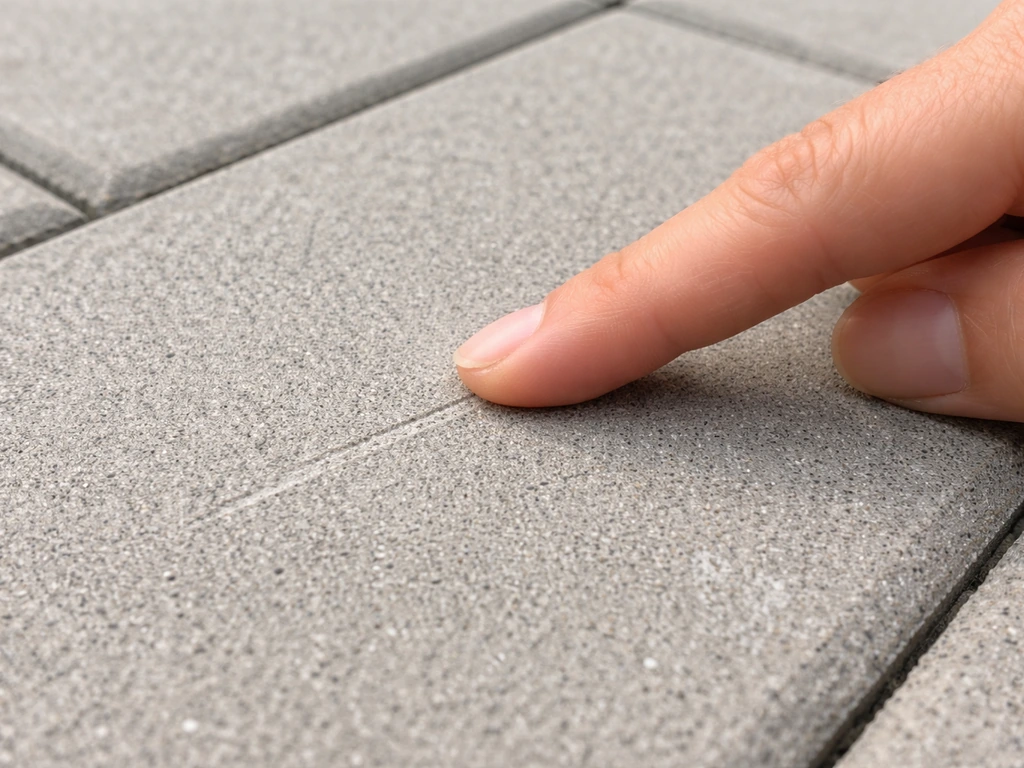
Run your finger across the damaged spot. Manufactured concrete pavers feel dense and uniform. Natural stone like slate, flagstone, or travertine has visible grain, layering, or crystalline texture. Brick has a coarser, more porous surface and tends to be reddish or tan. This matters because acids and abrasives that are fine on sealed concrete will etch travertine or limestone permanently, and scouring powders that seem harmless can scratch polished stone surfaces.
Identify scratch severity
Drag your fingernail lightly across the mark. If your nail doesn't catch in it, it's a surface scuff or discoloration, not a real scratch. If your nail catches but the groove is shallow (under roughly 1mm), it's a light scratch that can be buffed. If you can feel a clear ridge or depression, it's a gouge that needs filling. Chips and spalls (where a chunk has broken off) are a separate category and usually require a patching compound or paver replacement.
| What you see | What it probably is | Fix approach |
|---|---|---|
| White lines or haze | Polymeric sand residue or efflorescence | Clean first, no buffing needed |
| Gray or dark line, nail doesn't catch | Surface scuff or soiling | Clean and buff |
| Nail catches, shallow groove | Light scratch | Buff and polish or color-match sealer |
| Clear groove or raised edge | Deeper gouge | Fill, patch, and seal |
| Missing chunk or corner | Spall or chip | Patch compound or replace paver |
Step 2: Clean first, a lot of 'scratches' vanish with the right wash
I've seen dozens of patios where the homeowner was convinced they had deep scratches and the problem was actually efflorescence (white powdery salt deposits), polymeric sand haze, or just ground-in grime. Both polymeric sand residue and efflorescence create pale, linear marks that look like surface damage. Home Depot’s polymeric-vs-paver-sand explainer also warns that excess residue on the surface can cause haze described as a milky film blank" rel="noopener noreferrer">polymeric sand residue and efflorescence create pale, linear marks. Before any repair, a thorough clean will tell you exactly how much real damage is left. If you are not sure where to start, follow a dedicated guide on how to clean pavers patio first so any remaining marks are truly damage.
For general dirt and soiling
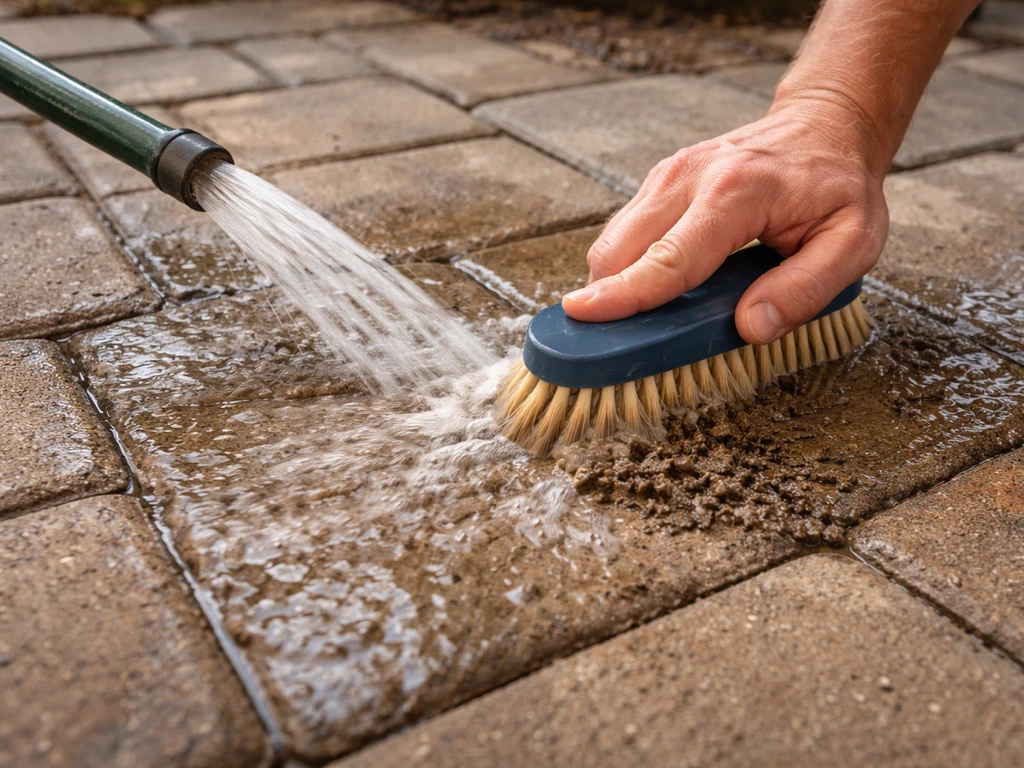
- Rinse the area with plain water to remove loose debris.
- Scrub with a stiff nylon brush (not wire, which can leave metal marks) and a pH-neutral cleaner diluted per label.
- Rinse thoroughly and let the surface dry for at least 24 hours before reassessing.
- If you use a pressure washer, keep it at 1,200 to 1,500 PSI and hold the wand at a low angle, sweeping with the joint lines rather than across them. Higher pressure or the wrong angle can expose aggregate and actually create new texture damage.
For white haze or efflorescence
If the marks are white or powdery, you're likely looking at efflorescence or polymeric sand residue. A sulfamic-acid-based efflorescence remover (like Rust-Oleum WaterTite Etch & Cleaner) handles both well on concrete and brick. Always test in an inconspicuous spot first, especially on natural stone. Mix per the product directions, apply, let it dwell for the recommended time (usually 5 to 10 minutes), scrub, and rinse completely. Do not use muriatic acid or vinegar on calcareous stones like travertine or limestone. A small amount of vinegar can help with general grime, but use it only on compatible surfaces and skip it on travertine or limestone. The acid will etch the surface and create new, permanent dullness that's far worse than the original mark.
If you prefer a gentler approach for concrete or brick, a paste of baking soda and water scrubbed in with a nylon brush can lift light efflorescence without the safety concerns. It takes longer and may need two or three applications, but it's a reasonable option if you have pets or want to avoid handling acids entirely.
What not to use for pre-clean
- Bleach and sodium hypochlorite are useful for mold and organic stains but won't touch scratches or haze, and they can discolor certain natural stones.
- Vinegar is an acid and will etch travertine, limestone, and marble. It's fine for concrete and some bricks, but don't use it as a catch-all on natural stone.
- Scouring powders and abrasive cream cleaners can introduce new micro-scratches on polished or honed stone surfaces.
- Wire brushes and metal scrapers leave fine metal particles behind that rust and create new staining.
Step 3: Light scratches, buff and polish your way out
Once the paver is clean and dry, reassess the damage. If you are trying to lift haze or residue caused by sand without pulling it out, start with gentle cleaning so you do not mistake trapped buildup for a true scratch Once the paver is clean and dry, reassess the damage.. If what's left is a shallow scratch or scuff, buffing is your first move. The approach differs by material.
Concrete and manufactured pavers
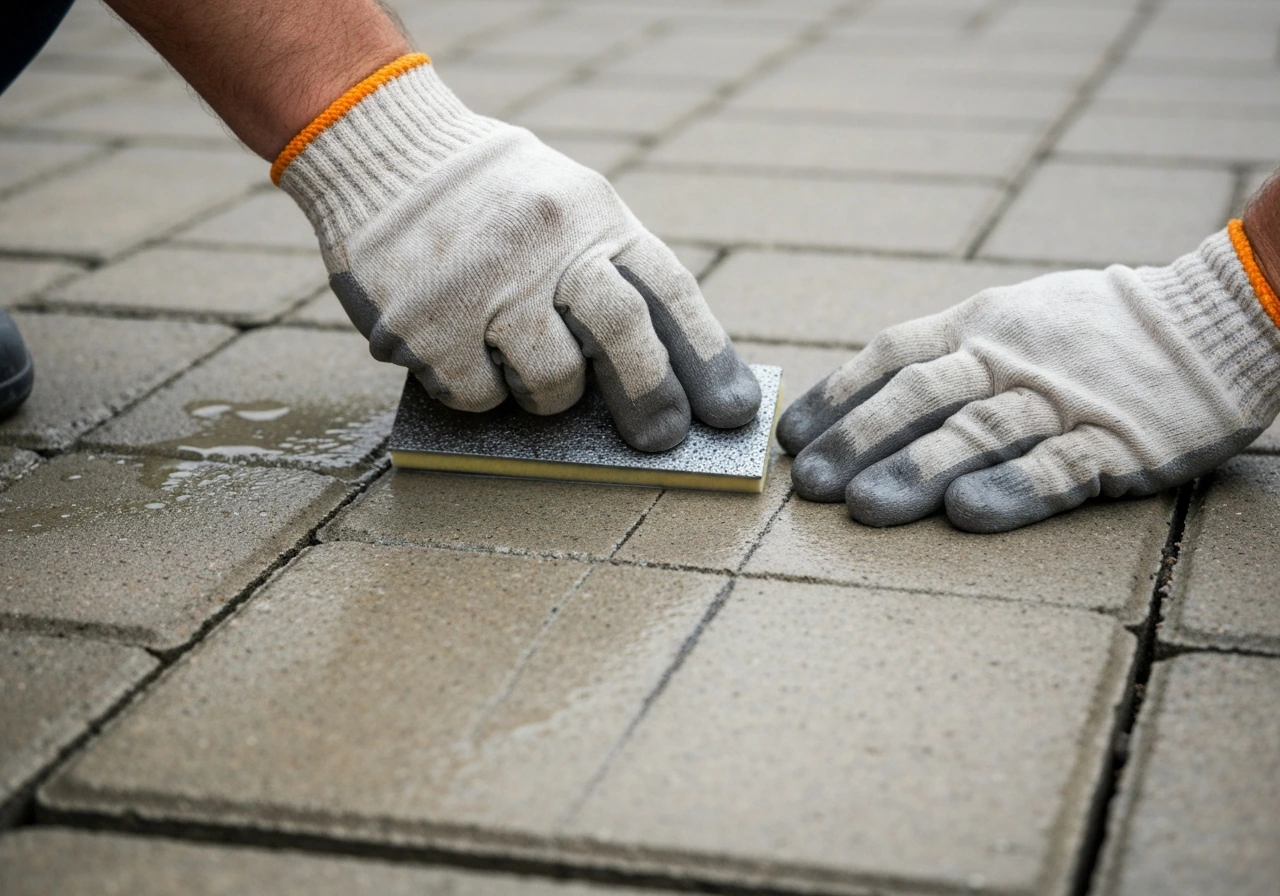
- Start with a diamond hand pad (120 to 200 grit) wetted with water. Work in small circular motions over the scratch, keeping the pad moving so you don't create a low spot.
- Step up to a 400-grit pad to smooth the surface further, then finish with an 800-grit pad.
- Wipe clean, let dry, and inspect. Light scuffs usually disappear at the 200-grit stage.
- If the paver was previously sealed, you'll need to reseal after buffing (covered in Step 6).
Natural stone (slate, flagstone, travertine)
For light scratches on natural stone, professional-grade honing powder is the most effective approach. Products like LATICRETE STONETECH Honing Powder are non-acidic and specifically formulated to eliminate mild to moderate scratches before polishing. They're designed for professional use but can be applied by a careful homeowner on a test area. Apply the powder dry to the wet stone surface, work it with a low-speed polisher or a hand pad in circular motions, and follow up with a polishing powder to restore sheen. Do not use these products on very porous or flaking stone without testing first. If the scratch is on tumbled or textured travertine, honest answer: a light scratch often reads as part of the natural character of the stone and may not need treatment.
Brick pavers
Brick is relatively forgiving for light surface scuffs. Wet-sand with 220-grit wet/dry sandpaper in the direction of the scratch, then move to 400 grit. Because brick is porous, avoid soaking it during this process. Seal afterward to protect the freshly worked surface.
Step 4: Deeper scratches and gouges, fill, patch, and color-match
If buffing doesn't resolve the damage or the groove is too deep, you're into patching territory. The goal here is to fill the void, match the color as closely as possible, and integrate the repair so it's not the first thing your eye goes to. For example, Rust-Oleum Concrete Fast Patch is a two-component epoxy putty made to fill minor cracks, spalls, low spots, and vertical crack or slab damage, and it includes prep steps like removing dust, debris, and loose material.
Prep the damaged area
- Use a stiff brush and compressed air (or a shop vac) to remove all loose material, dust, and debris from inside the gouge.
- If the edges of the scratch are crumbling, use a cold chisel to neatly square up the edges so the patch material has something solid to bond to.
- Dampen the area slightly with water if using cementitious patch products (check product directions — epoxy patches often require a dry surface).
- Wipe out excess moisture before applying any patch.
Choosing the right filler
| Paver type | Recommended filler | Notes |
|---|---|---|
| Concrete/manufactured paver | Two-part epoxy patching compound (e.g., Rust-Oleum Concrete Fast Patch) | Bonds strongly; mix per directions; sand flush when cured |
| Concrete/manufactured paver (minor spalls) | Polymer-modified cement patch | Easier to color-match; good for larger areas |
| Natural stone (travertine, limestone) | Pre-mixed travertine filler or color-matched stone repair epoxy | Test color when dry — it almost always dries lighter |
| Flagstone/slate | Tinted epoxy or masonry adhesive matched to stone color | Avoid cement-based fillers that can look patchy on dark stone |
| Brick paver | Brick repair mortar or color-matched caulk for small chips | Sand to rough up surface before applying |
Applying and color-matching
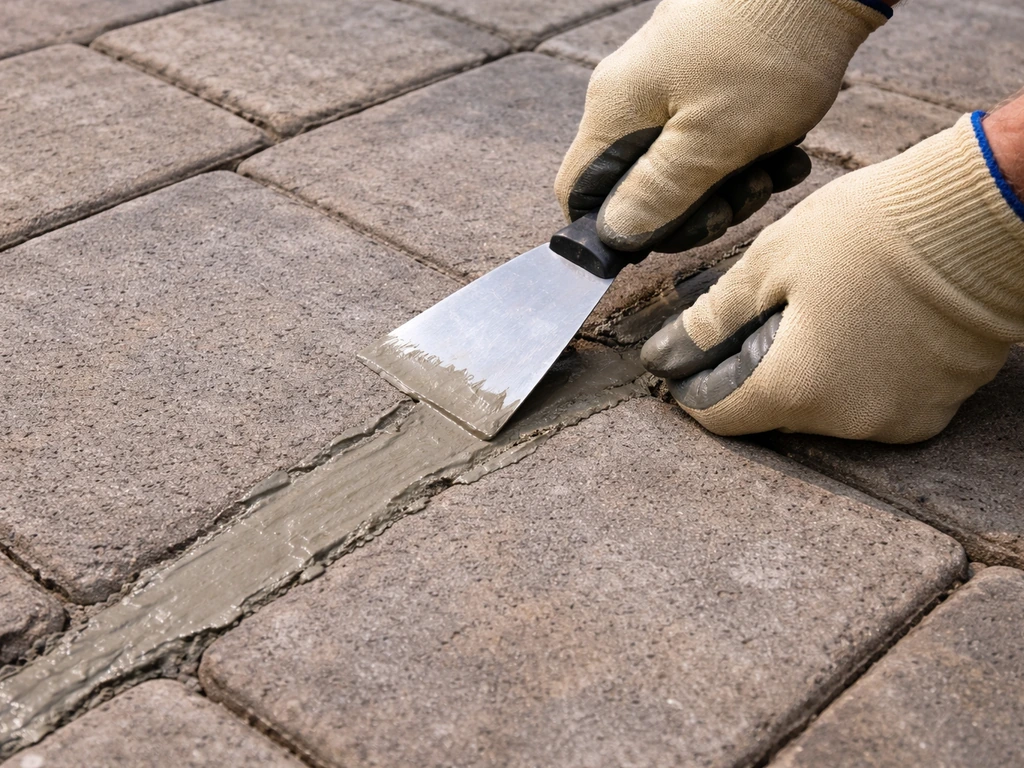
- Apply your chosen filler slightly proud of the surface (a bit above flush). It will shrink slightly as it cures.
- Use a putty knife or margin trowel to work filler into the gouge, pressing firmly to eliminate air pockets.
- Smooth the surface as close to flush as possible, feathering the edges.
- Allow to cure fully per product instructions before walking on it (typically 4 to 24 hours for epoxy compounds).
- Once cured, sand flush with 120-grit paper, then 220, then 400 if the surrounding surface is smooth.
- For color matching: most paver repair products dry several shades lighter than wet. Apply a small test patch on an inconspicuous area, let it cure fully, then compare to your paver color in both wet and dry conditions before committing to the full repair.
Color matching is honestly the hardest part of paver repair. I've found that using a tinted sealer over the repaired area afterward helps unify the patch with the surrounding paver surface far better than trying to nail the filler color alone.
Step 5: When the 'scratch lines' are really joint or leveling issues
This is something that catches a lot of homeowners off guard. Those crisp, straight lines running across your patio that look like deliberate scratch marks are often damaged or eroded paver joints, not surface scratches at all. Similarly, a line that appears along the edge of a paver might be an unevenness in height between two adjacent pavers.
Refreshing deteriorated joints
If your paver joints have crumbled, washed out, or been invaded by weeds, the fix is joint sand or polymeric jointing sand replacement, not surface repair. Sweep out the old material to a depth of about 1 inch, blow out any debris, then sweep fresh polymeric sand into the joints. Compact with a plate compactor or by hand tamping, sweep in more sand until joints are filled to about 1/8 inch below the paver surface, then activate with a fine water mist per the manufacturer's directions. Critical: make sure the paver surface is completely dry before activating polymeric sand, or you'll create a white polymer haze on the paver faces that mimics scratches all over again.
Re-leveling a proud or sunken paver edge
A paver that has heaved or sunk creates a shadow line or a visible step that reads as damage. The actual fix is lifting the paver, adjusting the base material underneath, and re-setting it flush with its neighbors. This is more of a hardscape reset than a scratch repair, but it's worth checking because no amount of buffing or filling will make a structurally misaligned paver edge look right.
Step 6: Seal and finish for a uniform result
Sealing after any repair is what ties everything together visually. It also protects your work and slows future damage. The two main types are film-forming sealers (which sit on the surface and add sheen) and penetrating sealers (which soak in and protect without changing the look much). For patched areas, a film-forming sealer does the best job of blending repaired spots with the surrounding surface because it creates a uniform reflective layer. For natural stone where you want to preserve the natural look, a penetrating sealer is the better choice.
Timing and prep
- Wait at least 30 days before sealing new paver installations so any efflorescence can surface and be treated first.
- For repairs on existing pavers, wait until any patch compound has fully cured and the surface is completely dry (minimum 24 to 48 hours after cleaning).
- Some penetrating sealers require only one week before application — check your specific product.
- Apply an efflorescence cleaner or paver prep product if you see any white residue before sealing. Sealing over efflorescence will lock it in permanently.
- Always test the sealer in a small inconspicuous area first to confirm you like the sheen level and that it doesn't darken the paver more than you want.
Application
- Apply sealer with a low-nap roller or pump sprayer in thin, even coats.
- Work in sections of about 4 by 4 feet so you can maintain a wet edge.
- Two thin coats will always outperform one heavy coat — a thick application can bubble or peel.
- Let the first coat dry per label directions (usually 1 to 2 hours) before applying the second.
- Keep foot traffic off for at least 24 hours and vehicle traffic off for 72 hours.
If you're trying to restore overall color vibrancy after repairs, a color-enhancing penetrating sealer can do a lot of the heavy lifting. This pairs well with a broader project of making your patio look refreshed overall, not just patched in one spot. Once the patching and sealing are done, you can use the same approach to make old patio slabs look new all over the surface how to make old patio slabs look new.
Step 7: Prevent future scratches and know when to call a pro
Prevention habits that actually work
- Stick felt or rubber furniture pads under all chair and table legs. Metal-tipped furniture legs dragged across pavers are the single biggest cause of surface scratches.
- When moving heavy planters or furniture, lift and carry rather than drag. Slide them on a piece of carpet if you need to move them a short distance.
- Avoid metal snow shovels directly on pavers — use a plastic blade or rubber-edged shovel. Metal edges on concrete and stone leave gray scuff marks that look like scratches.
- Don't use rock salt for ice control on pavers. It accelerates spalling and surface pitting over time. Use sand for traction or a paver-safe calcium magnesium acetate deicer.
- Keep a scheduled light clean (a pH-neutral wash and rinse twice per year) to prevent grit buildup that acts like sandpaper underfoot.
- Reseal every 2 to 3 years depending on your climate and foot traffic level. A well-sealed surface is dramatically harder to scratch.
Decision guide: which fix applies to you?
If the mark vanishes when wet or disappears after cleaning, it was dirt or haze, not a scratch, clean and seal, done. If your nail doesn't catch and the mark is gray or white, clean with an appropriate cleaner for your paver type, then buff lightly and seal. To restore color to patio pavers, the final step is choosing the right sealer for your paver material so the surface looks even again how to restore color to patio pavers. If your nail catches in a shallow groove, buff with progressively finer diamond pads or honing powder (for natural stone), then seal. If the groove is clearly deep or a chunk is missing, clean the area, fill with the appropriate patching compound for your material, sand flush when cured, then seal. If the 'scratch' is a straight line running along a joint, refresh the joint sand. If a line runs along a paver edge and one paver sits higher or lower than its neighbor, re-level the paver before any surface work.
When to call a professional or replace the paver
If a paver has extensive spalling across more than about 30% of its surface, replacement is cheaper and looks better than patching. The same goes for a paver that has cracked through, no surface repair addresses structural failure. For polished marble, highly figured natural stone, or large-format stone tiles, scratches deep enough to need honing are genuinely a professional job. The equipment and technique required to hone and re-polish stone uniformly without leaving visible circles or flat spots takes experience that's hard to fake. If you've done the diagnostic steps above and still can't tell what you're dealing with, a hardscape contractor can usually assess and quote in a single visit.
The tools you'll want to have on hand before starting any of this: a nylon-bristle scrub brush, pH-neutral cleaner, a diamond hand pad set (120 through 800 grit), your chosen patching compound, 220 and 400 grit wet/dry sandpaper, a putty knife, and a can or bottle of penetrating or film-forming paver sealer appropriate for your material. Most of these are available at any home improvement store for under $60 total, and a test spot costs you nothing but a bit of time.
FAQ
How can I tell if a mark is a scratch or just polymeric sand haze on patio pavers?
Polymmeric haze often looks like pale streaks or a dull film and tends to improve after a thorough rinse and dry. If the “scratch” reappears or looks worse right after you mist the area, you may be reacting to sand residue rather than true surface removal. Focus on cleaning first, then reassess with your fingernail test only once the paver face is fully dry.
What should I do if the scratch looks worse after I rinse or clean the area?
That usually means the stain or haze wasn’t fully removed, or you’ve lifted grime that was filling the groove. Let the paver dry completely, then check again with a fingernail. If the mark stays crisp as a depression, treat it as a real scratch and move to the next step (buffing, honing, or patching depending on material and depth).
Can I use a power sander or angle grinder to remove deep scratches?
Avoid them for most homeowner repairs. On natural stone, aggressive abrasion can create uneven dull spots, “ghost circles,” or permanent surface etching, and you can also remove too much material from brick or concrete. If you need true depth removal, use controlled hand methods (diamond pads or honing powder with follow-up polishing) and only after confirming the mark is a real groove, not joint damage or efflorescence.
Is vinegar safe for removing scratches on travertine, limestone, or other calcareous stone?
No. Vinegar and other mild acids can etch calcareous stones, leaving a new matte area that can look worse than the original mark. Use only cleaners that are specifically compatible with your stone type, and always test in an inconspicuous area first.
What grit or approach should I use for concrete or brick scratches if buffing does not work?
For light surface damage on concrete or brick, start with gentle abrasion and progressively finer steps, rather than jumping straight to coarse grits. For brick specifically, wet sanding in the scratch direction from 220 to 400 is a practical path, then seal. If you feel a defined ridge your nail catches on, stop sanding and switch to filling since grinding may widen the groove.
Should I seal before or after I repair scratches or scuffs?
Seal after the repair is cured and sanded flush. Sealing too early can trap residue in a groove or prevent patching compound from bonding properly. For tinted unifying results, apply the sealer after the filler work so the reflective layer is consistent across the repaired and original areas.
Why do I sometimes get a white haze that looks like scratches after working with polymeric sand?
It usually happens when polymeric jointing sand activates while the paver surface is not completely dry. The haze can mimic widespread “scratch” lines. Keep faces dry, then mist only the joints per the label, and if haze forms, address it by cleaning and preventing further activation rather than sanding blindly.
Can I patch a deep scratch without removing the entire paver?
Often yes for a localized groove in a sound paver, but not for structural failure. If the paver is cracked through, has extensive spalling beyond roughly a third of the surface, or feels loose, replacement or professional assessment is usually the better option, because filling will not restore strength or prevent continued breakdown.
When should I re-level a patio instead of trying to buff scratches out?
If the “scratch” runs along a paver edge, or you see a shadow line or step height difference between neighboring pavers, it’s commonly a leveling problem. In that case, lift and reset the paver on the correct base thickness. Surface work will not make misalignment disappear.
How long should I wait before sealing after cleaning or patching?
Wait until the area is completely dry, and for patching compounds, allow full cure time as directed on the product label. If you seal while moisture is trapped, you can get uneven sheen, poor bond, or hazy appearance that resembles new surface damage.
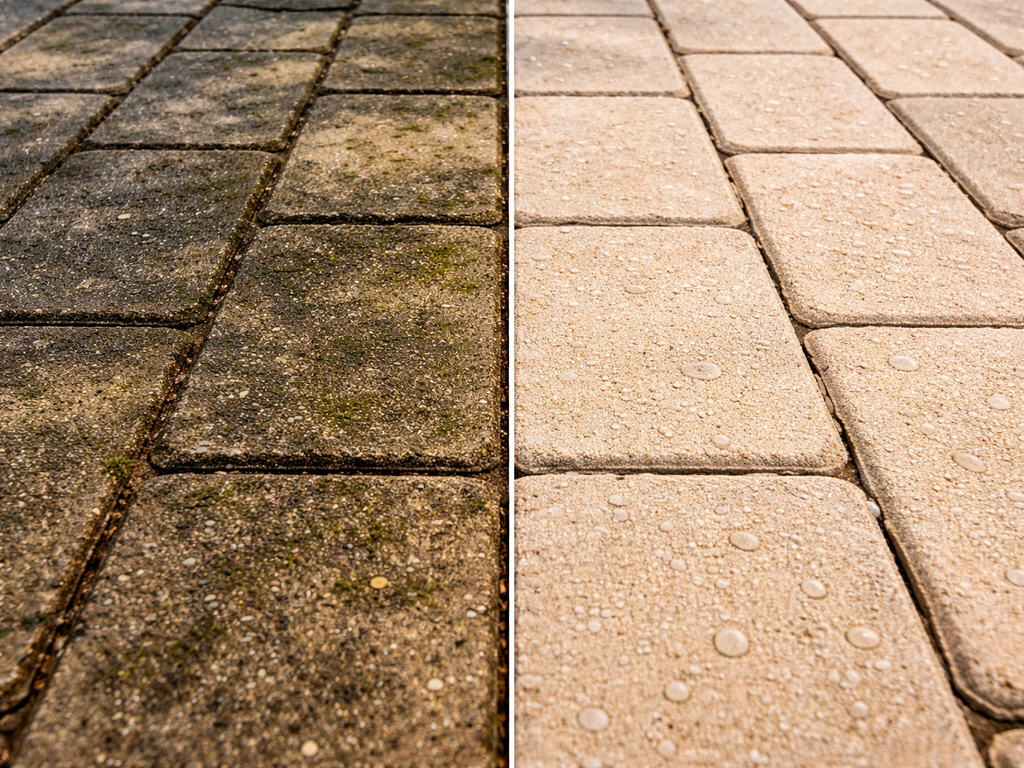
Safe, step-by-step vinegar method to clean concrete, brick or some stone pavers, plus when to avoid it and how to rinse
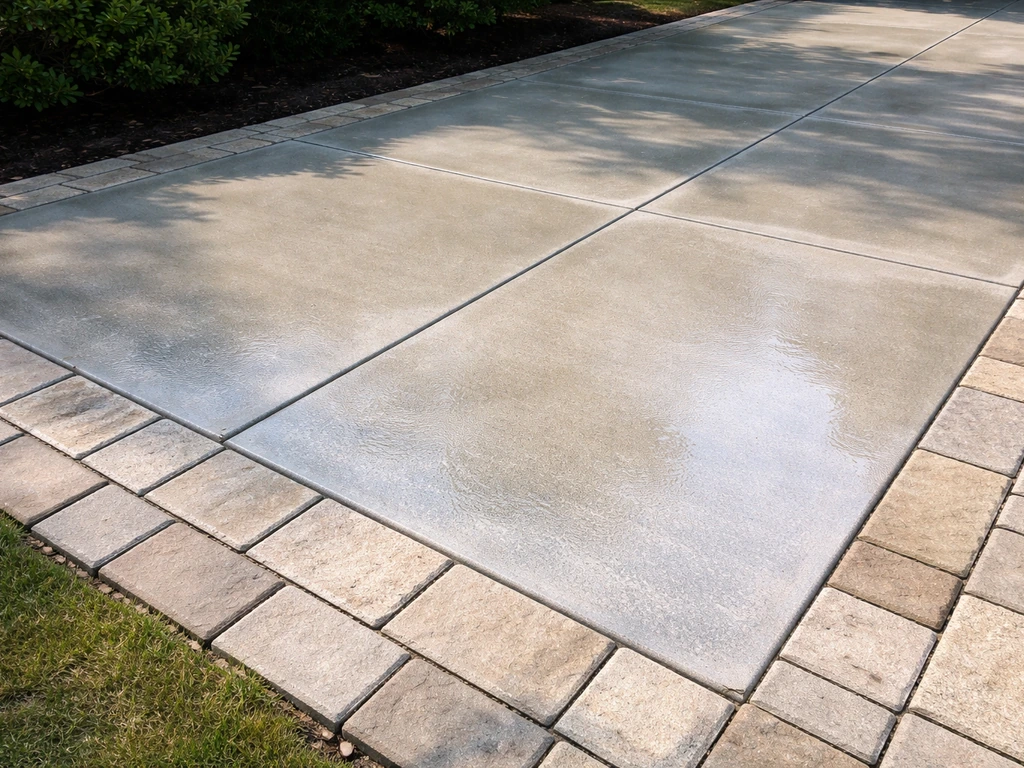
Step-by-step plan to clean, remove stains and growth, then rinse and seal concrete, brick, stone, or pavers for a like-n
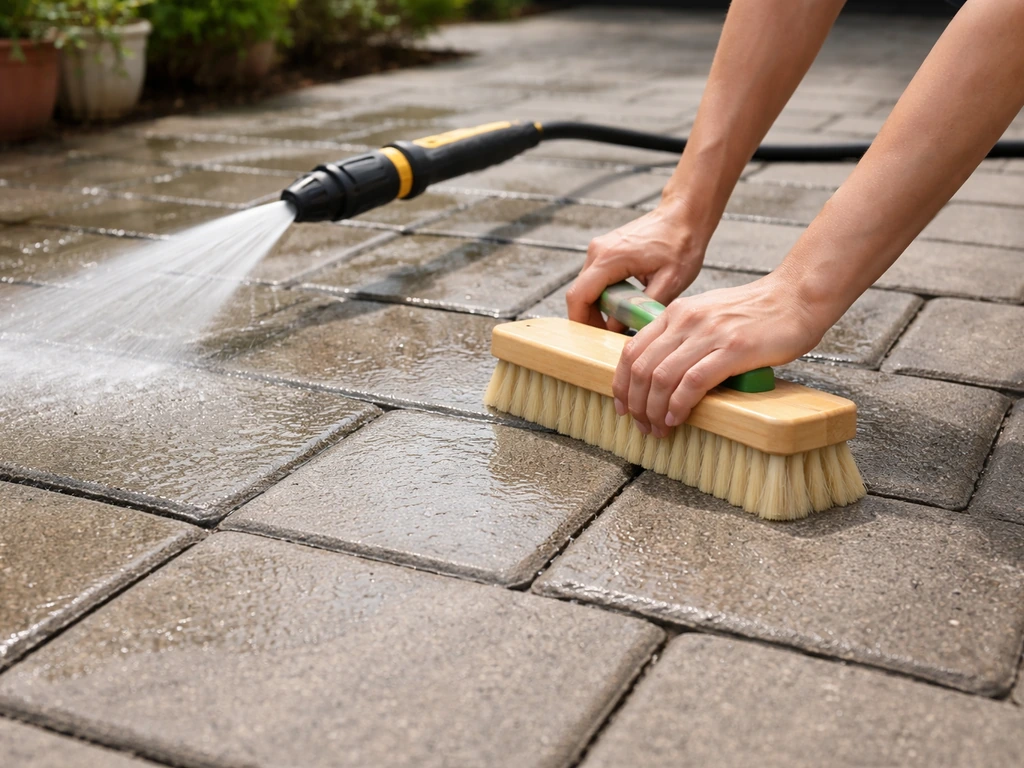
Clean mold, algae and stains from pavers while keeping polymeric sand joints intact using safe pressure and rinse steps.