
Yes, household bleach works well on brick patios, and I use it regularly for mold, mildew, algae, and general biological grime. A dilution of 1 cup of bleach per gallon of water handles most visible growth with a 10-minute dwell and a stiff scrub brush. For heavy, embedded mold or thick algae, bump that up to roughly 1.5 cups per gallon, let it sit for up to 15 minutes, and scrub before rinsing thoroughly with plain water. The method is straightforward, but the safety steps and a few brick-specific precautions make the difference between a clean patio and damaged mortar or dead plants.
How to Clean Brick Patio with Bleach: Safe Step-by-Step Guide

Dylan Hale
21 Jul 2026
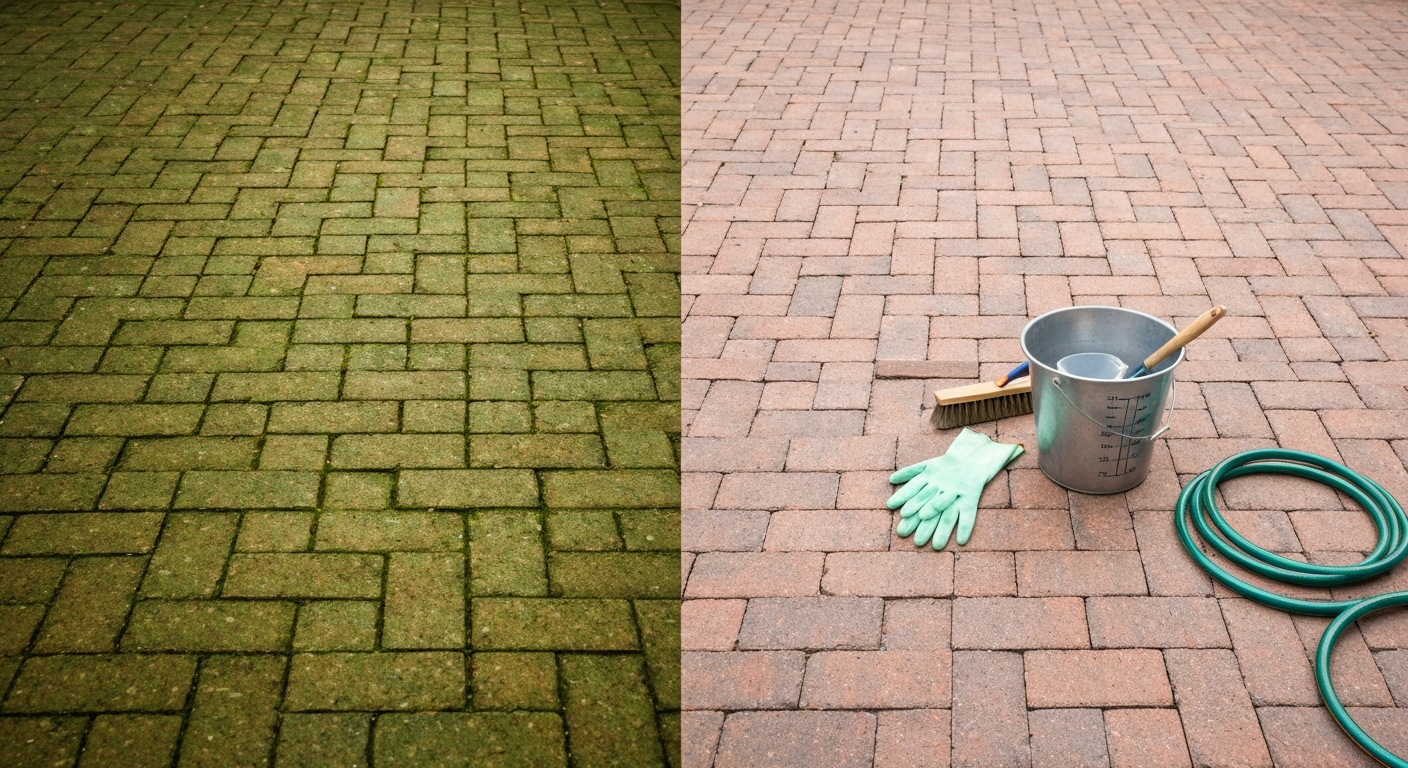
Who this guide is for and what your cleaning options are
This guide is written for homeowners and renters dealing with a brick patio that looks dingy, green, or spotted with mold and mildew. You do not need a pressure washer or professional equipment to follow it. If you have a bucket, a stiff brush, and a garden hose, you can do this job. That said, I also cover the pressure-washer option for people who have one, because it speeds things up considerably.
Before you grab the bleach, it helps to know what your options actually are, because the right choice depends on what is growing or sitting on your bricks.
- Household bleach (sodium hypochlorite): Best for mold, mildew, algae, and general biological discoloration. Widely available, affordable, and effective. Requires dilution and good rinsing. Does not remove rust, oil, mortar smears, or efflorescence.
- Vinegar (diluted white vinegar): A gentler option for light surface grime and mild mildew. Safer around plants and pets, and a good choice for renters or anyone avoiding strong chemicals. Slower and less effective on heavy growth. A full guide on this approach covers the details.
- Muriatic acid: The heavy hitter for efflorescence (white salt deposits), old mortar smears, and heavy mineral staining. It requires serious PPE and careful dilution. It is not necessary for biological growth, and overkill can damage soft mortar. A separate guide on cleaning brick with muriatic acid walks through that process.
- Pressure washing: Fast and effective for surface dirt and loose biological growth. Use the wrong PSI or nozzle and you will blow out mortar joints or chip brick faces. I cover the safe settings below.
- Calling a professional: Worth it for historic brick, severely damaged mortar, or staining you cannot identify. Some problems, like deep rust or paint removal, genuinely need professional-grade equipment or chemistry.
Safety first: PPE, ventilation, handling, and what to do if something goes wrong
Household bleach at the concentrations used for patio cleaning is caustic enough to irritate your eyes, skin, and lungs if you handle it carelessly. The vapors are more of a concern in enclosed spaces, so working outdoors is a genuine safety advantage. Still, I take these precautions every time and I recommend you do the same.
PPE you actually need
- Chemical-resistant gloves: Nitrile, neoprene, or butyl rubber. Standard latex gloves offer minimal protection against sodium hypochlorite. Go thicker than you think you need.
- Splash goggles or a face shield: Safety glasses are not enough if the solution splashes. Splash goggles seal around your eyes.
- Long sleeves and old clothing: Bleach will discolor fabric instantly and can irritate bare skin during longer jobs.
- Rubber-soled shoes or boots: Keep them closed-toe in case of spills.
- Respirator (optional for most outdoor work): If you are working in a semi-enclosed patio area, a low-wind day, or you are sensitive to fumes, an N95 or P100 filtering facepiece adds a real margin of comfort and safety. OSHA and NIOSH recommend at least an N95 for biocide work in enclosed or poorly ventilated spaces.
Ventilation and mixing rules
Always mix and apply bleach solutions outdoors. Never mix bleach with ammonia, vinegar, muriatic acid, or any other cleaner. Mixing bleach with an acid (including vinegar) releases chlorine gas. PubChem's sodium hypochlorite entry warns that mixing hypochlorite with acids (for example, vinegar or muriatic acid) releases chlorine gas and notes that neutralizers like sodium bisulfite or bicarbonate are used for large spills, while for routine surface cleaning the recommended approach is thorough rinsing with copious water rather than attempting on-site reactive neutralization. This is not a minor concern: chlorine gas is toxic even at low concentrations. If you need to use muriatic acid on the same patio at a different time, rinse the surface completely and let it dry before switching chemicals. Store bleach in its original container, in a cool and shaded spot away from children and pets, and keep the cap sealed.
First aid if something goes wrong
- Skin contact: Remove contaminated clothing and rinse the affected area with running water for at least 15 to 20 minutes. Seek medical attention if irritation persists.
- Eye contact: Flush immediately with clean water for at least 15 to 20 minutes, holding eyelids open. Get medical attention. Do not rub your eyes.
- Inhalation: Move to fresh air immediately. If symptoms like coughing, chest tightness, or dizziness continue, call emergency services.
- Accidental ingestion: Do not induce vomiting. Call Poison Control (1-800-222-1222 in the US) immediately.
Choosing the right method: bleach vs. vinegar vs. muriatic acid vs. pressure washing vs. a pro
I get asked this question a lot, so here is how I think about it. Match the chemical or method to the specific stain or growth type, and factor in your comfort level with the chemistry involved.
| Problem | Best Method | Why | When to Avoid |
|---|---|---|---|
| Mold, mildew, algae, general biological growth | Bleach solution | Kills and removes organic growth efficiently; widely available and affordable | Do not use on freshly repointed mortar (allow 30 days curing) |
| Light surface grime or very mild mildew | Vinegar solution or mild detergent | Gentler on plants and pets; safer for renters; no strong fumes | Less effective on heavy or embedded growth |
| Efflorescence (white salt deposits), mortar smears, mineral staining | Muriatic acid | Dissolves mineral deposits that bleach cannot touch | Requires serious PPE; do not use on soft or historic lime mortar without professional advice |
| Loose dirt, surface algae, general film | Pressure washing | Fast and physical removal; no chemicals needed | Avoid on aged or damaged mortar; keep PSI at 1,000 to 1,500 max with a 25-degree nozzle held 12+ inches away |
| Rust stains | Commercial oxalic acid rust remover | Bleach does not remove rust; it can actually set iron stains | Follow product instructions carefully; rinse thoroughly |
| Oil or grease | Dish soap or commercial degreaser | Bleach does not dissolve petroleum-based stains | Pre-treat before any other cleaning |
| Paint or whitewash removal | Muriatic acid or chemical paint stripper (pro recommended) | Mechanical or chemical removal needed; bleach is ineffective | Historic brick needs professional assessment first |
| Severely damaged mortar, unknown stains, historic brick | Professional cleaning service | Wrong chemistry or pressure can cause irreversible damage | DIY methods not recommended without expert consultation |
For renters, I always recommend starting with the least aggressive option: a vinegar solution or a diluted dish soap scrub. These leave no chemical residue, carry zero risk of mortar damage, and do not require landlord permission the way a pressure washer might. If those do not clear the problem, a diluted bleach solution is the next step, but worth a quick conversation with your landlord before you apply anything stronger. Bleach will not damage sound brick or Portland cement mortar at the dilutions used here, but older lime-mortar joints are a different story (see the note on historic brick below).
Supplies checklist before you start
Chemicals and cleaning agents
- Household bleach (5% to 9% sodium hypochlorite — check your label; most standard products like Clorox Regular are in the 5% to 6% range, though some concentrated versions reach 8%+)
- Plain water (clean tap water is fine)
- Liquid dish soap or TSP (trisodium phosphate) substitute for heavy biological buildup (optional, see heavy-growth method below)
Tools
- Two buckets (one for mixing solution, one for rinse water)
- Measuring cup with clear markings
- Stiff-bristle nylon scrub brush (not wire — wire bristles scratch brick faces and damage mortar)
- Long-handled deck brush for large areas (saves your back significantly)
- Garden hose with adjustable spray nozzle, or a pressure washer set to 1,000 to 1,500 PSI with a 25-degree fan nozzle
- Plastic sheeting or drop cloths for covering nearby plants
- Painter's tape or plastic sheeting to protect adjacent wood, metal, or painted surfaces
- Timer (for tracking dwell time)
PPE (repeat from safety section for easy reference)
- Chemical-resistant gloves (nitrile, neoprene, or butyl)
- Splash goggles or face shield
- Long sleeves and old clothing
- Rubber-soled closed-toe shoes
Helpful photos and diagrams to reference
- Before-and-after shot showing the patio surface before cleaning, immediately after application, and after rinsing and drying
- Measuring cup with bleach being added to a water-filled bucket (to visualize the pour-bleach-into-water, not water-into-bleach, technique)
- Close-up of PPE setup: gloves, goggles, long sleeves
- Scrub brush technique on mortar joints vs. brick faces (downward strokes parallel to joints)
- Plant and garden bed covered with plastic sheeting during application
- Pressure washer nozzle at correct 12-inch distance from brick surface
Prepping your patio before any cleaning
Skipping prep is the most common mistake I see. It takes 15 minutes and makes everything that follows easier and safer.
- Clear the patio completely: Move furniture, planters, rugs, and any loose items off the surface. This gives you full access to the edges and corners where mold tends to concentrate.
- Sweep or blow off loose debris: Dry leaves, dirt, and debris sitting on wet brick reduce the effectiveness of any cleaning solution and can clog your brush. A leaf blower or stiff broom takes two minutes.
- Identify and note problem areas: Look for heavy mold patches, efflorescence (white salt bloom), rust stains, or oil spots. Each of these may need a different treatment. Bleach handles the biological growth; the other issues have different solutions.
- Protect nearby plants and grass: Wet down any plants, shrubs, or grass immediately adjacent to the patio with plain water before you start. Cover garden beds, potted plants, and lawn areas close to the patio with plastic sheeting. If any bleach solution reaches plants, flush them immediately and thoroughly with water after you finish.
- Pre-wet the brick surface: Use your garden hose to wet the entire patio surface before applying any bleach solution. The National Park Service recommends this for masonry cleaning, and it has a practical benefit: it stops dry brick from absorbing the bleach solution too fast, which can cause uneven results and make the solution harder to control.
- Do a test patch: Pick an inconspicuous spot, like a corner or edge under furniture, and apply your mixed bleach solution. Wait 5 minutes, scrub lightly, and rinse. Check that the brick color and mortar look unchanged after it dries. Most standard clay bricks and Portland cement mortar handle diluted bleach without issue, but older or softer lime mortars can be more sensitive. If you see any bleaching of the mortar color, lighten your dilution or switch to the vinegar method.
- Check the weather: Avoid cleaning on a day with rain forecast within 24 hours. You want the patio to dry fully after cleaning. Also avoid direct bright sun during application, which can cause the solution to evaporate before its dwell time is complete.
The bleach method: what it removes and when to use it
Bleach is the right tool for biological growth: mold, mildew, algae, lichen (early stage), and the dark organic staining that makes an older patio look permanently dirty. The sodium hypochlorite in household bleach oxidizes the organic compounds in these growths, breaking them down at a cellular level. You will see the color lift during the dwell time, which tells you it is working.
Bleach does not work on: rust (it can make iron stains worse), oil or grease, efflorescence (white salt deposits), mortar smears, paint, or mineral discoloration from hard water. If your patio has those problems alongside biological growth, clean the biological growth with bleach first, let the patio dry fully, and then address the other issues with the appropriate methods.
One note on algae specifically: bleach knocks it back effectively, but algae on a shaded, consistently damp patio will return. If your patio stays wet because of a drainage issue or heavy shade, you are looking at a recurring maintenance task rather than a one-time fix. Sealing the brick after cleaning helps slow regrowth significantly.
Bleach dilution ratios, exact volumes, and how to mix them correctly
The dilution you use depends on how severe the growth is. These ratios assume standard household bleach at 5% to 6% sodium hypochlorite, which covers the vast majority of products you will find in US grocery or hardware stores. If your bleach is labeled at a higher concentration (say 8% to 9%), reduce the bleach volume proportionally: you can use the CDC formula (percentage of stock divided by desired percentage, minus 1) to calculate parts of water per part of bleach, but for most homeowners the practical answer is just to use slightly less bleach and more water than the figures below.
Light biological growth (mild mildew, faint algae tint, general discoloration)
Use a 1:10 dilution, meaning one part bleach to nine parts water. This is the ratio that CDC guidance associates with roughly 5,000 to 6,150 parts per million of available chlorine when using standard 5.25% to 6.15% household bleach. For a practical patio mix, that works out to:
- 1 gallon batch: about 1.5 cups of bleach added to the bucket first, then fill to 1 gallon with water (roughly 375 mL of bleach per 3.785 L total)
- Half-gallon batch: about 3/4 cup of bleach, topped up to half a gallon with water
- 2-gallon batch: about 3 cups of bleach, topped up to 2 gallons with water
Always add the bleach to the water, not water to bleach. Pouring water onto concentrated bleach can cause splashing. Mix gently with a stick or the brush handle. Use the solution the same day you mix it; diluted bleach loses strength quickly, and CDC guidance generally recommends preparing fresh solutions daily and discarding unused portions after 24 hours.
Heavy biological growth (thick algae, embedded mold, dark green or black staining)
Use a 1:3 dilution, meaning one part bleach to three parts water. University extension sources recommend concentrations in this range for heavy mold or algae on exterior masonry. Remove Stains From Mildew, Mold, University of Georgia (Extension) recommends about 1 cup of household bleach per gallon of water (≈236 mL per 3.785 L) for visible growth on exterior masonry and notes that for extremely heavy or embedded growth combining bleach with a detergent or a TSP paste and scrubbing can be more effective; always test a small area first Remove Stains From Mildew, Mold — University of Georgia (Extension). This is a noticeably stronger solution, so limit it to the problem areas, keep your dwell time on the shorter end (5 to 10 minutes), and rinse more aggressively afterward.
- 1 gallon batch: about 1 quart (4 cups) of bleach added to the bucket, then fill to 1 gallon with water (approximately 946 mL of bleach per 3.785 L total)
- Half-gallon batch: about 2 cups of bleach, topped up to half a gallon with water
For extremely stubborn or embedded growth, some extension sources suggest adding a small amount of liquid dish soap or a TSP substitute to the heavy-growth bleach solution to help it penetrate and cling to the surface. A teaspoon of dish soap per gallon is enough. Avoid any soap product that contains ammonia, which will react with the bleach.
| Growth Level | Ratio | Bleach per 1 Gallon Batch | Dwell Time | Notes |
|---|---|---|---|---|
| Light (mild mildew, faint algae) | 1:10 | ~1.5 cups (approx. 375 mL) | 5 to 10 minutes | Good starting point; safe for most brick and mortar |
| Heavy (thick algae, embedded mold, dark staining) | 1:3 | ~1 quart / 4 cups (approx. 946 mL) | 5 to 10 minutes (do not extend dwell on older mortar) | Test patch first; rinse very thoroughly; limit to problem areas |
| General disinfecting reference (Clorox label example) | ~1:48 (1/3 cup per gallon) | ~1/3 cup (~79 mL) | ~6 minutes | Manufacturer's general-disinfecting dilution; weaker than needed for heavy outdoor growth |
Step-by-step application
- Put on all PPE before opening the bleach container.
- Pre-wet the entire patio surface with your garden hose.
- Mix your bleach solution in a bucket using the measurements above. Add bleach to water, not the other way around.
- Apply the solution generously to the patio surface using the deck brush or by pouring from the bucket across the area. Work in manageable sections (roughly 4 by 6 feet at a time) so the solution does not dry before you scrub.
- Let the solution dwell on the surface for 5 to 15 minutes. Watch it: you should see the color of algae or mildew visibly lightening during this time. Do not let the solution dry on the surface, especially in sun or wind. If it starts to dry, mist lightly with plain water to keep it wet.
- Scrub with a stiff nylon brush. Work the brush in overlapping strokes across brick faces and along mortar joints. On joints, brush parallel to the joint to avoid gouging. Do not use wire brushes, which can scratch the fired face of the brick and damage soft mortar.
- Rinse thoroughly with a garden hose or pressure washer. Use generous water volume and work from one end of the patio to the other, flushing the cleaning solution off the surface completely. Run water over any adjacent plants or grass that may have received runoff, then water them again.
- Check your results after the patio dries (allow at least a few hours in warm weather). If staining remains, repeat the process with the heavier dilution on those spots. For persistent algae, see the dedicated guide on getting rid of algae on brick patios.
Using a pressure washer alongside bleach
A pressure washer speeds up rinsing and can handle loosened biological growth without any chemicals for lighter jobs. The risk is mortar damage. I have seen people blow half-inch gaps into perfectly sound mortar joints by holding a 0-degree nozzle too close. These are the settings I stick to for brick:
- Maximum PSI: 1,000 to 1,500 for standard residential brick. Older, softer, or reclaimed brick warrants the lower end of that range or no pressure washer at all.
- Nozzle: 25-degree fan tip (green tip on most residential machines). Never use a 0-degree (red) tip on brick.
- Distance: Hold the nozzle at least 12 inches from the surface. Closer than that and you are pressuring into the mortar joints.
- Angle: Work at a slight downward angle rather than perpendicular to the surface. This helps rinse debris away without driving water into the joints.
- Avoid: Any brick with visibly crumbling mortar, freshly repointed joints (the National Park Service recommends waiting at least 30 days after repointing before any moisture or cleaning contact), or historic lime-rich mortars.
If you are soft-washing (applying diluted sodium hypochlorite through a low-pressure sprayer and letting dwell time do the work instead of mechanical force), professional masonry sources recommend a dwell of 5 to 15 minutes followed by a thorough flush. That is essentially the same bleach method described above, just applied through a pump sprayer instead of poured from a bucket.
Tackling related problems on the same patio
Algae (recurring green or black film)
The 1:3 bleach solution described above handles most algae effectively. For patios with persistent algae because of shade or drainage, the bleach treatment needs to be followed by sealing to slow recolonization. A detailed breakdown of algae-specific treatments and long-term prevention is covered in the guide on getting rid of algae on brick patios.
Mortar smears and residue
Bleach does nothing to mortar smears, which are a mechanical and mineral issue rather than a biological one. Light mortar residue on brick faces can sometimes be removed by careful scraping with a wooden or plastic scraper, then rinsing. Heavier or set mortar smears generally require muriatic acid or a purpose-made masonry cleaning product. That process has its own safety requirements and is covered fully in the guide on how to clean mortar off a patio.
Efflorescence (white salt deposits)
The white powdery or crusty deposits that appear on brick after rain or moisture movement are mineral salts migrating to the surface, not biological growth. Bleach will not remove them. Light efflorescence can sometimes be dry-brushed off with a stiff nylon brush. More persistent deposits need muriatic acid, which dissolves the calcium and magnesium salts effectively. For step-by-step safety and mixing instructions, see our guide on how to clean a brick patio with muriatic acid. For step-by-step safety and dilution instructions specific to concrete, see the guide on how to apply muriatic acid to concrete patio. The full method for that is in the guide on cleaning brick patios with muriatic acid.
Rust stains
Do not use bleach on rust stains. Bleach can actually oxidize iron further and make the stain harder to remove. Oxalic acid-based rust removers sold at hardware stores are the right tool here. Apply according to the product instructions, allow the recommended dwell, and rinse thoroughly.
Oil and grease stains
Grease does not respond to bleach. Apply undiluted dish soap or a commercial degreaser directly to the stain, let it sit for 10 to 15 minutes, scrub with a stiff brush, and rinse. For older or set-in oil stains, a poultice of baking soda or cat litter left overnight can absorb some of the residual grease before the degreaser treatment.
Whitewash removal or restoration
If a previous owner whitewashed the brick and you want to remove it, or if the whitewash is peeling and you want to restore it, bleach is not the answer. Whitewash removal typically involves either a masonry-specific chemical stripper or, in some cases, muriatic acid for cement-based whitewash. Restoration (applying fresh whitewash) is a different project entirely. Both are covered in the guide on how to whitewash a brick patio.
Environmental and renter considerations
Bleach runoff is damaging to plants and aquatic life at higher concentrations. At the dilutions used here, incidental runoff that reaches a garden bed is generally manageable if you flush it immediately with large volumes of water, which dilutes and leaches the sodium hypochlorite out of the root zone. University extension responses consistently recommend pre-wetting plants and then soaking affected soil after cleaning as the practical mitigation. Do not allow the concentrated mixing bucket to empty directly into a garden bed or storm drain. Dispose of unused mixed solution by flushing it with a large volume of water down a household drain or toilet, not into a planting bed or a paved drain that leads to a waterway.
For renters: the bleach method described here is non-destructive when used at the correct dilutions on standard brick. You are not drilling, sanding, or applying anything that permanently alters the surface. That said, if you have older or historically significant brick, or if you are uncertain about the mortar type, ask your landlord before proceeding. If they say no to bleach, the vinegar method is an equally reasonable starting point and raises no concerns whatsoever.
Troubleshooting and what to expect
- The surface looks clean wet but dirty again when dry: This often means the biological growth is still partly alive or the rinse was incomplete. Repeat the treatment with the heavier dilution, extend the dwell slightly, scrub more aggressively, and rinse with significantly more water.
- Mortar joints look lighter than the brick after cleaning: This is usually a sign that the bleach solution was too concentrated or the dwell time was too long for that mortar type. The discoloration may fade as the mortar dries out over several days. If it persists, it is cosmetic rather than structural in most cases, but consider lightening your dilution for future cleaning.
- Green returns within a few weeks: Shaded or persistently damp patios will regrow algae quickly. The solution is either improving drainage, trimming overhead foliage to allow more sun and airflow, or sealing the brick to reduce the porous surface that algae attach to.
- The staining did not respond at all: If an area shows no improvement after two treatments with the heavy-growth bleach mix, you may be dealing with a non-biological stain (rust, mineral, oil) that bleach cannot address. Reassess what the stain actually is before continuing.
- Brick face looks etched or pitted: This indicates the solution was too strong or the dwell time was too long, particularly on softer or older brick. Switch to the light-growth dilution and reduce dwell time. Historic or reclaimed brick may not be suitable for any bleach treatment.
Drying, sealing, and keeping the patio clean longer
After cleaning, give the patio at least 48 to 72 hours to dry completely before applying any sealer. Sealing over damp brick traps moisture and can cause spalling or efflorescence. In humid climates, I typically wait a full week before sealing to be certain.
Sealing brick is optional but genuinely effective at slowing the return of mold, algae, and general staining. A penetrating breathable sealer (silane-siloxane based) is the type I use: it does not change the appearance of the brick noticeably, it lets the material breathe, and it reduces water absorption by 80% or more on most brick types. Film-forming sealers (acrylics) create a surface coating that can look glossy and trap moisture if applied incorrectly. Follow the manufacturer's instructions for your specific product, and plan to reapply every two to three years on a patio with regular foot traffic.
Routine maintenance between deep cleans is simple: sweep monthly, rinse with plain water after heavy pollen seasons, and address small algae or mildew patches early with the light bleach dilution before they spread. Catching it early means a 20-minute job instead of a half-day one.
FAQ
Short answer: How do I clean a brick patio with household bleach safely and effectively?
For mildew/algae/grime on exterior brick: wear PPE, protect plants, prepare a fresh dilute sodium‑hypochlorite solution, apply with a pump sprayer or broom, let sit 5–15 minutes (do not let dry), scrub with a stiff nylon brush, then rinse thoroughly with clean water. Use light dilutions for mildew/light growth and stronger dilutions (test first) for heavy, embedded growth. Always test a small inconspicuous area and follow product label/SDS guidance.
What personal protective equipment (PPE) and safety steps do I need?
Wear chemical splash goggles (or safety glasses + face shield), chemical‑resistant gloves (nitrile, neoprene or as recommended by the bleach SDS), long sleeves/pants and closed shoes. If splashing or working in poor ventilation, use a NIOSH‑approved respirator per the product SDS. Keep people and pets away, do not mix bleach with acids or ammonia, and have a garden hose ready to rinse. Always read the bleach label and SDS before use.
What bleach dilution ratios and volumes should I use (practical, per‑gallon measures)?
Typical household bleaches are ~5–6% sodium hypochlorite. Practical mixes per 1 US gallon (3.785 L): • Light biological growth / general cleaning (≈1:100 v/v ≈500–600 ppm): about 2½ tablespoons (≈38 mL) bleach + fill to 1 gal with water. • Moderate (common outdoor mildew/algae): about ½ cup (≈118 mL) bleach + water to 1 gal. • Heavy, localized growth or visible biofilm (test first): about 1 cup (≈236 mL) bleach per gallon. For 1:10 v/v (strong disinfecting) expect ≈1.5 cups per gallon from ~5–6% stock—use only if labeled for that use and test first. Use the CDC formula to adapt for other stock strengths: (stock % ÷ desired %) − 1 = parts water per part bleach.
How should I mix the bleach solution safely?
Work outdoors in a well‑ventilated area. Put on PPE. Always add measured bleach to the required volume of water (not water to bleach) to reduce splashing. Prepare only what you need and use fresh solution (discard after 24 hours). Use plastic or glass containers and clean measuring cups devoted to chemicals. Never mix bleach with acids, ammonia, or other cleaners.
What tools and application methods work best?
Use a low‑pressure garden pump sprayer or watering can for even application, a stiff nylon push broom or deck brush for agitation, and a stiff‑bristle hand brush for joints. For very small spots use a plastic bucket and scrubbing brush. Avoid metal wire brushes on face‑fired brick or soft mortar—use nylon instead. Apply evenly, keep the surface wet with solution during dwell time, then rinse.
How long should the bleach sit (dwell time) and how do I scrub?
Aim for a 5–15 minute dwell: professional soft‑wash guidance usually recommends ~5–15 minutes but do not allow the solution to dry on the surface. After an appropriate dwell, scrub with a stiff nylon broom or brush along the brick face and joints to dislodge growth. For stubborn patches repeat on a test area rather than applying stronger solutions across the whole patio.
Next Articles
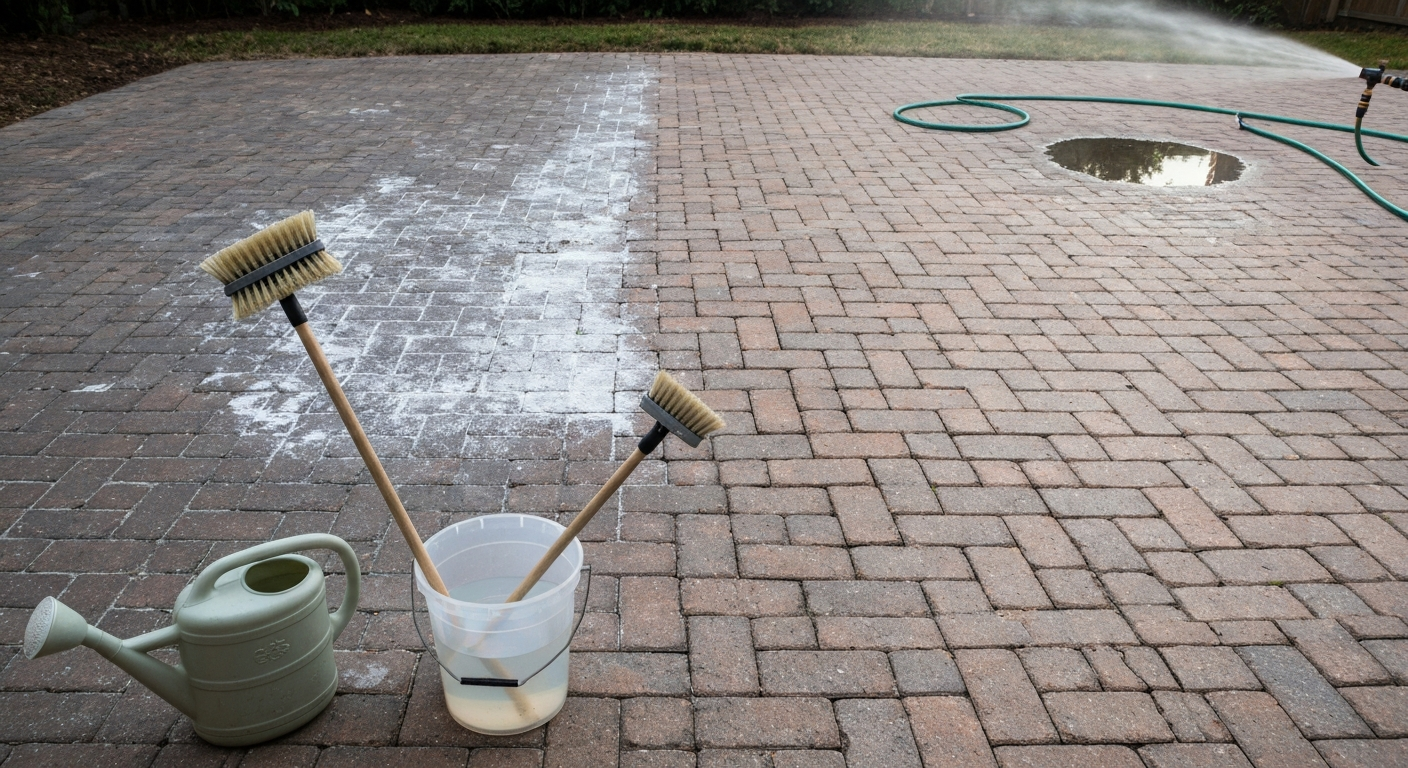
How to Clean Brick Patio with Vinegar: Step-by-Step Guide
Clean a brick patio with vinegar: step-by-step recipes, safety, stain fixes, pressure-washer option, and sealing tips.
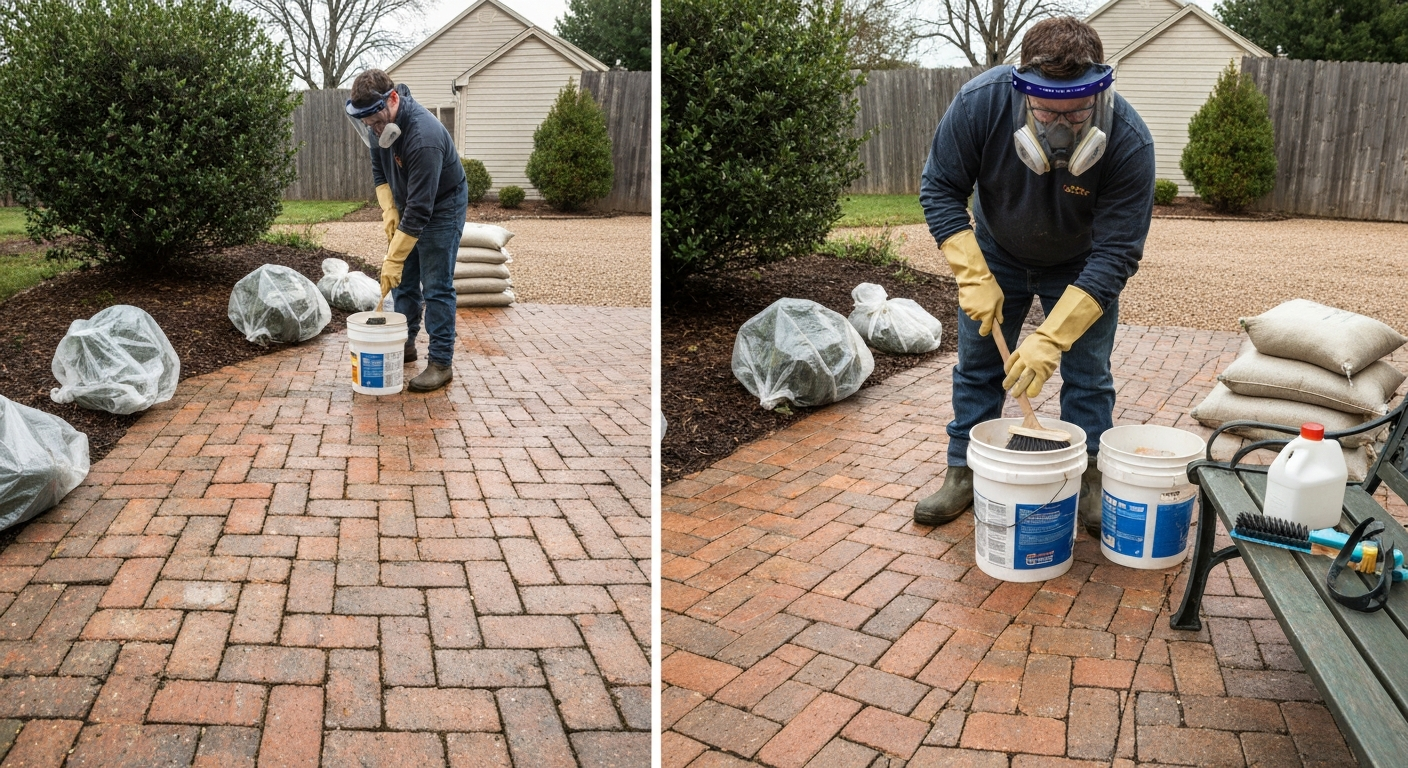
How to Clean Brick Patio with Muriatic Acid: Step-by-Step
Safe step-by-step guide to clean brick patios with muriatic acid: dilutions, PPE, neutralizing, plant/drain protection
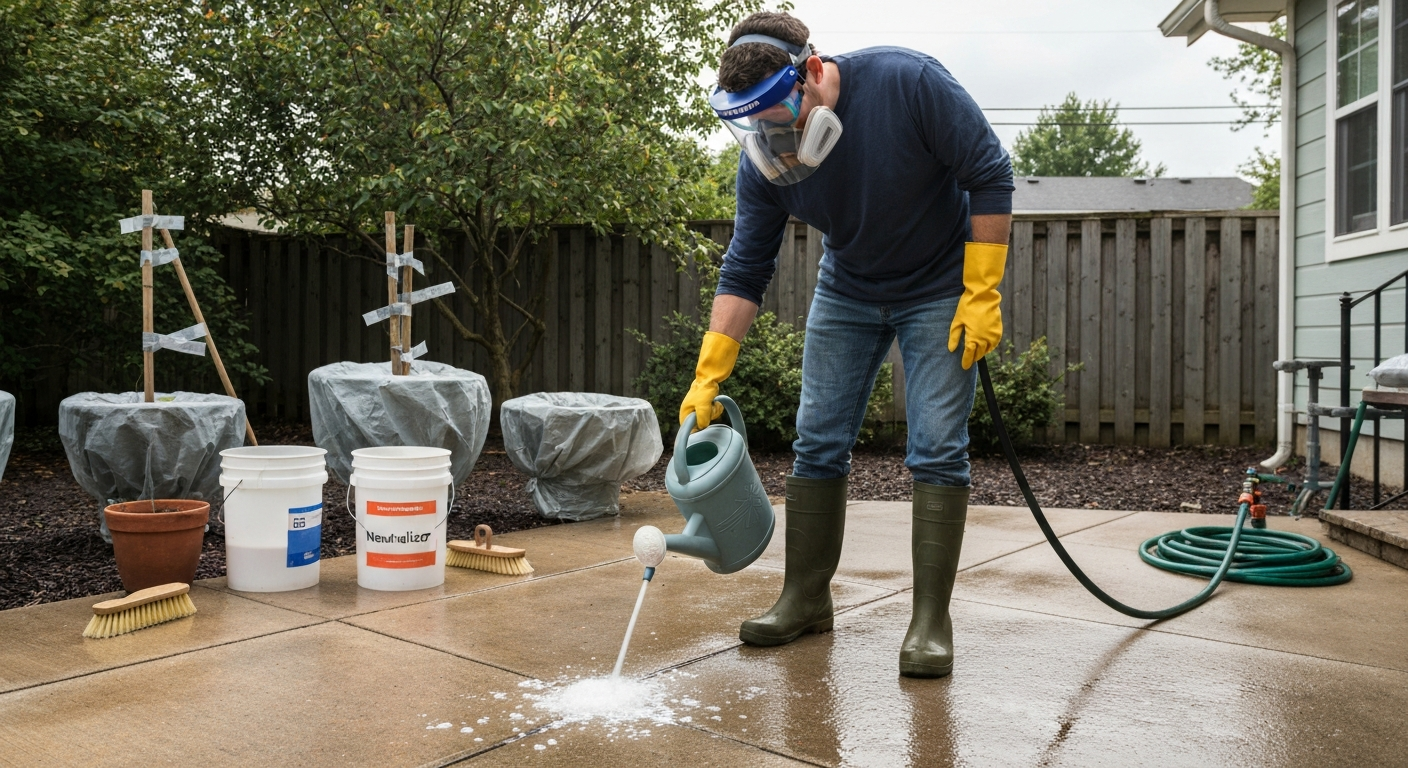
How to Apply Muriatic Acid to Concrete Patio: Safety Guide
Safe, step-by-step guide to using muriatic acid on concrete patios: dilution, PPE, neutralizing, plant protection.