
Muriatic acid (hydrochloric acid, typically 10–30% HCl) cuts through mineral deposits, rust halos, mortar smears, and heavy efflorescence on brick patios when nothing else works. Diluted to around 1 part acid to 10 parts water, applied to a pre-wetted surface, scrubbed in and rinsed off within a few minutes, it can restore a stained brick patio faster than almost anything else. But it will also burn your skin, damage mortar joints if left too long, bleach light-colored brick, and send toxic fumes into your lungs if you skip the respirator. This guide walks you through every step, from deciding whether you even need acid through final pH verification, so you can do this safely and not regret it.
How to Clean Brick Patio with Muriatic Acid: Step-by-Step

Dylan Hale
17 Jul 2026
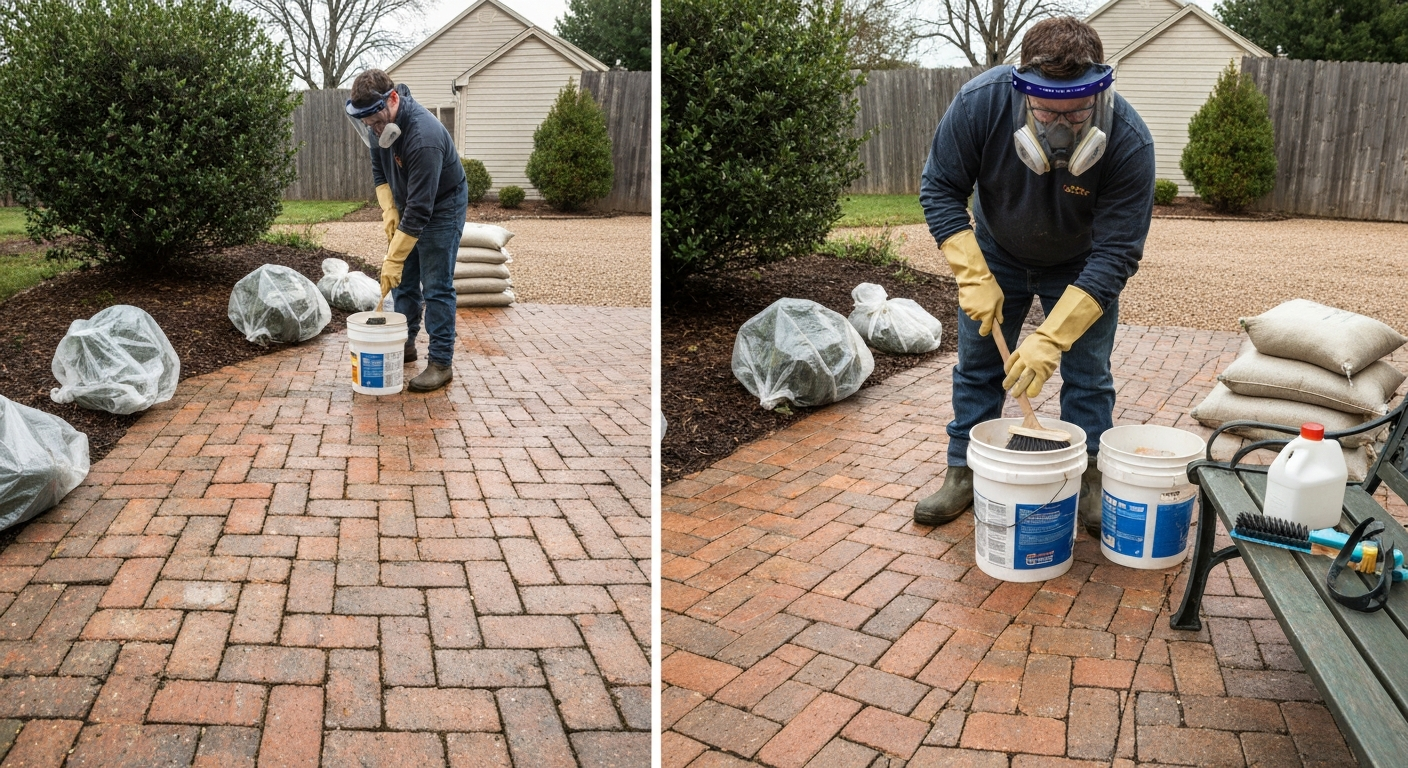
When to reach for muriatic acid (and when not to)
Muriatic acid is a last resort, not a first choice. I've found that most dirty patios respond well to a stiff brush and a garden hose, and plenty of stains come off with bleach or vinegar before you ever need to open an acid bottle. The Brick Industry Association (BIA) explicitly recommends the gentlest effective method first, and I agree with that philosophy entirely. The table below lays out the decision logic quickly.
| Problem / Stain Type | Start Here | Step Up To | Use Muriatic Acid When |
|---|---|---|---|
| General grime, green algae, mold | Bleach solution (1:10) or biocide | Pressure washing at 1,200–1,500 psi | Algae has stained brick pores and bleach failed |
| Efflorescence (white salt bloom) | Dry brushing, then water | Proprietary efflorescence cleaner | Heavy recurring deposits don't respond to mild acids |
| Rust stains | Oxalic acid or commercial rust remover | Stronger oxalic product | Broad rust halos resist all other treatments |
| Mortar smears / construction residue | Chisel and dry scrub first | Proprietary masonry cleaner (e.g., PROSOCO Sure Klean 600) | Smears are thick and widespread on tough brick |
| Grease / oil | Degreaser + hot water | Pressure washing | Acid is rarely the right tool for grease — degreaser first |
| Mineral scale / hard water deposits | White vinegar soak | Dilute acid wash | Scale is thick and vinegar has no effect after 30 min |
A few firm decision points: do not use muriatic acid on light-colored or buff-colored brick (acid burn is almost impossible to reverse), on brick known to contain manganese or vanadium compounds (it causes permanent brown or green staining), on limestone or travertine (acid dissolves them), or on any surface with active efflorescence you haven't dry-brushed first (the salt residue reacts unpredictably). If your patio is a rental, a historic property, or under HOA oversight, check restrictions before you mix anything.
Safety first: PPE, ventilation, and emergencies
NIOSH sets a ceiling exposure limit of 5 ppm for hydrogen chloride vapor and an IDLH (immediately dangerous to life or health) level of 50 ppm. See NIOSH's IDLH Value Profile: Hydrogen Chloride (NIOSH) for current guidance: IDLH = 50 ppm and in IDLH conditions NIOSH requires NIOSH‑approved SCBA or supplied‑air respirator with escape SCBA and full‑face protection. Working outdoors helps enormously, but a still day with no breeze can let vapor build up around your face. The SDS for products like Klean-Strip Muriatic Acid requires splash goggles, chemical-resistant gloves and clothing, and a NIOSH-approved respirator with acid-gas cartridges when vapor concentrations may exceed exposure limits. Don't skip these.
- Eye protection: chemical splash goggles (not safety glasses — goggles seal around your eyes)
- Face shield: wear over the goggles when pouring or mixing
- Gloves: heavy nitrile or neoprene, at least 12-inch cuffs — latex tears too easily
- Clothing: long sleeves, long pants, old shoes you can discard; acid holes in fabric appear hours later
- Respirator: half-face or full-face respirator with P100/OV-AG (acid gas) combination cartridges
- Ventilation: work outdoors only; position yourself upwind of the work area at all times
- Eyewash station: have a garden hose running at low flow, pointed away from drains, within arm's reach
Emergency procedures
- Skin contact: flush with running water for at least 15 minutes; remove contaminated clothing while flushing; seek medical attention if irritation persists
- Eye contact: flush continuously with water for at least 15 minutes, holding eyelids open; go to an emergency room immediately
- Inhalation: move to fresh air immediately; call 911 if breathing is difficult or throat tightens
- Spill on ground: do not hose into a drain; sprinkle baking soda to neutralize, then collect and bag for disposal
Pre-work site-warning checklist
- Tell everyone (family, neighbors) that acid work is happening; keep children and pets indoors
- Post a visible barrier or warning if your patio faces a shared walkway
- Check the weather forecast: avoid windy conditions (vapor spreads) and avoid rain within 24 hours (dilutes neutralizer, washes runoff into stormwater)
- Identify your nearest stormwater drain and plan to block or divert it before you start
- Have your neutralizing agent (baking soda or soda ash) mixed and ready before opening the acid container
- Keep your phone accessible in case of emergency
Everything you need before you start
Getting everything assembled before you open the acid bottle is not optional. Once you start, you're on a clock, acid sitting on brick while you rummage for a brush is a problem. Here's the complete supply list.
| Category | Item | Notes |
|---|---|---|
| Acid | Muriatic acid (HCl 10–30%) | Standard hardware store product; 'green' lower-fuming formulas are worth the extra cost |
| Neutralizer | Baking soda (sodium bicarbonate) or soda ash (sodium carbonate) | Mix 1 cup per gallon of water as a ready neutralizing solution before you start |
| Water supply | Garden hose with adjustable nozzle or fan tip | You need a continuous, high-volume rinse immediately after scrubbing |
| Mixing container | Plastic bucket (5-gallon, HDPE) | Never use metal; acid reacts with it |
| Measuring | Measuring cup (dedicated, plastic) | Label it 'ACID — DO NOT USE FOR FOOD' |
| Application sprayer | Garden pump sprayer (plastic/acid-resistant) | Optional; brush application is fine for small areas |
| Scrubbing brush | Stiff nylon or Tampico fiber brush | Avoid metal-bristle brushes — they leave rust marks |
| PPE | Goggles, face shield, heavy nitrile gloves, respirator with acid-gas cartridges, old clothes | See safety section above |
| pH testing | pH paper strips (range 0–10) or a digital pH meter | Required to verify neutralization |
| Containment | Plastic sheeting, sand bags or folded old towels | To block drains and protect adjacent areas |
| Sealing materials (post-clean) | Masonry sealer appropriate for your brick type | Optional but recommended after a deep acid clean |
Protecting plants, drains, and adjoining surfaces
Muriatic acid runoff kills plants, etches concrete and stone pavers outside your target area, and is illegal to discharge into storm drains in most jurisdictions. The EPA's stormwater (MS4) program treats untreated acid wash water as an illicit discharge, and many local utilities classify it as industrial wastewater requiring permitted disposal. This is not a technicality you can ignore.
- Block every storm drain within runoff range using sandbags, folded wet towels, or a commercial drain plug before you pour a single drop of acid
- Drench all plants and grass bordering the patio with plain water until they're saturated — wet soil absorbs and dilutes acid splash far better than dry soil
- Cover plants with plastic sheeting anchored at the edges; remove it immediately after you finish rinsing and before it traps heat
- Wet down adjacent concrete, stone, or pavers before you start; dry masonry absorbs acid splash and can be etched in seconds
- If your patio has an edging of limestone, marble, or travertine, tape heavy plastic sheeting over it — acid dissolves carbonate stone quickly
- Create a low berm of sand or folded plastic at the patio edge to keep rinse water contained and directable toward a collection point
- After you finish, collect all runoff water in buckets, neutralize to pH 6–8, then dispose according to local hazardous waste rules (see the disposal section at the end)
Surface assessment and compatibility testing
Before you mix anything, spend 15 minutes actually looking at your brick. The BIA recommends a test panel of at least 20 square feet in an inconspicuous area, left to dry for about a week before you evaluate results and proceed. That timeline is realistic for a restoration project. For a quick weekend clean, do at least a 2-square-foot patch in a corner and check it after an hour before going further.
What to assess before you test
- Brick color: red and dark brown brick is generally more tolerant of acid than light, buff, or cream-colored brick. If you're unsure, assume it's sensitive and dilute heavily
- Mortar condition: press your fingernail into the mortar joints. If mortar crumbles or powders, acid will accelerate joint deterioration significantly — research confirms HCl dissolves calcium silicate hydrate (C-S-H) in cementitious mortar and reduces strength
- Existing sealer: drip a few drops of water on the brick. If it beads up, there's a sealer present. Acid applied over some sealers causes white hazing or delamination — you need to test
- Stain type: identify what you're actually cleaning. Rust, efflorescence, mortar smear, and algae each respond differently. Acid is best for mineral-based stains and efflorescence; it won't remove grease or deep-set biological growth on its own
Running the test patch
- Pick a back corner or a section behind furniture — somewhere visible to you but not the focal point of the patio
- Wet the test area thoroughly with plain water until the brick surface is visibly damp but not pooling
- Mix a small test batch at 1: 10 (1 part acid to 10 parts water, see mixing section below) and apply about a cup to a 2 sq ft area
- Watch for immediate fizzing: mild fizzing is normal on mortar and efflorescence; violent, aggressive foaming means the mortar or brick is highly reactive — dilute further before proceeding
- Scrub lightly for 30 seconds, then rinse thoroughly
- Let it dry completely (at minimum 1 hour, ideally overnight) and compare to the untreated area next to it
- Check for discoloration, bleaching, darkening, or joint erosion before committing to the full surface
Dilutions, measuring, and mixing safely
The single most important mixing rule: always add acid to water, never water to acid. Pouring water into concentrated acid causes a violent exothermic reaction that spatters hot acid. Add the acid slowly into the water while stirring gently, and let the mixture cool before pouring it into a sprayer. This is standard guidance in every muriatic acid SDS and it genuinely matters.
| Application | Dilution Ratio (acid:water) | Example Mix (for 1 gallon) | Use Case |
|---|---|---|---|
| Light efflorescence or mild staining | 1:20 | ~6 oz acid + ~118 oz (about 7/8 gallon) water | First pass on sensitive or light-colored brick; older or degraded mortar joints |
| Moderate staining, general acid wash | 1:10 | ~12 oz acid + ~116 oz water | Standard starting point for most red/brown brick patios in good condition |
| Heavy mortar smears, thick mineral deposits | 1:5 | ~25 oz acid + ~103 oz water | Only after test panel shows brick and mortar tolerate stronger dilution; never first pass |
| Concrete patio (adjacent areas) | 1:10 to 1:15 | ~8–12 oz acid + balance water | Concrete etching for prep; follow with thorough neutralization before sealing |
I always start at 1:10 for a first pass on a standard red brick patio in good condition, and dilute to 1:20 if the test patch shows vigorous fizzing on mortar. A weaker solution applied twice is always safer than a strong solution applied once. If you're working near a concrete area at the same time, the dilution guidance for concrete can differ slightly, and that surface needs its own assessment.
Step-by-step mixing procedure
- Put on all PPE before touching the acid container
- Fill your plastic bucket with the full measured amount of water first
- Measure the acid in a dedicated plastic measuring cup — do not estimate
- Pour the acid slowly into the water while stirring with a plastic stick; pour at the edge of the bucket, not directly into the center
- The mixture will heat slightly — this is normal. Let it cool for 2–3 minutes before transferring to a sprayer or using directly
- Label the bucket 'ACID MIX — CORROSIVE' immediately
- Mix only what you'll use in one session; unused diluted acid still requires proper disposal
Applying the acid: technique, dwell time, and multiple passes
The sequence here is pre-wet, apply, scrub, rinse, and that pre-wetting step is skipped constantly and causes most of the damage I've seen on DIY acid jobs. Dry brick is porous and will suck in concentrated acid immediately, driving it deep into the material and into mortar joints where it keeps reacting long after you think you've rinsed. Wet brick still absorbs the cleaning solution but far more slowly and evenly.
- Pre-wet the entire work area thoroughly with plain water using your hose; the brick surface should be visibly damp and the water should not be pooling on the surface
- Apply the diluted acid solution either by low-pressure pump sprayer (30–50 psi max) or by brush; work in manageable sections of 10–15 square feet so you can rinse before the solution dries
- You'll see mild fizzing almost immediately, particularly over mortar joints and efflorescence — that's the acid reacting with calcium carbonate and is expected
- Scrub with a stiff nylon or Tampico brush using firm, circular strokes; do not use a wire brush or metal implement — metal bristles break off and leave rust spots
- Keep dwell time to 2–5 minutes maximum; do not let the solution dry on the surface or pool in low spots — if it starts to look dry, rinse immediately
- For heavy staining, use two or three lighter passes rather than one long dwell — PROSOCO's product guidance explicitly advises applying no more than twice and rinsing thoroughly between passes
- Rinse each section before moving to the next; never acid-wash the entire patio and then return to rinse — you will have sections that have dwelled for 20+ minutes by the time you get back to them
Guidance for specific stain types
Efflorescence (white salt deposits): acid is very effective here. The fizzing you see is the acid dissolving the salt crust. One pass at 1:10 with a good scrub usually handles light efflorescence. For recurring efflorescence, the underlying moisture problem needs to be addressed or it will return. Rust halos: acid softens rust staining but doesn't always lift it cleanly. An oxalic acid-based rust remover often works better and is far less aggressive on mortar. Mortar smears: acid can loosen fresh mortar smear, but wait at least 10 days after any new masonry work before cleaning (BIA guidance); fresh mortar hasn't fully cured and acid will damage it. For cleaning mortar residue specifically, gentler proprietary cleaners or mechanical removal are usually preferred over straight muriatic acid. Algae and mold: muriatic acid kills algae on contact, but bleach-based solutions do this job with less risk to mortar joints and less personal hazard, it's worth trying that approach first. For step-by-step, safer alternatives and tips on getting rid of algae on brick patios, see how to get rid of algae on brick patio. For a low-risk alternative for algae and light staining, see a step‑by‑step guide on how to clean brick patio with vinegar for safe, effective results.
Rinsing, neutralizing, and verifying pH
Rinsing is where a lot of DIYers underinvest, and it's actually the most critical phase. Acid residue left in brick or mortar keeps reacting after you walk away, and over time that accelerates joint degradation and increases porosity. BIA guidance recommends rinsing at a fan-nozzle pressure of 200–300 psi, that's achievable with a garden hose and a fan-tip nozzle. A pressure washer at low setting also works well here. The goal is to flood the surface, not blast it.
- Rinse each section immediately after scrubbing, using generous water flow from a fan-tip nozzle; flush until there is no acid smell and no fizzing
- After rinsing all sections, prepare your neutralizing solution: dissolve 1 cup of baking soda (sodium bicarbonate) per gallon of water, stir until fully dissolved
- Apply the neutralizing solution generously across the entire cleaned area using a watering can or low-pressure sprayer; let it dwell for 3–5 minutes — it will fizz slightly as it neutralizes residual acid
- Rinse again with plain water; collect the runoff in buckets or a containment area (do not let it flow to a storm drain)
- Test the pH of pooled rinse water using pH strips or a meter: target pH 5.5–9.0 before you consider any drain or disposal option; many local wastewater utilities and Cornell University EHS guidance use this range as the threshold for neutral disposal
- If pH is still below 5, apply more baking soda solution and re-test until you reach the target range
- Allow the patio to dry for at least 24 hours before sealing or whitewashing; full drying may take 48–72 hours depending on humidity and temperature
Drying time and prep for sealing or whitewashing
A freshly acid-washed and neutralized brick patio is actually in great condition for applying a sealer or a whitewash, because the acid has opened up the brick pores and removed the surface contamination that causes adhesion failures. But moisture is the enemy here: sealer applied to a damp brick will peel, and whitewash applied too soon will look blotchy. Wait until the brick has returned to its dry color (darker tones disappear) before you apply anything. In warm weather that usually takes 24 hours; in cool or humid conditions, give it 48–72 hours.
Special considerations: mortar joints and concrete areas
Mortar joints are the most vulnerable part of your patio during an acid wash. Research on cement specimens shows that even 5% HCl causes measurable mass loss and strength reduction in mortar by dissolving calcium hydroxide and calcium silicate hydrate. Chemical activation of kaolin‑based clay bricks, Scientific Reports / PMC (acid effects on porosity and strength) shows that HCl immersion can increase apparent porosity and alter clay microstructure, and that acid exposure dissolves cementitious phases with measurable strength loss Chemical activation of kaolin‑based clay bricks — Scientific Reports / PMC (acid effects on porosity and strength). At the dilutions used for cleaning (1:10, roughly 1–3% HCl), the damage per single application is limited, but repeated acid treatments without full neutralization will progressively hollow out joints. Here's how to minimize the risk.
- Always dilute to 1: 20 on any patio where mortar joints show existing cracking, crumbling, or soft spots
- Keep dwell times under 3 minutes in joint-heavy areas
- Never let the acid solution sit in a crack or low joint area — these spots pool and hold acid longer than open surfaces
- Rinse mortar joints with extra volume: hold the hose nozzle 6 inches from each joint and flush thoroughly
- If joints need repair, do that before acid washing — loose mortar will absorb acid and crumble faster; do not acid-wash freshly repointed joints for at least 28 days
If your patio includes a concrete border, apron, or slab adjacent to the brick, muriatic acid is commonly used on concrete too, often at similar dilutions. For step-by-step instructions on how to apply muriatic acid to a concrete patio, see the detailed guidance in our concrete-specific how-to how to apply muriatic acid to concrete patio. Concrete is generally more tolerant of acid etching than brick mortar, but the same rule applies: wet first, keep dwell times short, neutralize thoroughly. The technique is essentially the same process, though concrete prep before sealing sometimes calls for a slightly more deliberate etch.
Environmental and disposal rules you can't skip
Acid wash runoff is not something you can just hose down the driveway. EPA stormwater (MS4) regulations treat untreated acid runoff as an illicit discharge, and most municipalities prohibit it from entering storm drains or surface water. Even neutralized rinse water should be verified at pH 6–9 before any drain disposal, and many jurisdictions still require it to go to a sanitary sewer (not stormwater) or to be collected and hauled as hazardous waste. The SDS for muriatic acid products explicitly states: keep waste out of sewers and surface waters unless permitted.
- Collect all runoff and rinse water in buckets or a contained low spot during the job
- Neutralize collected liquid with baking soda until pH tests at 6–9
- Call your local wastewater utility before disposing — some will permit neutralized wash water down a sanitary drain with a large water flush; others require hazardous waste pickup
- Unused diluted acid: neutralize with baking soda, verify pH, then dispose per local hazardous waste rules; do not pour down any drain without confirming with your utility
- Unused concentrated acid: take to your local household hazardous waste (HHW) collection facility — never pour out undiluted acid
- Contaminated materials (brushes, plastic sheeting, gloves): bag in heavy plastic, label as acid-contaminated, and dispose as hazardous waste
When to call a professional instead
There are situations where DIY acid washing is genuinely the wrong call, and I'd rather tell you that upfront than have you damage a patio that needed a specialist.
- Historic or antique brick (pre-1950s): older brick was often fired at lower temperatures and is much softer; acid can cause irreversible surface erosion and should only be used by a masonry restoration professional
- Light, buff, cream, or white-colored brick: the risk of permanent acid burn and discoloration is high; a proprietary masonry cleaner applied by a professional is far safer
- Brick with known manganese or vanadium content: these minerals react with acid to produce permanent green or brown staining that cannot be cleaned off
- Extensive mortar joint damage: if joints are already crumbling across more than 20% of the surface, acid cleaning before repointing will make deterioration much worse
- Large commercial or pool-adjacent patios: the containment and neutralization requirements for large volumes of acid wash runoff quickly exceed what a homeowner can manage safely and legally
- Any situation where you're not confident about PPE, ventilation, or disposal procedures: the personal safety risk is real, and a masonry cleaning contractor is not that expensive relative to a hospital visit
FAQ
When should I choose muriatic acid to clean a brick patio versus gentler alternatives (bleach, vinegar, pressure washing, biocides)?
Use muriatic (hydrochloric) acid only when gentler methods fail and the bricks/mortar are acid‑resistant: choose acid for heavy mineral deposits (efflorescence), rust stains, hard cementitious mortar smears, or heavy mineralized staining that won’t lift with scrubbing. Try gentler options first: 1) warm water + stiff nylon brush, 2) low‑pressure pressure wash (≤150–200 psi; avoid directing into joints), 3) oxygen bleach or diluted household bleach (for organic stains: algae, mold), 4) white vinegar or commercial masonry biocides (for light organic/alkaline stains). If a small test patch with these methods doesn’t work, perform a test panel with a weak muriatic dilution before proceeding. Follow BIA/NCMA guidance: start with the gentlest effective method and always run test areas.
What personal protective equipment (PPE) and safety precautions are required when using muriatic acid?
Required PPE: chemical splash goggles or full face shield, hood or safety glasses with side shields; acid‑resistant gloves (nitrile or neoprene rated for HCl), long‑sleeve chemical‑resistant clothing or apron, closed‑toe boots (rubber), and if vapor exposure may exceed limits, a NIOSH‑approved respirator with acid‑gas cartridges or (for IDLH scenarios) supplied‑air or SCBA. Other precautions: work downwind, have a helper present, keep children/pets away, keep neutralizer (baking soda/soda ash) and lots of water on site, never mix muriatic acid with bleach or ammonia (toxic chlorine/NOx gases), add acid to water slowly (never water to acid), use only outdoors or well‑ventilated areas, and follow SDS first‑aid steps (flush skin/eyes 15 minutes, seek medical help for significant exposures). For household use, assume vapors can exceed low ppm limits—use respirator if odors are strong.
What dilution strengths are recommended for muriatic acid on brick patios?
Typical consumer dilutions range from about 1:5 to 1:20 (acid:water) depending on stain severity. Start weak: 1:10 (one part acid to ten parts water) for general cleaning; use 1:20 or weaker for delicate or light‑colored brick and 1:5 only for stubborn mineral residues on robust units. For mortar residue removal, prefer commercial masonry cleaners or professional advice—stronger solutions increase risk of mortar/cement attack. Always prepare smaller batches, mix acid into water slowly, and test on an inconspicuous area.
How do I perform an on‑surface test (test panel) and evaluate results?
Pick an inconspicuous area or create a 2 m² (≈20 ft²) test panel per BIA guidance. Steps: 1) Pre‑wet the area with water. 2) Apply your chosen dilution with a plastic pump sprayer or brush. 3) Agitate with a soft nylon/Tampico brush for 1–3 minutes. 4) Rinse thoroughly immediately. 5) Let dry and evaluate after 24–72 hours and up to one week (some effects appear after drying). Compare against an uncleaned sample. Look for color change, acid burn/etching, mortar softening, altered surface texture or increased porosity. If damage is visible, stop and consider gentler methods or a professional.
What is the correct way to mix muriatic acid solutions?
Always add acid to water slowly while stirring—never add water to concentrated acid. Use a chemical‑resistant container (HDPE). Put on full PPE before mixing. Pour small amounts at a time to avoid heat and splatter. Allow the solution to cool before transferring to sprayers. Label containers and keep lids closed. Prepare only what you will use the same day; dispose or neutralize leftover per local rules.
What application technique and equipment should I use to apply muriatic acid to a brick patio?
Equipment: plastic pump sprayer or plastic bucket and brush, soft nylon or Tampico scrub brushes, garden hose with fan‑nozzle and adjustable pressure (do not exceed recommended rinse pressure), plastic sheeting for protection. Technique: pre‑wet the patio thoroughly with water; apply solution from bottom up to avoid streaking; don’t let solution puddle or dry; agitate lightly with brush; keep dwell times short (a few minutes); immediately rinse thoroughly from top down until runoff is clear. Avoid forcing solution into mortar joints. Do not use metal tools on brick.
Next Articles
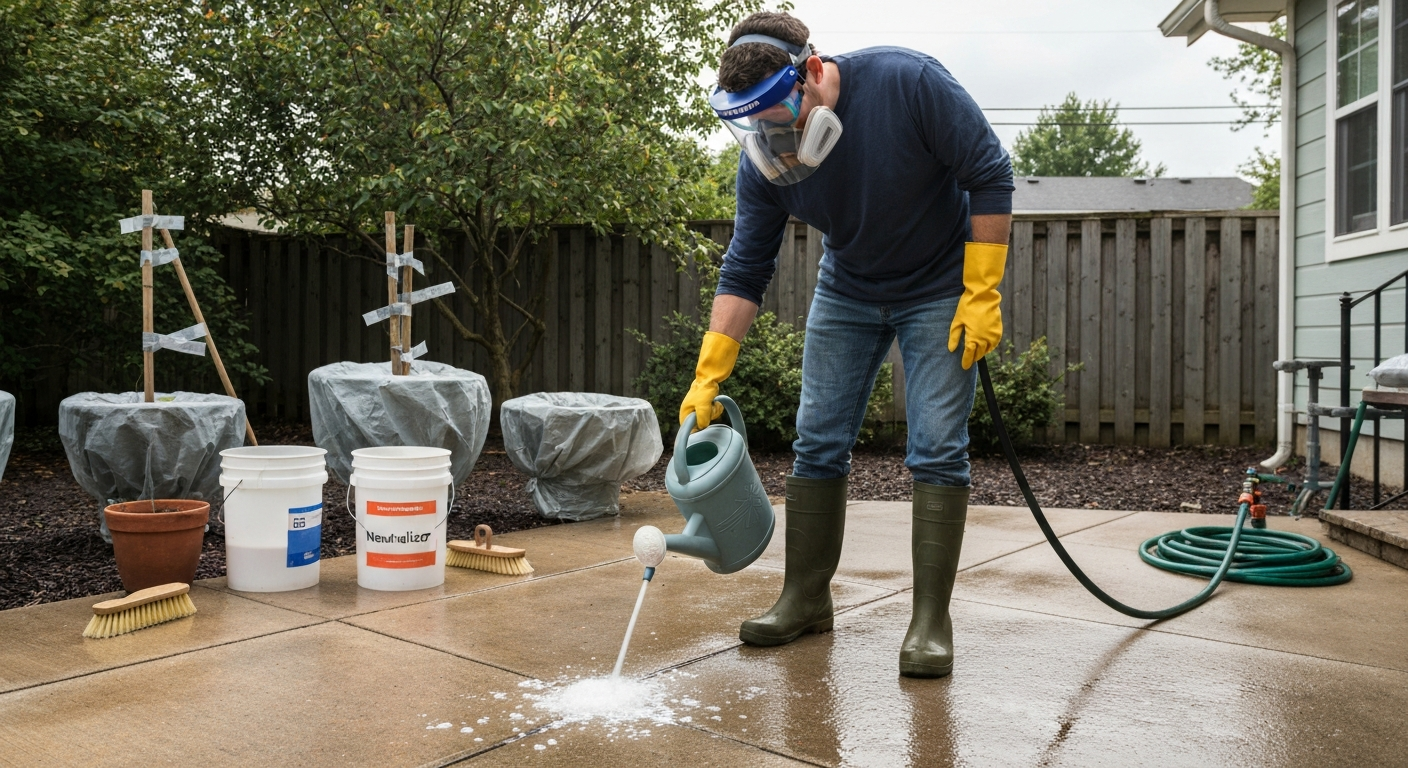
How to Apply Muriatic Acid to Concrete Patio: Safety Guide
Safe, step-by-step guide to using muriatic acid on concrete patios: dilution, PPE, neutralizing, plant protection.
How to Whitewash Brick Patio: Step-by-Step Guide
Step-by-step how to whitewash a brick patio, prep, apply lime-style or tinted mixes, fix blotches, and seal for lasting
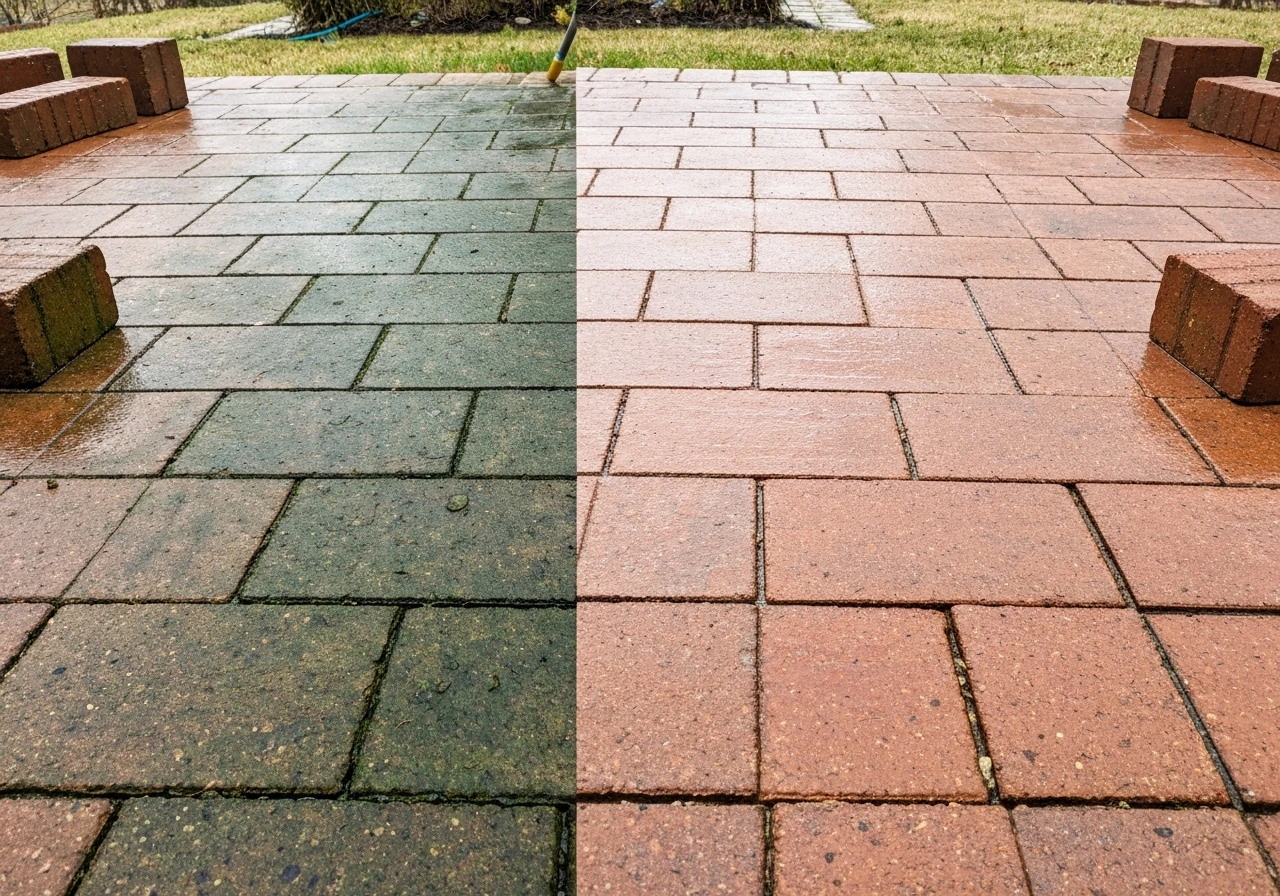
How to Get Rid of Algae on a Brick Patio Safely
Step-by-step safe ways to remove algae from a brick patio, from scrubbing and vinegar to bleach or oxygen and pressure w