
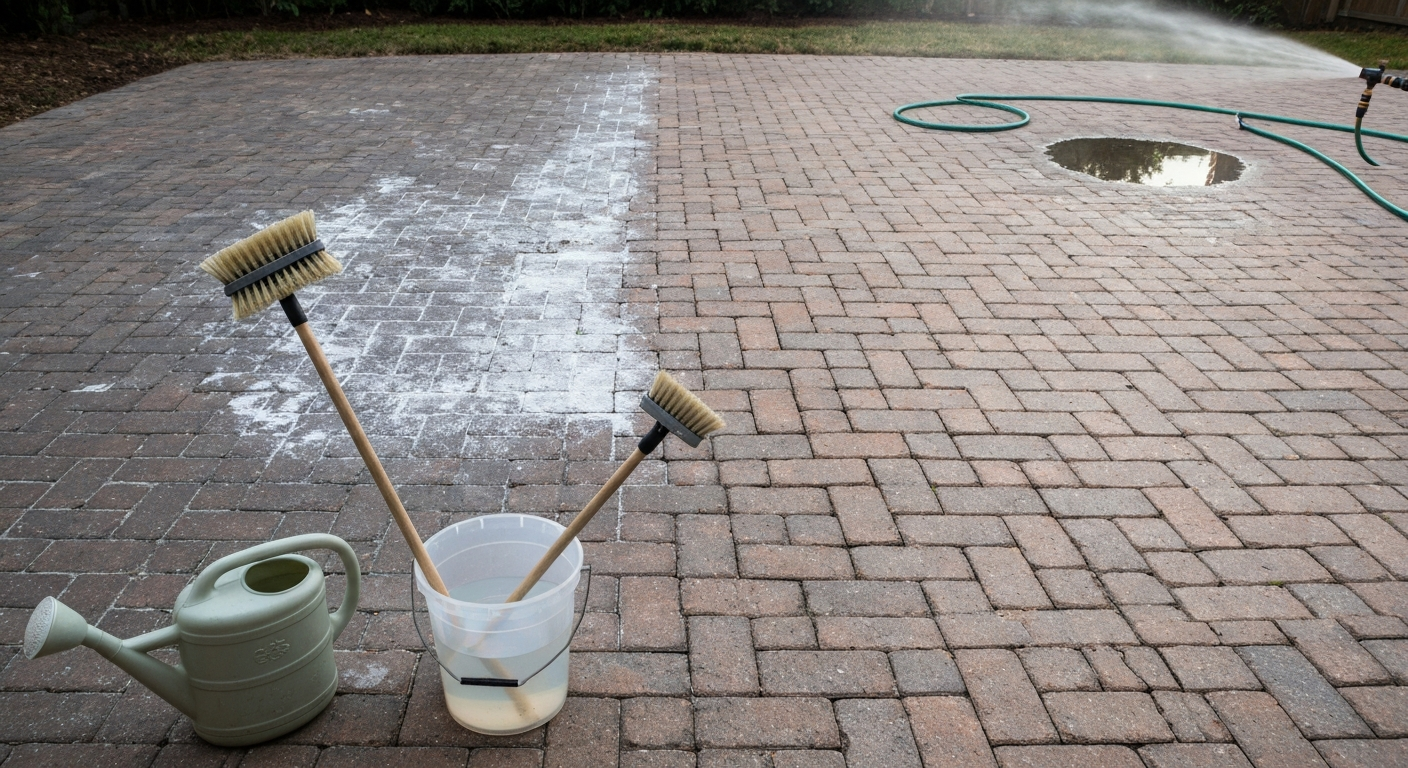
White vinegar works well on a brick patio for light efflorescence (those white chalky salt deposits), minor mineral staining, and surface grime, mix undiluted 5% white vinegar or a 1:5 vinegar-to-water solution, let it sit for 5 to 10 minutes, scrub with a stiff nylon brush, and rinse thoroughly. That's the core method. But vinegar has real limits: it won't reliably kill established algae, heavy moss, or deep mildew at household concentration, and it can slowly dissolve the mortar between bricks if you leave it on too long. Knowing what it can and can't do will save you a lot of wasted effort and protect your patio in the process.
How to Clean Brick Patio with Vinegar: Step-by-Step Guide

Dylan Hale
19 Jul 2026
When vinegar works, and when it doesn't
Household white vinegar is roughly 5% acetic acid. That's enough to break down calcium-based mineral salts (efflorescence), dissolve light deposits from hard water, and lift surface dirt. I've used it on patios with great results when the problem is white or grey chalky staining, dull grimy surfaces, or light discolouration from standing water. It's also a reasonable first pass on very early-stage mildew before it sets in.
Where it consistently underperforms is anything biological. Established green or black algae, thick moss colonies, and heavy mildew have had time to root into the brick surface. At 5% acetic acid, vinegar doesn't have the biocidal punch to kill them reliably, lab and field evidence both show you need higher concentrations or much longer contact times to disrupt mature biofilms outdoors. For those problems, a bleach-based cleaner is the more effective choice, and if you've got heavy mineral scale or deep staining that vinegar won't budge, diluted muriatic acid is the professional-grade escalation step.
| Problem | Vinegar effective? | Better alternative if vinegar fails |
|---|---|---|
| White/grey efflorescence (salt deposits) | Yes — undiluted or 1:5 dilution | Commercial masonry brightener or diluted muriatic acid |
| Hard water mineral staining | Yes — undiluted, 5–10 min dwell | Commercial descaler |
| General surface grime and dirt | Yes — with warm water solution | Detergent scrub or pressure wash |
| Early/light mildew | Sometimes — repeated applications needed | Diluted bleach solution (1:10) |
| Established algae and green growth | Unreliable at 5% | Bleach-based outdoor cleaner |
| Thick moss colonies | No | Horticultural vinegar (20%) or bleach — with care |
| Rust stains | No | Oxalic acid or commercial rust remover |
| Grease stains | No | Degreaser or dish soap + hot water scrub |
| Mortar smears / dried cement | No | Diluted muriatic acid (professional guidance recommended) |
| Paint stains | No | Paint stripper appropriate to brick surface |
What you'll need before you start
Materials and tools
- White distilled vinegar (5% acetic acid) — a standard 1-gallon jug covers a roughly 50–80 sq ft patio at full strength
- Clean water (garden hose with good flow is ideal)
- Plastic or glass mixing bucket (never metal — acetic acid will corrode it)
- Stiff nylon scrub brush (a long-handled deck brush saves your back)
- Handheld stiff-bristle brush for joints and corners
- Plastic watering can or garden sprayer for application
- Broom or stiff dry brush for pre-sweep
- Old towels or rags for wiping
- Optional: pressure washer (see pressure-washer section)
Personal protective equipment (PPE)
- Chemical-resistant gloves (nitrile or rubber — household dish gloves work fine for diluted vinegar)
- Safety glasses or goggles (vinegar splashes sting eyes)
- Closed-toe shoes — sandals are a bad idea when scrubbing with liquid acids
- Old clothing or an apron you don't mind getting stained
- Knee pads if you're doing hand scrubbing on a hard surface
At 5% concentration, vinegar isn't classified as a hazardous chemical, but it's still mildly acidic and will irritate eyes and broken skin. The PPE list above is short and practical, nothing you need to buy specially for this job.
Safety, plant protection, and environmental notes
The biggest practical concern with vinegar on a patio isn't human safety, it's runoff onto nearby plants and soil. Acetic acid at 5% can harm or kill shallow-rooted plants and grass if it pools around their base. Before you start, water down any planted borders, pots, or lawn areas adjacent to the patio. This dilutes any runoff before it reaches roots. After you rinse the patio, flush those border areas with plain water again.
Never mix vinegar with bleach. This is a non-negotiable safety rule. Combining an acid (vinegar) with sodium hypochlorite (bleach) produces chlorine gas, which is toxic even at low concentrations and can cause serious respiratory injury. If you plan to follow up with a bleach treatment on a stubborn spot, rinse the surface completely and let it dry before switching products. Keep at least a day between applications to be safe.
- Water adjacent plants and lawn areas thoroughly before starting — this pre-dilutes any vinegar runoff
- Avoid cleaning on windy days to reduce spray drift onto garden beds
- Don't let strong vinegar solutions pool and soak for more than 10–15 minutes — prolonged exposure can damage mortar
- Keep pets off the patio during cleaning and until the surface has been fully rinsed and dried
- Do not pour concentrated vinegar directly into storm drains — rinse with a large volume of water to dilute
- Never combine vinegar with bleach or bleach-based cleaners — chlorine gas risk
- Check mortar joints before starting — cracked or crumbling mortar is a stop sign (see escalation section below)
Assess the patio and do a spot test first
Before applying vinegar to the whole patio, spend five minutes examining what you're actually dealing with. Run your hand along the mortar joints, if the mortar crumbles, flakes, or feels soft and sandy, do not proceed with any acid-based cleaning, including vinegar. Acid (even mild acetic acid) accelerates mortar erosion, and damaged joints need professional masonry repair before you clean. Similarly, look at the brick faces: if you see spalling (flaking brick faces), unusual dark staining, or rust-coloured streaks, those need specific treatments that vinegar won't address.
Once you've confirmed the patio is structurally sound, do a spot test in an inconspicuous corner. Apply undiluted white vinegar to a 6-inch square area, let it sit for 5 minutes, scrub lightly, and rinse. Watch for two things: first, whether the stain or deposit you're targeting actually lifts (if it doesn't budge at all, vinegar won't fix it at full patio scale); second, whether the brick surface or mortar changes colour, bubbles aggressively, or shows any sign of surface breakdown. A very gentle fizzing is normal, that's the acetic acid reacting with calcium carbonate in mineral deposits. Aggressive bubbling, colour change to the brick, or visible pitting means you should stop and reconsider. Give the test patch a full 24 hours to dry and check again in good light before proceeding.
Exact vinegar recipes, dilutions, and dwell times
The recipe you use depends on what you're cleaning. I've found these formulas work reliably, and the dwell times matter just as much as the dilution.
| Use case | Vinegar dilution | Dwell time | Notes |
|---|---|---|---|
| Light efflorescence / mineral deposits | Undiluted 5% white vinegar | 5–10 minutes | Don't exceed 15 min — mortar risk |
| General surface grime and mild staining | 1 part vinegar : 5 parts water | 5–10 minutes | Ideal first pass for whole-patio cleaning |
| Light mildew (very early stage) | 1 part vinegar : 1 part water (1:1) | 10–15 minutes | May need 2–3 repeat applications |
| Spot treatment for stubborn deposits | Undiluted 5% white vinegar | 5–10 minutes (max) | Rinse very thoroughly afterward |
| Maintenance wash (prevention) | 1 part vinegar : 10 parts water | 3–5 minutes | Good for regular upkeep after major clean |
A standard gallon of white vinegar diluted 1:5 with water gives you about 6 gallons of cleaning solution, enough to treat roughly 150 sq ft of patio surface with a generous application. For an average-sized 200–250 sq ft patio, mix two batches or use undiluted vinegar from a watering can in sections. Work in sections of 20–30 sq ft so the solution doesn't dry out before you scrub it.
Step-by-step: cleaning your brick patio by hand (no equipment needed)
- Clear the patio completely. Move furniture, planters, and any rugs. You want full access to the entire surface and you don't want vinegar sitting on metal furniture legs or pot drainage holes.
- Pre-wet adjacent plants and grass. Give everything within 3 feet of the patio edge a good soak with plain water from a hose. This step takes 2 minutes and saves your garden.
- Dry-sweep the entire surface. Use a stiff broom to remove loose dirt, leaves, and debris. If you've got white powdery efflorescence, gently dry-brush it first to remove loose surface salts before the wet treatment — this makes the acid more effective on what's left.
- Mix your vinegar solution. For a general clean, combine 1 part white vinegar with 5 parts warm water in a plastic bucket. For heavier efflorescence or stubborn mineral deposits, use undiluted vinegar. Pour into a plastic watering can or garden sprayer for easy application.
- Wet the brick surface with plain water first. A quick light hosing-down stops the dry brick from immediately absorbing the vinegar before it has time to work on the surface staining.
- Apply the vinegar solution generously. Work in sections of 20–30 sq ft. Pour or spray the solution evenly over the brick surface, making sure it gets into the mortar joints and any stained areas. The surface should be visibly wet, not just damp.
- Let it dwell. Start your timer: 5 to 10 minutes for general cleaning and mineral deposits, up to 15 minutes maximum. You may see light fizzing on chalky deposits — that's expected. Do not let the solution dry on the surface.
- Scrub with a stiff nylon brush. Use a long-handled deck brush for the main surface and a smaller hand brush for corners and joints. Scrub with firm circular motions on stained areas and straight strokes across the general surface. You should see discolouration lifting into the foam.
- Rinse thoroughly. This is the most important step. Use a hose at full pressure (or a bucket method if you're water-restricted) to flush the entire section completely. Rinse until there's no vinegar smell and no visible residue. Insufficient rinsing leaves acetic acid on the surface, which continues to react with mortar over time.
- Repeat on the next section. Work across the patio in consistent 20–30 sq ft sections so no area sits too long.
- Final full-patio rinse. Once all sections are scrubbed, do one last full rinse across the entire surface and flush the surrounding garden borders again.
- Check the results once dry. Let the patio dry fully — at least a couple of hours in good weather — then assess. White mineral deposits should be gone or significantly reduced. If patches remain, a second treatment is fine. If the problem persists after two treatments, you're looking at a stain type that vinegar won't resolve.
What success looks like: efflorescence and light mineral deposits should be visibly reduced or gone after one treatment. General surface grime should lift significantly, leaving the brick looking brighter and closer to its original colour. Don't expect miracles on biological staining or rust, those need different chemistry.
The pressure-washer option: settings, technique, and vinegar pre-treatment
A pressure washer combined with a vinegar pre-treatment gives you noticeably better results than hand-scrubbing alone, especially on a large or very dirty patio. The vinegar does the chemical work on mineral deposits and loosens surface grime, and the pressure washer flushes it away more thoroughly than a hose.
Pressure settings for brick
Brick is more forgiving than some stone types, but mortar joints are always the weak point. For standard residential brick patios in good condition, stay between 500 and 1,500 psi. Use a 25-degree (green) or 40-degree (white) nozzle tip, never a 0-degree (red) or 15-degree (yellow) tip on brick or mortar. Keep the wand moving constantly and hold it at least 12 to 18 inches from the surface. On older patios or any patio where the mortar looks worn, start at 500 psi and work up only if needed. Directing the spray at an angle into mortar joints will erode them, keep the wand roughly perpendicular to the brick face.
Vinegar pre-treatment with a pressure washer
- Apply your vinegar solution (1: 5 dilution for general cleaning, undiluted for mineral deposits) to the whole patio by hand using a garden sprayer or watering can — most standard pressure washers aren't designed to pull straight vinegar through their soap reservoirs efficiently.
- Let it dwell for 5 to 10 minutes while the surface stays wet.
- Begin pressure washing at a low setting (500–800 psi to start) using a 25- or 40-degree nozzle, working in consistent overlapping passes from one end of the patio to the other.
- Keep the wand moving at a steady pace — don't hover over one spot.
- After the main wash, do a final low-pressure rinse pass across the whole surface to clear any remaining vinegar and loosened debris.
- Flush garden borders again with plain water after you're done.
One honest note: if your mortar joints are cracked, crumbling, or already soft, skip the pressure washer entirely. High pressure will accelerate mortar loss and turn a cosmetic problem into a structural repair job. Get the mortar repointed first, then clean.
Stain-specific solutions: algae, mildew, moss, and more
Algae and mildew: where vinegar often falls short
This is the most common area where I see people get frustrated. They apply vinegar to a green or black-stained patio, scrub hard, and it doesn't clear up. The reason is simple: established algae and thick mildew colonies have set into the porous brick surface, and 5% acetic acid at a 5-to-10 minute dwell time just doesn't have the concentration or contact time to kill them reliably. Lab evidence shows acetic acid needs to be well above 5%, often 10–15% or higher, or needs much longer contact time to disrupt mature biofilms outdoors.
For light or early-stage algae (a thin greenish haze), a 1:1 vinegar-to-water solution with a 15-minute dwell and vigorous scrubbing can work, but expect to repeat it two or three times. For established algae with visible texture, mats, or black staining, a diluted bleach solution is genuinely more effective: roughly 1 cup of household bleach per gallon of water (1:16 dilution), applied with a 10-to-15 minute dwell, then scrubbed and rinsed thoroughly. Remember: never apply bleach on a surface that still has vinegar on it. Complete rinsing and ideally a waiting period between treatments is essential to avoid generating chlorine gas.
Detailed guidance on algae removal, including step-by-step biological treatment approaches, is covered in the algae-specific cleaning guide for brick patios.
Moss
Household vinegar is not reliably effective against established moss. Some DIY sources suggest using undiluted vinegar as a contact treatment, and it can brown and kill moss on the surface, but regrowth is common because the underlying root structure isn't fully destroyed. Horticultural vinegar (around 20% acetic acid) is used as a contact herbicide and can be more effective, but it's a corrosive product requiring proper PPE (chemical-resistant gloves, eye protection, full skin coverage), and it poses a real risk to any plant life in the overspray zone. It's not a casual swap for household vinegar. For persistent moss, a bleach-based outdoor cleaner or a purpose-made moss killer is the more reliable and safer approach.
Rust stains
Vinegar won't remove rust stains from brick. Rust staining requires an oxalic acid treatment or a purpose-made brick rust remover. Apply the product per manufacturer instructions, typically with a short dwell time and a thorough rinse. Rust on brick often comes from metal furniture, plant pots, or steel tools left on the surface, removing the source is the best long-term fix.
Grease stains
Acetic acid doesn't break down grease. For grease stains (common near outdoor kitchens or BBQ areas), start with undiluted dish soap and very hot water, scrubbing with a stiff brush. For older set-in grease, a commercial degreaser or a poultice method (powdered absorbent material mixed with degreaser, applied and left to draw out the oil) works better than any acid-based approach.
Mortar smears
Vinegar is not strong enough to dissolve dried mortar smears on brick, those require a diluted muriatic (hydrochloric) acid treatment, which is a much more aggressive process with significant safety requirements. For step-by-step guidance on safely removing mortar smears, see how to clean mortar off patio. For step-by-step instructions, safety precautions, and proper dilutions when using stronger acids, see our guide on how to clean brick patio with muriatic acid. For concentrated hydrochloric (muriatic) acid tasks, follow respirator and PPE guidance (see CAMEO Chemicals / NOAA: Hydrochloric acid, respirator and PPE recommendations) CAMEO Chemicals / NOAA: Hydrochloric acid — respirator and PPE recommendations. Mortar removal is a separate procedure best handled with care and proper guidance.
Paint stains
Vinegar does not remove paint from brick. Use a paint stripper specifically rated for masonry surfaces, following all manufacturer safety instructions.
When to escalate to bleach, muriatic acid, or a professional
Vinegar is the right first step for light to moderate mineral-based staining and general grime. But there are clear trigger points where you should move to a stronger solution or call a professional rather than spending more time and effort with vinegar.
- Algae, mildew, or moss that hasn't cleared after two vinegar treatments: move to a bleach-based outdoor cleaner
- Heavy efflorescence that doesn't respond to undiluted vinegar: consider a commercial masonry brightener or diluted muriatic acid under professional guidance
- Any mortar crumbling, spalling, or joint damage visible before or after cleaning: stop and consult a masonry professional for repointing before any chemical treatment
- Dark staining that could indicate vanadium or manganese salt migration (yellowish or brownish discolouration on new brick): this is a documented risk with acid cleaning on certain bricks, and professional diagnosis is warranted before using any acid
- Rust, grease, paint, or mortar smears: these need stain-specific treatments, not vinegar
- Large patio area with severe biological growth or deep staining: a professional exterior cleaning service with appropriate equipment will achieve better results without risking brick damage
The Brick Industry Association is explicit that unbuffered acid cleaning on brick, including muriatic acid, should only be done by experienced users following manufacturer recommendations, because improper use frequently causes permanent staining and mortar damage. If you're unsure, get a professional opinion before reaching for the strong stuff.
After cleaning: drying, sealing, and keeping it clean longer
Once you've cleaned and thoroughly rinsed the patio, let it dry completely before doing anything else. In warm dry weather, that's usually 24 to 48 hours. In humid or cool conditions, give it a full two days. Walking on it too early on a freshly-cleaned wet brick surface can grind loosened debris back into the pores. If you want to alter the patio’s look by lightening the brick, see a step‑by‑step guide on how to whitewash brick patio for technique and product recommendations.
If your main problem was efflorescence, be aware that it can return, it's caused by water moving through the brick and depositing mineral salts on the surface as it evaporates. Sealing the patio with a penetrating masonry sealer after it's fully dry will significantly slow this process by reducing water infiltration. A good sealer on brick also makes future cleaning much easier, since grime and biological growth have less to grip. Apply sealers according to manufacturer instructions and make sure the brick is completely dry beforehand, sealing damp brick traps moisture and creates worse problems.
For maintenance, a light vinegar-and-water wash (1:10 dilution) every few months is a reasonable approach to prevent surface buildup from getting ahead of you. A quick sweep after rainfall and removing standing water after storms will also slow algae and moss growth significantly by reducing the damp conditions they need to establish.
Troubleshooting checklist
| Problem | Likely cause | Fix |
|---|---|---|
| White deposits came back after a week | Efflorescence — moisture moving through brick | Seal the patio after next clean; improve drainage if possible |
| Vinegar had no effect on the stain | Wrong stain type (rust, grease, biological, paint) | Identify stain type and use appropriate targeted treatment |
| Surface looks patchy or streaky after drying | Uneven application or insufficient rinsing | Re-wet the surface and do a thorough rinse pass |
| Mortar looks eroded or lighter after treatment | Too-long dwell time or undiluted acid on soft mortar | Stop acid treatment; consult a mason about repointing |
| Green algae returned within weeks | Biological growth not fully killed; damp shaded conditions | Use bleach-based treatment; consider improving drainage or shade |
| Brick surface feels rougher after cleaning | Possible surface etching — review dwell time and dilution | Test with weaker 1:5 dilution next time; inspect mortar condition |
| Strong smell persists after rinsing | Residual vinegar in mortar joints | Flush thoroughly with large volumes of plain water |
FAQ
What is the safest, no‑equipment step‑by‑step method to clean a brick patio using household white vinegar (5% acetic acid)?
1) Clear patio (move furniture, sweep loose debris). 2) Pre‑rinse with hose to remove surface dirt. 3) Mix cleaning solution: 1 part 5% white vinegar to 4 parts water (1:4 dilution). For light efflorescence you can use undiluted 5% vinegar on a small test patch. 4) Wet surrounding plants/soil with water to reduce drift/absorption. 5) Apply solution with a watering can or spray bottle, working one 4–8 ft2 area at a time. 6) Let dwell 5–10 minutes (do not allow to dry completely). 7) Scrub with a stiff nylon brush or push broom (avoid wire brushes). 8) Rinse thoroughly with plenty of water until runoff is clear. 9) Allow to air dry and inspect; repeat spot treatment if needed. Note: keep contact time short on mortar joints (max ~10 minutes) to avoid weakening carbonate‑rich mortar.
What measurable vinegar dilutions and dwell times should I use for different problems (light dirt, efflorescence, light algae/mildew)?
Light dirt and general cleaning: 1:10 vinegar:water (0.5% acetic) — short dwell, scrub, rinse. Light efflorescence/mineral salts: 1:4 vinegar:water (≈1% acetic) or undiluted 5% applied to a test patch — dwell 5–10 minutes, scrub, rinse. Light surface algae/mildew (fresh, thin growth): undiluted 5% vinegar applied to area, dwell 10–15 minutes and scrub, then rinse — results will be inconsistent; repeat treatments often needed. For established biological growth, 5% vinegar is frequently insufficient; escalate to bleach or a commercial biocide per guidance.
What materials, tools and PPE do I need for vinegar cleaning and why?
Materials/tools: household white vinegar (5%), garden hose or watering can, spray bottle (optional), stiff nylon brush or push broom, bucket, scrub brush, broom, tarp or plastic sheeting to protect plants, sponge, measuring cup. PPE: chemical‑resistant gloves (nitrile or thicker), safety glasses or splash goggles, long sleeves and pants, closed‑toe shoes. Rationale: Gloves/eye protection prevent irritation from splashes; long clothing protects skin from repeated exposure; nylon brushes avoid aggressive abrasion that can damage brick.
How should I spot‑test before treating the whole patio?
Pick an inconspicuous 1–2 ft2 area including brick and mortar. Apply your planned dilution, wait the planned dwell time (5–10 minutes), scrub and rinse. Inspect when dry for color change, etching, mortar softening, or surface roughness. If any adverse change appears, do not use that treatment on the rest of the patio; try a milder dilution, different cleaner, or consult a pro.
When is household vinegar an appropriate choice versus bleach or muriatic acid?
Use 5% vinegar for light dirt, light efflorescence, or as a low‑risk first try on small biological stains. Use bleach (diluted household sodium hypochlorite, ~1:10–1:20) for persistent algae, mildew, or moss on hard, non‑porous brick surfaces when biological growth is established — bleach is a stronger biocide with proven faster kill times. Use muriatic acid only for heavy mineral deposits, stubborn mortar smears, or professional brightening when recommended by manufacturer — HCl is corrosive and can damage brick/mortar if misused. Escalate to a pro if mortar is soft, joints are crumbling, brick is historic/delicate, or stains persist after appropriate, tested treatments.
What are safe, effective bleach and muriatic acid recipes and safety notes (for escalation)?
Bleach (sodium hypochlorite) disinfectant for biological growth: mix 1 cup household bleach (5–6%) per 1 gallon water (~1:10). Apply, dwell 10–15 minutes, scrub, rinse thoroughly. Do not mix bleach with vinegar or acids (creates toxic chlorine gas). Wear gloves, goggles, and avoid breathing fumes; protect plants and rinse vegetation thoroughly after. Muriatic acid (HCl) — if used only as last resort: follow manufacturer label and industry guidance (commonly very dilute mixes, e.g., 1 part muriatic to 10–20 parts water for test cleaning), always add acid to water (never water to acid), use full PPE (face shield, acid‑resistant gloves/apron, eye protection, respirator if fumes), and neutralize/flush thoroughly after. Because HCl can etch brick and react with metal ions to stain, consider a professional for acid cleaning.
Next Articles
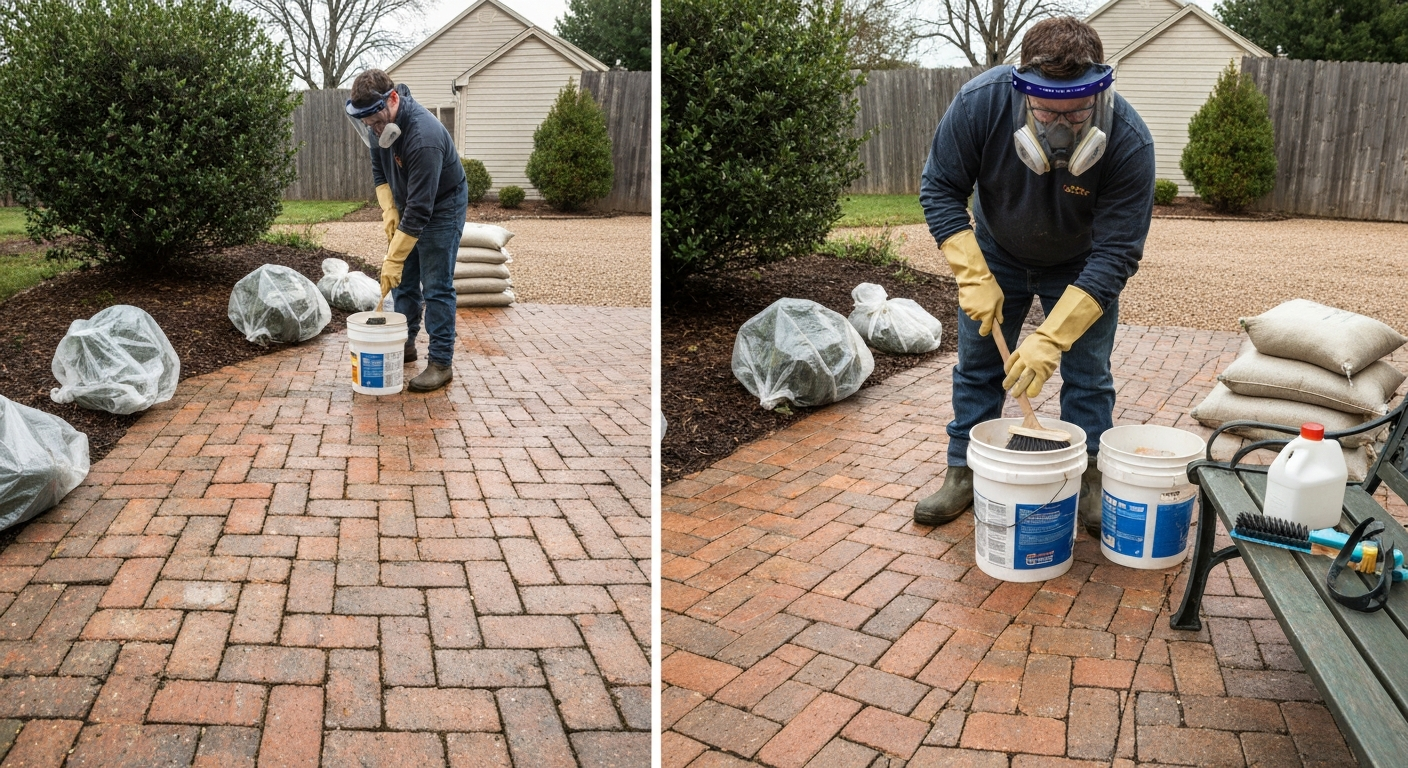
How to Clean Brick Patio with Muriatic Acid: Step-by-Step
Safe step-by-step guide to clean brick patios with muriatic acid: dilutions, PPE, neutralizing, plant/drain protection
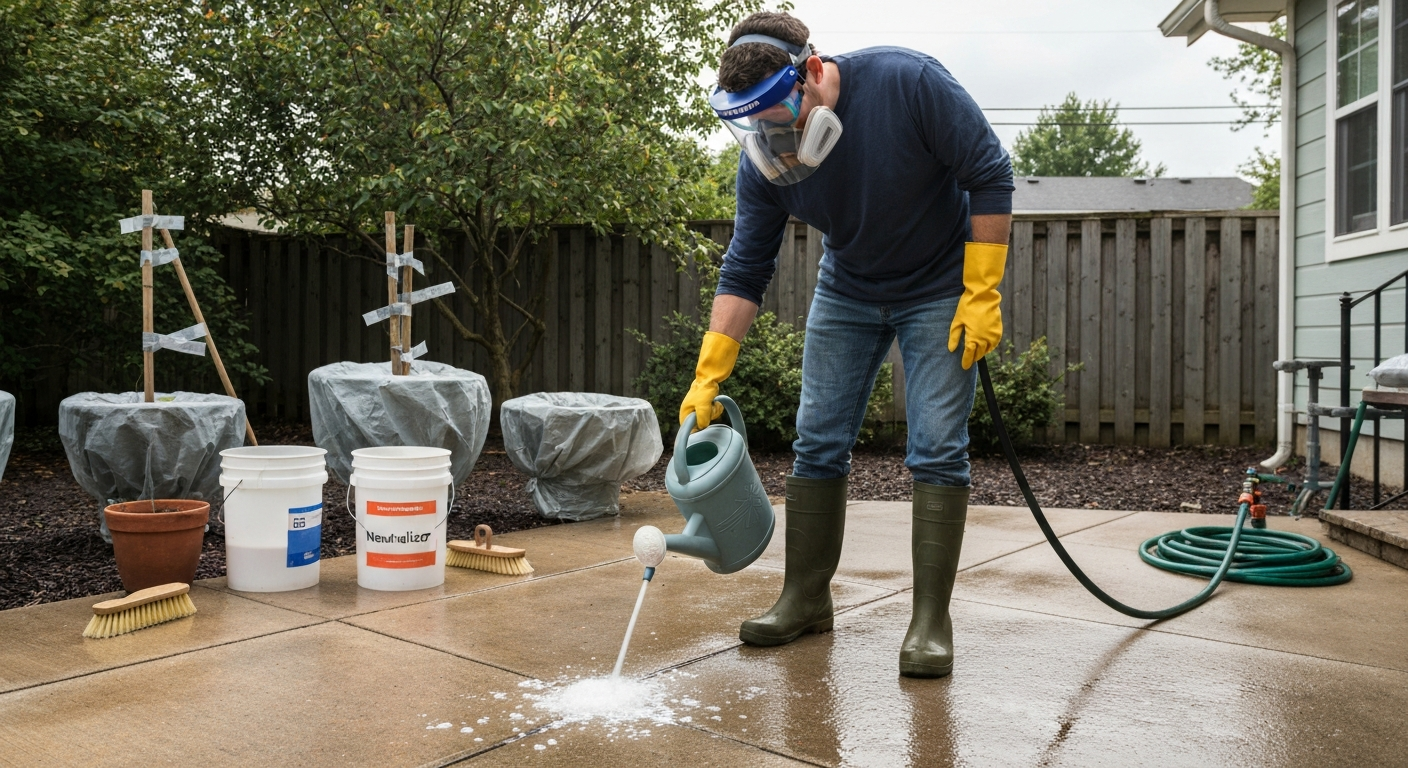
How to Apply Muriatic Acid to Concrete Patio: Safety Guide
Safe, step-by-step guide to using muriatic acid on concrete patios: dilution, PPE, neutralizing, plant protection.
How to Whitewash Brick Patio: Step-by-Step Guide
Step-by-step how to whitewash a brick patio, prep, apply lime-style or tinted mixes, fix blotches, and seal for lasting