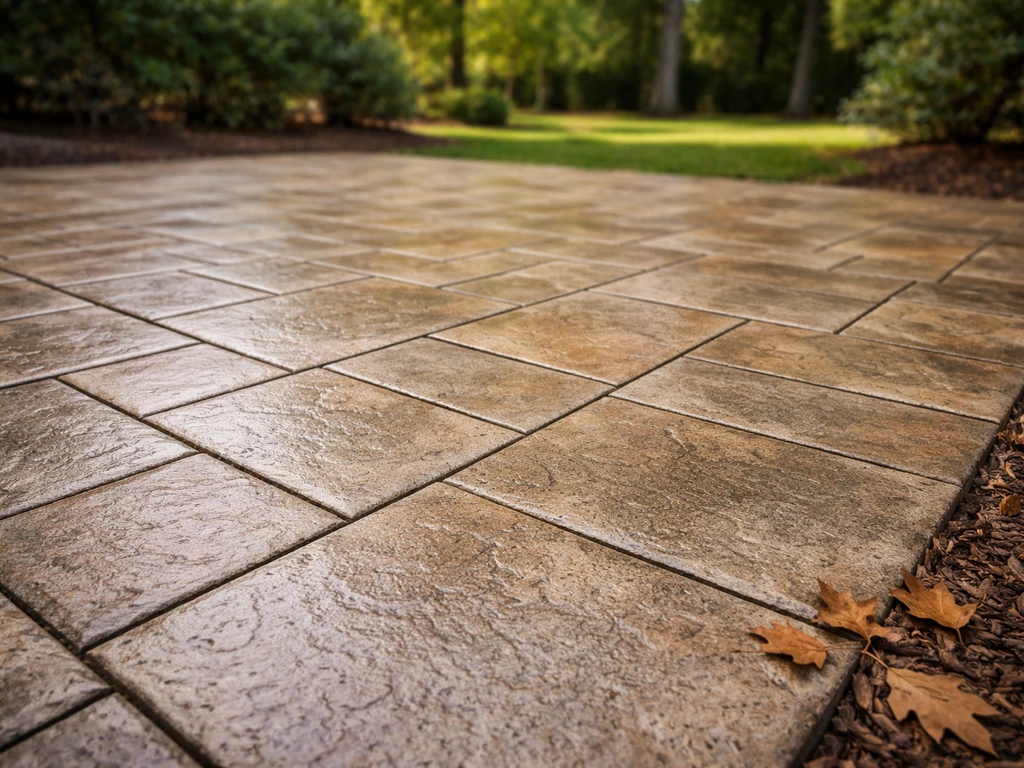
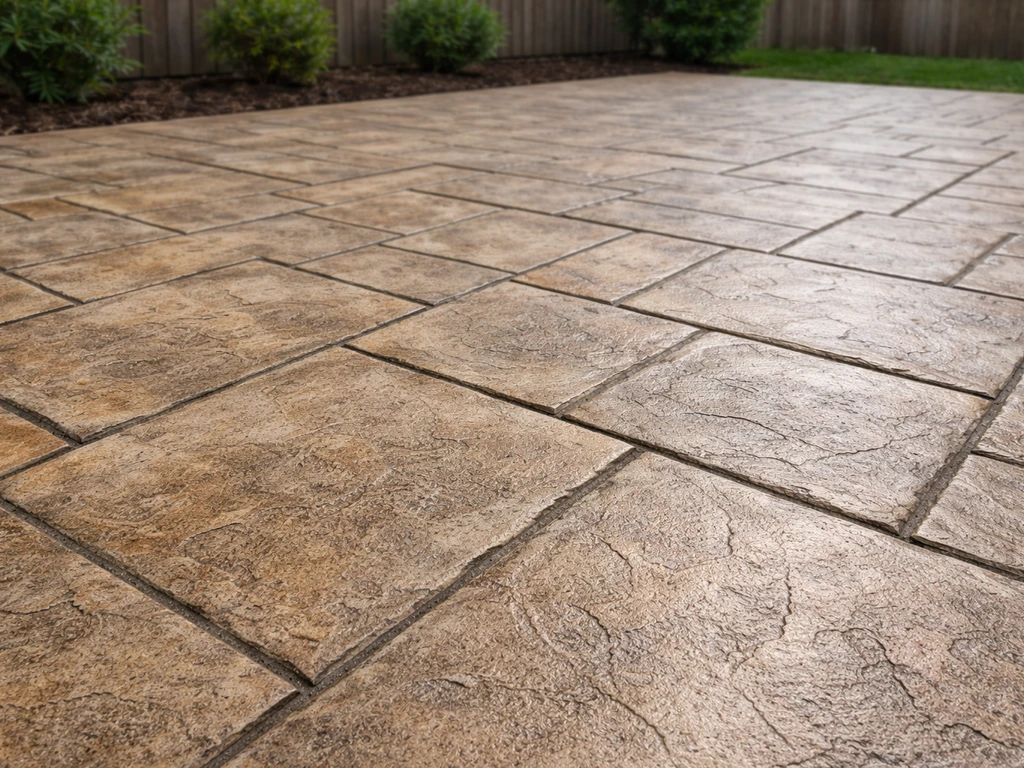
Stamped concrete needs four things to stay looking good year-round: regular sweeping and washing, resealing every 2 to 3 years, prompt stain treatment, and smart winter habits. Skip any one of those and you'll end up with fading color, surface scaling, or stains that are a lot harder to remove the longer they sit. The good news is that most of this maintenance is genuinely simple, and you don't need professional equipment to do it right.
How to Care for a Stamped Concrete Patio: Cleaning, Sealing

Dylan Hale
14 Jun 2026
Basic care and your realistic maintenance schedule
Stamped concrete is sealed, which makes it more forgiving than bare concrete, but that sealer needs upkeep. Think of it as a protective film sitting on top of your patio: it repels stains and moisture until it wears down, chips, or gets stripped by the wrong cleaner. Your job is mostly to keep that film intact and clean.
Here's a schedule that actually works for most homeowners:
| Frequency | Task |
|---|---|
| Weekly (or as needed) | Sweep off leaves, dirt, and debris with a push broom |
| Monthly | Rinse with a garden hose; spot-treat any fresh stains |
| Every spring (around Memorial Day is a good target) | Full wash with mild detergent and garden hose or pressure washer |
| Every 2 to 3 years | Reseal the surface after cleaning and any crack repairs |
| Every fall before first frost | Inspect for cracks, clear drains, stop using harsh de-icers |
| After any heavy use (parties, grilling season) | Check for grease spots and treat before they set into the sealer |
The spring cleaning is the most important single maintenance task. Power washing every spring and resealing roughly every three years is the baseline recommendation I'd give anyone with a standard acrylic-sealed stamped patio. If your sealer is looking dull or water is soaking in rather than beading up, you're already overdue.
Cleaning stamped concrete: pressure washing vs. manual scrubbing
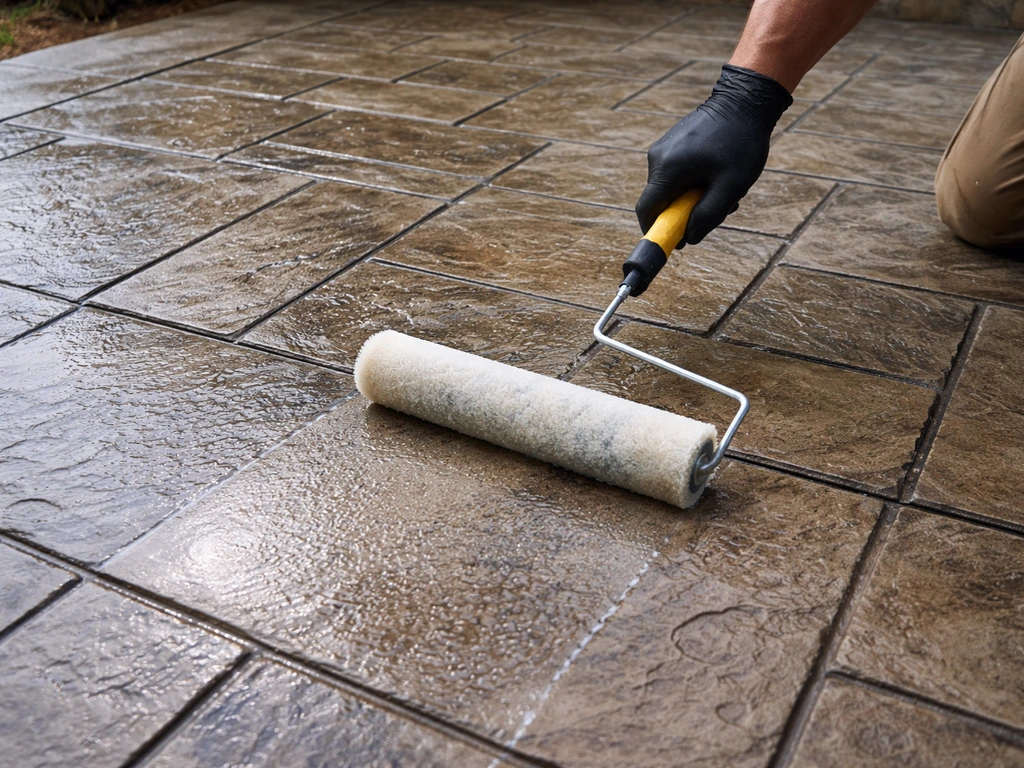
Both methods work. Pressure washing is faster and more thorough; manual scrubbing is gentler and better if your sealer is already showing wear or you're dealing with isolated stains. A simple stamped concrete patio wash, like the one above, usually means you can keep the surface clean without damaging the sealer manual scrubbing. The wrong pressure washer technique can actually strip your sealer or blast the stamped detail right off the surface, so the specifics matter.
Pressure washing stamped concrete safely
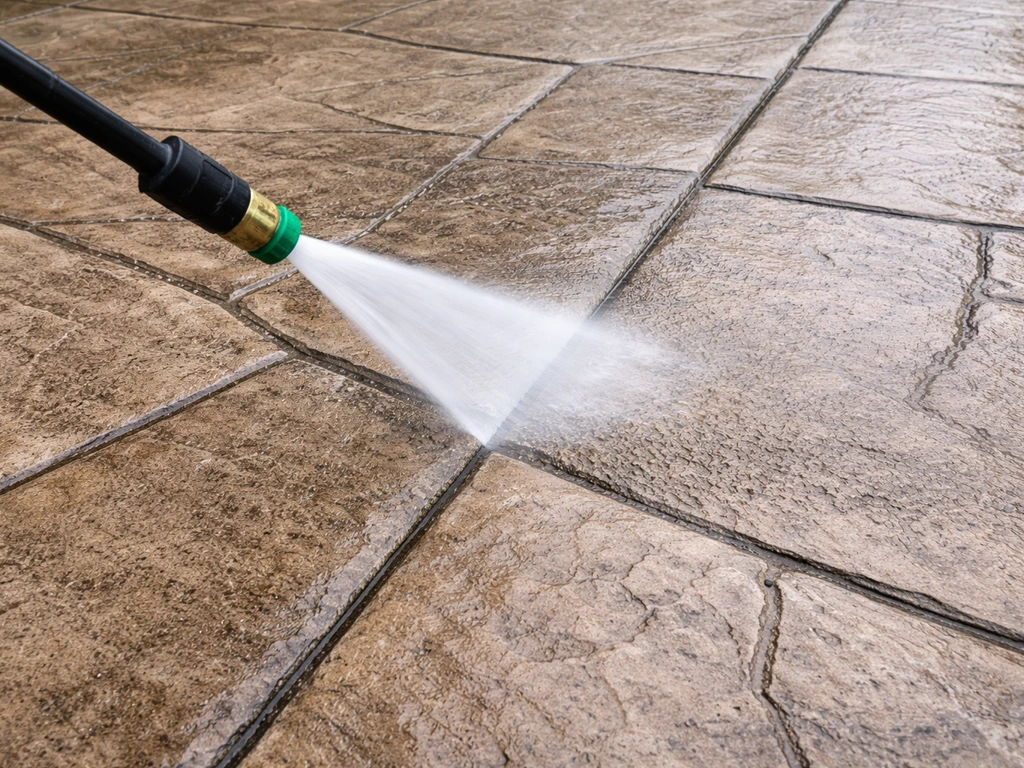
The biggest mistakes people make with pressure washers are using too narrow a nozzle, holding the wand too close, and directing water into cracks or seams. Here's what I've found works without damaging the surface:
- Use a wide fan or 25-degree nozzle. Skip the 0-degree and 15-degree tips entirely on stamped concrete; they're too concentrated and will gouge the surface or strip the sealer.
- Set pressure between 1,500 and 2,500 PSI. Most residential pressure washers in the 2,000 PSI range are fine. If yours goes higher, dial it back.
- Hold the wand 18 to 30 inches from the surface at a consistent angle. Some guides recommend a slight 45-degree angle to help sweep debris without blasting straight down into the texture.
- Keep the wand moving at a steady pace. Lingering in one spot concentrates force and can etch or pit the surface.
- Never point the spray directly into cracks, control joints, or the edges of stamped patterns. Water forced into those areas can undermine the slab.
- After washing, give the surface 24 to 48 hours to dry completely before you apply any sealer.
Manual scrubbing (no pressure washer needed)
If you're a renter, don't own a pressure washer, or your patio sealer is already worn in spots, manual cleaning is your safest option. Use a push broom or stiff-bristle scrub brush, a bucket of warm water with a few squirts of mild dish soap or pH-neutral concrete cleaner, and a garden hose for rinsing. Scrub in sections, let the soapy water dwell for a minute or two on dirtier areas, and rinse thoroughly. The Concrete Network specifically recommends this approach for routine cleaning, and honestly it's enough for most patios that get swept regularly. The key is rinsing well; soap residue left on a sealed surface can leave a hazy film.
Removing stains and discoloration from stamped concrete
Stain type matters a lot here. What removes mold won't touch grease, and what lifts rust can damage your sealer if you overdo it. Choosing the best stain for concrete patio depends on what kind of discoloration you have and how well your sealer is holding up. Treat stains while they're fresh whenever possible. The longer oil or organic matter sits on a sealed surface, the more likely it is to penetrate any micro-gaps in the sealer.
Oil and grease stains
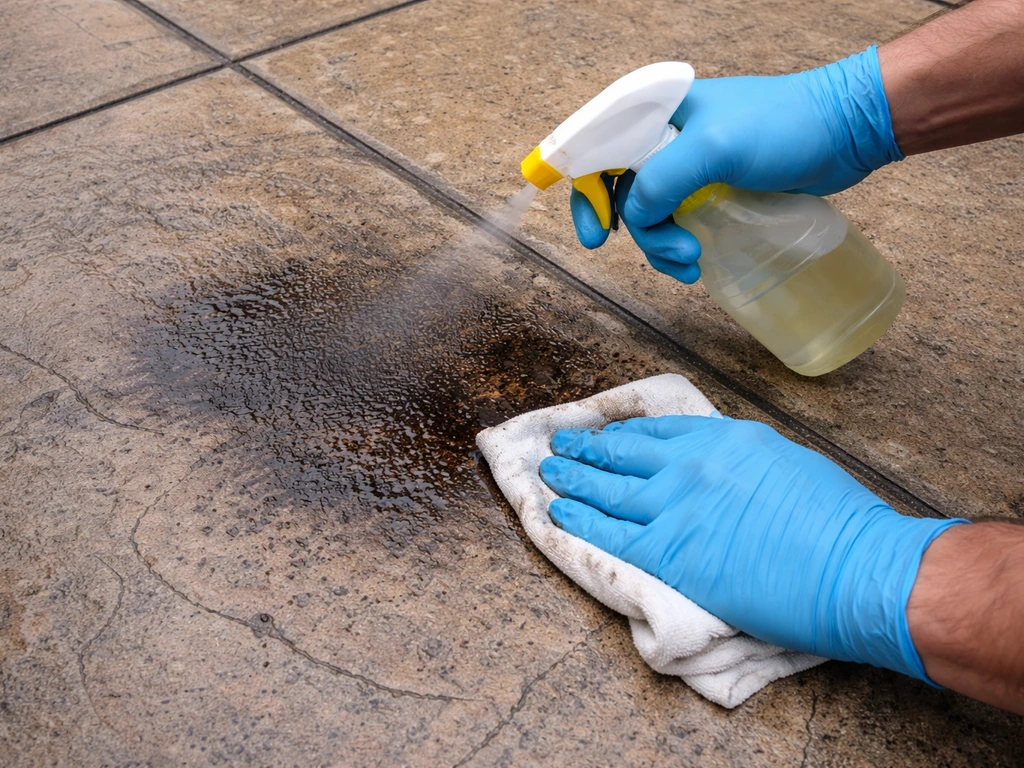
For fresh grease from a grill or a car drip, blot up as much as you can first, then apply a degreaser like Simple Green or a common engine degreaser diluted per the label. Let it sit for 10 to 15 minutes, scrub with a stiff brush, and rinse thoroughly. Avoid harsh or highly concentrated degreasers that aren't rated for use on sealed concrete; they can soften or cloud acrylic sealers. If the stain has been there a while, you may need two or three treatments.
Rust and leaf tannin stains
Rust marks from metal furniture legs or leaf stains from wet organic debris respond well to mildly acidic cleaners. Products like CLR, Lime-A-Way, or purpose-made concrete rust removers will work without the risks that come with full acid etching. Apply, let it dwell for the time on the label (usually 2 to 5 minutes), scrub, and rinse well. I'd avoid leaving acidic products sitting longer than directed; even mild acids can start to dull or etch an acrylic sealer with repeated use.
Mold, mildew, and algae
This is where a diluted bleach solution earns its place. A mix of one part household bleach (sodium hypochlorite) to three or four parts water, applied to the affected area, left to dwell for 10 minutes, then scrubbed and rinsed, takes care of most mildew and algae. Treat it promptly; algae especially can get slippery fast and create a fall hazard. Rinse thoroughly and protect any nearby plants by wetting them down before you start and rinsing them off after. If you'd rather avoid bleach, white vinegar at full strength is a gentler alternative for early-stage mildew, though it takes longer and works best before a full bloom sets in.
Organic stains (food, leaves, dirt buildup)
Most organic staining responds to the basic soap-and-scrub method above. For stubborn food stains or heavy leaf tannin buildup, the diluted bleach approach used for mildew works here too. The main thing is rinsing completely; organic residue left damp under sunlight can re-stain the surface.
A word on muriatic acid
Muriatic acid comes up a lot in concrete care discussions, and I want to be straightforward about it: it is not a routine stain remover for stamped concrete. Its legitimate uses are etching bare concrete to create a surface profile before applying coatings, or cleaning efflorescence (white mineral deposits) as a last resort. If you do need it, the standard dilution is 1 part acid to 2 parts water, and any acid treatment must be fully neutralized (typically with a baking soda and water solution) and rinsed before you reseal. On a stamped patio with an existing acrylic sealer, muriatic acid can strip the sealer entirely and discolor pigments. Start with the gentler options above and only escalate to acid if nothing else works and you're prepared to reseal afterward.
Sealing and resealing for long-term protection
Sealing is the single highest-impact thing you can do for stamped concrete. It protects color, repels stains, and slows moisture infiltration that leads to cracking. Most stamped patios are finished with an acrylic-based sealer at installation, and that's typically what you'll reapply over the life of the patio.
When to reseal
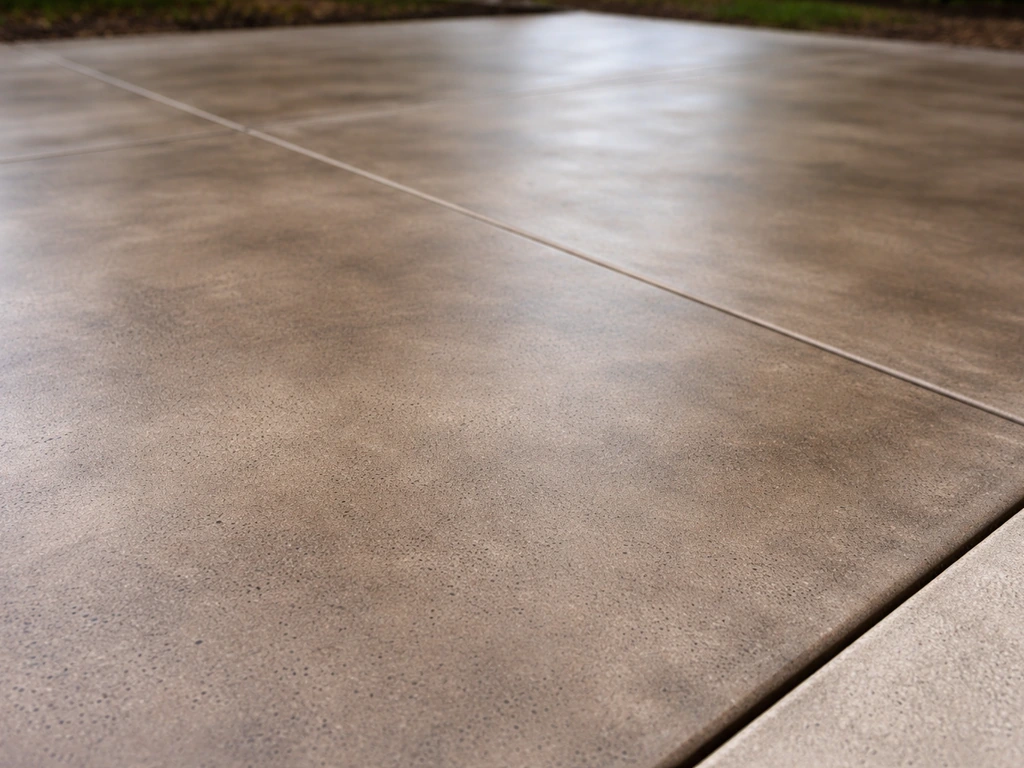
The practical rule of thumb is every 2 to 3 years for a standard acrylic sealer, or when water stops beading on the surface and soaks in instead. Some penetrating or higher-solids sealers can stretch to 4 to 5 years, but acrylic topcoats on high-traffic patios usually wear faster. Don't wait for visible flaking or color fading to make your move; by then, the underlying concrete has already been exposed to moisture and UV for longer than you want.
Sealer types to consider
- Acrylic sealers: The most common choice for stamped concrete. They enhance color, provide a semi-gloss or high-gloss finish, and are relatively easy to reapply. Water-based acrylics are easier to work with and more environmentally friendly; solvent-based versions offer a deeper wet look but require better ventilation.
- Penetrating sealers (silane/siloxane): These soak into the concrete rather than forming a film on top. They don't affect the surface appearance much, but they provide excellent moisture and freeze-thaw protection. If you want to preserve a natural matte look or already have a penetrating sealer in place, this is the category to stay in.
- Polyurethane sealers: More durable than acrylics and more resistant to abrasion, but harder to recoat and more expensive. Better suited to very high-traffic surfaces.
How to prepare for resealing
- Clean the surface thoroughly (spring wash or pressure wash) and let it dry completely: 24 to 48 hours minimum depending on conditions.
- Inspect for and repair any cracks before sealing (see the repair section below). Sealer applied over an open crack just traps moisture.
- If you used any acidic cleaner during the prep, neutralize it with a baking soda solution and rinse, then let the surface dry again.
- Apply sealer at ambient temperatures between 45 and 90 degrees Fahrenheit. Avoid sealing in direct hot sun or when rain is forecast within 24 hours.
- For acrylic sealers, apply a thin, even coat with a roller or pump sprayer. Two thin coats beat one thick coat every time; thick applications trap air and go milky.
- New concrete must cure for a minimum of 28 days before sealing. Don't rush this even if the surface looks dry.
After resealing, the surface will reach full stain resistance within about a week. Avoid heavy traffic or dragging furniture for the first 24 to 48 hours while the sealer cures. If you're looking at stripping old, flaking sealer before reapplying, that's a more involved project worth tackling separately before you reseal. If you are stripping old sealer, the process is different than routine cleaning and stain removal, so use the right approach to avoid damaging the stamped surface stripping old, flaking sealer.
Fixing common damage: cracks, spalling, and fading
Stamped concrete isn't indestructible. Hairline cracks, surface spalling (small chips or flaking), and color fading are the most common issues homeowners deal with, and the good news is that most of them are manageable with a weekend afternoon and some patience.
Hairline and narrow cracks (under 1/4 inch wide)
These are normal in concrete and don't usually mean structural trouble. Clean out any debris from the crack, then fill it with a flexible exterior-rated concrete crack filler or polyurethane caulk. Flexible fillers are important here because concrete moves slightly with temperature changes, and a rigid filler will just crack again. Products like polymer-based crack injection kits cure in minutes after application. Once it's cured and flush with the surface, you can seal over it. Do this before winter; water in an unsealed crack expands when it freezes and turns a hairline crack into a real problem fast.
Spalling and surface chips
Surface spalling, where the top layer flakes or pits, is often caused by freeze-thaw cycles or de-icing salt damage. For small areas, a concrete patching compound (like Quikrete's patching compound) applied per the manufacturer's instructions works well. Feather the edges, let it cure fully per the product specs, and then seal over the repair. For larger areas of spalling, especially if it's widespread, that's a sign the surface needs a full restoration coating or a professional consult.
Fading color
Fading is almost always a sealer issue, not a color issue. UV breaks down acrylic sealers over time, which makes the color underneath look washed out. In most cases, a fresh coat of acrylic sealer will dramatically restore the color richness without any re-staining at all. If the color is genuinely gone, a concrete stain or tinted sealer can bring it back. Re-staining faded stamped concrete is a bigger project that involves surface prep and color matching, but it's a legitimate option for serious fading.
Lifting or heaving sections
If sections of your patio are lifting or shifting noticeably, that's usually a base or drainage problem underneath the slab, not something surface patching will fix. A lifted slab also creates a tripping hazard. This is the one repair category I'd genuinely recommend getting a professional assessment for before attempting a DIY fix.
Winter and seasonal care
Freeze-thaw cycles are the single biggest long-term threat to stamped concrete in cold climates. Water gets into micro-pores or small cracks, freezes, expands, and mechanically breaks the surface apart over time. A good sealer is your first line of defense, but your winter habits matter just as much.
Snow removal
Use a plastic shovel or a rubber-bladed snow pusher rather than a metal shovel, which can scratch and chip stamped surfaces. Remove snow accumulation before applying any de-icing product. Applying de-icer to a snow-covered surface wastes product and can create icy slush that refreezes and sits on the concrete longer.
De-icing product selection
This is where a lot of people damage their patio without realizing it. Rock salt (sodium chloride) is cheap and everywhere, but it's genuinely bad for stamped concrete. It increases the rate at which water is absorbed into the surface, which amplifies freeze-thaw damage and can cause surface scaling and discoloration over time. Here's a quick comparison:
| De-icer Type | Risk to Stamped Concrete | Notes |
|---|---|---|
| Rock salt (sodium chloride) | High | Causes scaling, increases water absorption, can discolor pigment |
| Calcium chloride | Moderate | Works at lower temps; less surface damage than rock salt but still use sparingly |
| Magnesium chloride | Lower than sodium chloride | Gentler option; still rinse surface when temperatures allow |
| Chloride-free de-icers (urea, potassium acetate) | Lowest | Best choice for stamped concrete; more expensive but worth it |
If you have no other option than rock salt, use the absolute minimum amount needed and rinse the surface as soon as temperatures allow in spring. A thorough spring wash is especially important after any winter where de-icers were used.
Summer and UV protection
In summer, the main enemies are UV fading and heat-related expansion that can widen existing cracks. Keep your sealer current (that fresh coat every 2 to 3 years matters most here), clean up grease and organic stains fast before heat bakes them in, and avoid dragging metal furniture across the surface. Move planters occasionally to prevent tannin staining from moisture trapped underneath.
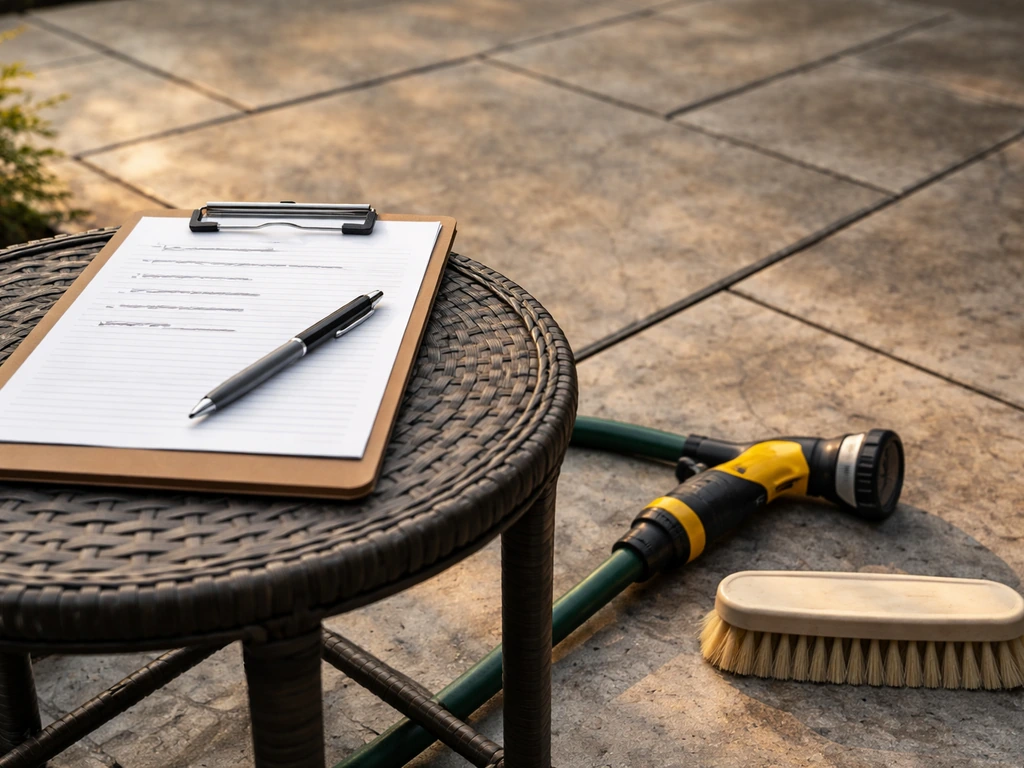
Tools, safety, and what not to do
Most stamped concrete damage I've seen comes from well-intentioned but wrong chemical choices or pressure washer misuse. Here's what to keep in mind before you start any cleaning or maintenance project.
Tools you'll actually need
- Push broom or stiff-bristle scrub brush for routine sweeping and scrubbing
- Garden hose with an adjustable nozzle for rinsing
- Pressure washer (optional): 1,500 to 2,500 PSI with a 25-degree or wider fan nozzle
- Pump sprayer or paint roller for sealer application
- Plastic scraper or putty knife for removing debris from cracks before filling
- Rubber or plastic snow shovel for winter use
Chemicals: what to use and what to skip
- Safe for stamped concrete: pH-neutral or mild alkaline concrete cleaners, Simple Green (diluted), diluted dish soap, diluted household bleach for mold, mild acid products like CLR used briefly for rust
- Use with caution: Stronger degreasers (test a small area first and rinse very thoroughly), any acidic cleaner (limit contact time and rinse completely)
- Avoid or use only for specific prep: Muriatic acid (strip-and-reseal situation only, not routine cleaning), harsh industrial degreasers not rated for sealed surfaces, bleach used at full concentration directly on the sealer
Protecting plants and surrounding surfaces
Before you use any bleach, degreaser, or acidic cleaner, wet down all nearby plants and grass with plain water. This dilutes any splash or runoff. Rinse plants again after you're done. If you're using muriatic acid for any reason, cover plants with plastic sheeting; the fumes and runoff at that strength are genuinely harmful to vegetation.
Slip hazards
Algae and mildew on a sealed surface create a seriously slippery patio, especially when wet. Don't let mold or algae growth go more than a week or two before treating it. High-gloss acrylic sealers also add some inherent slip risk when wet; if your patio is frequently wet (near a pool, in a shaded area with poor drainage), consider a sealer with an anti-slip additive mixed in, or apply a broadcast of fine silica sand in the final sealer coat while it's still wet. It reduces the gloss slightly but adds meaningful traction.
What not to do: a quick reference
- Don't use a 0-degree or 15-degree pressure washer nozzle on stamped concrete
- Don't hold the pressure washer wand closer than 18 inches from the surface
- Don't apply sealer to wet, damp, or dusty concrete
- Don't seal new concrete before it has cured for at least 28 days
- Don't use rock salt or sodium chloride de-icers if you can avoid it
- Don't use muriatic acid as a general-purpose cleaner or stain remover on a sealed surface
- Don't let acidic cleaners sit on the surface longer than the label recommends
- Don't skip neutralizing and thoroughly rinsing after any acid treatment before resealing
If you take one thing away from all of this: keep the sealer current, clean spills and stains quickly, and blank" rel="noopener noreferrer">be conservative with both your pressure washer settings and your chemical choices. Concrete Efflorescence: Causes, Removal, and Prevention notes that effective efflorescence prevention must target moisture pathways, not just the visible white deposits, and that sealing alone will not solve the problem if moisture continues to migrate. Stamped concrete that gets those basics right consistently will look great for decades with minimal effort.
FAQ
Can I use regular household cleaners (like all-purpose spray or vinegar) on a sealed stamped concrete patio?
No, especially not high-alkaline cleaners. Use products labeled safe for sealed concrete (or pH-neutral concrete cleaners), and do a small test patch first. Alkaline or solvent-heavy cleaners can dull acrylic sealers and make the stamped texture look uneven even if the surface appears clean.
Is it safe to use a degreaser on my stamped concrete if I do not know when it was last sealed?
Yes, but only if you follow the sealer limits. First, check that your sealer still beads water. If water soaks in, wait and plan to reseal, because aggressive degreasing can accelerate sealer wear and leave blotchy areas that take more frequent touch-ups.
How long should I wait after resealing before using the patio? Can I set furniture back out right away?
Plan around cure time. After resealing, avoid furniture, grill stands, and foot traffic that can leave marks for 24 to 48 hours, and wait about a week for full stain resistance. Also keep irrigation off it during cure, so the sealer does not get diluted or streaked before it sets.
Should I let cleaner or bleach solutions sit on the patio longer to “work harder,” or is timing strict?
For most stamped patios, the goal is to protect the sealer film, not to keep it constantly wet. Spot treat stains promptly, and do not leave cleaners or bleach sitting longer than instructed. If you do a full wash, rinse thoroughly until runoff no longer looks sudsy or discolored.
What should I do if my patio looks hazy or streaky after washing?
If the surface starts to haze after cleaning, it is often residue rather than damage. Re-rinse with clean water thoroughly, then do a gentle scrub with pH-neutral cleaner and rinse again. If water still does not bead after drying, that is a sign the sealer may be worn and you may need resealing rather than more cleaning.
How can I prevent scratches and scuffed “fading” that look like the sealer is wearing out?
Use plastic under your tools and avoid metal edges. Metal furniture legs, grills, and chair frames can scrape pigments and create localized dull spots that look like fading. For heavy items, place furniture pads or small rubber bases, and lift rather than drag.
Can I pressure wash even if my sealer looks worn in some spots?
Don’t. If water is soaking in or the surface looks dull compared with the rest, pressure washing at high settings can strip worn sealer and deepen discoloration patterns. For isolated stains, use manual scrubbing and spot treatment first, and only consider pressure washing when the patio still has an intact sealer layer.
Will bleach remove mildew on sealed stamped concrete without damaging the patio?
Yes, but only for true mildew or algae and only after you protect nearby plants. Wet plants before treatment, apply the diluted bleach mixture to the affected areas, allow the directed dwell time, then rinse heavily. If you still see green or black patches after one round, repeat rather than extending dwell time.
What is the best way to handle de-icing when I can only get rock salt?
For freeze-thaw protection, aim for minimal salt exposure and faster cleanup. If rock salt is unavoidable, use the smallest amount, spread evenly, and plan a thorough rinse or spring wash as soon as temperatures allow. Avoid leaving salty slurry pooled in low areas, because that concentrates damage.
How do I know whether a crack is a simple DIY repair or a sign I need a professional to assess the slab?
Not in most cases. Hairline cracks can be repaired with flexible exterior-rated fillers and then sealed, but if sections are lifting or shifting, that suggests a slab or drainage issue. Those conditions can worsen under a patch, so a professional assessment is the safest next step when movement is noticeable.
If my patio looks faded, should I try stain before resealing?
Often yes, if it is really sealer breakdown rather than pigment loss. If the patio looks washed out and water no longer beads, clean first, then do a small test strip with a sample sealer (if available) in an inconspicuous area. If color returns with sealer, full resealing is the efficient fix.
My patio gets slippery when wet. What traction options work with stamped concrete without ruining the finish?
Consider an anti-slip approach when your patio stays wet, especially in shade. Options include an anti-slip additive in the sealer (chosen during resealing), or a sand broadcast into the final wet coat for traction. Avoid using thick grit on top of cured sealer, since it can wear unevenly and collect debris.
How do I clean and prepare the surface if I need to strip old flaking sealer before resealing?
If you are stripping, the approach is different from routine cleaning. You typically need a sealer stripper compatible with acrylic coatings, followed by thorough neutralization, rinsing, and surface prep before a new coat. For stubborn remnants, improper stripping can leave a film that causes peeling, so match the stripper to the current sealer type.
Next Articles
How to Clean a Stamped Concrete Patio: Step-by-Step Guide
Step-by-step how to clean a stamped concrete patio, from daily wash to deep stain removal with safe cleaner choices.
Best Stain for Concrete Patio: Choose, Prep, and Apply
Pick the best concrete patio stain, prep properly, choose finish, and learn stain vs paint with cleaning steps.

How to Remove Thompson’s Patio Sealer Step by Step
Step-by-step removal of Thompson’s patio sealer on concrete, brick, pavers, and stone, with safety, tests, and cleanup.