
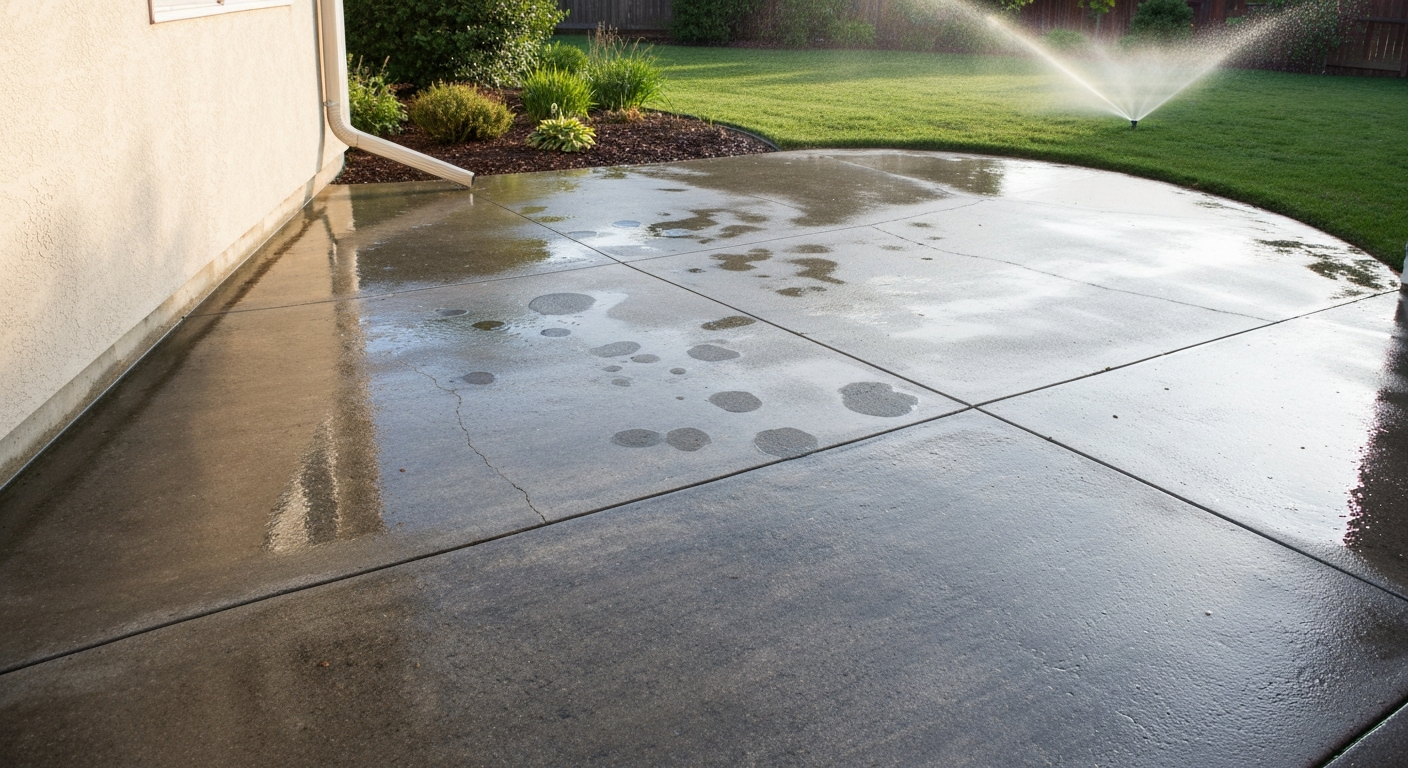
A concrete patio stays or looks wet for one of a handful of reasons: water is landing on it and not draining away fast enough, moisture is rising up through the slab from the ground below, condensation is forming on a cool surface, or a non-breathable sealer is trapping vapor underneath and creating a permanent damp sheen. Most cases are fixable yourself once you know which one you're dealing with, and this guide walks through every scenario from the five-minute triage to the long-term repair decision.
Why Is My Concrete Patio Wet? Causes, Tests and Fixes

Dylan Hale
28 Jul 2026
Who this guide is for and what it covers
Whether you own your home or rent it, whether you have a pressure washer or just a bucket and a brush, this article is built for you. I'll cover diagnosis, cleaning, fixes, and prevention in plain language. You don't need any specialist equipment to run the key tests, and I'll flag wherever a pro call makes more sense than a DIY attempt. The scope deliberately covers wet-looking or blackening concrete, slippery surfaces, and whether you actually want that glossy wet-look finish on purpose, because all of those questions are closely connected.
3-minute triage: figure out your next step fast
Before you do anything else, run through these four quick checks. They take about three minutes and will point you straight to the right section below.
- Did it rain in the last 24 hours, or is irrigation running nearby? If yes, check whether water is pooling because of poor slope or drainage. Jump to the 'wet after rain' checklist.
- Is the patio dry everywhere except one persistent patch, even days after any rain? That patch is worth the plastic-sheet test (described below) to rule out ground moisture.
- Is the patio covered, shaded, or cool to the touch on a warm humid morning? Condensation is the likely culprit — it disappears once the slab warms up.
- Is the whole patio covered in a dark, greenish-black film that looks permanently damp? You're probably looking at biological growth (algae, mold, lichen), not liquid water. That connects directly to the cleaning section and to the question of why concrete turns black.
Every common cause at a glance
Here's the full list of reasons a concrete patio can be wet or look wet. I've grouped them so you can scan quickly.
| Cause | What it looks like | How common |
|---|---|---|
| Rain or irrigation overspray | Wet uniformly or in areas near sprinkler heads; dries in hours on a well-drained slab | Very common |
| Poor drainage / inadequate slope | Ponding water that takes 12+ hours to clear, especially near the house | Very common |
| Groundwater / hydrostatic pressure | Persistent damp patches, often in the same spots regardless of rain | Common on clay soils or low-lying patios |
| Condensation | Wet surface in the morning on cool, shaded, or north-facing slabs; gone by mid-morning | Common in humid climates |
| Trapped moisture under a sealer | Milky, white, or shiny patches that don't dry out; often appear after resealing | Common after DIY sealing |
| Porous or uncured concrete | Whole slab stays damp, absorbs water quickly, surface feels soft or dusty | Common on new slabs or low-quality pours |
| Plumbing or irrigation leak underground | Wet spot in one fixed location, often with no surface source; may worsen over time | Less common but serious |
| Biological growth (algae, mold, lichen) | Dark green, black, or grey film; surface feels slippery; doesn't dry out | Very common in shaded areas |
| Oil or grease contamination | Dark stain that repels water, creating a wet-look patch that won't evaporate | Common near BBQs or vehicles |
| Rust staining from furniture or rebar | Orange-brown patches, often circular under furniture legs | Moderate |
How to diagnose the problem: timing, visual signs, and when it actually matters
Timing is your first diagnostic tool. A patio that's wet right after rain and dry by the afternoon usually just has a drainage efficiency problem, annoying but low-risk. A patio that's wet every single morning, regardless of rain, is behaving differently and warrants more investigation. If the wetness is seasonal (worse in spring, better in summer), groundwater or soil saturation is the more likely driver. If it appeared only after you applied a sealer, trapped moisture is almost certainly the cause.
Visual signs help too. Look at the pattern: uniform wetness across the whole slab suggests surface water accumulation or condensation. Isolated damp patches in the same locations every time point to a below-slab moisture source or a subsurface leak. A slippery, black or green film that makes the surface look perpetually wet is biological growth, not standing water, and it needs cleaning, not drainage work. A dark stain that has sharp edges and doesn't expand is almost always oil, grease, or rust.
When does moisture matter enough to act on urgently? Surface wetness that just looks bad but drains within hours is a cosmetic and slip issue. Persistent moisture entering the slab or sitting against your home's foundation is a structural concern, it can accelerate freeze-thaw cracking, push water into a basement or crawlspace, and degrade any coating you apply. The 2021 International Residential Code requires that impervious surfaces within 10 feet of a foundation slope at least 2% away from the building. A good practical target is 6 inches of fall over the first 10 feet (about 5% slope), which is the figure commonly illustrated in ICC guidance. If your patio slopes toward the house or sits flat, that's worth fixing.
The plastic-sheet test: trapped moisture vs. surface wetness
This is my go-to first test because it requires nothing more than a piece of clear plastic film and some tape. It's based on ASTM D4263, a standard field method used before applying coatings or sealers to concrete, and it takes about 16 hours to run.
How to do it
- On a dry day, tape a roughly 18-by-18-inch piece of clear plastic sheeting firmly to the concrete in the area you're concerned about. All four edges must be sealed with tape so no outside air gets in.
- Leave it in place for at least 16 hours (overnight works well).
- Lift the sheet and look carefully at both the underside of the plastic and the concrete beneath it.
- If you see condensation or water droplets on the underside of the plastic, or if the concrete under the sheet is visibly darker than the surrounding area, moisture is rising from within or below the slab.
- If both surfaces are dry, the moisture you've been seeing is coming from above (rain, irrigation, condensation settling on top) rather than migrating from below.
A positive result (moisture under the plastic) doesn't necessarily mean you have a major problem, new concrete slabs release moisture for weeks to months as the cement continues to hydrate. But on a slab that's more than 90 days old, it's a clear signal that something is driving moisture upward: high groundwater, poor subbase drainage, or a subsurface leak. That result changes your repair strategy significantly.
Moisture meters, dye tests, and simple leak checks
If the plastic-sheet test comes back positive and you want a more precise read, a pin-type or pinless concrete moisture meter gives you a number to work with. Most affordable meters (under $50) measure surface or near-surface moisture content. For deeper accuracy, ASTM F2170 in-situ relative humidity probes measure RH inside the slab itself and are considered the industry standard for situations where you're about to apply a coating or sealer and need to know the slab is truly dry. ASTM F1869, the calcium-chloride moisture vapor emission rate test, is another option used by flooring manufacturers but it measures surface emissions rather than in-slab conditions. For a patio, a handheld meter and the plastic-sheet test are usually sufficient, the ASTM probe tests are more common in flooring installation contexts.
A dye or food-coloring test helps when you suspect a plumbing or irrigation leak. Add a few drops of food coloring to the suspected source (a nearby toilet tank, an irrigation valve box, or a hose bib) and check whether the color appears at the wet spot on the patio over the next few hours. It's crude but surprisingly effective at confirming a connection between a water source and a mystery wet patch.
For irrigation overspray, the check is easier: run each irrigation zone individually and watch whether spray or misting reaches the patio. Many homeowners are surprised how far a misaligned head throws water. Walk the perimeter during an irrigation cycle before writing off drainage or groundwater as the cause.
Step-by-step checklists for common scenarios
Scenario 1: patio is wet after rain and drains slowly
- Check the slope of the slab. Place a level on a long board and measure. You want at least 2% fall away from the house — ideally the 6-inches-in-10-feet rule from the foundation outward.
- Inspect your gutters and downspouts. Downspouts should discharge at least 5 feet from the foundation. If yours empty right at the edge of the patio, extend them with a flexible elbow and pipe. This one change eliminates a huge volume of water reaching the patio.
- Look at the surrounding grade. Soil and landscaping that has settled against the patio edge can dam water. Rake or regrade so the ground slopes away.
- Check whether the patio drains to a hard surface (driveway, path) or into soil. If the outlet direction ends in a flat, clay-heavy lawn, the water has nowhere to go quickly. A small channel drain at the low edge of the patio can help enormously.
- If ponding persists after addressing slope, consider a French drain: a trench 18 to 24 inches deep filled with gravel and a 4-inch perforated pipe, laid at a slope of at least 1% (1 inch per 10 feet) toward a suitable outlet. Clay-heavy soils almost always need this because they don't absorb surface water fast enough on their own.
- Re-examine the patio a week after any changes. If it drains within 1 to 2 hours of rain stopping, you've solved it.
Scenario 2: patio is wet with no recent rain
- Run the plastic-sheet test first (see above). If it comes back positive, you have subsurface moisture.
- Check your irrigation schedule and confirm no heads are reaching the patio.
- Walk the area and look for soft or unusually green grass near the patio edge — a subsurface plumbing or irrigation leak often shows itself as an unusually lush or wet strip of lawn.
- Run the food-coloring test on any suspect water sources.
- If no leak is found and the plastic-sheet test was positive, the issue is likely hydrostatic pressure from a high water table or poor subbase drainage. This is particularly common in clay soils (classified as Hydrologic Soil Group C or D) that hold water rather than letting it percolate.
- Longer-term, a French drain along the outer perimeter of the patio or a sump system can intercept groundwater before it reaches the slab.
- If the wet appearance is limited to a film on the surface and disappears by mid-morning, re-read the condensation section — this is often all that's happening.
Scenario 3: newly poured concrete that stays damp
- Be patient. New concrete releases moisture continuously as the cement hydrates. This is normal and necessary — ACI guidance (ACI PRC-308 series) explains that adequate moisture during curing is essential for strength development. A slab poured in mild weather can take 28 days to reach design strength and may feel damp for longer.
- Do not apply a sealer until the slab has cured for at least 28 days and passes the plastic-sheet test dry. Sealing too early is one of the most common causes of trapped-moisture problems.
- If the slab is still genuinely wet (not just cool or slightly darker) after 60 to 90 days, run the plastic-sheet test and check drainage — something else is at play.
- High water-to-cement ratio pours are more porous and stay damp longer. If the contractor used too much water for workability, the slab may need a penetrating sealer to reduce permeability once it's fully cured.
Scenario 4: patio is turning black or has a dark biological film
A black or dark green film is almost always algae, mold, or lichen feeding on moisture that collects on a shaded or poorly-drained surface. See our guide on why is my concrete patio turning black for more detail on causes, diagnosis, and cleaning steps. The surface looks permanently wet because the biological growth retains moisture and darkens the concrete. This is a cleaning problem first and a drainage/shade problem second, and it deserves its own article, but here's how I'd handle the immediate cleaning step.
- Wet the surface with water, then apply a diluted sodium hypochlorite (bleach) solution: roughly 1 part household bleach (5-6% sodium hypochlorite) to 3 parts water. This is my standard starting ratio for biological staining on concrete.
- Let it dwell for 10 to 15 minutes. You'll see the black or green color start to fade.
- Scrub with a stiff-bristle brush (a deck brush works well) or use a pressure washer at 1,200 to 2,000 PSI. Keep the nozzle moving and hold it at least 12 inches from the surface to avoid etching.
- Rinse thoroughly. If you have pets or plants nearby, flush the surrounding area with plenty of water — bleach dilutes quickly but you want to be thorough.
- If you prefer to avoid bleach, a white vinegar solution (undiluted or 1: 1 with water) will kill algae and mold, though it takes longer and needs more scrubbing. It's my recommendation for renters or anyone with pets who can't control runoff.
- Once clean, address the cause: improve drainage, trim overhanging branches to increase sunlight, and apply a breathable penetrating sealer to reduce the moisture the surface holds. Biological growth will return within a season if the underlying dampness isn't reduced.
- For stubborn black staining or if the issue is recurring despite cleaning, read the dedicated guide on why concrete patios turn black for a deeper look at the causes and longer-lasting solutions.
Cleaning wet-looking or stained concrete: products, methods, and safety
Oil and grease stains
Oil stains create dark patches that look wet but never dry out because the oil has displaced the water in the concrete pores. Pour an absorbent material (cat litter, baking soda, or commercial oil absorbent) over the stain and leave it for several hours to pull up surface oil. Sweep it away, then apply a degreaser or dish soap directly to the stain, scrub with a stiff brush, and rinse. For old, set-in oil stains, a poultice of baking soda and dish soap left overnight, then scrubbed off, works better than a surface spray. Avoid muriatic acid on oil stains, it etches the surface but doesn't break down oil chemistry.
Rust stains
Rust from furniture legs, rebar bleed-through, or metal tools calls for an oxalic acid-based cleaner (sold as deck brightener in most hardware stores). Apply it to the stain, let it dwell for 5 to 10 minutes, scrub, and rinse. For very stubborn rust, a commercial rust remover containing phosphoric acid works faster. I'd avoid muriatic acid for rust on a residential patio, it's effective but it etches the concrete, requires neutralizing with baking soda solution afterward, and demands full safety gear (chemical-resistant gloves, eye protection, and ventilation). If you use it, dilute to no more than 1 part muriatic acid to 10 parts water and never apply it to wet concrete.
General deep cleaning (no pressure washer needed)
- Sweep the surface free of loose debris.
- Mix 1 cup of household bleach into 1 gallon of water for biological staining, or use a pH-neutral concrete cleaner for general grime.
- Apply with a mop or pump sprayer and let it dwell for 10 minutes.
- Scrub with a deck brush, working in sections.
- Rinse thoroughly with a garden hose. If you don't have strong water pressure, a second bucket of clean water and a mop will do.
- Allow to dry completely (minimum 24 to 48 hours in mild weather) before applying any sealer or coating.
Slip safety on a wet patio: what actually works
A wet concrete patio is a slip hazard, especially if algae or mold is present. Once you've cleaned the surface, you have a few practical options. Anti-slip additives (fine polymer or aluminum oxide grit) can be mixed into a sealer before application and give the cured surface meaningful traction without changing the look much. Textured concrete coatings achieve the same thing with a more deliberate finish. If you're using a penetrating sealer, look specifically for products labeled breathable or penetrating rather than film-forming, because non-breathable film sealers can create a slick surface when wet and trap moisture underneath at the same time. The slip problem and the moisture problem are often linked, solving the moisture issue through better drainage and a breathable sealer usually addresses both at once. For step-by-step measures and product recommendations on improving traction, see how to make patio less slippery.
Intentional wet-look finishes: if you actually want that glossy appearance
There's a related question worth addressing here: some people want their concrete or pavers to look wet intentionally, for the richer color and glossy finish it creates. That's a completely different situation from diagnosing unwanted moisture, and there are products designed exactly for it. Wet-look acrylic sealers are the most common choice for concrete patios, they enhance color and create a visible sheen. The key tradeoff is that most wet-look sealers are film-forming, not penetrating, which means they can trap moisture if the slab isn't completely dry before application. If you're interested in that finish, the same diagnostic steps apply: run the plastic-sheet test first, seal only on a dry slab, and choose a product with an anti-slip additive if traction matters. The approach is similar for pavers and patio stones, though each material has its own compatibility considerations. For step-by-step instructions on achieving a glossy wet appearance on pavers or stones, see how to make patio stones look wet. For step-by-step instructions specific to stone or brick, see our guide on how to make patio pavers look wet.
Short-term vs. long-term decision guide
Not every wet patio problem warrants a full drainage overhaul. Here's how I'd think through the decision.
| Situation | Short-term fix | Long-term fix | When to call a pro |
|---|---|---|---|
| Patio wet after rain, drains within 4 hours | Extend downspouts 5+ ft from foundation | Regrade surrounding soil to minimum 2% slope away from house | Only if regrading requires removing the patio |
| Patio stays wet 24+ hours after rain | Redirect downspouts, check for irrigation overspray | Install channel drain or French drain (4-in perforated pipe, 1% slope to outlet) | If clay soil or foundation proximity makes excavation risky |
| Persistent damp spot unrelated to rain | Plastic-sheet test and dye test to confirm source | Repair plumbing/irrigation leak or install French drain perimeter | If plumbing leak confirmed underground |
| Moisture trapped under sealer | Strip sealer with chemical stripper or mechanical grinding | Re-seal only after slab passes plastic-sheet test dry (28+ days) | If sealer is thick or bonded — stripping can damage surface |
| New concrete stays damp | Wait 28 to 90 days; ensure no foot traffic or water pooling | Apply penetrating breathable sealer once fully cured | Rarely needed unless pour was faulty |
| Black/green biological film | Bleach solution (1:3 with water) and scrub; vinegar as gentle alternative | Improve drainage, increase sun exposure, apply breathable sealer | If staining is inside cracks or slab is structurally compromised |
| Condensation (disappears by mid-morning) | No fix needed — this is normal physics | Improve airflow, trim shade vegetation, consider insulating below if in a covered patio | Not typically needed |
Prevention: keeping your patio dry long-term
- Maintain gutters and downspouts seasonally. A clogged gutter dumps roof water right at the patio edge. Clean them at least twice a year and confirm discharge points are at least 5 feet from the foundation.
- Check irrigation zones annually. Heads shift and settle. A two-minute walk during each zone's cycle will tell you whether any spray is hitting the patio.
- Reseal the patio every 2 to 3 years with a penetrating, breathable sealer. This reduces how much water the concrete absorbs and how long the surface holds moisture after rain.
- Keep the patio clear of leaf litter and organic debris. Decomposing material holds moisture and feeds algae and mold.
- Trim back overhanging branches and vegetation that keeps the patio shaded and damp. Even a modest increase in sunlight dramatically reduces biological growth.
- After any landscaping work near the foundation, re-check that the grade still slopes away from the house. Soil settles, and it's easy to accidentally create a low spot that channels water toward the patio.
When to stop DIYing and hire a professional
Most wet patio problems are genuinely solvable without professional help. But a few situations warrant a call. If the plastic-sheet test is strongly positive on a mature slab and the dye test rules out a plumbing or irrigation leak, you may have a high water table or a failed subbase that requires engineered drainage, that's a job for a landscaping contractor or civil engineer who can assess soil hydraulic conductivity and design an appropriate underdrain system. A common engineered solution is a French drain: a 4‑inch perforated pipe set in a gravel envelope, typically installed in a trench 18–24 inches deep (deeper for foundation drains) with a minimum slope of about 1% toward an outlet, French Drain Installation Guide, DrainageCalculators.com. If you suspect a subsurface plumbing leak and dye tests are inconclusive, a plumber with a leak-detection camera can confirm it without guesswork. And if the slab itself is heaving, cracking severely, or showing signs of structural compromise alongside persistent moisture, a concrete contractor should evaluate it before you spend money on surface-level fixes. For everything else, drainage tweaks, cleaning, sealing, minor regrading, you've got this.
FAQ
Why is my concrete patio wet even when it hasn't rained?
Common non‑rain causes: groundwater or a high water table pushing moisture up; poor surface grading or compacted soils that prevent runoff; downspouts or roof runoff dumping near the patio; irrigation overspray or leaking irrigation/drain plumbing; condensation when concrete surface is cooler than the air/dew point (shaded, nighttime); still‑curing or porous concrete that holds moisture; and trapped moisture under non‑breathable sealers that forces vapor to the surface. Diagnose by checking weather/irrigation history, looking for nearby leaks, and performing simple tests below.
How do I quickly figure out whether the wetness is surface water (rain/irrigation) or moisture coming out of the slab/subgrade?
Quick diagnostic sequence: 1) Time observation — watch right after rain or irrigation and again after 24–48 hours of dry weather. If it dries, source was surface water. 2) Plastic‑sheet (ASTM D4263) test — tape a 2×2 ft clear plastic sheet to the concrete for 24 hours. Condensation or darkening under the sheet indicates moisture emission from the slab or very slow surface drying. 3) Moisture meter — a surface concrete meter can show wetter vs drier areas (qualitative). 4) Dye test — run colored water or food dye where you suspect leaks/irrigation to see if it travels under or up through cracks. 5) Visual clues — pooling, water flowing from grading low spots, wet soil next to slab, rusted rebar stains, or persistent damp spots after extended dry periods suggest subsurface or in‑slab sources.
What is the plastic‑sheet (ASTM D4263) test and how do I do it?
Cut a 2×2 ft sheet of thick clear plastic, tape all edges to the concrete to seal, leave for 24 hours (longer in cool weather). After removal: clear condensation droplets or darkened concrete under the sheet indicates moisture is coming through the slab or surface drying is extremely slow. No condensation and no darkening suggests recent surface wetting (rain/irrigation) rather than in‑slab moisture.
When should I use more advanced testing (in‑slab RH/Calcium‑chloride)?
If the plastic test or observations show persistent moisture, or before applying non‑breathable sealers/coatings, use ASTM F2170 in‑situ RH probes (gold standard) to measure internal slab RH or ASTM F1869 calcium‑chloride MVER for surface vapor emission. Use these when you need a quantified moisture reading (flooring/sealer specs require it) or when fixing the source is expensive and you need definitive proof.
What DIY fixes should I try first (short‑term and low‑equipment)?
Short‑term, low‑cost steps to reduce wet concrete: extend downspouts at least ~5 ft away from the patio (practical rule); stop or reprogram irrigation to avoid overspray; remove debris from gutters and ensure leaders discharge away; sweep/gravel low spots temporarily to speed runoff; use a squeegee or leaf blower to clear pooled water after storms. These are quick checks that address the most common causes before moving to bigger repairs.
What are prioritized longer‑term DIY repairs if water keeps returning?
Priority list: 1) Regrade soil around the patio to slope away — aim for at least 2% slope (2 in per 10 ft) and 6 in in 10 ft where possible. 2) Install downspout extensions or bury a leader to discharge away. 3) Fix irrigation heads/lines and remove overspray. 4) Install a shallow French drain or surface swale to capture and divert runoff (4 in perforated pipe in gravel, slope ≈1% toward outlet). 5) If subgrade is poorly draining (clay), add underdrain or replace/augment base material. 6) Seal major plumbing leaks if present. If you lack tools/skill for grading or drains, consider hiring a contractor.
Next Articles
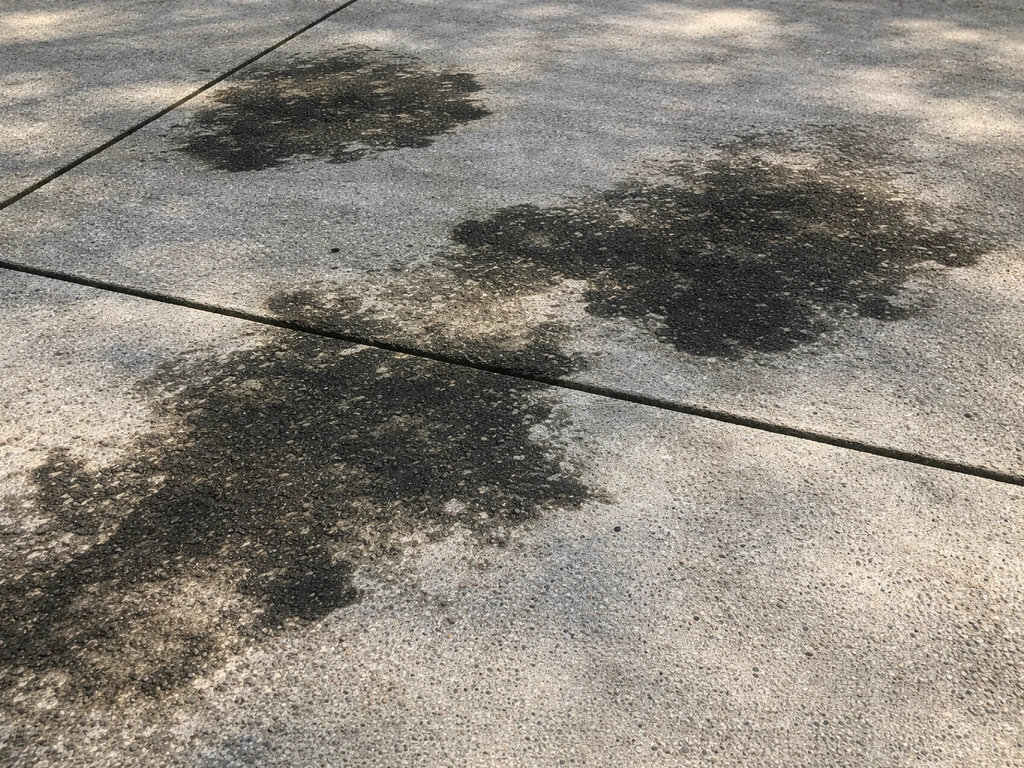
Why Is My Concrete Patio Turning Black? Causes and Fixes
Diagnose why your concrete patio turns black and use the right cleaner for mold, rust, grease, or grime with safe steps.
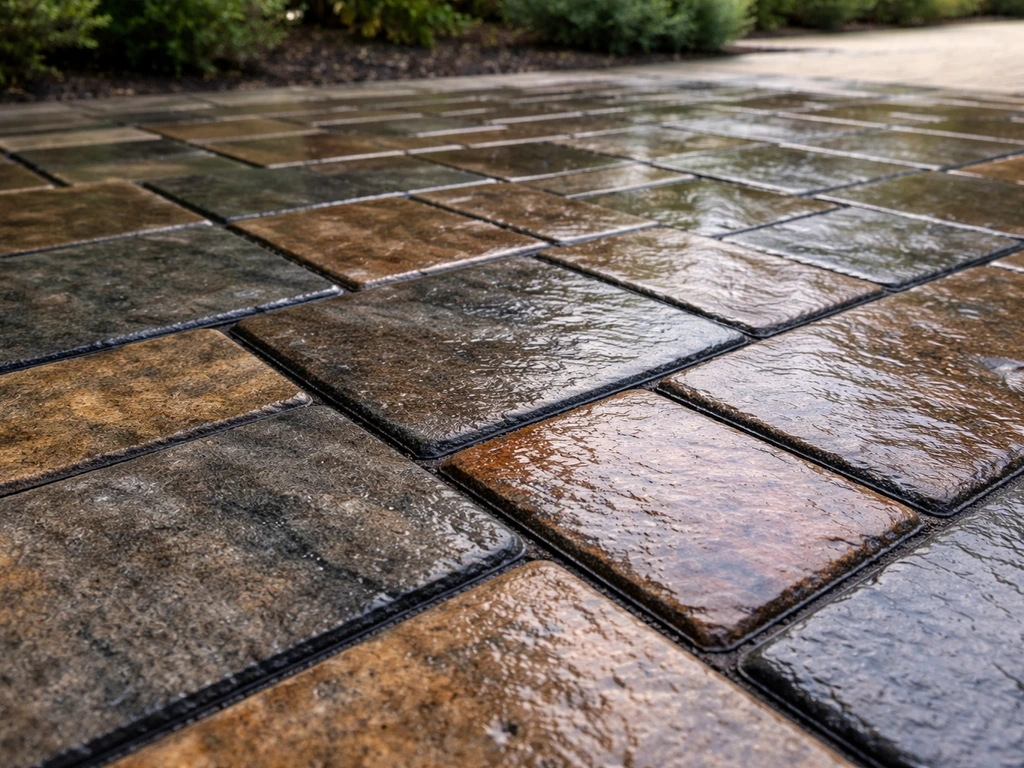
How to Make Patio Stones Look Wet: Step by Step
Clean, treat stains and algae, then apply the right wet-look sealer or finish for your patio stone, safely and streak-fr
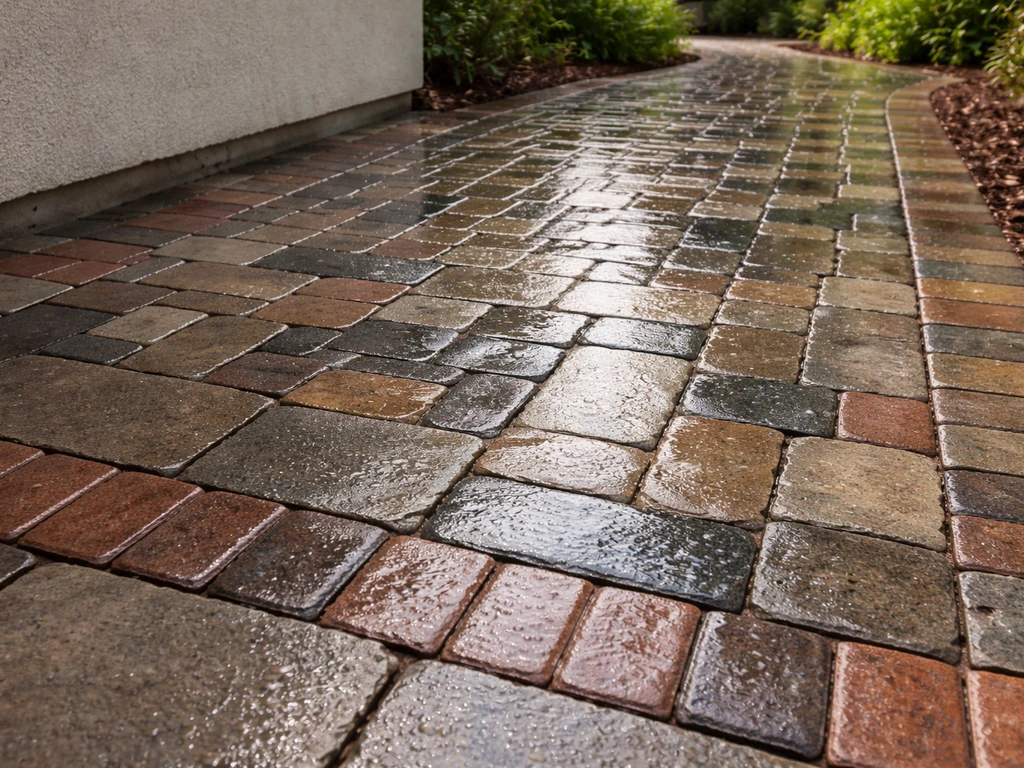
How to Make Your Patio Look Wet: Clear, Step by Step
Step-by-step wet look patio guide for concrete, brick, stone, pavers and travertine with safe cleaning, sealers, and fix