
The fastest way to make patio pavers look wet is to spray them with plain water, but that lasts only minutes. If you want a durable wet look, a film-forming acrylic wet-look sealer is what you need: it locks in that deep, just-rained-on color and can last two to five years depending on foot traffic and sun exposure. The right approach depends on whether you want the effect for a photo shoot this afternoon or a permanent enhancement you apply once and maintain over time.
How to Make Patio Pavers Look Wet: Quick & Permanent Methods

Dylan Hale
6 Aug 2026
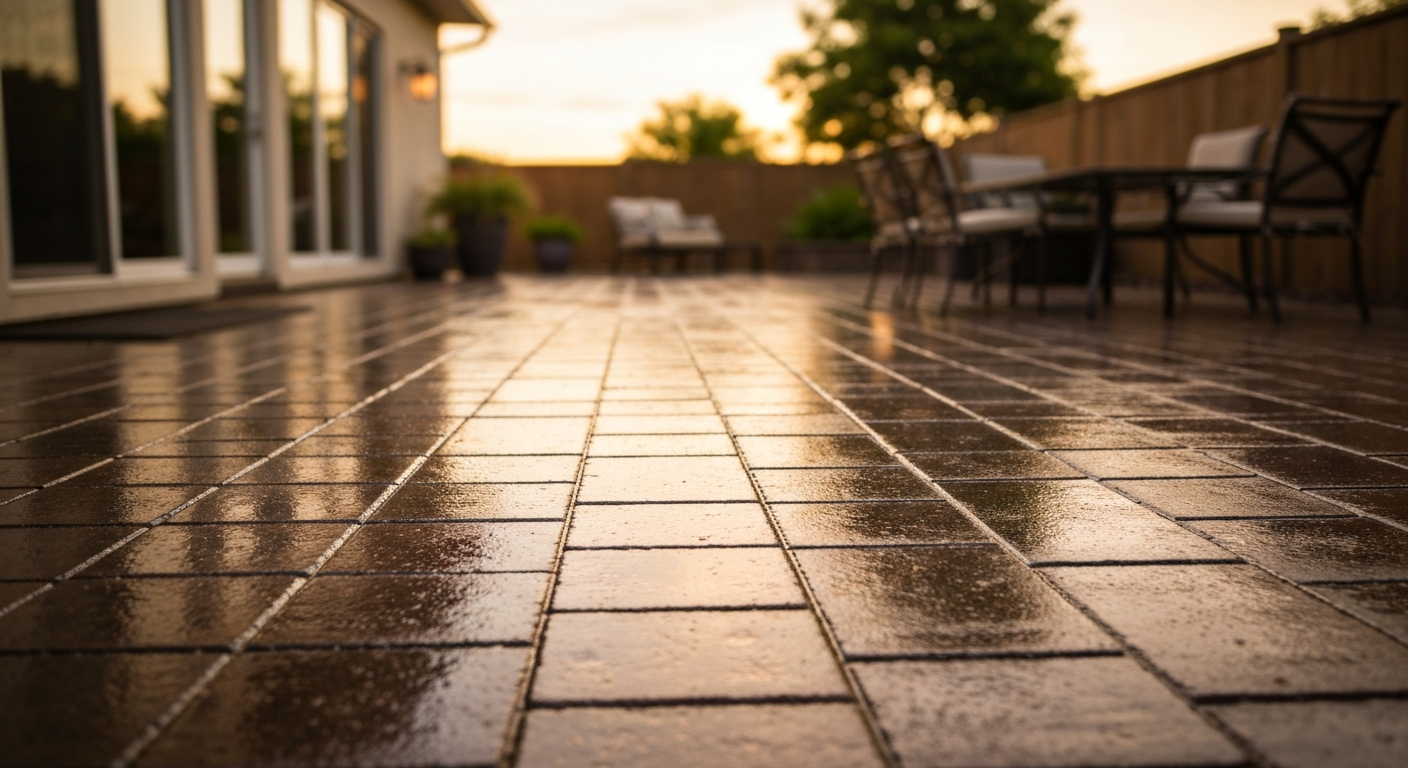
What 'wet look' actually means and how to decide what you need
A wet look is the visual effect where pavers appear darker and richer in color, as if they've just been rained on. It happens because water fills the micro-pores and surface texture of the paver, reducing light scatter and letting the stone's or concrete's true color come through. Wet-look sealers replicate this by depositing a transparent film (or impregnating the pores with a color-enhancing resin) that permanently mimics that saturated appearance.
Before buying anything, ask yourself one question: is this for a permanent outdoor finish, or do I just need it to look great for a photo or a party? If permanent, you're looking at sealers and a proper prep process. If temporary, a garden hose or a glycerin-water spray is all you need and there's nothing to strip later. Renters especially should think twice before applying any film-forming sealer, since removing it typically requires chemical stripping or aggressive mechanical abrasion.
Quick options at a glance
| Method | Wet-look quality | How long it lasts | Best for | Renter safe? |
|---|---|---|---|---|
| Plain water spray | Good while wet | 5–30 minutes | Quick photos | Yes |
| Glycerin + water spray (1:2 ratio) | Excellent, beading effect | Several hours to a day | Photo shoots, events | Yes, rinse after |
| Water-based acrylic wet-look sealer | High gloss, rich color | 2–3 years | Concrete, brick pavers | Check lease first |
| Solvent-based acrylic wet-look sealer | Very high gloss | 3–5 years | Concrete, dense pavers | Not recommended for renters |
| Color-enhancing penetrating sealer | Moderate enrichment, no gloss | 3–5 years | Natural stone, travertine, flagstone | Check lease first |
| Gloss enhancer (topcoat product) | Adds sheen over existing sealer | 1–2 years | Refreshing faded sealers | Depends on base coat |
Temporary wet-look methods for photos and short-term events
If you're staging pavers for photos or want them looking their best for an outdoor event, you do not need to seal anything. For detailed, step-by-step options on how to make your patio look wet, whether temporarily for photos or permanently with a sealer, see our guide. Plain water works immediately: sweep the surface clean, then use a garden hose or spray bottle to saturate the pavers. The color deepens noticeably within seconds. The catch is that water evaporates fast, especially on a warm sunny day, so you may need to re-mist every 10 to 20 minutes during a photo shoot. For step-by-step instructions on how to make patio stones look wet, see our detailed guide.
For longer-lasting results without committing to a sealer, I've had good results with a glycerin-water mixture, which is the same trick used by product photographers to keep surfaces looking wet on camera. Mix one part glycerin to two parts water in a spray bottle (a 50/50 ratio works too and gives more staying power). Spray it evenly across the pavers. The glycerin increases the cohesion of each droplet, so the surface stays visually wet for hours rather than minutes. It does leave a very slightly tacky feel on porous pavers, and on rough outdoor surfaces it can attract dust if left too long, so rinse it off after your event or shoot.
A few things to keep in mind with glycerin: it's non-toxic, widely available at pharmacies, and won't damage pavers. However, if your pavers already have a sealer on them, test a small spot first to make sure the glycerin doesn't interact with it or cause discoloration. And never use glycerin spray on steps or any walking surface without immediately rinsing, since it can make surfaces slippery.
Permanent wet-look finishes: what the products actually do
For a lasting wet look, you have three main product categories to choose from. Understanding the difference matters because using the wrong one on the wrong material can cause peeling, hazing, or trapped moisture damage.
Film-forming wet-look sealers
These are acrylic polymer products (either solvent-based or water-based) that sit on top of the paver surface and create a continuous transparent film. They deliver the most dramatic wet look and the highest gloss, and they also enhance color significantly. Solvent-based versions tend to penetrate slightly deeper and produce a brighter sheen; water-based versions are easier to apply, have lower VOCs, and are more environmentally friendly. Coverage is typically 250 to 350 square feet per gallon, and most manufacturers recommend two light coats rather than one heavy coat to avoid bubbling and puddling. I've found that one heavy coat almost always ends in regret: it looks patchy, goes tacky, and can peel.
Penetrating color-enhancing sealers
These are silane, siloxane, or silane/siloxane blend products that soak into the paver's pores and chemically react rather than forming a surface film. They're the right choice for natural stone, travertine, and flagstone because they don't trap moisture or alter the surface texture. The trade-off is that they don't produce a high gloss or the dramatic wet look of an acrylic sealer. What they do is enrich and deepen the natural color of the stone, creating a subtle, natural-looking enhancement. If you want a moderate improvement without the plastic-looking sheen, this is the better path.
Gloss enhancers and eco-friendly alternatives
Gloss enhancers are typically water-based topcoat products designed to restore or boost the sheen of existing sealed surfaces rather than acting as a primary sealer. They're useful if you've had a wet-look sealer for a year or two and it's starting to look dull, but the pavers are otherwise in good condition. On the eco-friendly side, some water-based penetrating sealers are now formulated with very low VOC content (below 100 g/L), which makes them a reasonable choice for enclosed or partially covered patios where ventilation is limited. Always check the product's technical data sheet for the VOC rating before buying.
Choosing the right finish for your paver material
Not every sealer works on every surface, and this is where a lot of DIY projects go wrong. Here's how I approach each material type.
| Material | Best wet-look product | Avoid | Notes |
|---|---|---|---|
| Concrete pavers | Solvent or water-based acrylic wet-look sealer | Nothing major, but confirm cure (28 days minimum for new concrete) | Most forgiving material for wet-look sealers |
| Brick pavers | Water-based acrylic wet-look sealer | Heavy solvent-based coats (can darken unevenly) | Test a small area; older brick is more porous |
| Natural stone (granite, bluestone, slate) | Color-enhancing penetrating sealer | Film-forming acrylics on honed or polished stone | Topical coatings can haze and peel on dense stone |
| Travertine | Penetrating impregnating sealer (silane/siloxane) | Any film-forming sealer over open pores or active moisture | Travertine is calcium-based and reacts badly to acid cleaners |
| Flagstone | Color-enhancing penetrating sealer | Film-forming coatings on rough or irregular surfaces (pooling) | Uneven surfaces make uniform film application very difficult |
For concrete and brick pavers, the wet-look acrylic sealers on the market (products like Brickform Gem-Seal or Alliance Gator Wet Look) are specifically engineered for dense concrete-based surfaces and deliver reliable results. For travertine and flagstone, stick to penetrating sealers formulated for natural stone, because topical films sit on the surface rather than bonding chemically, and on porous or calcium-bearing stone, they almost always fail prematurely.
Surface preparation: clean the pavers before you do anything else
This is the step most people skip or rush, and it's the reason most DIY sealing jobs fail within a year. Any sealer applied over dirt, mold, efflorescence, or grease will fail to bond properly, look uneven, or trap contaminants under the film. I'd rather spend an extra hour cleaning than redo the whole job in six months.
Basic cleaning for all paver types
- Sweep or blow off all loose debris, leaves, and dirt. Don't skip this step even if the surface looks reasonably clean.
- Rinse the entire paver surface with a garden hose to remove surface dust and reveal any staining.
- Mix a pH-neutral or mild alkaline cleaner (dish soap in a pinch, or a purpose-made masonry cleaner for better results) with warm water. Apply it across the surface and scrub with a stiff-bristle brush.
- Rinse thoroughly and let the pavers dry completely before any sealer application. For concrete, allow at least 24 to 48 hours of dry weather before applying a film-forming sealer.
Removing mold and algae
If your pavers have green, black, or brown biological growth on them, deal with it before sealing. An oxygen-based cleaner (sodium percarbonate products are widely available and safer around plants than bleach) mixed with water and left to dwell for 10 to 15 minutes will kill most surface algae and mold. Scrub with a stiff brush, then rinse well. For heavier mold or if you notice your concrete patio is developing persistent dark patches, check whether there's an underlying moisture issue driving the growth rather than just surface contamination. For more on causes and fixes for persistent dark patches on concrete, see our guide on why is my concrete patio turning black. Sealing over active biological growth just traps it and the problem comes back faster.
Treating rust stains
Rust stains need a specialist rust remover formulated for masonry, not a general-purpose cleaner. Products containing oxalic acid or phosphoric acid work well on concrete and most brick pavers. Apply the product to the stain, let it dwell for the time specified on the label (usually 5 to 15 minutes), agitate with a brush, and rinse. Do not use acid-based rust removers on travertine, marble, or any calcium-based stone because they'll etch and permanently damage the surface.
Removing grease and oil
Oil and grease are probably the most common sealer-adhesion killers I've seen. Apply an alkaline degreaser directly to the stain, work it in with a brush, and let it sit for at least 10 minutes before scrubbing and rinsing. For deep-set oil stains on porous concrete pavers, a poultice method works better: mix an absorbent powder (like talc or fine sawdust) with a degreaser solvent, apply it over the stain, cover it with plastic wrap, and leave it for 24 hours. The poultice draws the oil up as it dries. Repeat if needed before sealing.
Dealing with efflorescence
Efflorescence is that white chalky deposit that appears as pavers dry. It's caused by water carrying soluble salts to the surface. The key thing to know is that if you see it when the pavers are dry but it disappears when wet, that is classic efflorescence. Do not seal over it. The salts will keep migrating, cause the sealer to bubble and lift, and you'll be stripping the whole job in a season. Dry-brush the deposits first, then use a purpose-made efflorescence cleaner or a diluted acid cleaner on acid-tolerant surfaces (concrete, dense brick) to dissolve the remaining salts. For detailed guidance on causes, identification, and appropriate cleaning methods (including dry‑brushing, efflorescence cleaners, and controlled acid cleaning where appropriate) see Stains on Brick Surfaces, efflorescence guidance (Inspectapedia) blank" rel="noopener noreferrer">Stains on Brick Surfaces — efflorescence guidance (Inspectapedia). Then fix the drainage or moisture issue that's causing it before you even think about sealing. Manufacturers commonly cite calcium‑chloride (blank" rel="noopener noreferrer">ASTM F1869 – Standard Test Method for Measuring Moisture Vapor Emission Rate of Concrete Subfloor Using Anhydrous Calcium Chloride) and in‑situ relative humidity (ASTM F2170) thresholds to confirm moisture is within a sealer’s allowable limits.
Pressure washing vs. hand cleaning before sealing
A pressure washer is genuinely useful for deep-cleaning pavers before sealing, but pressure and nozzle choice matter a lot by material. Used wrong, it can erode mortar joints, pop off surface layers from soft brick, or etch travertine. I've also seen people pressure-wash flagstone right before sealing and drive water deep into the stone, meaning the surface looks dry but isn't, which causes the sealer to fail. If you go the pressure-wash route, allow at least 48 to 72 hours of dry weather afterward before applying any sealer.
| Material | Max recommended PSI | Nozzle | Notes |
|---|---|---|---|
| Concrete pavers | 2500–3000 PSI | 25° or 40° fan tip | Keep wand moving; don't dwell in one spot |
| Brick pavers | 1200–1500 PSI | 40° fan tip | Old or soft brick can crumble at high pressure |
| Natural stone (slate, bluestone) | 1000–1500 PSI | 40° fan tip | Test a small area; some stone is softer than it looks |
| Travertine | 800–1000 PSI | 40° fan tip | Very low pressure only; travertine is porous and soft |
| Flagstone | 1000–1500 PSI | 40° fan tip | Avoid mortar joints; high pressure erodes them quickly |
If you don't own a pressure washer and don't want to rent one, a scrub brush, a bucket of cleaner, and a garden hose will get the job done for most residential patios. It takes more elbow grease, but there's zero risk of surface damage. For mold and algae removal especially, manual scrubbing with an oxygen-based cleaner and a stiff-bristle brush is just as effective as soft washing and considerably gentler on the surface. This is the approach I'd recommend for travertine and any older or more delicate paving material.
Applying the wet-look finish: tools, steps, and what to expect
Once the pavers are clean, dry, and free of stains or efflorescence, you're ready to seal. Gather your materials before you start: the sealer, a low-pressure pump sprayer or a paint roller with a 3/8 to 1/2 inch nap sleeve, a brush for edges and joints, solvent or water (depending on your sealer type) for cleanup, and gloves and eye protection. Solvent-based sealers also require a respirator.
- Read the entire product TDS before opening the container. Check the required surface temperature (most acrylic sealers require between 50°F and 90°F, with no rain in the forecast for at least 24 hours).
- Stir the sealer gently but do not shake it, which introduces air bubbles.
- Apply the first coat using a pump sprayer or roller in a thin, even layer. Work in small sections and maintain a wet edge to avoid lap marks. Coverage should be around 250 to 350 square feet per gallon on a first coat.
- Allow the first coat to dry to the touch per the manufacturer's instruction (typically 30 minutes to 2 hours depending on temperature and humidity).
- Apply a second thin coat in the same manner, perpendicular to the first coat direction if using a roller. Two thin coats always outperform one heavy coat.
- Allow full cure time before foot traffic (typically 24 hours) and vehicle traffic (typically 72 hours). Keep the surface dry during curing.
Adding anti-slip protection
Film-forming wet-look sealers reduce traction, especially on smooth pavers when wet. This is a real safety issue and something manufacturers flag in their literature. The practical solution is to mix an anti-slip additive into the sealer before your final coat. Polymer-based traction additives (like Shark Grip or similar micronized grit products) are mixed into the sealer at roughly 16 oz per 5 gallons as a general guide, though you should follow your specific product's instructions. The additive is nearly invisible when cured but meaningfully increases grip. If your patio is on a slope or you have older family members using it, this step isn't optional in my view. The wet-look and safety aren't mutually exclusive. For step-by-step tips on how to make patio less slippery, see the related guide.
Product compatibility: solvents, water-based options, VOCs, and which works where
The solvent-based vs. water-based question comes up with almost every sealing project. Here's my honest take: solvent-based acrylics typically deliver a deeper, glossier wet look and slightly better penetration into the surface, which is why professionals often prefer them on commercial jobs. But they have higher VOC levels, require solvent cleanup (mineral spirits or xylene), and the fumes are significant enough that you shouldn't apply them in enclosed or poorly ventilated areas. Water-based acrylics have improved dramatically and now produce very good wet-look results with lower VOCs, easier water cleanup, and less odor during application. For most homeowners, a quality water-based wet-look sealer is the better starting point.
| Sealer type | Wet-look level | VOCs | Best surface | Cleanup | Eco score |
|---|---|---|---|---|---|
| Solvent-based acrylic | Very high gloss | High (300–600 g/L typical) | Concrete, dense brick | Mineral spirits / xylene | Low |
| Water-based acrylic | High gloss | Low to moderate (<150 g/L) | Concrete, brick, some stone | Water | Moderate |
| Penetrating silane/siloxane | Slight color enrichment, no gloss | Low to moderate | Natural stone, travertine, flagstone | Water (while wet) | Good |
| Color-enhancing impregnating sealer | Moderate enrichment, matte to satin | Varies by carrier | Natural stone, travertine | Varies | Moderate to good |
One compatibility issue worth flagging: if your pavers already have an existing sealer on them, you cannot simply apply a new sealer on top without knowing what's already there. Solvent-based products applied over water-based sealers can lift or wrinkle the existing film. If you're unsure what's on the pavers already, do a solvent test in an inconspicuous corner: dampen a rag with xylene and rub it on the surface. If the existing coating softens or smears, it's likely a water-based acrylic. If it doesn't budge, it may be a solvent-based coating or an epoxy. Strip incompatible coatings before resealing.
When not to apply a wet-look sealer
There are situations where applying a wet-look sealer will make things worse, not better. Sealing over problems doesn't fix them, it traps them. Here are the conditions that should stop you:
- Active efflorescence: the salts will continue migrating and push the sealer off from underneath. Fix the moisture source first.
- Poor drainage or standing water: sealing a surface that regularly holds water causes the film to lift, bubble, and fail within one season.
- New concrete that hasn't fully cured: wait a minimum of 28 days before sealing new concrete. Applying a film-forming sealer over green concrete traps bleed water and produces a hazy, poorly bonded finish.
- Active moisture rising from below (hydrostatic pressure): this is a foundation/drainage issue, not a sealing opportunity. A coating will blister and peel.
- Renter restrictions: many leases prohibit permanent alterations to outdoor surfaces. Film-forming sealers are difficult to reverse and could affect your security deposit. Use temporary methods instead or get written permission.
Troubleshooting common problems after sealing
Uneven or patchy sheen
This usually means the surface wasn't uniformly clean before sealing, or one area absorbed more sealer than another (common when pavers have variable porosity). The fix is to lightly buff the surface with a fine abrasive pad, then apply a thin additional coat to the dull areas. If the patchiness is widespread, you may need to strip and reapply.
Tacky or sticky finish
A tacky finish almost always means the sealer was applied too thick, or it didn't get enough airflow and warmth to cure properly. In mild cases, giving it another 24 to 48 hours in warm, dry conditions resolves it. In severe cases, the film is damaged and needs to be stripped with a sealer stripper product appropriate to the sealer type. Going forward, thinner coats and applying only when temperatures are above 55°F and stable will prevent this.
Persistent dark patches that don't go away
Dark patches that appear even after cleaning and sealing often point to something happening below the surface: mold growth in the paver joints, oil contamination that wasn't fully removed, or a drainage or moisture issue driving biological growth. If the dark patches appeared before you sealed and you sealed over them, that's the problem. Strip the sealer in that area, treat the underlying stain properly, and reseal. If the darkness is happening on bare concrete that hasn't been sealed, it may be worth investigating why your concrete patio has a persistent wet or dark appearance, since drainage, capillary moisture, and mold are all common culprits.
Maintenance and reapplication schedule
A good wet-look sealer doesn't last forever. How long it holds up depends on the product, foot traffic, UV exposure, and climate. Film-forming acrylic sealers in high-traffic outdoor areas typically need reapplication every two to three years; in lower-traffic areas with good shade coverage, they can last four to five years. Penetrating sealers generally have a longer service life of three to five years or more because they don't wear off the surface the way a film does.
The easiest maintenance step is cleaning: rinse the patio regularly to prevent dirt buildup, and clean spills promptly before they penetrate. Avoid using harsh degreasers or acid-based cleaners on sealed surfaces routinely, as they accelerate sealer degradation. When you notice the wet look starting to fade or water no longer beading on the surface, that's your signal that the sealer has worn thin and it's time to prep and reapply. A light recoat over an intact (just faded) sealer is much easier than a full strip and reseal, so catching it early saves work.
FAQ
Quick options: How can I make patio pavers look wet temporarily or permanently?
Temporary: spray plain water for a few minutes of wet look; for longer-lasting photo effects use a 1:1 to 1:2 glycerin:water mist (leaves tack if not rinsed). Permanent: use a product designed for a wet look — either a film‑forming acrylic (solvent or water‑based) for high gloss or a color‑enhancing penetrating sealer (silane/siloxane or specialized impregnator) for enrichment without heavy film. Choose temporary for short events/photos and a sealer for durable color enhancement.
Which product types create a wet look and how do they differ?
Film‑forming sealers (acrylics, solvent or water carrier) leave a glossy surface and strong color enhancement but sit on top of the pavers and can reduce traction. Penetrating/impregnating products (silane/siloxane, silicates) soak into pores, provide water repellency and moderate color enrichment but do not produce the same high gloss. Manufacturers label products as 'wet look' (usually film) or 'color enhancing/penetrating'.
Material‑specific preparation and cleaning before applying a wet look — what should I do for common patio materials?
Concrete: wait for new concrete to cure (commonly 28 days); sweep, use degreaser on oil, remove efflorescence and rinse. Brick/pavers: sweep, use oxygen‑based cleaner or mild detergent for algae/mold, degrease greasy spots, remove mortar residue. Natural stone/travertine/flagstone: use pH‑neutral or stone‑safe cleaners and oxygen bleach for organic growth; avoid harsh acids on calcium stones. For all surfaces test cleaners in a hidden area, scrub stains with a stiff brush, rinse well and allow to fully dry before sealing.
What cleaners and stain removal methods are recommended (mold, rust, oil, efflorescence)?
Mold/algae: oxygen‑based cleaners (sodium percarbonate) + scrubbing or low‑pressure soft wash. Oil/grease: commercial masonry degreasers or dish soap with hot water and agitation; for old stains consider absorbent poultice or a product labeled for grease on masonry. Rust: rust removers formulated for masonry (follow label and test first). Efflorescence: dry‑brushing then specialized efflorescence cleaners or controlled acid cleaning only on acid‑resistant substrates; address the moisture source before sealing. Always test and follow manufacturer instructions.
Step‑by‑step application for a DIY wet‑look sealer (general guidance)
1) Confirm substrate is appropriate (cured concrete, dry, no active moisture). 2) Clean thoroughly and let dry (24–72 hours depending on weather). 3) Read sealer TDS for coverage rates and recommended tools. 4) Apply light, even coats (sprayer + back‑roll or roller per TDS) rather than a single heavy coat to avoid puddling. 5) Allow recommended flash/curing time between coats. 6) If needed, add anti‑slip additive per product directions. 7) Avoid foot/vehicle traffic until cured. Coverage and dry times vary by product and porosity.
Tools and low‑equipment renter‑friendly methods for applying wet‑look finishes
Minimal tools: push broom, stiff nylon brush, garden hose with nozzle, bucket, pump sprayer or paint roller with a 3/8"–1/2" nap (for even spread). For film sealers a low‑pressure garden pump sprayer plus a long‑handled roller for back‑rolling works well. Renters should prefer removable temporary options (water or glycerin mist) or portable sealers if allowed; always check lease/HOA rules before permanent sealing.
Next Articles
Why Is My Concrete Patio Wet? Causes, Tests and Fixes
Why is my concrete patio wet? Diagnose causes, test moisture, DIY fixes, safe cleaning, when to hire help.
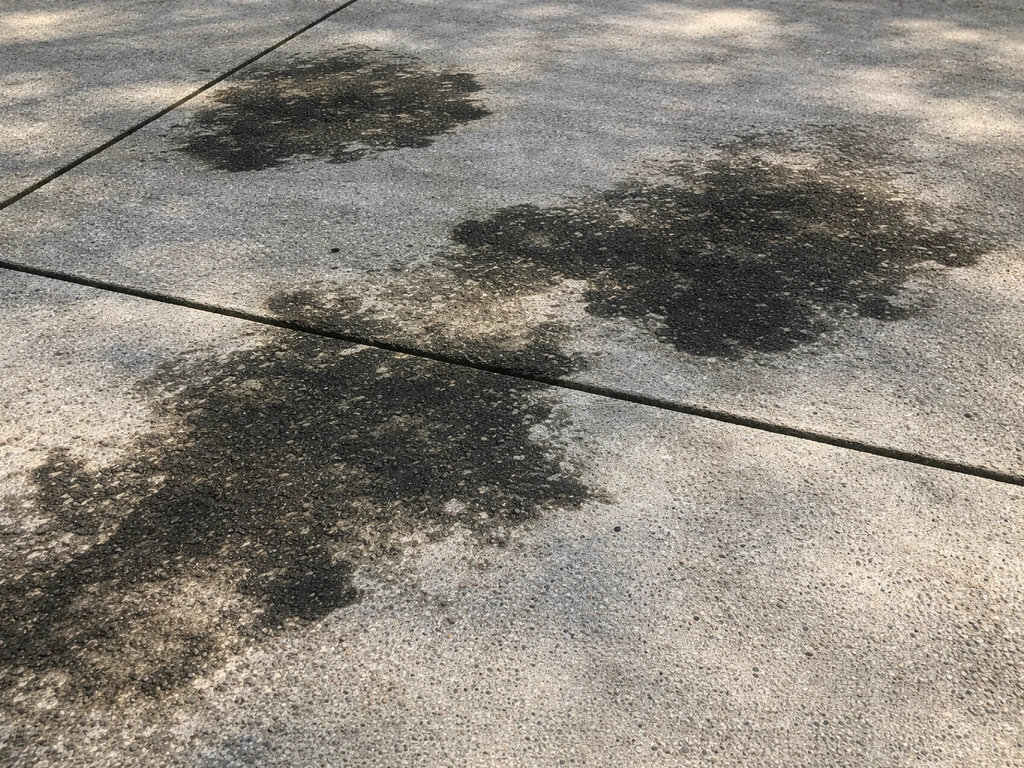
Why Is My Concrete Patio Turning Black? Causes and Fixes
Diagnose why your concrete patio turns black and use the right cleaner for mold, rust, grease, or grime with safe steps.
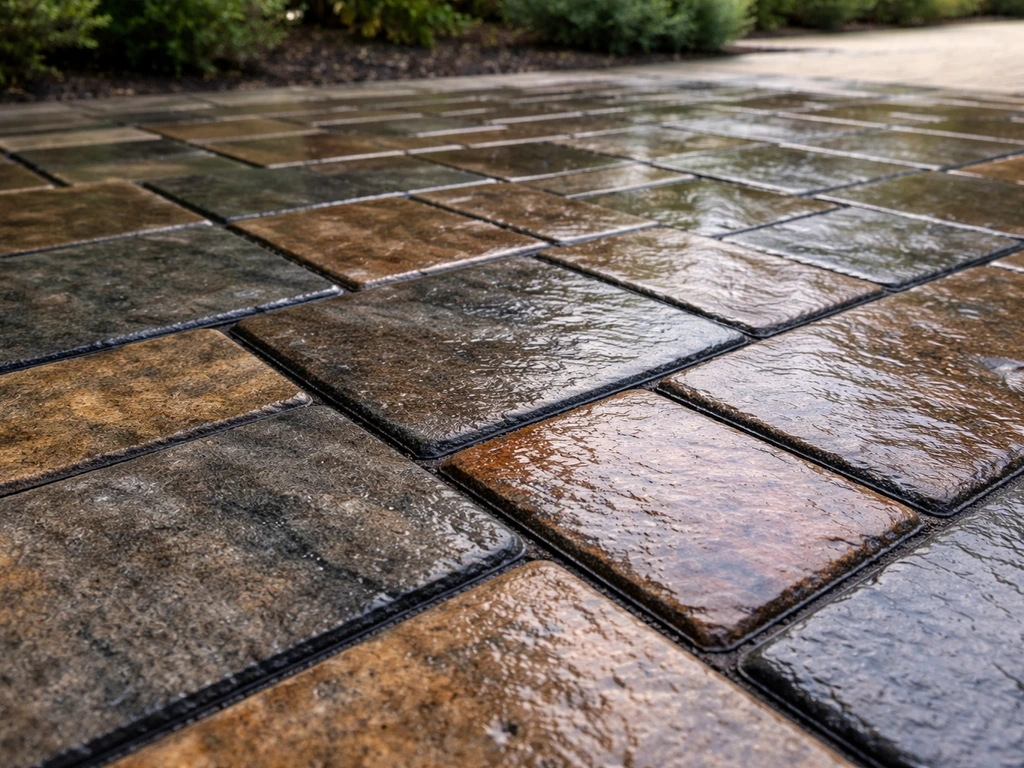
How to Make Patio Stones Look Wet: Step by Step
Clean, treat stains and algae, then apply the right wet-look sealer or finish for your patio stone, safely and streak-fr