
You can remove patio tiles yourself with basic hand tools for small areas, or rent a rotary hammer and chisel bits for larger jobs. The general process is: clear the area, score or remove the grout joints, break a starter tile to create an entry point, then work a chisel or powered chisel under each tile to pop it free. After that, you grind or chisel off the leftover thinset or mortar so the substrate is clean and ready for whatever comes next. The specifics depend heavily on what your tiles are made of and what they're stuck to, so I'll walk through each scenario in detail below.
How to Remove Patio Tiles: Step-by-Step Guide Safely for DIYers

Dylan Hale
10 Aug 2026
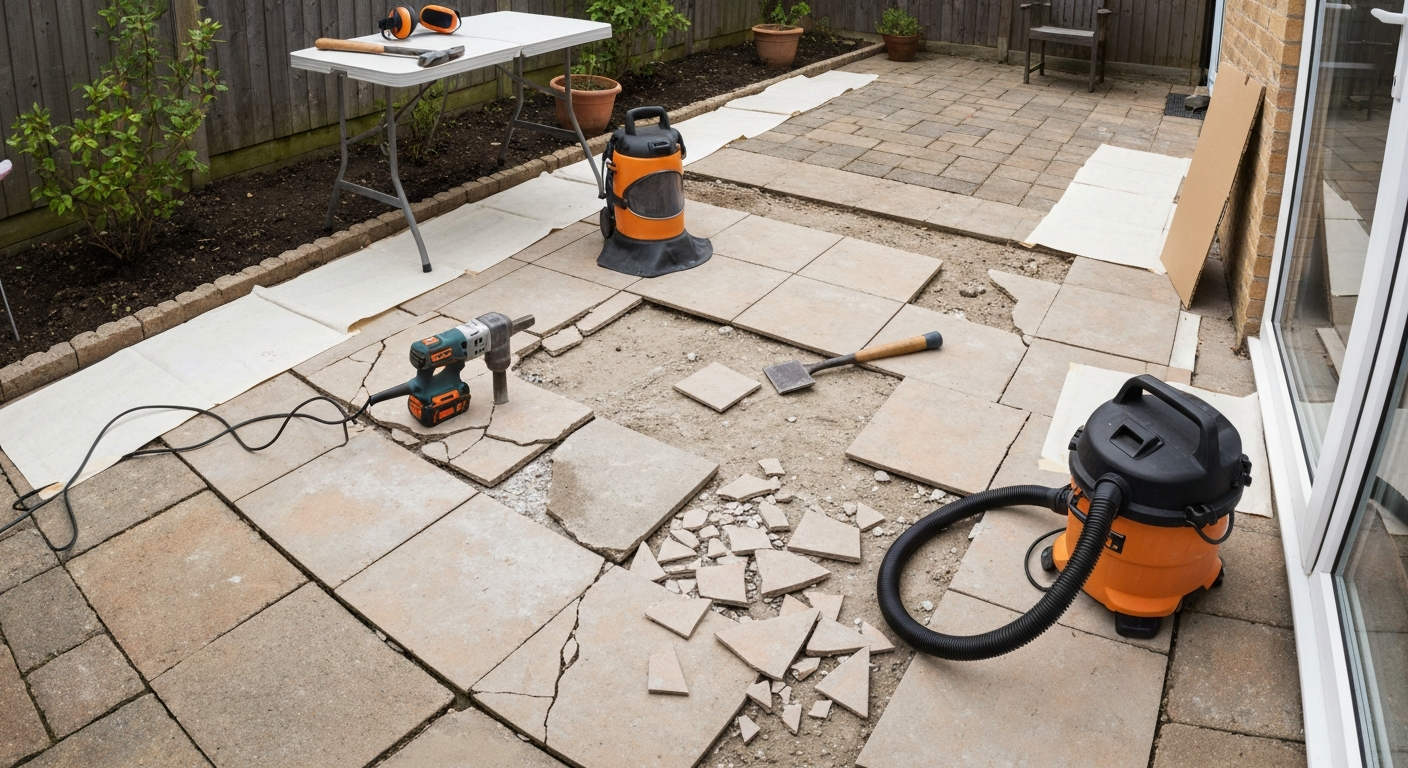
Should you remove the tiles or just repair them?
Before you hire a skip or rent a demolition hammer, it's worth being honest about whether removal is actually necessary. I've seen plenty of patios where a handful of cracked tiles and loose grout got ripped out entirely when a targeted repair would have done the job in an afternoon. Full removal makes sense when the substrate itself has failed (a slab that has heaved, cracked, or settled significantly), when more than roughly 30% of tiles are cracked, loose, or hollow-sounding, when persistent efflorescence or moisture beneath the tiles points to a drainage or damp-proof problem that won't be solved by laying new tiles on top, or when you simply want a completely different material or layout. Repair is the smarter call when damage is isolated to a few tiles, the substrate is sound and level, replacement tiles are still available in a matching batch, and the grout joints are only superficially worn or stained. Tap each tile with a coin or the handle of a screwdriver and listen: a hollow, dull clunk means the bond has failed and that tile will eventually crack under foot traffic regardless of what you do on the surface. A solid, slightly ringing tap means the adhesion is intact.
Plan the job before you pick up a chisel
Good planning saves a lot of grief. Start by estimating the area in square metres (or feet) because that determines how many tools you need, how long the job will take, and roughly what a skip or disposal run will cost. A single person working manually can realistically remove around 3 to 5 square metres of bonded ceramic tile per hour; power tools roughly double that pace. A 20 square metre patio is therefore a full weekend project for one person working solo with a rented rotary hammer, not a Saturday afternoon job.
Before you start, check with your local council or municipality about skip permits if you plan to place one on a public road or verge. Some areas also have restrictions on using pneumatic or electric demolition tools before 8 am or after 6 pm on weekdays, and there may be stricter quiet hours on weekends. Let your immediate neighbours know when you plan to start, particularly if the patio is close to a shared boundary. Dust, noise, and vibration travel farther than you'd expect.
Protect anything you want to keep. Cover nearby garden beds with old sheets or polythene sheeting and weigh the edges down with bricks. Move planters, outdoor furniture, and barbecues well clear. If there are drains or inspection chambers nearby, loosely cover the openings with rags or foam to stop tile chips and grit washing into them during cleanup. If you're also dealing with winter conditions, see how to melt ice on patio for safe de-icing methods that won't damage drains or surrounding surfaces. Mark or photograph any utility pipes or cables you know run under or near the patio before you break ground.
Identifying your tile type and what's underneath
Getting this step right saves a lot of frustration. Outdoor tiles fall into a handful of broad categories, and each one behaves differently under a chisel. Ceramic and porcelain tiles are the most common on modern patios. Under the TCNA and ANSI A137.1 standard, porcelain is technically a ceramic tile with water absorption of 0.5% or less (tested to ASTM C373), which is why it handles freeze-thaw cycles better than standard ceramic. Practically, porcelain is denser and harder, which means it shatters into sharper, smaller pieces when you strike it and is more resistant to the chisel. Through-body (unglazed full-body) porcelain will chip differently from glazed porcelain because there's no separate surface layer to delaminate. If you're unsure whether a tile is ceramic or porcelain, check the edge of a broken one: porcelain will be the same dense, slightly grey colour all the way through, while standard ceramic often shows a more porous, lighter bisque.
Natural stone tiles break into two broad mineralogy groups that matter for both removal technique and dust safety. Calcareous stones (travertine, limestone, marble) are calcium-carbonate based, relatively soft (roughly 3 on the Mohs scale), and acid-sensitive. They chip and split more readily under a chisel than harder siliceous stones (granite, slate, sandstone, quartzite) which are quartz or silica-bearing and significantly harder. Siliceous stones generate more respirable crystalline silica dust during cutting and grinding, which is the main reason you need proper respiratory protection for those materials. Brick and concrete pavers on a sand or gravel bed are usually the easiest to remove because they aren't bonded with adhesive, they simply lift clear.
The substrate underneath the tiles changes the whole approach. Knowing which one you're dealing with before you start is the single most useful thing you can do.
| Substrate type | How to identify it | Removal implication |
|---|---|---|
| Concrete slab with thinset | Tiles bonded directly to concrete; little or no flex when tapped; slab visible at edges or joints | Thinset must be chiseled or ground off slab after tile removal; slab is usually reusable |
| Mortar bed (mud/dry-pack) | Thick layer (25–75 mm) of sand-cement under tiles; slab feels very substantial; edges show thick grey layer | Mud bed usually fractures during removal and needs full replacement; heavy material to dispose of |
| Compacted sand/gravel (pavers) | Tiles or pavers with wide sand-filled joints; some flex underfoot; no adhesive at edges | Usually no tools needed beyond a pry bar; pavers often reusable |
| Wood deck with decoupling membrane | Hollow sound underfoot; tiles over plywood or composite; visible membrane or uncoupling mat at edges | Risk of damaging deck structure; inspect for rot; may need substrate repair or replacement |
Tools, equipment, and PPE you'll actually need
For a small repair job (a dozen tiles or less), manual tools are perfectly adequate and cost nothing beyond what most households already own or can borrow. For anything larger, renting power tools is almost always worth it, even for a single day.
Manual tools
- Cold chisel or masonry chisel (25 mm wide for grout removal, 50–75 mm wide for tile lifting)
- 4 to 6 lb club hammer or lump hammer
- Stiff pry bar or wrecking bar
- Heavy-duty floor scraper with replaceable blades
- Wide stiff putty knife (75–100 mm) for edge work
- Oscillating multi-tool with carbide or diamond grout blade
- Grout saw (manual, for small areas)
- Wire brush and stiff-bristle brush for debris cleanup
Rental power equipment
- SDS-plus rotary hammer with chisel and flat spade bits (around $40–$100 per day): the most versatile rental for most patio tile removal jobs
- SDS-max demolition hammer (12–30 lb class, around $100–$300 per day): needed for thick mortar beds or full concrete-bonded tile on large areas
- Angle grinder with diamond cup wheel: for grinding residual thinset flat after tile removal; cup wheels work at the correct RPM as specified by the wheel manufacturer
- Floor grinder or scarifier with diamond tooling (around $100–$400 per day self-propelled): the right tool for removing stubborn polymer-modified thinset or epoxy adhesives over a large slab; essential for a professional finish before re-tiling
- Oscillating multi-tool (corded): more controllable than a grinder for grout removal around delicate edges
- Wet/dry vacuum with HEPA filter: required for dust control when using any power tool; pair it with tool-mounted shrouds where available
Personal protective equipment (PPE)
- Respirator: minimum N95 (P95 or P100 for longer or indoor sessions; an elastomeric half-face respirator with P100 cartridges is worthwhile for full-day grinding of siliceous stone or granite-bonded thinset — OSHA 29 CFR 1926.1153 Table 1 specifies engineering controls first, but respirators are a required backup layer)
- Safety glasses or goggles: tile chips travel at speed
- Face shield: wear over glasses when swinging a hammer or using a demolition tool
- Heavy leather gloves: protect against sharp tile edges and vibration
- Steel-toecap boots with puncture-resistant soles
- Knee pads: you will be on your knees for most of this job
- Hearing protection (ear defenders or foam plugs): demolition hammers exceed 100 dB at the operator
Safety and environmental cautions you shouldn't skip
The biggest invisible hazard in tile removal is respirable crystalline silica dust. Concrete, mortar, thinset, natural stone, and many ceramic tiles all contain silica. When you cut, grind, chisel, or break them, fine particles become airborne and can penetrate deep into the lungs, where they cause silicosis, a progressive and irreversible scarring disease. OSHA and NIOSH are very clear that wet methods (keeping the work surface damp) and HEPA-filtered vacuums connected directly to the tool are the first line of control, not an optional extra. If you're using a grinder or rotary hammer on a dry slab in an enclosed patio or courtyard, you need P100 filtration, not just a dust mask from a hardware store. Outdoors in open air, an N95 minimum is the starting point; work crosswind of your own dust plume.
Noise is a real hazard too, not just a nuisance. Even a standard SDS rotary hammer used for more than 30 minutes without hearing protection can cause cumulative hearing damage. Wear ear defenders or foam plugs whenever you're using power tools.
Chemical cautions are relevant mainly during the cleanup phase. If you use any chemical to soften adhesive residue, avoid products containing methylene chloride (dichloromethane): the EPA finalized a ban on most consumer uses of methylene chloride in stripping products due to acute fatality risk and chronic health effects. Read labels carefully, and if a product doesn't list its active ingredients clearly, don't use it. Gentler options like sodium bicarbonate (baking soda) paste or diluted white vinegar can help lift light adhesive residue from tile surfaces if you're salvaging tiles, but they won't soften cementitious thinset.
Before you break ground anywhere, locate underground utilities. Gas lines, water pipes, electrical conduits, and drainage runs sometimes sit just below patio slabs, particularly on older properties. Use a cable and pipe locator (available to rent) or call your utility provider's safe-dig line before any digging or heavy chiseling near slab edges or expansion joints.
Protect your plants and lawn. Tile dust, grout residue, and alkaline thinset runoff can all harm vegetation. Keep nearby beds covered and avoid hosing debris across grass or into garden soil. If you're working close to a pond, block or cover it: even small amounts of cement or adhesive residue can alter water pH and harm fish.
Preparing the work area properly
Remove all furniture, planters, cushions, and anything else from the patio entirely. Sweep the surface thoroughly to clear loose grit, leaves, and debris that would otherwise get worked into your workspace and make it hard to see what you're doing. Lay polythene sheeting or old dust sheets over nearby flower beds, grass edges, and any walls or rendered surfaces you want to protect from chips and dust. Weight the edges down with bricks or sandbags.
Cover any open drains with a rag or foam bung. This is a small step that saves a frustrating blockage later. If there are glass doors, windows, or painted walls adjacent to the patio, tape cardboard or sheets of plywood against them. Flying tile chips are genuinely surprising in how far they travel.
Before committing to full removal, do a few test pulls in an inconspicuous corner. Using your oscillating multi-tool or manual grout saw, remove the grout around a single tile completely. Then work a wide cold chisel under one corner and strike it firmly with a club hammer. If the tile pops free cleanly with modest force and the substrate looks intact below, you're dealing with a straightforward job. If the tile shatters but the thinset stays firmly bonded to the concrete, you'll need power tools. If the whole area flexes, bounces, or sounds hollow across a wide zone when you walk it, there may be a substrate problem worth investigating before you go further. Scoring the grout lines around your test tile first is important: it prevents grout dragging and keeps tile edges cleaner, which matters if you want to salvage any tiles.
How to remove grout and pointing safely
Grout removal is the step most people skip or rush, and it's the reason tiles break messily and substrate damage happens. Taking the time to clear grout joints properly before lifting tiles makes every subsequent step easier and significantly improves the odds of salvaging tiles in reusable condition.
Manual grout removal
A manual grout saw (a handle with a carbide or diamond-coated blade) works well for small areas and gives you excellent control. Pull it along the grout joint in short firm strokes. You don't need to remove the grout completely, but aim to clear at least two-thirds of the grout depth without cutting into the tile body. This loosens the mechanical grip the grout has on the tile edge. Manual grout saws are slow (a 10 square metre patio could take 3 to 4 hours just for grout removal) but they won't nick tile edges or damage the substrate.
Oscillating multi-tool method
An oscillating multi-tool fitted with a thin carbide or diamond grout blade is the best balance of speed and control for most DIYers. Run the blade along the joint at a consistent depth, letting the tool do the work without forcing it. Keep the blade moving at all times to prevent it overheating in a single spot. Use a vacuum nozzle close to the cut to capture dust. This is the method I'd recommend for anyone doing a moderate-sized job (up to about 15 square metres) without experience using angle grinders.
Angle grinders and wet methods
Angle grinders fitted with thin diamond blades can cut grout joints quickly, but they are genuinely harder to control in narrow joints and the risk of clipping tile edges is significant. They also generate substantially more dust than oscillating tools. If you use a grinder, fit a dust shroud and connect a HEPA wet/dry vac to the shroud outlet. Work with the disc running along the centre of the joint, not at an angle, and keep forward speed consistent. For wider pointing (such as the joints in a brick or large-format stone patio), an angle grinder is more practical. There's more detail on pointing removal specifically in the related guidance on the best tools for removing patio pointing, which covers joint depth, profile, and replacement material choices.
Wet and dry considerations
Keeping the grout slightly damp while cutting reduces airborne dust noticeably. Lightly mist the joint area with a spray bottle before and during cutting. Don't soak it, which can soften uncured grout beneath surface tiles and make the substrate slippery. For dry-cutting with a grinder or oscillating tool, HEPA vacuum dust control is non-negotiable.
Step-by-step: removing ceramic and porcelain patio tiles
Ceramic and porcelain are the most common tiles on modern patios. Porcelain's low water absorption (0.5% or less by the ANSI A137.1 standard) makes it the standard choice for outdoor installs subject to rain and frost, but that same density makes it more resistant to the chisel and more prone to shattering rather than lifting cleanly. Here's the approach that works best.
Manual removal method (small areas and renters)
- Remove all grout around the target tiles using an oscillating multi-tool or manual grout saw as described above.
- Identify a tile to sacrifice as your starter: choose a cracked tile, a corner tile, or one that already sounds hollow. Place a cold chisel at one corner where the grout joint was, angled at roughly 30 degrees to the surface. Strike firmly with a club hammer to crack the tile and drive the chisel tip under the edge.
- Work the chisel progressively under the tile in a sweeping motion, striking and prying alternately. For a 600 x 600 mm floor tile, work from two or three edges rather than just one to distribute the break evenly.
- Once the first tile is out, you have a working gap. Insert a wide floor scraper or stiff pry bar into this gap and use it as a lever to pop adjacent tiles from their bond. Many tiles will lift relatively cleanly once neighbouring tiles are removed and the grout grip is gone.
- Bag tile pieces immediately into heavy-duty sacks (tiles are very sharp). Don't pile loose tiles on the substrate surface; the weight and movement will grind grit into any surface you want to preserve.
- Sweep the exposed area after every 6 to 8 tiles removed. This prevents you from kneeling on sharp fragments and gives you a clearer view of the substrate condition.
Powered removal method (medium to large areas)
- Fit the rotary hammer with a wide flat chisel or tile-spade bit. Set it to hammer-and-chisel mode (rotation off) on SDS models. A 4 kg SDS-plus is manageable for most adults; upgrade to SDS-max for thick mortar beds.
- Start at a grout-cleared edge or at your sacrificed starter tile. Angle the chisel bit low (about 20 degrees off horizontal) and work it under the tile body with short bursts of the trigger. Let the vibration do the work; don't lean your whole body weight into it or you'll push the chisel through the tile and into the substrate.
- Work in overlapping passes from one end of the area toward the other, keeping the HEPA vacuum nozzle trailing the tool to capture dust as you go.
- Through-body porcelain tiles will often shatter into several pieces rather than lifting whole; this is normal. Glazed porcelain is somewhat more likely to lift in larger pieces because the chisel can get purchase under the glaze-to-tile interface.
- After all tiles are removed, switch to a wide scraper or blade attachment on the rotary hammer to remove the larger chunks of residual thinset from the slab. You'll still need the grinder for final smoothing.
Removing leftover thinset and mortar
Thinset left on a concrete slab after tile removal needs to come off completely before the surface can be re-tiled, painted, or overlaid. This is not optional: a high spot of thinset 3 mm proud of the surrounding slab will telegraph through any new tile layer and eventually cause a lippage crack. Standard (non-polymer-modified) cementitious thinset responds reasonably well to a rotary hammer with a wide flat chisel bit. Work it in a low-angle scraping action across the slab rather than breaking down into it.
For polymer-modified thinset or any epoxy/urethane adhesive, mechanical scraping alone is usually insufficient. A diamond cup wheel on an angle grinder is the right tool for smaller patches: use the coarsest grit available, keep the guard fitted, and make overlapping passes across the residue, not in circles. For large areas (over 10 square metres of adhesive residue), a rented floor grinder or scarifier fitted with diamond tooling is far more efficient and produces a better surface profile for bonding new materials. This is the method tile installers use professionally, and it genuinely is worth the rental cost.
Chemical softeners are sometimes advertised for thinset removal, but I've found them largely ineffective on properly cured cementitious products. They can have some value on uncured or fresh thinset and on certain mastic adhesives, but on a mature outdoor patio thinset bed, mechanical removal is your reliable option. Never use products containing methylene chloride for any part of this process: the EPA ban on consumer-use methylene chloride products exists for serious health and safety reasons.
Removing natural stone, brick, and concrete pavers
Natural stone tiles (travertine, flagstone, slate, sandstone, granite) follow the same basic sequence as ceramic and porcelain, but with a few important differences. Calcareous stones like travertine and limestone are softer and more prone to spalling at the edges when chiseled; use lighter hammer blows and a wider chisel to distribute the force. Siliceous stones like granite and quartzite are harder and generate more crystalline silica dust during cutting and grinding, which means stricter dust controls and better respiratory protection. If you're removing granite or quartzite-based tiles, use wet methods throughout the grout removal and thinset grinding stages, and upgrade to a P100 respirator with an elastomeric half-face if you're doing extended grinding sessions.
Brick and concrete pavers on a compacted sand or gravel base are the most satisfying tiles to remove because in most cases you don't need a chisel at all. Work a flat pry bar or a wide bolster into a joint, lever one paver up slightly, then lift it clear by hand. Pavers in good condition are almost always worth cleaning and stacking for reuse. If the pavers have been mortared in (common on older patios or raised sections), treat them like bonded ceramic tiles: remove the pointing first, then chisel under each paver. The related article on how to remove a patio covers full patio demolition including sub-base removal if that's relevant to your project. For step-by-step instructions on full patio demolition and sub-base removal, see the guide on how to remove old patio. See our guide on how to remove patio for a full walkthrough of demolition and sub-base removal. For advice on clearing ice and preventing slippery surfaces on outdoor paving, see our guide on how to remove ice from patio.
Inspecting and repairing the substrate after removal
Once the tiles and adhesive are off, take the time to properly assess what you're left with before ordering new materials. On a concrete slab, look for surface cracks wider than 1–2 mm, areas of delamination (where the top layer of concrete is flaking or soft), efflorescence (white salt deposits indicating ongoing moisture movement), and drainage patterns. Hairline cracks can be filled with a flexible cement-based repair mortar. Structural cracks that run through the full depth of the slab, or movement cracks at regular intervals, may need professional assessment before you re-tile, especially if the root cause was ground movement or inadequate expansion joints.
If you uncovered a mud bed and it fractured during removal (which it almost always does), don't try to salvage sections of it. The professional and DIY consensus is that it's better to remove the entire mud bed and rebuild rather than patching around broken sections. Trade guidance and installer forums, including Fine Homebuilding, note that traditional mud‑bed (dry‑pack) installations are extremely durable but are typically removed and rebuilt rather than preserved when encountered during tile replacement Fine Homebuilding (trade guidance and forum consensus on mud beds and tile removal). A fresh mortar bed will bond far more consistently than a patched one. For a wood deck substrate, inspect every piece of deck framing that was under the tile for signs of rot, excessive moisture damage, or inadequate support. If any joists are soft or have lost more than 30% of their cross-section to rot, replace them before re-tiling.
Disposal, salvage, and recycling
Intact or near-intact tiles that came off cleanly are worth cleaning and stacking. Natural stone pavers and brick particularly have strong second-hand value: post them on local selling platforms or contact a reclaimed materials yard. If you sold or listed reclaimed materials through Patio and want to close that profile, follow these steps on how to delete patio account for a quick walkthrough. Ceramic and porcelain tiles that survived removal cleanly can be donated to community reuse centres or kept as spares for future repairs if you're retiling with the same product.
Broken tile, mortar debris, and concrete-contaminated waste generally count as construction and demolition (C&D) material. EPA, Sustainable Management of Construction & Demolition Materials (C&D material types and reuse guidance) classifies broken tile and mortar debris as C&D material and provides guidance on reuse, recycling, and proper disposal of such waste EPA — Sustainable Management of Construction & Demolition Materials (C&D material types and reuse guidance). Most areas require this to be taken to a licensed waste transfer station or recycling facility rather than general landfill. Clean concrete and brick rubble is often accepted at concrete recycling depots and crushed for use as road base or aggregate fill. A skip bag or skip bin is the most practical solution for volumes over about half a tonne. For very small jobs, several trips to a tip in a trailer or large estate car (with protective sheeting) works fine.
Time and cost: what to realistically expect
| Job size | Method | Estimated time (1 person) | Approximate tool cost |
|---|---|---|---|
| Under 2 sq m (patch repair) | Manual tools only | 2–4 hours | Little to none if tools owned; under $30 to buy basics |
| 5–10 sq m | Manual + oscillating tool | 1 full day | $50–$150 tool rental or purchase |
| 10–25 sq m | Rented SDS rotary hammer + angle grinder | 1–2 full days | $100–$250 rental |
| 25+ sq m or thick mortar bed | SDS-max demo hammer + floor grinder rental | 2–3+ days | $300–$600+ rental; consider a pro quote |
These figures assume straightforward bonded tile on a concrete slab with cementitious thinset. Thick mortar beds, epoxy adhesives, or stubborn polymer-modified thinset all add time and cost. Skip hire (for disposal) typically adds $150–$400 depending on location and volume. If you're on a tight budget and have a small patio, manual removal really is doable over a weekend without specialist tools. If the area is large or the substrate turns out to be a mud bed with a demolition hammer's worth of material, getting at least one professional quote makes good financial sense.
When it makes sense to hire a professional
Most homeowners and renters can handle tile removal on small to medium patios with rented equipment and a careful approach. There are a few situations where calling in a professional is the right move: if the slab shows signs of structural cracking or significant ground movement that needs diagnosing before any new surfacing is applied; if you discover asbestos-containing materials in the mortar or adhesive (any tile installation in a property built before around 1985 that shows grey fibrous material in the adhesive layer should be tested by a licensed professional before disturbance); if the patio is on a wood deck and significant structural damage is found once tiles are removed; or if the total area exceeds 30 square metres and you simply don't have the time or physical capacity to manage a multi-day demolition job safely. Getting two or three quotes before deciding is always worthwhile since pricing for tile stripping varies significantly by region.
FAQ
When should I remove patio tiles instead of repairing them?
Remove tiles when there is widespread cracking, loose or hollow tiles across the area, a failed substrate (cracked or spalling concrete, broken mud bed), persistent water penetration or freeze‑thaw damage, or when the tile style/function must change (different finish, slope, or drainage). Repair individual tiles or joints when damage is isolated and the substrate is sound.
How do I identify the tile type and substrate before starting removal?
Look at tile thickness, edge color, and water absorption to distinguish porcelain (dense, low absorption) from ceramic. Natural stone shows grain/veining and varies by hardness; bricks/pavers are solid units. Probe grout and an edge tile—if bedding is thinset (<1/2") expect thin cement bond to concrete; a thick cement bed (mud/dry pack) will be 1"–2" or more. For pavers, check for a sand/aggregate base and interlocking joints. If unsure, remove a small corner carefully to confirm.
What PPE and dust controls are essential for outdoor tile removal?
Minimum PPE: safety glasses, hearing protection, gloves, long sleeves/pants, and sturdy boots. For dust control: use wet methods when possible, tool‑mounted shrouds with HEPA vacuums for grinders/chisels, and respirators (N95 minimum for short/outdoor tasks; P100 or elastomeric cartridges for extended, indoor, or high‑dust work). Follow OSHA silica guidance for engineering controls first.
What manual tools do I need for a small DIY patio tile removal?
Cold/masonry chisels, 4–6 lb club or slater’s hammer, pry bars, wide floor scrapers, heavy putty knives, an oscillating multi‑tool with carbide or grout blades, and a shop vacuum with a HEPA filter for cleanup. These let renters and DIYers remove single tiles or small areas without heavy rentals.
Which power tools are most useful and which should I rent?
Common rentals: SDS‑plus rotary hammer with tile chisel or spade bits, mini demo hammer (12–30 lb) for stubborn mud beds, angle grinder with diamond cup wheel for thinset grinding, and floor grinders or scarifiers for large areas or polymer adhesives. Rent heavier equipment for large jobs—rotary hammers and floor grinders are often available daily.
How do I remove ceramic or porcelain patio tiles safely and effectively?
Score or break a corner to create an entry. For bonded tiles on concrete thinset, use an SDS hammer with a narrow chisel or tile spade to lift pieces, working from the broken edge. Use a diamond cup wheel or floor grinder to remove residual thinset to the required profile. Use wet cutting or HEPA‑equipped vacuums and respirators to control silica dust.
Next Articles
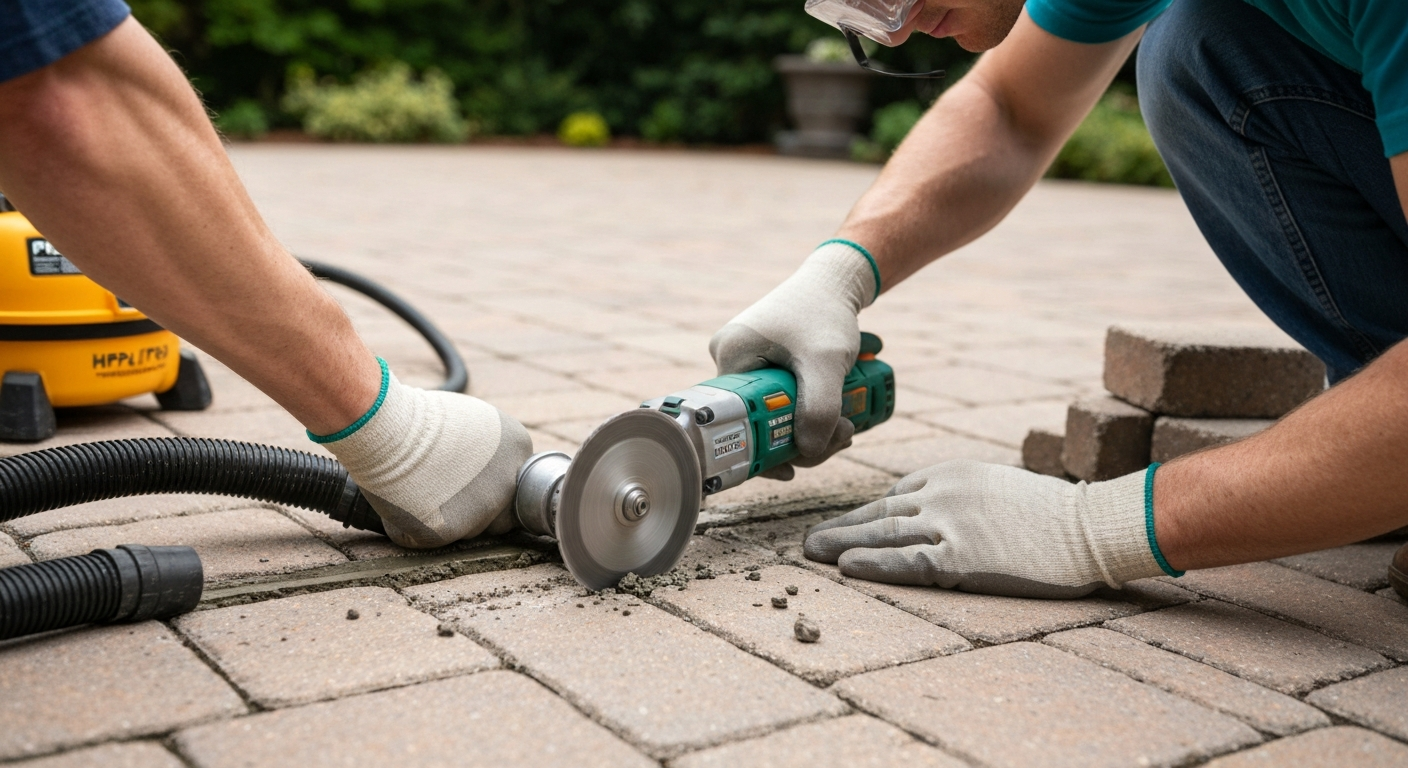
Best Tool for Removing Patio Pointing: Top Picks & Tips and Methods
Best tool for removing patio pointing: top manual & power options, renter-friendly methods, safety, and repointing tips.

How to Delete Patio Account: Step-by-Step Closure Guide
Step-by-step guide to permanently delete your Patio account: backup data, cancel payments, request GDPR/CCPA removal.
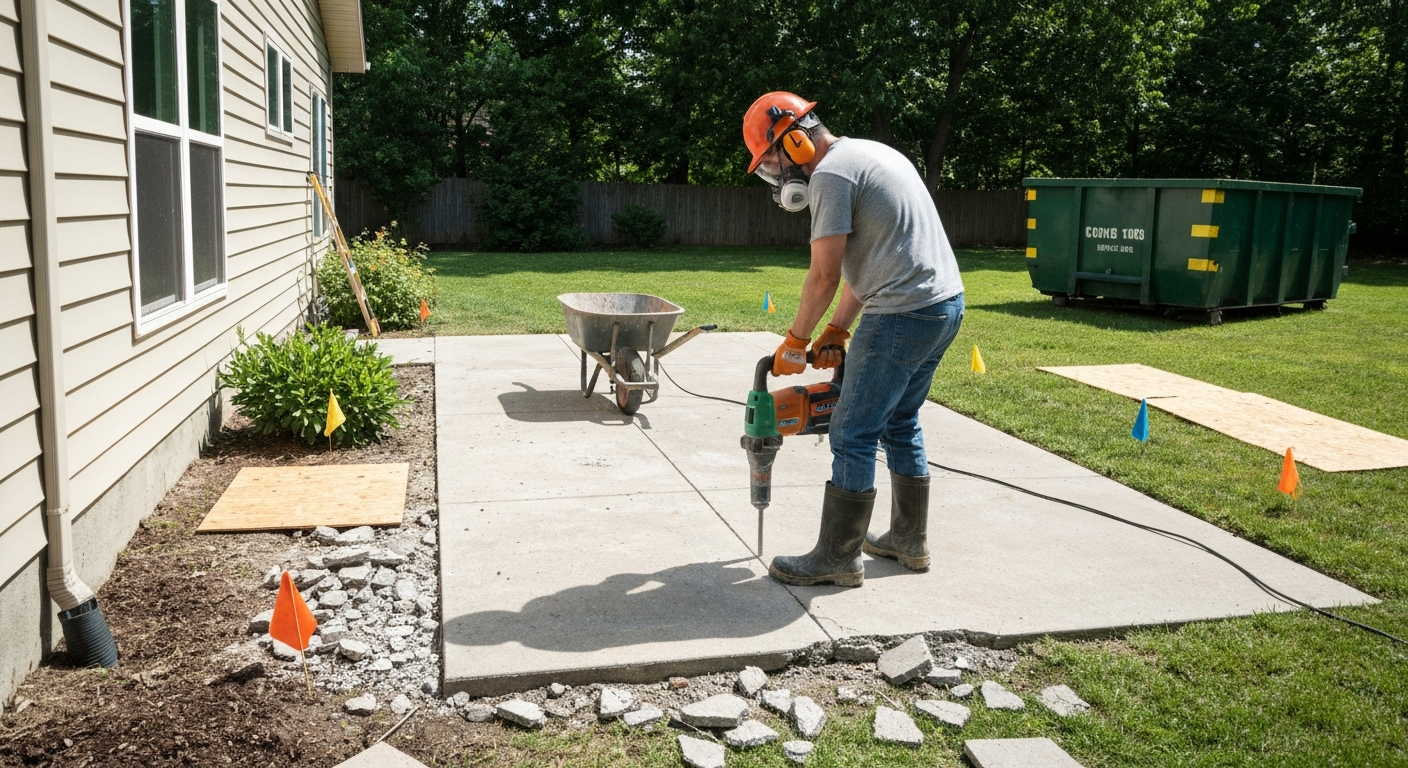
How to Remove Old Patio: Repair, Tear-Out Steps & Costs
How to remove an old patio, decide repair vs removal, step-by-step methods, tools, safety, costs and renter tips.