
Removing an old patio is usually a full weekend of hard work, but it's very doable for most homeowners with the right tools and a clear plan. Before you swing a sledgehammer, though, it's worth spending 30 minutes deciding whether you actually need a full tear-out or whether a good clean, a few repairs, and some fresh pointing will give you another decade of use. I've found that at least half the patios people want to rip out can be saved with targeted restoration work, and the ones that genuinely need to go can be removed safely and affordably once you know what you're dealing with. For a step-by-step guide on how to remove a patio, see how to remove patio.
How to Remove Old Patio: Repair, Tear-Out Steps & Costs

Dylan Hale
25 Jul 2026
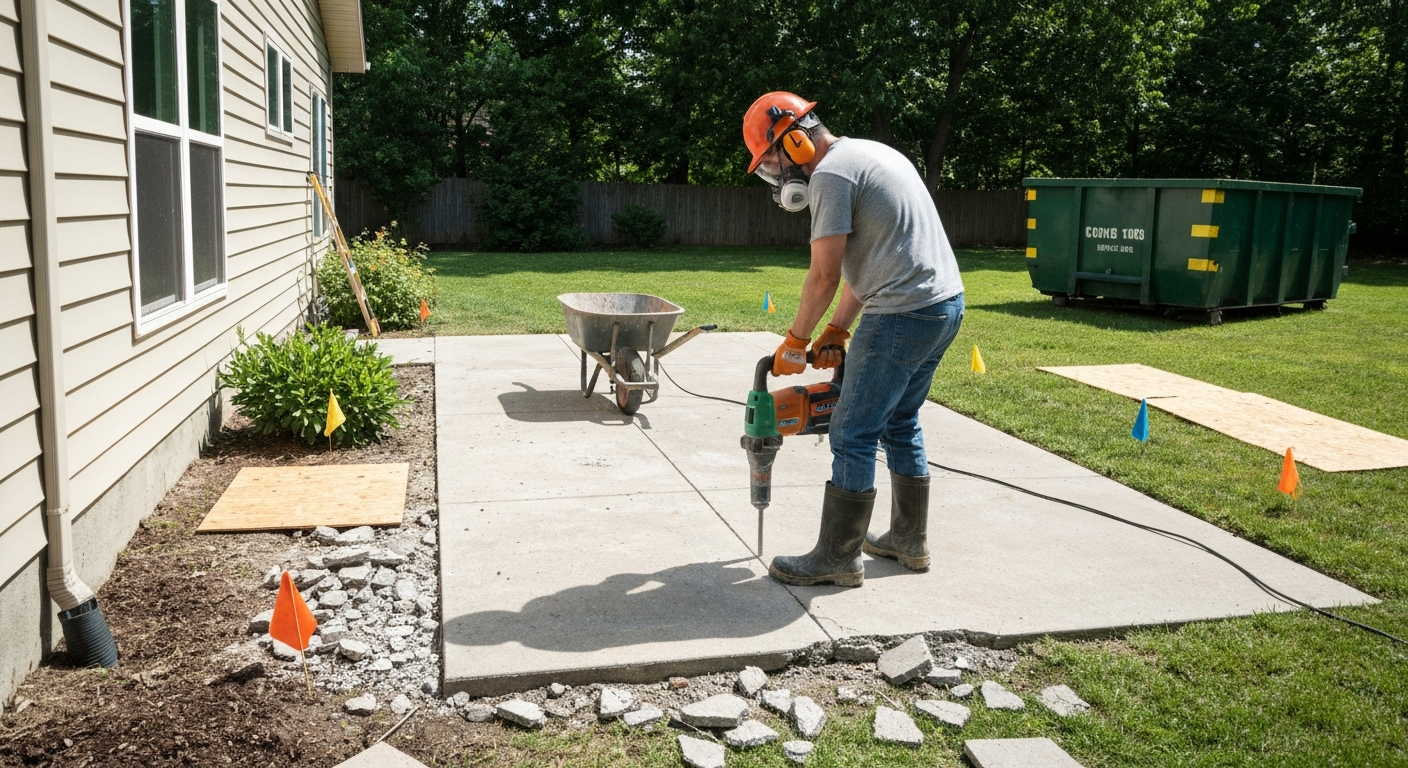
Should you restore, repair, or remove? Starting with the right question
The decision to remove a patio entirely versus restoring or repairing it comes down to three things: the structural condition of the base, the extent of surface damage, and whether the drainage is still working. A patio that looks terrible after years of neglect often just needs a deep clean, mold treatment, and repointing. A patio that heaves, cracks through, drains toward the house, or has a crumbling base is a different story. Restoration is also a real option: pressure-washing combined with stain or mold treatments (using bleach, sodium hypochlorite, or even diluted white vinegar for sensitive materials) can transform a surface you thought was beyond saving. Full removal makes the most sense when structural problems can't be corrected from the surface, when you're changing the patio shape or material entirely, or when ongoing repair costs are approaching replacement cost.
Quick decision checklist: repair, restore, or remove?
Run through these signs before committing to demolition. Be honest about what you're seeing, because misreading structural problems as surface problems is the most common mistake I see.
- Surface staining, mold, moss, rust, or grease only: clean and treat first — full removal is premature
- Cracked mortar joints or loose pointing between pavers or bricks: repoint rather than remove
- One or two sunken or cracked pavers or tiles: lift and relay individual units, not a full tear-out
- Widespread heaving across more than 30–40% of the surface: base failure, removal likely needed
- Water draining toward the house foundation: re-grading is required, usually means removal
- Concrete slab with multiple through-cracks, exposed rebar, or frost-heave displacement: structural failure, remove
- Travertine or natural stone with widespread spalling, deep pitting, or delamination: assess repair cost vs. replacement
- Patio material you simply want to change (e.g., switching from concrete to pavers): elective removal, plan carefully
- Renter or tenant situation: check lease before any removal work — surface cleaning is usually permitted, demolition almost never is without landlord approval
Assessing your patio before you do anything
A proper inspection takes about 20 minutes and can save you from both under- and over-committing. I break it into four areas: structural integrity, surface condition, drainage, and material identification.
Structural inspection
Walk the entire surface and press down firmly with your foot at intervals. Any flex, hollow sound, or movement in a concrete slab points to base failure or voids underneath. For pavers and brick, check whether units rock independently or whether whole sections have shifted together, the latter often means soil movement or a failing edge restraint rather than individual unit problems. Probe mortar joints with a screwdriver: crumbling or absent mortar is a repair job, not a removal job.
Surface condition
Be clear-eyed about whether what you're seeing is surface deep or structural. Staining (rust, mold, algae, grease, efflorescence) is almost always surface-only and responds well to the right cleaning chemistry. Spalling on concrete (where the top layer flakes off) can be cosmetic if shallow, but deep spalling exposing aggregate throughout is a sign the mix or curing went wrong and the surface is compromised. On natural stone like travertine or flagstone, surface pitting and some delamination can often be treated or filled.
Drainage check
Pour a bucket of water on the surface and watch where it goes. Patio surfaces should slope away from the house at roughly 1/8 to 1/4 inch per foot. Water pooling on the surface or running toward the foundation is a serious problem that usually requires re-grading, which means removal and reset at minimum, even if the units themselves are reusable.
Material identification
Knowing what your patio is made of determines every step that follows: the tools, the demolition method, disposal requirements, and whether the units can be reused. Concrete slabs are monolithic and heavy (a 4-inch slab weighs roughly 50 lbs per square foot). Interlocking concrete pavers and clay brick are individual units set on sand and can usually be lifted intact. Ceramic or porcelain tiles are bonded with thinset or mastic to a substrate. Natural stone (travertine, flagstone, bluestone) may be dry-laid, mortared, or set on concrete, you need to know which before you start prying.
Cost, time, and effort by material and scope
These are realistic ranges based on typical DIY and contractor scenarios. Labor, disposal fees, and equipment rental vary significantly by region, so treat these as planning benchmarks rather than firm quotes.
| Patio material | DIY difficulty | Typical time (200 sq ft) | Key costs to plan for | Reuse potential |
|---|---|---|---|---|
| Concrete slab (unreinforced, <4 in.) | Moderate–Hard | 1–2 days | Breaker/jackhammer rental, dumpster | Low (rubble only) |
| Concrete slab (reinforced, >4 in.) | Hard | 2–3+ days | Heavy breaker rental or pro, rebar cutting, dumpster | Low |
| Interlocking concrete pavers | Easy–Moderate | 4–8 hours | Paver lifter, skip hire or reuse | High (units often reusable) |
| Clay or reclaimed brick | Easy–Moderate | 4–8 hours | Pry bar, disposal or resale | High |
| Ceramic/porcelain tiles on substrate | Moderate | 1 day | Floor scraper, chisel, thinset removal, disposal | Low (tiles usually break) |
| Travertine/natural stone (mortared) | Moderate–Hard | 1–2 days | Chisels, grinder, disposal or resale of intact slabs | Medium |
| Flagstone (dry-laid) | Easy | 2–4 hours | Pry bars, stacking and storage | Very high |
Disposal is one of the costs people most often underestimate. Concrete, brick, and stone are heavy: a 200 sq ft concrete slab at 4 inches thick produces roughly 2.5 tons of debris. A standard 10-yard dumpster handles about 3–4 tons; check weight limits carefully. Some areas have concrete recycling facilities that accept broken concrete for free or a small fee, which is worth finding before you hire a dumpster.
Permits, local rules, and your responsibilities as owner or renter
This is the step most DIYers skip, and it can cause real problems. Many municipalities treat removal or replacement of exterior slabs, paved areas, and grading as permit-reviewable work, even for what looks like a straightforward backyard project. The City of Seattle, for example, explicitly includes on-grade paving and grading under construction and inspections review. Rules vary widely, so check your local building or permit department website before you start, a quick phone call usually gets you a definitive answer. For account-related questions about the Patio service, see how to delete Patio account.
Beyond permits, underground utilities are the most serious safety issue in any demolition project. In the United States, you must call 811 (the national Call Before You Dig number) or your state's one-call center before any excavation or ground-breaking work. Most states require at least 2 business days' notice so that utilities can mark buried gas, electric, water, and telecom lines. This is a legal requirement in most states, not a suggestion. Even a shallow patio removal can cut through irrigation lines, low-voltage landscape wiring, or gas supply lines if you skip this step.
Renters and tenants face an additional layer: almost all lease agreements prohibit structural or exterior alterations without written landlord consent. Cleaning a patio surface is generally permitted, but breaking up or removing hardscaping almost certainly requires landlord approval and possibly a contractor rather than a DIY approach. Get that in writing before you rent a jackhammer.
Safety, PPE, and environmental cautions
Patio demolition generates respirable crystalline silica dust, which is a serious lung hazard. OSHA's construction silica standard (29 CFR 1926.1153) sets the permissible 8-hour exposure limit at 50 micrograms per cubic meter, with an action level at 25 micrograms per cubic meter. Grinding, cutting, or breaking concrete, brick, stone, or tile can exceed these levels very quickly even outdoors. The engineering controls come first: use wet cutting where possible, and connect grinders and saws to HEPA-filtered vacuums to capture dust at the source. Avoid dry sweeping concrete or masonry dust entirely, use wet sweeping or a HEPA vacuum instead.
For respiratory protection, a NIOSH-certified N95 disposable respirator is appropriate for limited light-dust tasks like prying up dry-laid stone. For any cutting, grinding, or jackhammering of concrete or masonry, step up to a half-face elastomeric respirator with P100 filters. The N95 is a minimum floor, not a general-purpose solution for demolition dust. Make sure the respirator is fitted properly and that you're not working with a beard that breaks the face seal.
- Eye protection: safety glasses with side shields for all tasks; add a face shield when using a breaker or grinder
- Hearing protection: earplugs or earmuffs rated NRR 25 or higher for jackhammering or angle grinding (prolonged use of these tools produces 95–110 dB)
- Gloves: heavy-duty work gloves for handling broken concrete and stone edges; cut-resistant gloves when handling tile fragments
- Steel-toe boots with puncture-resistant soles: broken concrete exposes rebar ends and sharp stone edges
- Respiratory protection: minimum N95 for light dust; elastomeric half-mask with P100 filters for cutting or grinding
- Long sleeves and long trousers: protects from concrete dust skin irritation and cuts
- Keep children and pets away from the work area during all demolition and debris handling
Environmental cautions are real too. Concrete rubble can leach calcium and raise soil pH if left in contact with garden soil for extended periods. If you're treating the existing patio surface with muriatic acid, sodium hypochlorite, or other chemicals before or instead of removal, neutralize runoff before it contacts planted areas or storm drains. For gentler situations, mold, algae, or light efflorescence, diluted white vinegar (1:1 with water) is a reasonable starting point that won't harm surrounding planting, though it takes longer and more effort than stronger chemistry.
Site preparation: protecting what you're keeping
Good site prep takes an hour and saves hours of repair work later. Start by marking the area clearly so nothing outside the demo zone gets damaged. Move furniture, pots, and anything breakable well back from the work zone, flying chips from a breaker carry farther than you'd expect.
- Call 811 at least 2 business days before work begins to have underground utilities marked — do this first, before anything else
- Photograph utility marking flags and record their positions relative to permanent features before they fade
- Cover or protect plants, lawn, and garden beds adjacent to the patio with plywood or heavy tarps to catch debris
- Install temporary fencing or barrier tape if the work area is near a property line, driveway, or public path
- Identify your wheelbarrow route from the work area to the dumpster or debris pile and protect that path from heavy loads (plywood sheets work well as wheel paths across a lawn)
- Locate and mark any in-ground irrigation heads, drainage channels, or outdoor electrical outlets near the patio perimeter
- Notify neighbors if you're planning extended jackhammer or power-tool work — this is courteous and in some areas legally required during noise ordinance hours
If your patio is attached to the house wall, check carefully where it meets the foundation or wall cladding. Concrete slabs are sometimes poured against a house foundation, and aggressive breaking too close to that junction can cause cracks or disturb damp-proofing. Work from the outer edge inward and leave a foot of material adjacent to the foundation as a buffer until you're working carefully by hand or with smaller tools.
Tools you'll need: manual and power options
The right tool depends on your material and how much of the work you're doing by hand versus with rented power equipment. I'll break this into two categories: what every homeowner or renter should have for manual removal work, and what to consider renting for larger or harder projects.
Manual tools for homeowners and renters
- Pry bar (36 in. or longer): essential for lifting pavers, brick, flagstone, and tile edges
- Cold chisel set (1/2 in. and 1 in.): for breaking mortar joints, chipping tile thinset, and splitting small concrete sections
- Hand sledgehammer (3–5 lb): paired with a cold chisel for mortar removal and breaking up small slabs
- Flat pry bar / tile chisel: for getting under individual tiles bonded with thinset or mastic
- Long-handled floor scraper: for removing mastic or adhesive residue after tiles are lifted
- Stiff wire brush: for cleaning mortar off reusable pavers or brick
- Angle grinder with diamond tuck-point blade: for removing mortar/pointing between brick, pavers, and stone joints (use wet cutting or connect to HEPA vacuum)
- Oscillating multi-tool with carbide scraper blade: for cutting and lifting grout lines and loosening tiles in tight spaces
- Wheelbarrow (heavy-duty, 6 cu ft minimum): for moving debris to the dumpster or pile
- Heavy-duty work gloves and PPE as described above
Power tools and rental equipment for larger projects
- Electric demolition hammer / rotary hammer (SDS-Max, 15 lb class): for breaking unreinforced concrete slabs up to around 4 inches thick — rentable from most big-box tool rental desks
- Jackhammer (electric, 65–70 lb class): for thicker slabs or compacted base layers — typically rented by the day from national rental houses
- Angle grinder with segmented diamond blade or tuck-point blade: for cutting control lines in concrete and removing pointing
- Concrete wet-cut saw (walk-behind): for scoring deep cut lines in large slabs before breaking — available from equipment rental yards
- Mini-excavator with breaker attachment: for large areas of reinforced concrete or when manual work is impractical — rent from national rental companies such as United Rentals or Sunbelt; daily and weekly rates vary by region and machine class, so get local quotes
- HEPA-filtered shop vacuum (rated for fine dust): connects to angle grinders and rotary hammers to capture silica dust at the source
- Paver lifter / extractor tool: a specialized hand tool that grips individual paver units for clean removal without damage — worth buying if you're removing a large area of reusable pavers
For mortar and pointing removal specifically, which comes up whether you're doing a full tear-out or just repointing, an angle grinder fitted with a diamond tuck-point blade is the most efficient mechanical method. Oscillating multi-tools are slower but gentler and better in tight spots. If you're dealing with tile adhesive, the approach splits by type: organic mastic softens with heat or chemical strippers and can then be scraped away, while cementitious thinset bonds tightly to the substrate and almost always requires mechanical chiseling or diamond grinding to remove. Don't assume a chemical remover will handle thinset, it usually won't.
Step-by-step removal by material
Concrete slabs
Concrete is the hardest material to remove by hand and the one where renting equipment pays off most clearly. Typical rental cost ranges for mini-excavators and common attachments are summarized in How Much Does It Cost to Rent a Mini Excavator?, USA Construction Rentals (rental cost ranges) How Much Does It Cost to Rent a Mini Excavator? — USA Construction Rentals (rental cost ranges). Before you start breaking, map the slab: probe with a rebar locator or listen for the change in sound when you tap to find where reinforcing mesh or rebar sits. Unreinforced slabs under 4 to 4.5 inches thick are feasible for DIY with a rented electric demolition hammer. Reinforced slabs or anything over 5 inches should be done with heavier equipment or by a professional.
- Score the perimeter and any control joints with a concrete saw or angle grinder to define your break lines — this limits collateral cracking and makes pieces more manageable
- Start breaking at an edge or a pre-existing crack, not in the middle of an intact section, so the first piece can be pried up to create working room
- Use the demolition hammer at 45–60 degrees to the surface to fracture the concrete into pieces you can lift (aim for pieces no heavier than 50–70 lbs each for safe manual handling)
- When rebar or wire mesh is exposed, use bolt cutters or an angle grinder with a metal-cutting disc to cut it free from the broken sections
- Load debris into the wheelbarrow immediately and keep the work area clear — tripping on broken concrete while holding a heavy breaker is a real hazard
- For the last foot or so adjacent to the house wall, switch to hand tools (cold chisel and 5 lb sledgehammer) to avoid vibrating the foundation
Interlocking concrete pavers
Pavers are the most forgiving material to remove because the ICPI's reinstatement (zip/unzip) approach means the same units can go back down after you've fixed whatever is underneath. I've found this method saves significant money when the problem is just a sunken section or a failing edge restraint rather than total base failure.
- Remove joint sand from the affected area using a stiff brush or vacuum — this prevents sand from falling between units as you lift them and makes extraction easier
- Start at an edge or an existing gap; use a paver extractor tool or a flat pry bar to pop the first unit free
- Lift subsequent pavers with the paver extractor, stacking them nearby in the same orientation so relaying is faster
- Correct the base layer: add or remove compacted aggregate base material to achieve the right grade, and check drainage slope
- Re-bed in fresh sharp sand (typically a 1-inch screeded bed), relay the pavers, compact with a plate compactor (rent one), and sweep new jointing sand into the joints
- If the pavers showed signs of efflorescence or staining before removal, this is the time to clean them individually before relaying
Patio tiles (ceramic, porcelain)
Outdoor ceramic and porcelain tiles are bonded to a substrate (usually a concrete slab or cement board) with thinset mortar or, on older installations, organic mastic adhesive. Removing the tiles themselves is straightforward; dealing with the adhesive residue underneath takes longer and is often the most tedious part of the job. For step-by-step guidance on removing ceramic or porcelain patio tiles, see our guide on how to remove patio tiles.
- Start with a cold chisel and hammer at a grout joint to lift the first tile — expect most tiles to crack rather than come up whole
- Work the chisel or a rotary hammer with a flat chisel bit under tile edges at a low angle to pop units free with minimal damage to the substrate below
- Once tiles are cleared, assess the adhesive residue: if it's mastic (older, brownish, slightly flexible), apply a heat gun or chemical mastic remover to soften it, then scrape flat with a floor scraper
- If the residue is cementitious thinset (hard, grey, tightly bonded), mechanical removal is required: use a rotary hammer with a wide chisel bit, a floor scraper, or a diamond cup wheel on an angle grinder
- Avoid dry grinding thinset without HEPA capture — this generates very fine silica dust very quickly
- Dispose of broken tile carefully: edges are extremely sharp, so double-bag or box ceramic/porcelain fragments before placing in a dumpster
Brick patios
Clay brick set in sand is straightforward to remove and the bricks are usually worth saving, reclaimed brick has real resale and reuse value. Mortared brick takes more effort, but the approach follows the same logic as pavers: remove the pointing first, then lift the units.
- For sand-set brick: use a pry bar to lift edge bricks first, then work inward row by row, stacking bricks for reuse
- For mortared brick: use an angle grinder with a tuck-point blade or an oscillating multi-tool to cut through mortar joints before lifting — this reduces breakage compared to trying to pry mortared units directly
- Clean mortar from individual bricks as you go using a cold chisel and wire brush while the mortar is still relatively soft from having been cut
- Stack reusable bricks on a pallet away from the work area; bag or skip-bin the mortar debris separately
- Check the base layer once bricks are removed — a sand base in good condition may be reusable as-is after leveling
Natural stone: travertine, flagstone, and bluestone
Natural stone is worth treating carefully because intact slabs have genuine resale value. Dry-laid flagstone is the easiest removal job there is: pry bars and patience. Mortared natural stone requires more care to avoid cracking the slabs, which are often irreplaceable or expensive to match.
- For dry-laid flagstone: slide a long pry bar under the edge of each slab, apply gentle upward pressure, and lift — no cutting required; stack stones on edge on a pallet or board to avoid cracking under their own weight
- For mortared stone: score all mortar joints with an angle grinder or tuck-point blade before attempting to lift any piece
- Work a flat pry bar or wide cold chisel under each stone after scoring — pry gently from multiple points around the perimeter rather than forcing from one side
- Travertine is softer and more porous than bluestone or granite and breaks more easily under impact; use hand tools rather than a rotary hammer wherever possible to preserve slabs
- Clean mortar from the underside of reclaimed stone slabs with a stiff wire brush and cold chisel; a mild muriatic acid solution (1 part acid to 10 parts water) can help dissolve stubborn mortar residue on non-sensitive stone, applied carefully with PPE and rinsed thoroughly
- Store reclaimed stone flat and protected from frost if you plan to relay it — travertine in particular can delaminate if left wet and frozen
Cleaning and restoration as an alternative to removal
A lot of patios that look like they need to come out actually just need a serious clean and some targeted treatments. I've seen surfaces that looked almost unusable come back beautifully after pressure-washing at the right pressure for the material, followed by mold treatment and a reseal. It's always worth trying restoration before you commit to demolition costs and effort.
For mold, algae, and moss, a solution of sodium hypochlorite (pool-strength bleach, typically 10–12% concentration) diluted 1:4 with water is effective on concrete, brick, and most natural stone. Apply with a garden sprayer, let it dwell for 10–15 minutes, then scrub with a stiff brush and rinse thoroughly. For surfaces near planting or where you have pets, diluted white vinegar (undiluted or 1:1 with water) is a gentler starting point, though it requires longer dwell time and more scrubbing effort. On travertine specifically, avoid anything acidic, vinegar and muriatic acid both etch travertine's calcium carbonate surface, so stick to pH-neutral cleaners or diluted bleach.
For rust stains, oxalic acid-based cleaners are the most effective approach on concrete and stone. Efflorescence (the white salt deposits that appear on concrete and brick) responds well to diluted muriatic acid (1:10 with water) on concrete and brick, applied with full acid-handling PPE, worked in small sections, and rinsed immediately. Grease and oil stains on concrete are best addressed with a degreaser applied to a dry surface, worked in with a brush, then rinsed, applying water before degreaser traps the grease below the water layer and reduces effectiveness.
Seasonal issues also drive removal decisions unnecessarily. Ice and snow on patio surfaces cause real concern about surface damage, but in most cases the right de-icing approach removes the problem without any structural damage. For step-by-step instructions, see how to remove ice from patio. For detailed methods on how to melt ice on patio, including safe de-icers and techniques that protect stone, brick, and pavers, see how to melt ice on patio. Avoid rock salt on brick, natural stone, and pavers, it accelerates freeze-thaw spalling. Calcium chloride pellets are gentler. Manual removal with a plastic shovel (not metal) protects tile and stone surfaces from scratch damage. If winter ice damage has left surface cracks or spalling, assess whether it's cosmetic before assuming full removal is needed.
Debris disposal: practical options
Plan your disposal route before you generate a single piece of rubble, because once the debris is on the ground you need somewhere to put it. A 200 sq ft concrete slab produces roughly 2.5 tons of rubble: that fills a standard pickup truck about 5–6 times, or a 10-yard dumpster about halfway (check weight limits, as concrete's density often hits dumpster weight caps before volume caps). Concrete recycling facilities in many areas accept clean broken concrete free or for a small tipping fee, find your nearest one through a web search for 'concrete recycling [your city]' before defaulting to a dumpster.
- Reusable pavers, brick, and natural stone: list on local buy-nothing groups, Craigslist, or Facebook Marketplace — intact reclaimed material often moves quickly for free pickup
- Broken concrete and masonry: check concrete recycling options first; dumpster or junk removal service otherwise
- Broken tile: double-bag ceramic and porcelain fragments before disposal — sharp edges are a hazard for waste handlers
- Soil and sand base material: if clean and uncontaminated, use for garden bed leveling or offer for free pickup
- Adhesive and chemical waste: check your local hazardous waste facility for disposal of chemical stripper containers and any mastic-soaked materials — don't landfill these with general debris
When to hire a professional
There's no shame in calling a contractor. The situations where I'd strongly recommend it over DIY: any reinforced concrete slab thicker than 4–5 inches; any project where underground utility locations are uncertain or very close to the work area; rented properties where the scope of work requires professional certification or landlord-specified contractors; large areas (over 500 sq ft) where equipment costs start to rival professional quotes; and any situation where the slab is attached to or immediately adjacent to a structural foundation. Get at least three quotes and ask contractors specifically about disposal, permit handling, and how they manage silica dust, these are indicators of a professional operation versus a cut-rate one.
FAQ
How do I decide whether to repair/clean an old patio or fully remove it?
First assess condition: surface stains, efflorescence, settled or cracked areas, loose joints, tripping hazards, or large structural cracking/reinforcement exposure. If problems are limited to surface dirt, mold, isolated cracked pavers, settled base, loose mortar joints, or cosmetic damage, try cleaning, joint repair, releveling or partial replacement. Full removal is warranted when: slabs are widely cracked or heaved, reinforced concrete is breaking up, base/grade drainage is wrong, contamination (oil/petroleum) is deep, or you need a different layout/grade. Also consider cost, time, waste, reuse potential (pavers/flagstone often reusable) and whether you’re a renter (see renter‑friendly options). For borderline cases, try less invasive fixes first (pressure wash, joint re‑sand, spot replacement). If fixing requires removing most material or heavy demolition equipment, full removal is likely more sensible.
What initial safety, permit and site‑prep steps should I take before any patio removal work?
Call 811 (Call Before You Dig) to locate utilities at least 48 hours before digging. Check local building/permit requirements — many cities require permits for grading, slabs or exterior replacements. Clear the area of furniture, plants, and nearby fragile structures; mark underground irrigation or landscaping features. Establish dust and noise controls; protect nearby landscaping with plywood and tarps. Arrange disposal (dumpster or local inert debris site). PPE: safety glasses/face shield, hearing protection, heavy gloves, steel‑toe boots, long sleeves, dust respirator (N95 minimum; for silica‑generating tasks follow OSHA/NIOSH guidance and use wet methods, HEPA vacuums or higher‑protection respirators per Table 1). Avoid dry sweeping; use wet cleanup or HEPA vacuums.
What tools will I need for patio removal — manual and power?
Manual: sledgehammer, cold chisels, masonry / brick hammers, pry bars, digging bar, shovels, wheelbarrow, push brooms. For pavers: rubber mallet, paver lifter/puller, trowel. For tiles: floor scraper, putty knives. Power: demolition hammer/rotary hammer with chisel bits, jackhammer (rental), angle grinder with diamond blades or tuckpoint wheels, concrete saw for control cuts, circular saw with diamond blade for pavers/stone, oscillating multi‑tool, power floor scraper, skid steer/mini‑excavator with breaker for heavy work. For mortar/pointing: tuckpoint grinder, angle grinder with diamond cup/tuckpoint blade, oscillating tool with carbide blade. For adhesive/thinset: rotary hammer chisel, diamond cup grinder or PCD tooling; chemical mastic strippers and heat guns can help organic mastics. Cleanup: HEPA vacuum, pressure washer, wet/dry shop vac, tarps and dumpster. Consider renting heavy equipment for larger slabs.
What are material‑specific step‑by‑step removal methods for concrete slabs?
Small/unreinforced slab (<4–4.5 in): score control lines with a circular saw and diamond blade, then break into sections with a sledge or small demolition hammer; remove pieces with pry/digging bar. Reinforced or thick slabs: make saw cuts to isolate sections at joints or desired edges, then use a hydraulic breaker/rotary hammer or excavator‑mounted breaker to remove. Expose and cut rebar with an angle grinder or reciprocating saw with abrasive blade; consider leaving rebar buried and cut near base for disposal if allowed. Use wet cutting or shrouded tools with HEPA capture to limit silica dust. Remove rubble and load into container. Repair grade/drainage and compact base if reinstalling. Expect 1–2 days for small DIY jobs; heavy slabs often need rental equipment and a pro.
How do I remove interlocking pavers and when can I reuse them?
Remove joint sand with a broom, suction or air (use HEPA vacuums for dust). Lift edge units with a pry bar or paver lifter, working in small sections; set units aside for reuse. For full removal, pull the entire field, remove bedding sand, and then excavate/inspect the compacted base. If only local repair is needed, correct the base, re‑bed pavers on fresh bedding sand, re‑compact and refill joints with poly‑sand or kiln‑dried sand. Because pavers are designed to be removable, reuse is often practical and saves cost. Use manual tools for renter‑friendly, small areas; rent a paver lifter for larger jobs.
What’s the best way to remove patio tiles and thinset adhesive?
Start by removing grout with an oscillating tool or grout saw. Pry up tiles with floor scrapers, chisel or rotary hammer with a chisel bit. Thinset (cementitious) usually needs mechanical removal (chiseling, scraping, diamond grinding or PCD tooling). For organic mastics, soften with heat, hot water, or chemical mastic strippers per manufacturer instructions. Use a HEPA vacuum attachment when grinding and wet methods where feasible. For renters or small jobs, manual chiseling and scraping works but is labor‑intensive; consider renting a floor scraper or hiring a pro for large, cemented tiles.
Next Articles
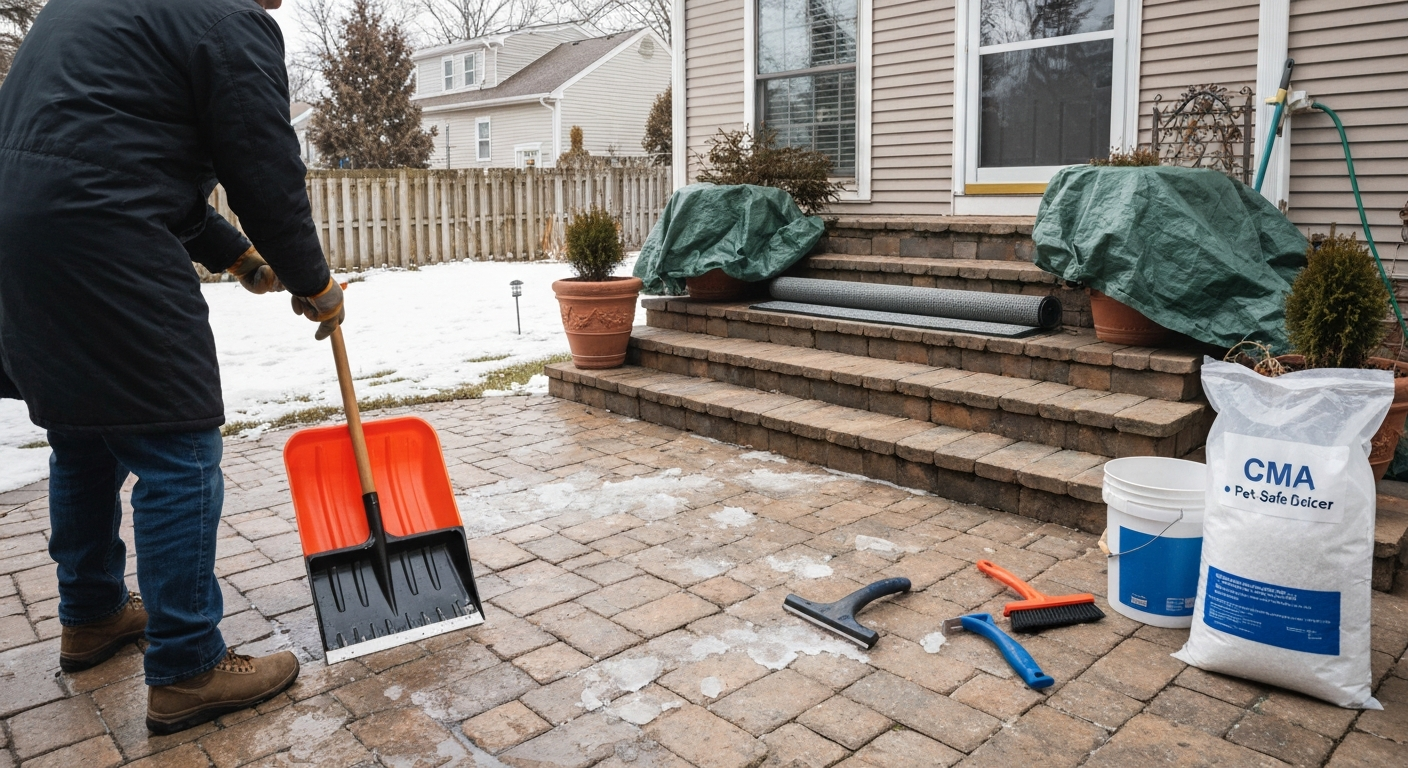
How to Melt Ice on Patio: Safe Surface-Specific Steps & Tips
How to melt ice on patio: safe, material‑specific methods, deicer chart, renter‑friendly tips.
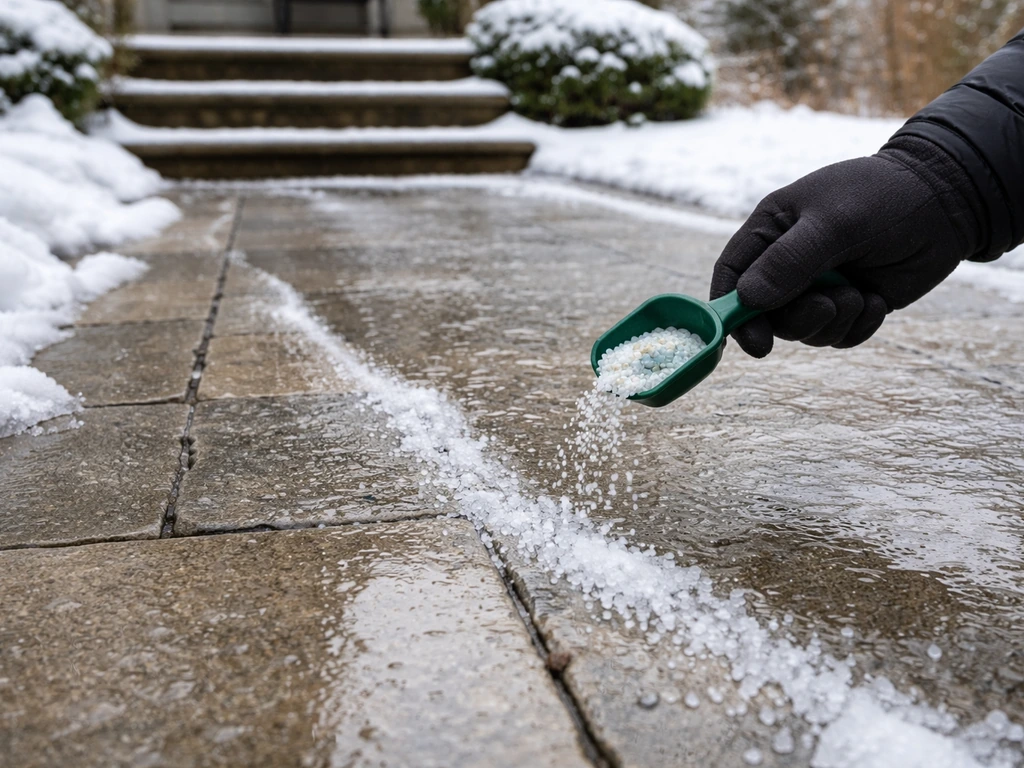
How to Remove Ice From Patio: Safe Methods by Surface
Safe, surface-specific ways to remove ice from a patio without damaging concrete, stone, pavers, or travertine.
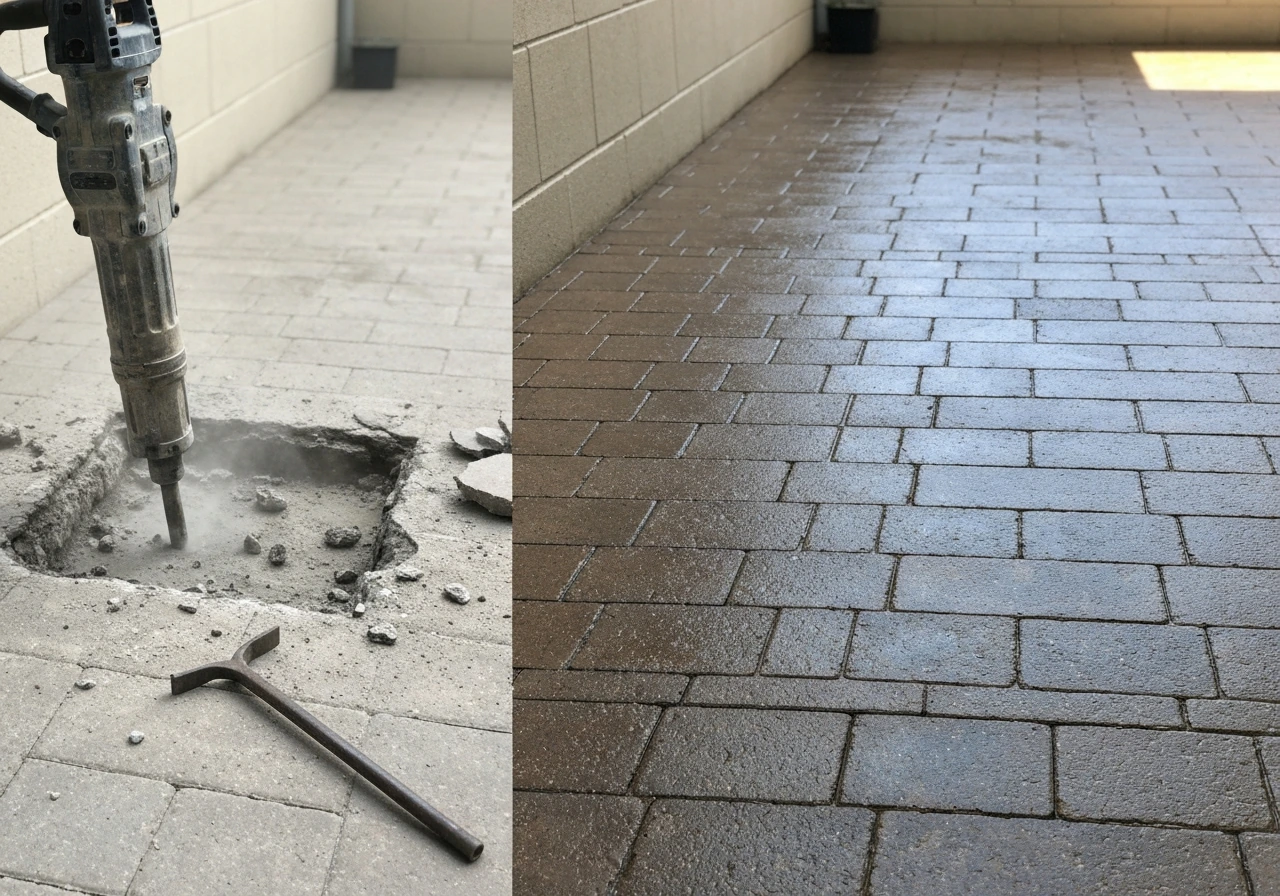
How to Remove a Patio: Tear-Out or Clean and Stain Removal
Choose tear-out or stain removal and learn step-by-step cleaning for concrete, brick, pavers, stone, travertine, and fla