Apply Sika Patio Sealer by cleaning the surface thoroughly, letting it dry to at least a damp-not-wet condition, then rolling or spraying it on in one or two even coats using a long-pile roller or low-pressure sprayer. Keep coats within 2 hours of each other, stay off the surface for at least an hour after the final coat, and plan the job for a dry day above 5°C with no rain expected for at least 5 hours. That's the short version. Here's everything you need to get it right the first time.
How to Apply Sika Patio Sealer: Step-by-Step Guide

Dylan Hale
29 Apr 2026
Which surfaces Sika Patio Sealer is actually made for (and when to use it)
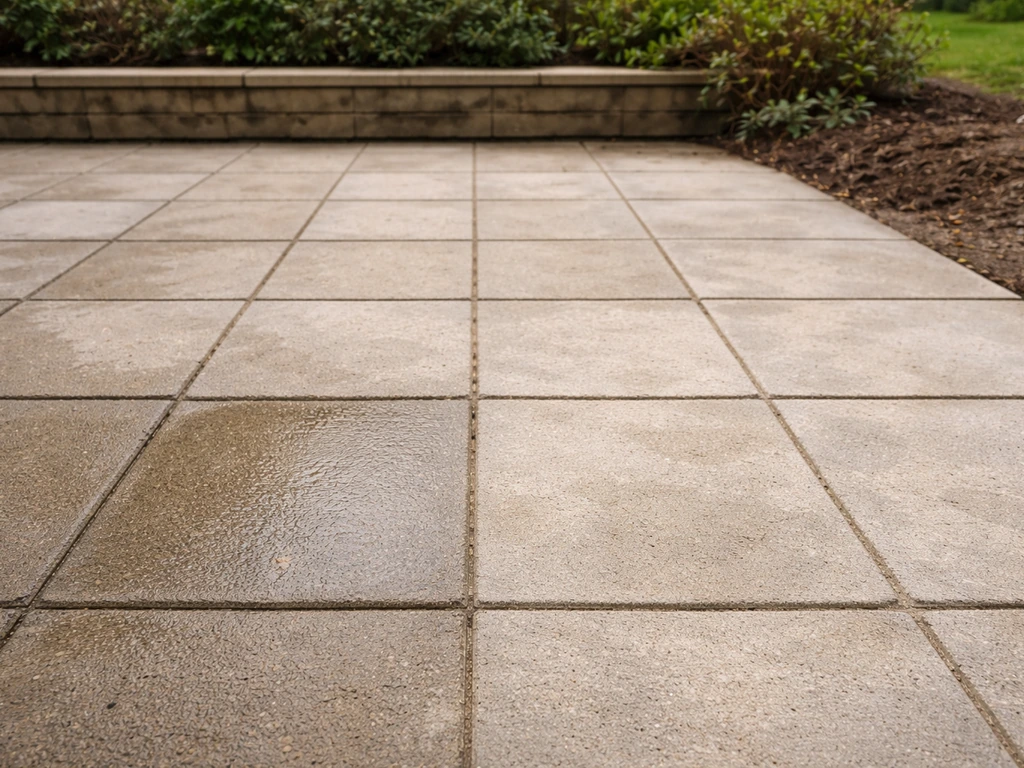
Sika makes two closely related products you're likely looking at: Sika Patio Seal and Sika Path & Patio Sealer. Both are water-based acrylic sealers that protect against water ingress, oil and petrol stains, UV damage, and organic growth like moss and algae. The Path & Patio Sealer is approved for paths, patios, block paving, Indian sandstone, natural stone including limestone, and concrete flags. The Patio Seal covers natural stone, concrete, and block paving in a similar way. Neither product is suitable for porcelain tiles, and you can't apply either over surfaces that have already been treated with a silicone or stearate-based water sealer (such as Sika Waterproofer & Protector). If you're not sure what's on there, do a splash test: drop a little water on the surface. If it beads immediately, there's already a sealer present and you'll need to remove it before reapplying.
The right time to seal is when the patio is clean, structurally sound, and old enough to have settled. If your patio is newly laid concrete, block paving, or artificial stone, wait at least 3 months before sealing. This gives any salts time to leach out of the material. If you skip this step, those salts can get trapped under the sealer and cause white haze or efflorescence to appear beneath the film. The same 3-month rule applies after a fresh re-lay or repair job.
Getting the surface properly clean and ready
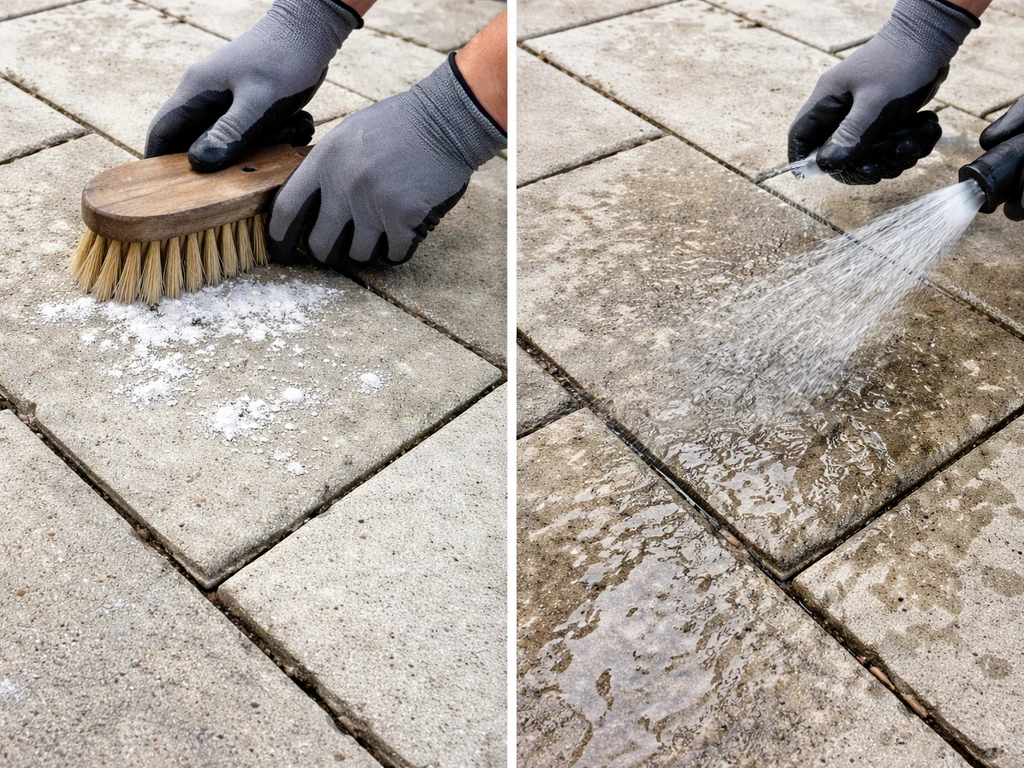
This is the step most people rush, and it's the reason sealers fail. Sika's own guidance is clear: the surface must be free from grease, loose material, and green growth before you apply anything. The sealer can't bond through contamination, so whatever you skip in prep will show up as a problem after application.
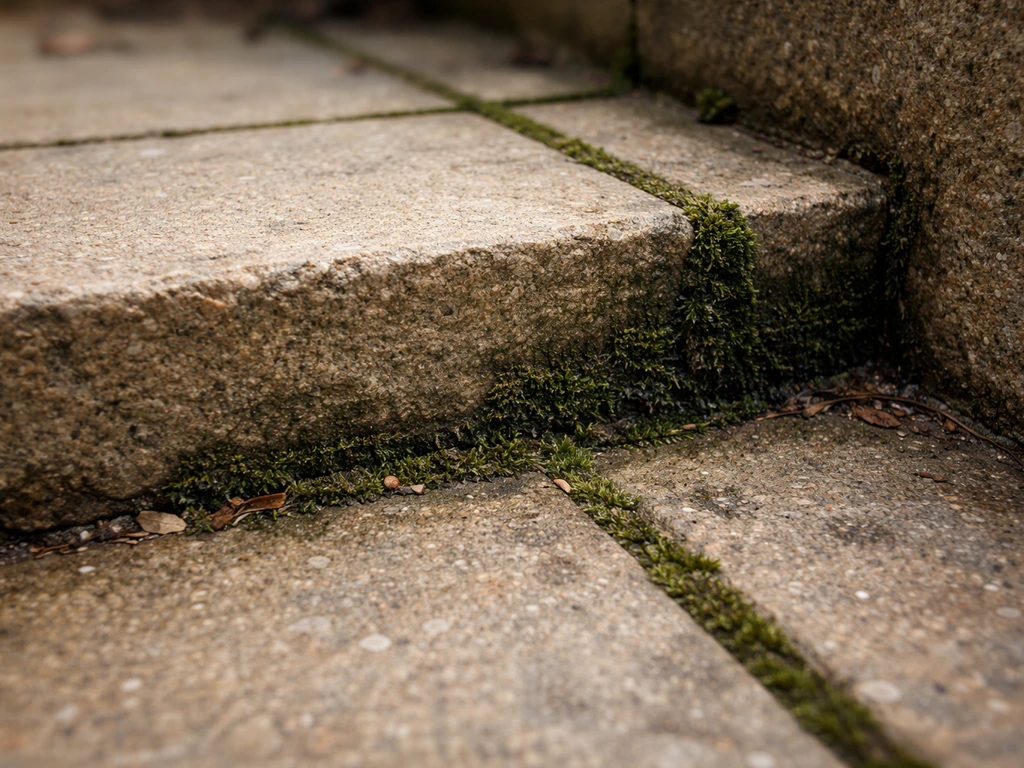
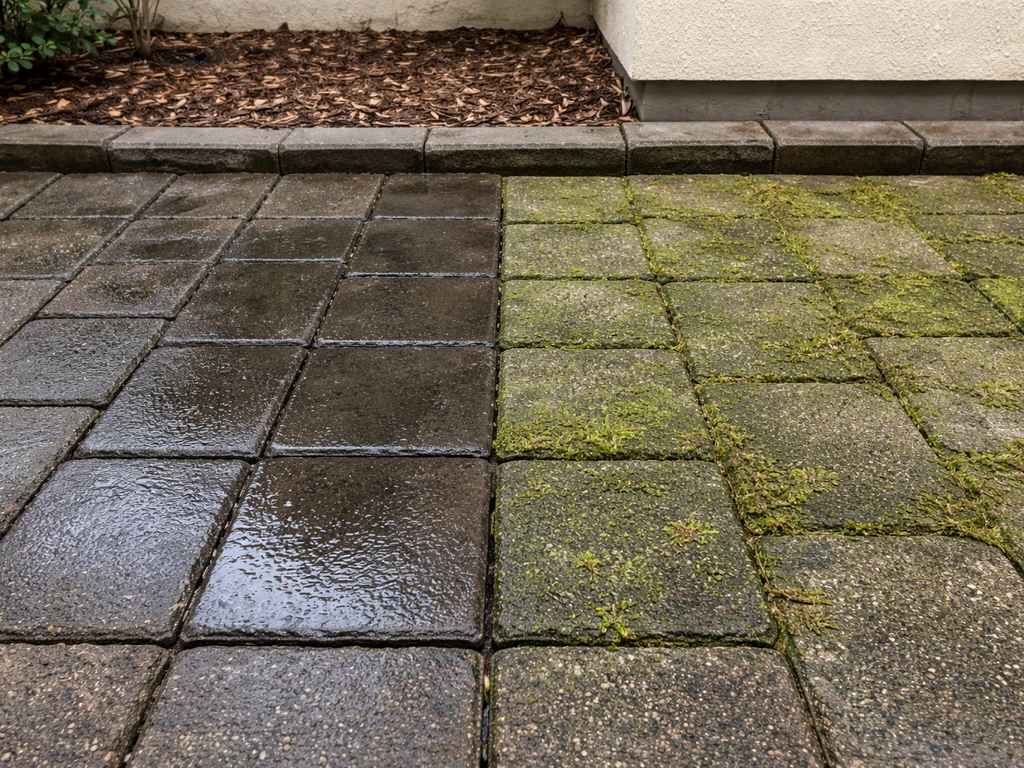
Mold, algae, and green growth
I've had good results with Sika MouldBuster for this, especially on textured stone and block paving where scrubbing is a pain. It's bleach-free and acid-free, so it won't damage surrounding plants or strip the surface. You apply it and let the weather do the work, no rinsing needed. The dead growth washes away on its own over a few days. If you want a faster result and don't have sensitive planting nearby, a diluted sodium hypochlorite solution scrubbed in and rinsed off works well on concrete and brick. Just rinse it thoroughly so no residue remains before sealing.
Efflorescence and white salt stains
White powdery deposits on the surface are efflorescence, and you need to remove them before sealing or they'll be locked in permanently. Sika's Efflorescence Remover uses a citric acid formulation that's gentler than muriatic acid but still effective on most mineral surfaces including concrete, brick, and stone. Apply it according to the label, scrub it in, then rinse well. For really stubborn cases on concrete (not natural stone), Sika Brick & Patio Cleaner is an acid-based option that works harder, but keep it away from natural limestone and Indian sandstone where acid can etch the surface.
Grease, oil, and rust
Grease and oil stains need a degreaser applied before your general clean. Work it in with a stiff brush, let it dwell for 10 to 15 minutes, then scrub and rinse. Rust from metal furniture or fixings is trickier. An oxalic acid-based rust remover is the safest bet for stone and pavers. Apply it to the stain, let it sit for the dwell time on the label, then rinse thoroughly. Once all staining is treated, do a general clean of the whole surface with warm water and detergent or a patio cleaner. If you've used any chemical cleaner, rinse off completely and make sure no residue is left.
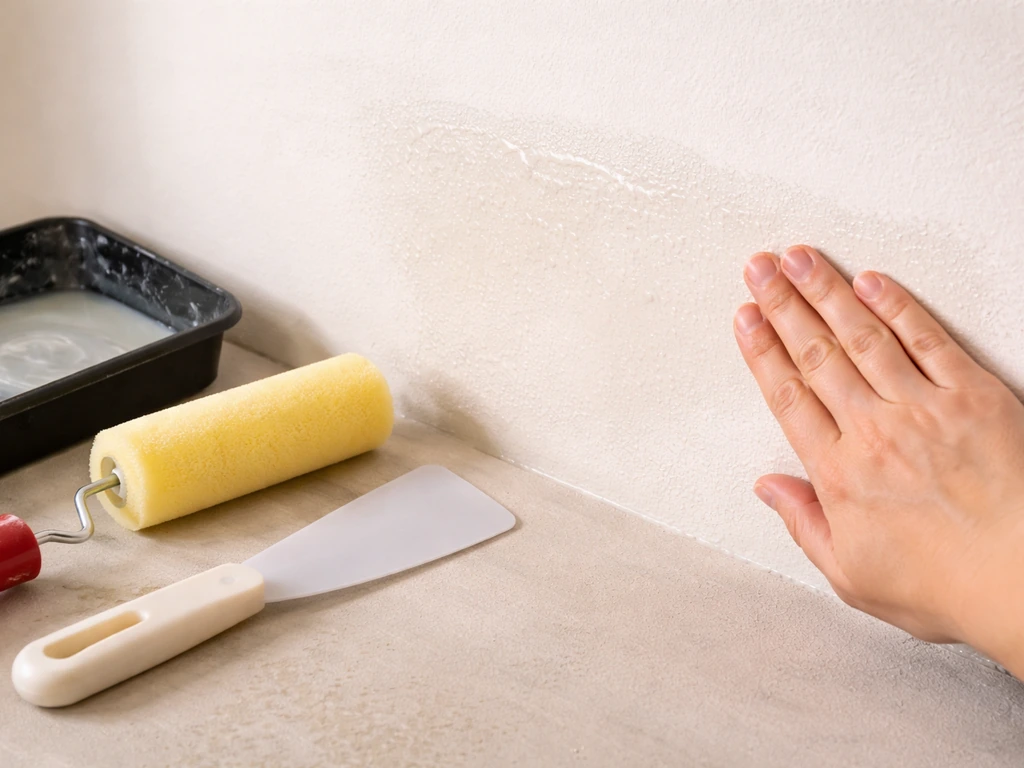
Drying the surface
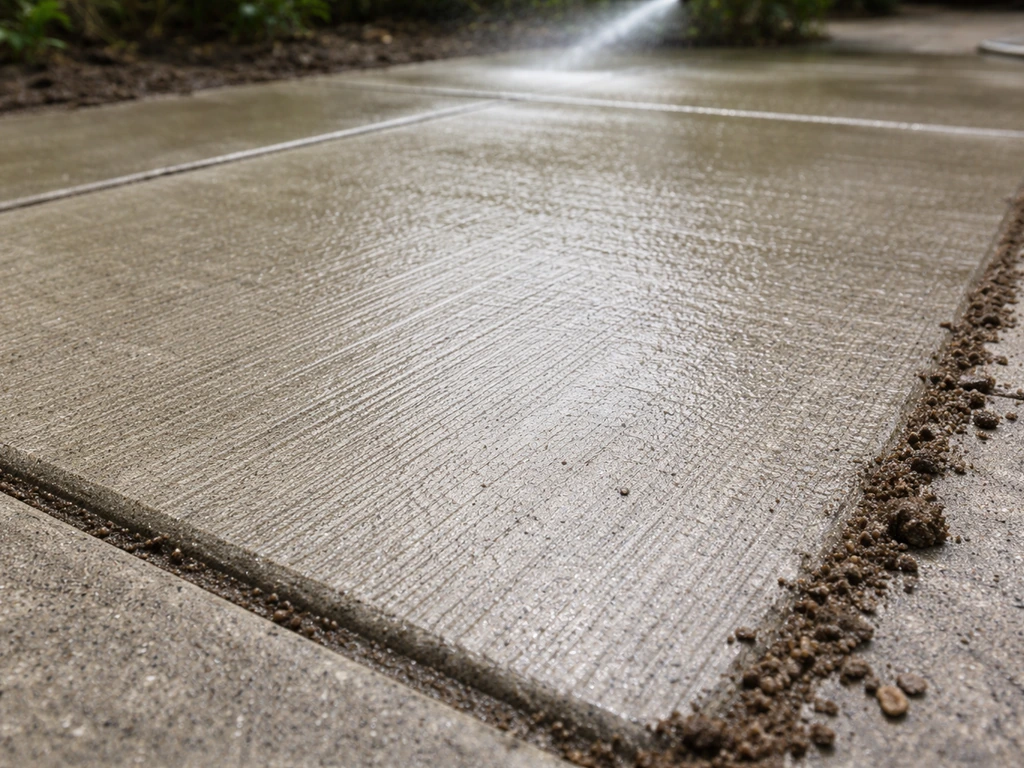
Here's something Sika is practical about: both products can be applied to a damp surface, but not a wet one. In practice, this means you don't have to wait days after rain. If the surface looks visually dry with no standing water or wet patches, you're fine. On a warm day above 20°C, a couple of hours after the final rinse is usually enough. In cooler weather, give it longer. If in doubt, run your hand across the surface. No water transfer means you're good to go.
How to apply Sika Patio Sealer: step by step
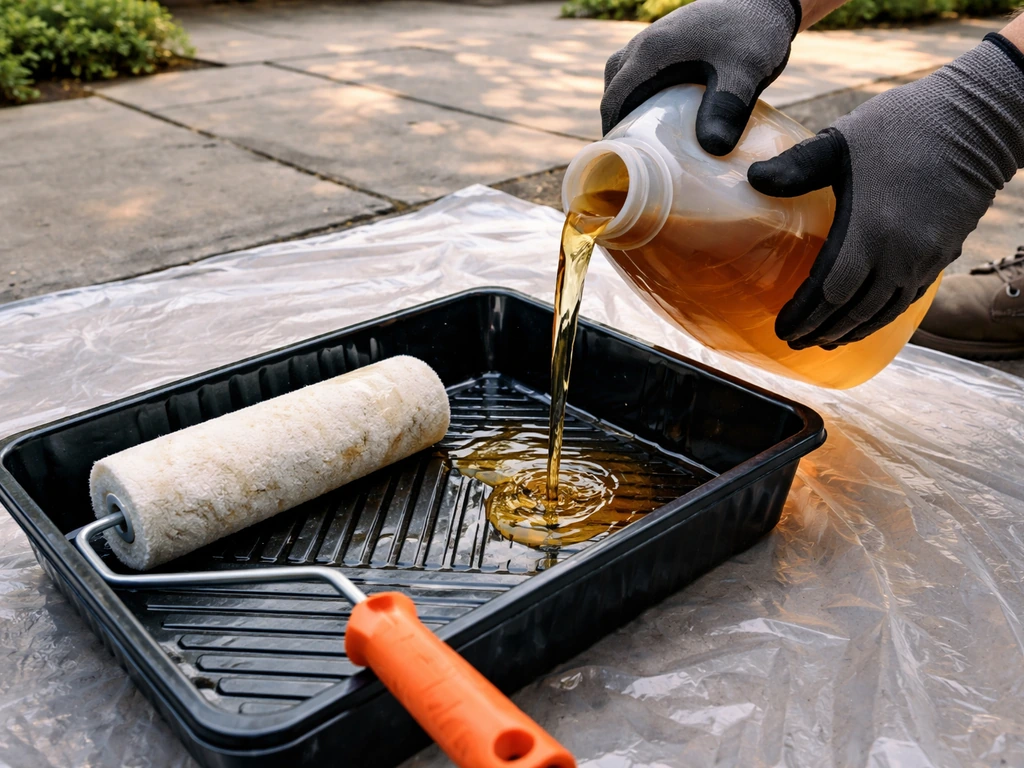
Once the surface is clean and ready, the actual application is straightforward. The main rule is never pour the sealer directly onto the patio surface. Always decant it into a tray or a sprayer. Pouring directly causes puddles and uneven absorption.
- Pour the sealer into a roller tray or fill your garden sprayer. Don't overfill the tray.
- Start at the edge furthest from your exit point so you're not walking back over wet sealer.
- For a roller: load a long-pile roller generously and apply in smooth, overlapping strokes. Work in sections of about 1 to 2 square metres, maintaining a wet edge so you never let one section dry before blending into the next.
- For a brush: use a wide masonry brush for edges, joints, and any awkward corners first, then follow with the roller across the main area. This is the most reliable method for textured or uneven surfaces like Indian sandstone or natural stone.
- For a sprayer: use a low-pressure garden sprayer (not a pressure washer). Apply in a slow, steady pass about 30 cm above the surface. Overlap each pass by about 30%. This is the fastest method for large open patios but requires more care to avoid drift onto plants and fences.
- Keep the coat even. On textured finishes especially, don't let the product pool in the low points. If you see a puddle forming, spread it out immediately with the roller or a brush.
- Allow the first coat to dry before applying the second. Wait at least 1 hour between coats, but apply the second coat no later than 2 hours after the first on the Patio Seal (for Path & Patio Sealer, also aim for within 2 hours for best bonding).
- Apply the second coat in the opposite direction to the first, using the same method.
Roller vs. brush vs. sprayer: which should you use?
| Method | Best for | Watch out for |
|---|---|---|
| Long-pile roller | Flat or lightly textured concrete, block paving, flags | Ponding in deep joints or recesses; always back-roll any pooling |
| Wide masonry brush | Edges, joints, intricate stonework, small areas | Slow on large surfaces; good for Indian sandstone and irregular flags |
| Low-pressure garden sprayer | Large open patios, smooth or lightly textured surfaces | Overspray onto plants, fences, and furniture; needs calm wind conditions |
Coverage rates, how many coats, and timing
Coverage varies depending on how porous your surface is, which is worth knowing before you buy. Sika Patio Seal covers roughly 8 m² per litre per coat. Sika Path & Patio Sealer covers 5 to 6 m² per litre per coat. The Product Data Sheet for Sika Path & Patio Sealer specifies consumption of 1 L per 5, 6 m² per coat consumption 1 L per 5–6 m² per coat. If you have a very porous surface (old concrete flags, rough natural stone, some sandstones), expect to be at the lower end of coverage and plan accordingly. It's always better to buy slightly more than you think you need rather than running out mid-second coat.
| Product | Coverage per litre | Coats needed | Time between coats |
|---|---|---|---|
| Sika Patio Seal | ~8 m² per coat | 2 coats (standard) | No more than 2 hours |
| Sika Path & Patio Sealer (porous surface) | ~5 m² per coat | 2 coats | At least 1 hour, within 2 hours |
| Sika Path & Patio Sealer (dense/low-porosity) | ~6 m² per coat | 1 coat | N/A |
For dry times at around 20°C: Path & Patio Sealer is touch dry in about 30 minutes, walk-on after 1 hour, and fully dry in around 4 hours. Patio Seal is fully dry in 4 hours. Both products take longer in colder or more humid conditions, so add time mentally if it's a grey 10°C day. Don't apply if the temperature is below 5°C. Once fully dry, the sealer produces a water-repellent film with a low sheen and a slip-resistant finish, so it won't make your patio a skating rink.
Plan your application around the weather carefully. You need the surface dry at the start, no rain within 5 hours of application, and temperatures above 5°C throughout drying. Early morning on a warm, overcast, calm day tends to be ideal. Bright direct sunlight can cause the sealer to dry too fast on the surface before it penetrates properly. Avoid applying in strong wind too, especially if spraying.
Safety and protecting your surroundings
Sika Patio Seal and Path & Patio Sealer are water-based, which makes them lower risk than solvent-based alternatives like Sika Block Paving Sealer, but you still need to take sensible precautions. The SDS revision date shown for Sika Patio Seal is 21.11.2025 (print date 12.03.2026) SAFETY DATA SHEET.
- Wear protective gloves throughout. The acrylic binder is difficult to remove from skin once it dries.
- Work in a well-ventilated area. Outdoors is usually fine, but avoid applying in still, enclosed spaces like covered patios where vapour can build up.
- Wear safety glasses if you're using a sprayer. Mist drift is the main risk.
- Lay plastic sheeting or old newspaper over surrounding planted borders, lawn edges, and any pots before you start. The sealer will mark or coat vegetation if it lands on it, and it's very hard to remove once dry.
- Tape up the bases of fences, walls, and any painted or rendered surfaces along the patio edge.
- If any sealer lands on glass, plastic, or painted surfaces, wipe it off immediately with a damp cloth before it sets.
- Don't allow the product to run into drains, water features, or surrounding soil in large quantities. It's designed for outdoor use but releasing concentrated amounts into drainage is worth avoiding.
- Keep pets and children off the surface until it's fully dry (minimum 4 hours at 20°C, longer in colder weather).
For cleanup, rinse tools in warm water immediately after use. Once the sealer dries on a brush or roller it will ruin it. Sika also notes you can clean treated patio surfaces later using warm water and detergent or Sika MouldBuster, but avoid acid-based cleaners on sealed surfaces as these can strip or discolour the coating.
When things go wrong: fixing common DIY problems
Bubbles in the sealer
Bubbles usually mean the surface was too wet, too warm, or you applied the coat too thickly. On a hot surface in direct sun, the sealer can skin over before the air underneath has escaped. The fix for next time is to work in the morning before the surface heats up, apply thinner coats, and avoid porous surfaces that are still damp from rain. If you have bubbles already, let the coat dry fully, then lightly sand the area and apply a thin corrective coat.
Streaks or lap marks
Streaks happen when you let a section dry before blending into the next. Maintaining a wet edge throughout is the prevention. If you've already got streaks, the surface needs to be fully dry before you try to fix it. A second coat applied in the opposite direction to the first will often level things out. If streaks are heavy, you may need to lightly abrade the surface and apply a full correction coat.
White haze or cloudy patches
A white haze after sealing usually points to one of two things: moisture was trapped under the sealer (surface was too wet at application), or efflorescence salts were present and got sealed in. This is why the 3-month wait after new installation matters so much, and why thorough efflorescence removal before sealing is non-negotiable. Unfortunately once this has happened, it's very difficult to correct without stripping the sealer back and starting again.
Tacky surface that won't fully dry
A surface that stays tacky usually means the coat was applied too thickly, the temperature dropped, or humidity was very high during drying. Give it more time, particularly in cooler weather. If it's still tacky after 24 hours in dry conditions, you've likely over-applied. The options are to wait and hope it cures fully over a few more days in warmer weather, or strip it back and reapply thinner. Going forward, two thin coats will always outperform one thick one.
Peeling or patchy areas
Peeling means the sealer didn't bond, almost always because of contamination (grease, old sealer, mold residue) or a surface that was too smooth for the product to grip. Patchy areas where the sealer looks uneven can also come from applying over a surface with very different porosity across it (some slabs absorbing much more than others). For peeling, the affected areas need to be stripped back, the surface cleaned properly, and then resealed. For patchy areas, a second coat after thorough prep usually resolves it. If you've used a silicone-based sealer previously, Sika's products won't adhere over it and you'll need to remove that old coating first. How to go about removing existing patio sealers is a whole topic in itself if you find yourself in that situation. If you discover you need to strip and redo the coating, see our guide on how to remove thompsons patio sealer before you reseal. If you need to tackle resin specifically, you should use the right remover and methods for patio surfaces before resealing or coating removing existing patio sealers.
Uneven darkening
Some darkening of natural stone and concrete is normal and expected with a water-based acrylic sealer, though both Sika products are described as low sheen. If darkening looks patchy, it's usually a coverage problem: some areas received more product than others. A second coat applied evenly and in the opposite direction to the first is the standard fix.
Your quick-reference checklist before you start
- Confirm your surface is compatible (not porcelain, not silicone-sealed, not newly laid within 3 months).
- Remove all green growth, efflorescence, grease, rust, and general grime. Rinse all cleaners off thoroughly.
- Check the surface is dry or only lightly damp, with no standing water.
- Check the weather: above 5°C, dry, no rain expected for at least 5 hours.
- Calculate your coverage: measure your patio area, then divide by 5 (Path & Patio Sealer, porous) or 8 (Patio Seal) for the litres per coat needed. Multiply by 2 for two coats.
- Protect all surrounding plants, borders, fences, and adjacent surfaces with plastic sheeting or tape.
- Put on gloves and eye protection.
- Pour sealer into tray or sprayer (never directly onto the surface).
- Start at the far edge, work toward your exit, maintain a wet edge.
- Apply first coat evenly. Spread any pooling immediately, especially in textured recesses.
- Wait 1 to 2 hours, then apply the second coat in the opposite direction.
- Stay off the surface for at least 1 hour after the final coat; aim for 4 hours before placing any furniture back.
FAQ
Can I apply Sika Patio Sealer right after rain?
Yes, but only if the surface is damp-not-wet. If you can see standing water, dark wet patches, or the sealer starts to drag like it is being applied to a film of water, stop and wait until the patio no longer transfers moisture to your hand.
What if only part of my patio looks like it needs resealing? Can I spot treat it?
Don’t do a “spot seal” of just the problem area if you want a uniform finish. Patchy bonding and different porosity can leave visible overlap lines, so the usual approach is to remove the cause (for example, contamination or efflorescence) and then recoat the full affected slab range or the whole patio section so coverage matches.
Should I roll or spray Sika Patio Sealer, and does it change the method?
For the best results, use a long-pile roller for dense, even coverage and to reduce brush marks, or a low-pressure sprayer if you can keep the fan pattern consistent and avoid overspray. Regardless of method, keep to one or two even coats and do not pour directly onto the surface.
How can I tell whether white haze is from trapped moisture or efflorescence, and what should I do next?
If you get a milky haze that looks like it spread across areas, it is usually moisture trapped during application or efflorescence sealed in. If you already see haze, do not keep adding more sealer immediately. Wait until fully dry, then determine whether the haze is from trapped moisture (often improves only slightly) or salts that may require stripping and full re-prep.
After using MouldBuster, efflorescence remover, or rust remover, how do I know the patio is ready for sealing?
Use the stated dwell time on the product label for any chemical cleaner or rust remover, then always rinse until there is no runoff residue. A practical check is to rinse, then wipe a small area with a white cloth, if the cloth stays clean and there is no slippery feel you are less likely to leave contaminants that block bonding.
Can I apply Sika Patio Sealer in bright sun, and how do I know if the patio is too hot?
Yes, but avoid sealing when direct sun is heating the surface. If the patio feels hot to the back of your hand or the sealer skins in seconds on the test patch, the window is too early or too sunny. Choose morning or an overcast day and work in manageable sections to keep a wet edge.
My patio is still tacky after a day. Should I apply a second coat?
If it stays tacky after 24 hours in dry conditions, it often means the coat is too thick or conditions were too humid. The safer fix is to either wait longer only if temperatures rise, or strip and reapply thinner coats if it does not fully cure, since sealing over a tacky layer can worsen peeling and patchiness later.
What weather conditions besides the 5°C limit can ruin the finish?
Do not apply if temperatures are below 5°C, and also consider wind chill for drying time. Even when above 5°C, high humidity or cool evenings can extend cure, so plan for a longer rain-free window and avoid starting late in the day.
How do I handle cracked or flaky areas before applying Sika Patio Sealer?
For best adhesion, make sure the patio is not only clean but also “mechanically sound” and not flaky. If you can scrape off loose material, the sealer will not lock it down reliably. Fix loose areas first, then clean, remove salts if present, and allow the patio to settle before sealing.
What should I do if I discover the patio already has another type of sealer?
If you accidentally seal over a silicone or stearate-based water sealer, adhesion will fail and you can get peeling or patchy coverage. The correct next step is to identify the existing product (for example, splash test and surface feel), then remove the old coating fully before reapplying, because a new coat usually will not bond through the old chemistry.
Next Articles
How to Scrape Moss Off a Patio Step-by-Step Guide
Step-by-step on how to scrape moss off patio safely, choose cleaners for your surface, prevent regrowth, and troubleshoo
How to Remove Moss From a Patio: Step-by-Step Guide
Step-by-step guide to remove moss and algae from concrete, slabs, and pavers, with safe cleaners, pressure wash tips, an
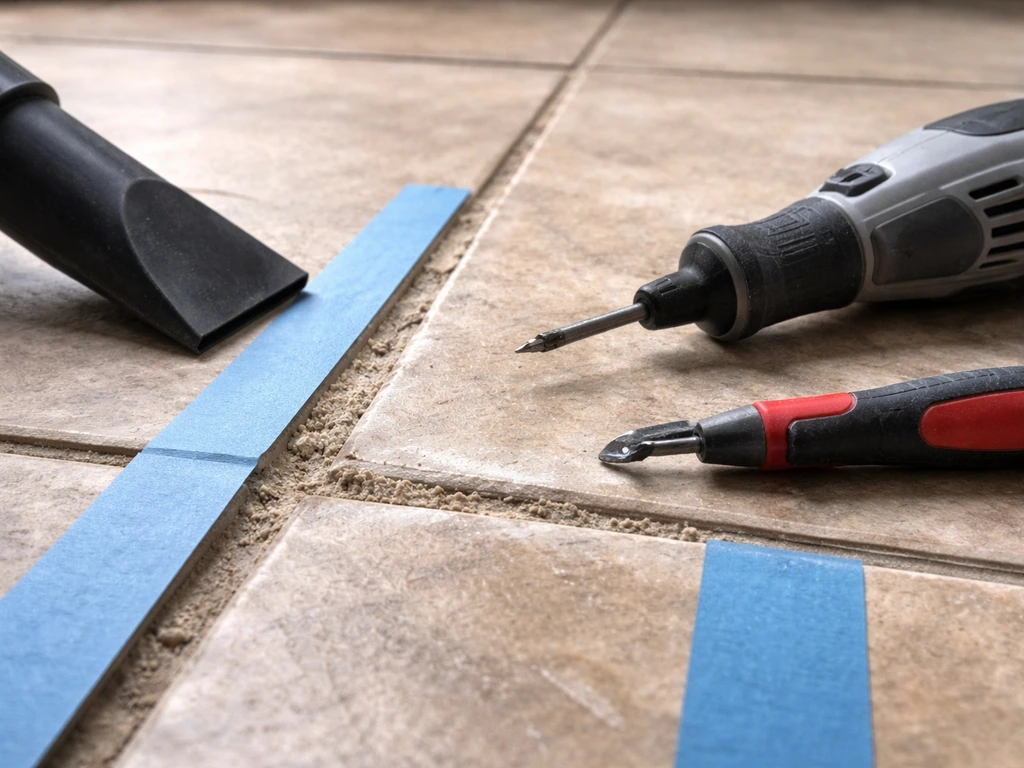
How to Remove Patio Grout Without Damaging Tiles
Step-by-step removal of patio grout, old and hard, using hand and power tools safely without damaging tiles. Includes af