
Most patio stains come out with a stiff brush, the right cleaner, and a bit of dwell time. The trick is matching the product to both the stain type and the patio material, because what dissolves grease on concrete can permanently etch travertine. If you want to know how to get wood stain off a patio, the key is using a cleaner that matches the wood stain type and your patio surface material. Start by identifying what you're dealing with, then work through the steps below and you'll see real results today.
How to Remove Stains From Patio: Step by Step Guide

Dylan Hale
27 May 2026
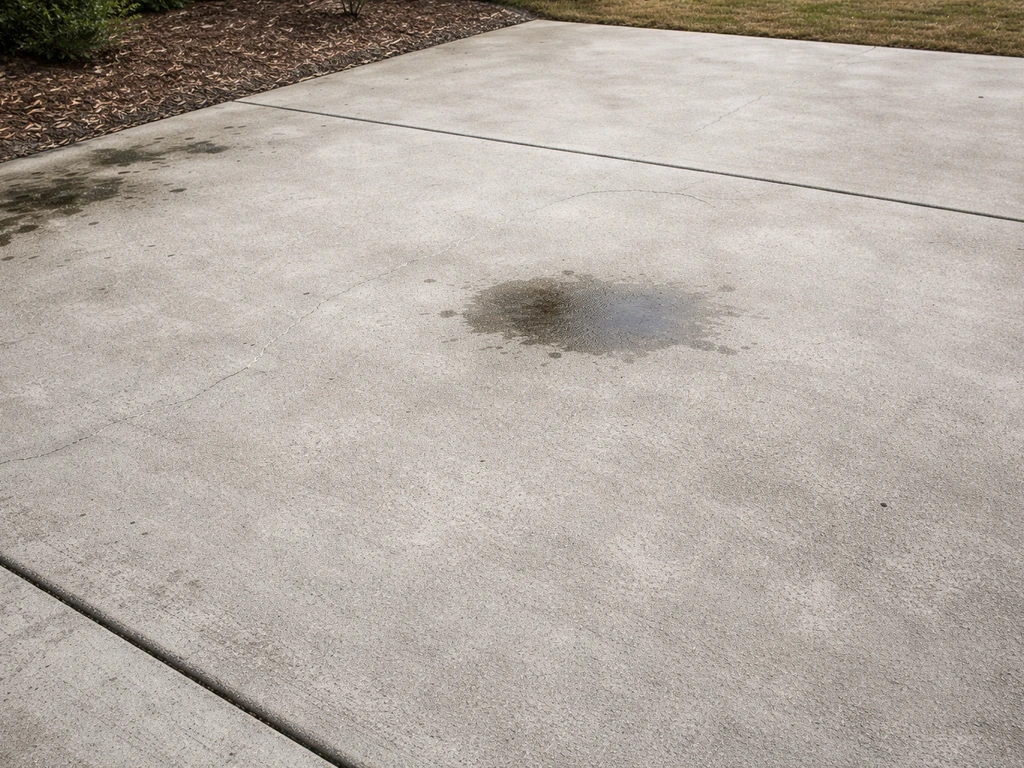
Identify your patio material and stain type first
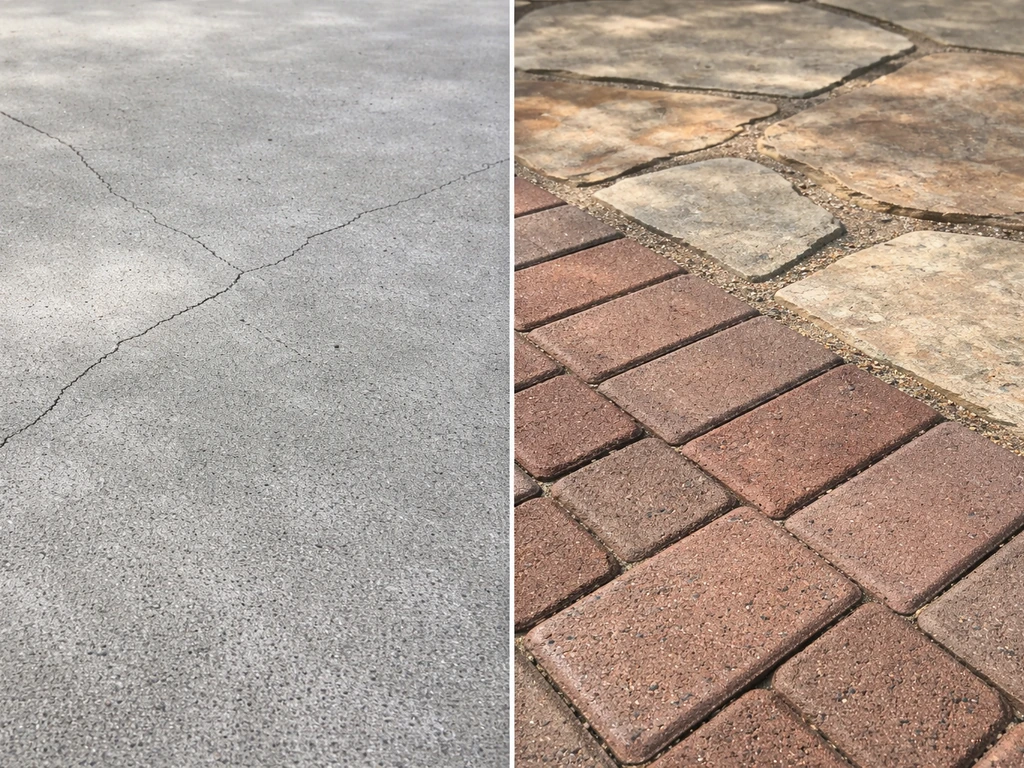
This is the one step most people skip, and it's why they end up with a ruined surface. Spend two minutes here before you reach for any cleaner.
Know what your patio is made of
The main categories are concrete (poured slabs or pavers), brick, natural stone (flagstone, slate, granite), and acid-sensitive stones (limestone, travertine, marble). That last group is the one to be careful with. If you're not sure whether your stone is acid-sensitive, do a quick acid test: put a drop of dilute white vinegar on an inconspicuous spot. If it fizzes, you have a carbonate-based stone like limestone or travertine, and you need to avoid any acid-based cleaners including muriatic acid and even straight vinegar in large amounts. For limestone specifically, the safest approach is to use non-acid cleaners and test a small spot first so you don't damage the surface how to remove stains from limestone patio.
Identify the stain
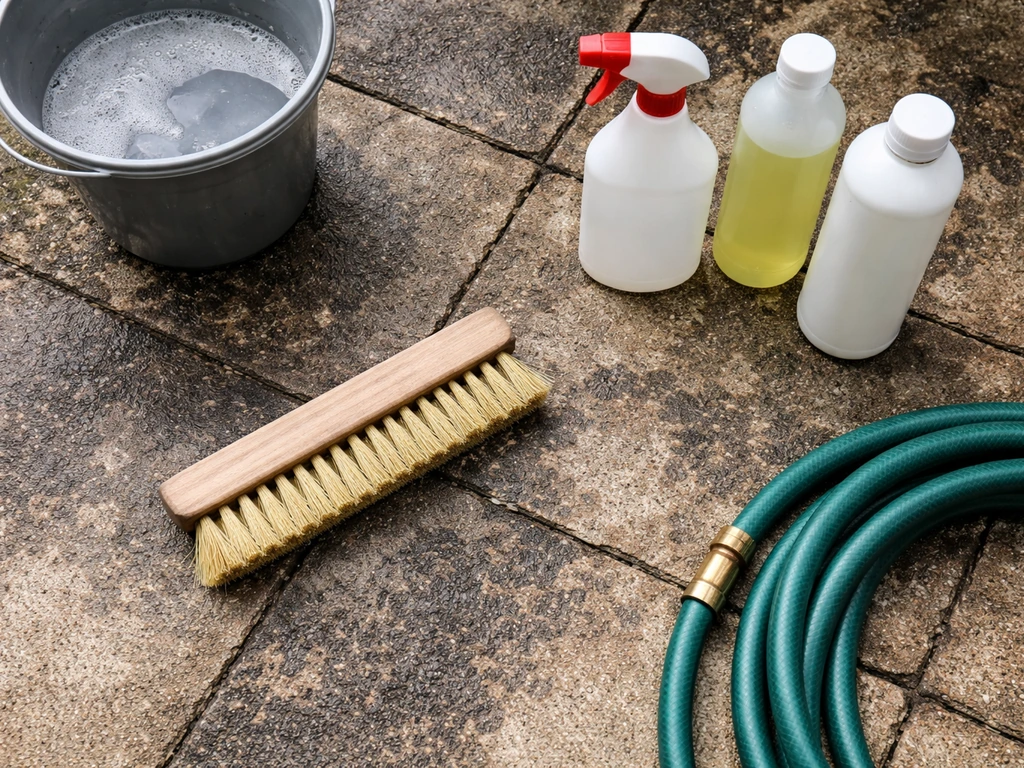
Each stain type behaves differently and responds to different treatments. Here's how to tell them apart:
| Stain Type | What It Looks Like | Common Cause |
|---|---|---|
| Mold / mildew | Black, green, or grey fuzzy patches | Moisture, shade, organic debris |
| Grease / oil | Dark, spreading oily spot that resists rain | Cooking, BBQ drips, vehicle fluid |
| Rust | Orange-brown streaks or rings | Metal furniture, planters, fertiliser |
| Efflorescence | White, chalky powdery deposit | Salts migrating through porous concrete or brick |
| Organic (leaves, berries, algae) | Green, brown, or purple tint | Decaying plant matter |
| General dirt / grime | Uniform grey or brown dullness | Foot traffic, weather |
A quick diagnostic trick for efflorescence: wet the white patch with water. If it disappears while wet and comes back as it dries, that's efflorescence, not mold or mineral residue from a spill. It's soluble salts migrating to the surface, and you treat it very differently.
Pre-cleaning steps and protecting the area around you
Skipping prep is how you end up with runoff staining your lawn, dead plants, or cleaning chemicals eating into surrounding pavers. A few minutes of setup saves a lot of headache.
- Clear the patio. Move furniture, plant pots, and anything else off the surface. (Leaving plant pots directly on pavers is a common cause of staining in the first place.)
- Sweep or blow off loose debris. Scrubbing over grit grinds it into porous surfaces and scratches sealant.
- Wet the surrounding soil and plants with plain water before applying any chemical cleaner. This dilutes any runoff that reaches them.
- Cover nearby drains if you're using acid or strong bleach solutions, especially on a slope. Cleaning chemicals running into storm drains can also drive stains deeper into porous concrete if they pool.
- Put on protective gear. Rubber gloves are non-negotiable with bleach or acid. Add safety glasses if you're using muriatic acid or a pressure washer.
If you're working near a wall or fence, wet that down too. Chemical splash and overspray from pressure washing can leave marks on painted surfaces or stain timber.
Manual scrubbing: the fastest method when you don't have a pressure washer
I've found that for most common stains, a good scrub with the right cleaner outperforms a pressure washer used carelessly. It's slower, but you have more control and there's no risk of blasting out joint sand or chipping pavers. This is also the better approach for sensitive stones like travertine.
What you need
- Stiff-bristle nylon brush (avoid wire brushes on natural stone or brick, which can leave metal fragments that rust later)
- Bucket
- Garden hose with good flow
- Your chosen cleaner (see the chemical section below)
Manual scrubbing steps by stain type
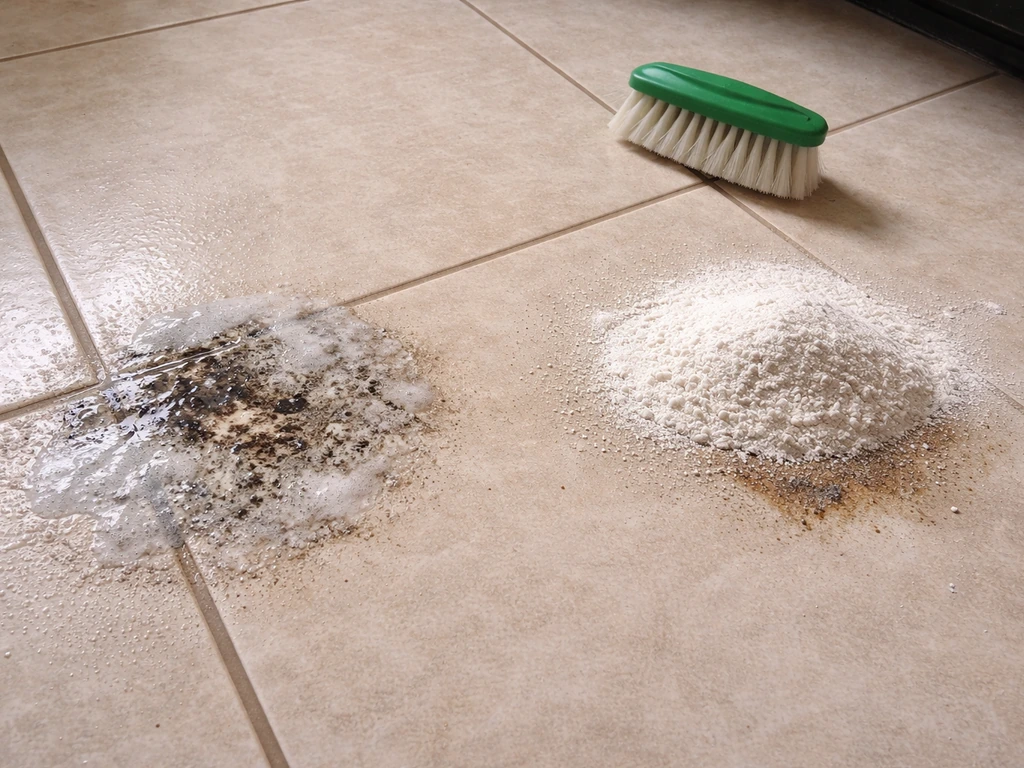
For mold and mildew: mix 1 cup of household bleach per gallon of water, apply to the affected area, let it sit for at least 15 minutes, then scrub firmly with a nylon brush and rinse thoroughly. For natural stone or travertine, skip the bleach and use oxygen bleach (sodium percarbonate) mixed according to the packet instructions instead as it's far gentler.
For grease and oil: sprinkle an absorbent like cat litter or baking soda on fresh spills first and leave it for 30 minutes to draw out the oil before you sweep it away. For older oil stains, apply a dedicated enzyme cleaner or a degreaser, saturate the stain completely, and allow the dwell time specified on the label before scrubbing and rinsing. Enzyme cleaners work by breaking down the organic molecules in the oil, so you need adequate contact time. Expect to repeat this process for deep stains that have penetrated porous concrete.
For rust stains: use a purpose-formulated iron or rust stain remover for masonry. Many of these work without muriatic acid and are safer on a wider range of surfaces. Apply, let dwell, and scrub with a stiff nylon brush. Avoid using bleach on rust stains as it won't dissolve iron oxide and can set the discolouration.
For efflorescence: start by dry-brushing the powdery deposit off with a stiff nylon brush. Because efflorescence is a salt deposit, you can often remove light cases without any chemicals at all. For heavier build-up on concrete (not travertine or limestone), a diluted acid solution can dissolve the calcium carbonate, but read the chemical section below before going that route.
For organic stains (leaves, algae, berries): oxygen bleach or a diluted white vinegar solution works well here on most concrete and brick. Apply, let sit for 10 to 15 minutes, then scrub. Rinse well. Vinegar is mild enough for routine use on concrete but always test first on natural stone since some types are mildly acid-sensitive.
Pressure washing: how to do it without causing damage
Pressure washing is the most efficient way to clean a large patio quickly, but the settings matter a lot depending on what you're cleaning. Using the wrong PSI or holding the nozzle too close is how people strip sealant, chip pavers, and blast the sand out of their paver joints.
Pressure settings by surface
| Surface Type | Recommended PSI | Nozzle / Angle Notes |
|---|---|---|
| Poured concrete (sound slab) | 2,500–3,000 PSI | 25-degree nozzle, keep moving |
| Concrete or clay pavers | Around 1,500 PSI | 45-degree angle, ~12 inches from surface |
| Brick | 1,200–1,500 PSI | Wide fan nozzle, consistent distance |
| Natural flagstone / slate | 1,000–1,500 PSI | Wide nozzle, avoid holding in one spot |
| Travertine / limestone / marble | Low pressure only, 50 PSI max for rinsing | Manual scrubbing preferred; pressure wash only to rinse |
For pavers specifically, never aim directly into the joints. The high-pressure stream washes out polymeric sand, which is what keeps your pavers locked in place and prevents weeds from pushing through. After you remove the weeds, you can clean the patio stones so grass does not return and regrow through the joints. Hold the wand at a 45-degree angle and keep it moving. If you notice sand coming up, back off the pressure immediately.
For delicate masonry or historic stonework, some preservation guidelines recommend keeping the nozzle between 18 and 30 inches from the surface and dropping pressure to 50 PSI maximum. That's essentially a rinse function, not a cleaning function, which is why manual scrubbing does the heavy lifting on sensitive surfaces.
Pressure washer technique tips
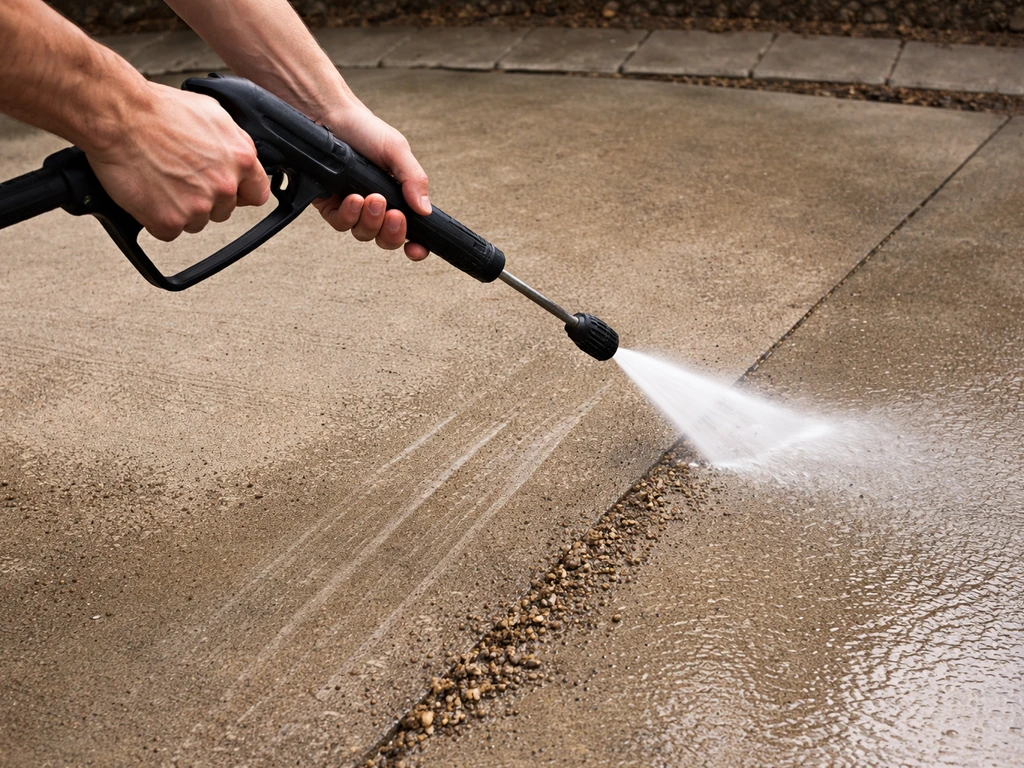
- Always sweep the surface clean before pressure washing. Loose grit under high-pressure water scratches surfaces.
- Work in overlapping passes to avoid streaking.
- Keep the nozzle moving at a consistent pace. Pausing concentrates the pressure and can chip or etch the surface.
- Rinse from the highest point downward so dirty water runs away from cleaned areas.
- If using a detergent attachment, use a low-pressure soap nozzle first, let the cleaner dwell, then switch to a rinse nozzle.
Chemical vs natural stain removers: which one to use and when
This is where most people get confused, so here's a direct breakdown. The short version: match the cleaner to the stain and the surface, never mix bleach with acid or ammonia, and always test first.
Chlorine bleach (sodium hypochlorite)
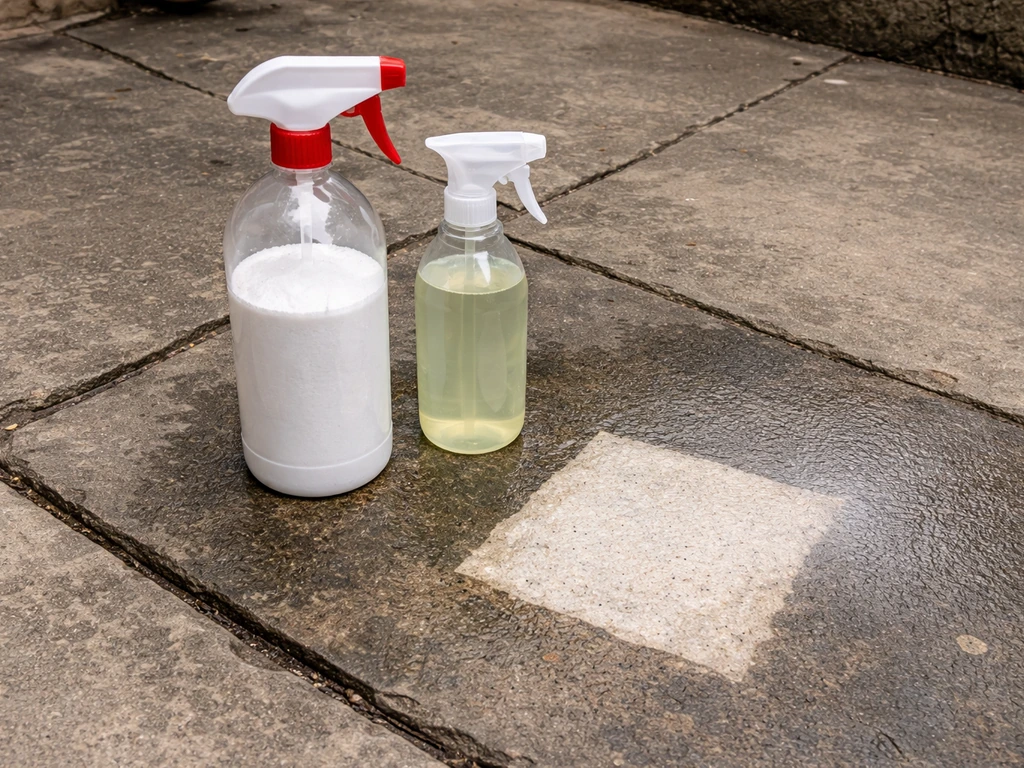
Good for: mold, mildew, algae, and general organic growth on concrete and brick. Mix 1 cup of household bleach per gallon of water and let it dwell for at least 15 minutes before scrubbing and rinsing. Do not use it on travertine, limestone, marble, or any acid-sensitive stone, and don't use it on rust stains as it won't work and can make the situation worse. Never mix bleach with ammonia-based cleaners or any acid, including vinegar or muriatic acid. The combination produces toxic chlorine gas, which is a genuine safety hazard.
Oxygen bleach (sodium percarbonate)
Good for: organic stains, mold, mildew, and general grime on almost any surface including natural stone. This is my go-to for travertine and flagstone because it lifts stains without the etching risk. Follow packet dilution instructions carefully as formulations vary between brands. It works more slowly than chlorine bleach but is far safer for plants, pets, and sensitive surfaces.
Muriatic acid (hydrochloric acid)
Good for: heavy efflorescence, mineral deposits, and rust stains on concrete. This is a powerful cleaner that demands serious respect. Dilute it at roughly 1 part acid to 10 parts water (always add acid to water, never the reverse), apply to a pre-wetted surface, let it sit for no more than 10 minutes, scrub with a stiff nylon brush, then rinse thoroughly and neutralise the surface with a baking soda and water solution (about 1 cup per gallon).
Do not use muriatic acid on travertine, limestone, marble, or any carbonate stone. It will etch the surface immediately and can actually trigger more efflorescence by altering the surface chemistry. Wear full protective gear: rubber gloves, safety glasses, and work in a well-ventilated area.
White vinegar
Good for: light mildew, mild organic stains, and efflorescence on concrete and brick in cases where you want to avoid stronger chemicals. Vinegar is acetic acid, so the same acid-sensitivity caution applies: don't use it on travertine, limestone, or marble. For concrete and brick, it's a useful gentler option, though it works more slowly and may need repeat applications. It's also a reasonable choice when you have pets that use the patio area regularly.
Quick do/don't rules
- Do: test any cleaner on a hidden spot before treating the main stain
- Do: neutralise and rinse acid treatments thoroughly
- Do: use a nylon brush with acid-based cleaners, not metal
- Don't: mix bleach with vinegar, ammonia, or muriatic acid
- Don't: use muriatic acid or straight vinegar on travertine, limestone, or marble
- Don't: use wire brushes on natural stone or brick
- Don't: use chlorine bleach on rust stains
Spot testing, dwell time, and what to do when stains won't budge
Even if you're confident about your material and stain type, always do a spot test before going full-coverage. Apply a small amount of your chosen cleaner to an inconspicuous area (underneath a step edge, behind a planter), wait the full dwell time, rinse, and check for discolouration, etching, or any change in surface texture. This is especially critical on coloured concrete, sealed surfaces, and any natural stone.
Dwell time guidance
Dwell time is how long you leave the cleaner sitting on the stain before scrubbing. Too short and you're just pushing the chemical around. Too long and you risk etching or surface damage. Here are working dwell times I've found reliable:
| Cleaner | Dwell Time | Notes |
|---|---|---|
| Bleach solution (1 cup per gallon) | 15 minutes minimum | Longer for heavy mold; don't let it dry out |
| Oxygen bleach | 15–30 minutes | Can go longer on tough stains; keep surface wet |
| White vinegar (undiluted) | 10–15 minutes | Test first on any stone |
| Muriatic acid (1:10 dilution) | Up to 10 minutes | Rinse immediately once stain lifts; don't exceed |
| Enzyme / degreaser (product-specific) | Per label instructions | Saturate fully; don't let it dry |
When the stain is still there after the first treatment
A second or third application is normal, especially for oil that has soaked deep into porous concrete or old organic stains. Apply again following the same steps, and give it the full dwell time each time. If three treatments with the right product make no difference, consider whether you've correctly identified the stain. A rust stain that looks like an oil stain will never respond to a degreaser, for example. Reassess before switching to a more aggressive product.
For deep oil or grease stains in concrete that don't respond to enzyme cleaners or degreasers, a poultice method works well: mix an absorbent powder (like talc or diatomaceous earth) with a solvent-based cleaner into a thick paste, spread it over the stain about half an inch thick, cover with plastic wrap, and leave it for 24 hours. The solvent draws the oil out of the concrete into the absorbent material as it dries. Repeat if needed.
If you've tried appropriate cleaners multiple times and the stain is still visible, especially on concrete, the surface may need mechanical treatment or professional intervention. Stubborn fertiliser stains and some rust deposits can sometimes be removed by a concrete restoration professional. Certain deep stains may be masked by applying a concrete sealer or stain after thorough cleaning.
Preventing future patio stains and keeping it clean long-term
Cleaning a stain once is satisfying. Not having to do it again is better. Most patio stains are preventable with a few simple habits and the right surface protection.
Seal the surface
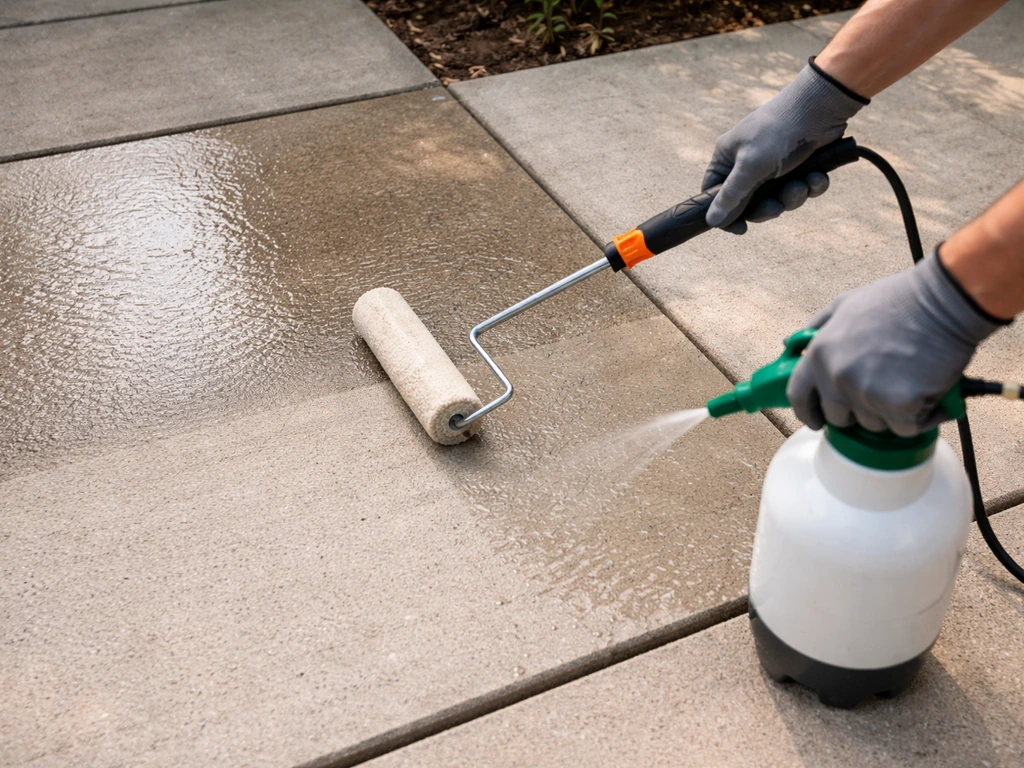
A quality concrete or masonry sealer creates a barrier that stops liquids from penetrating into the porous surface. Grease, rust runoff, and organic matter sit on top instead of soaking in, which makes future clean-ups dramatically easier. Before applying any sealer, the surface must be completely clean, dry, and free of any chemical residue. blank" rel="noopener noreferrer">Wait at least 24 hours after washing or treating (longer in cool or humid conditions) before sealing. Check the weather forecast and avoid sealing if rain is expected within 24 hours.
Routine maintenance
- Sweep or blow off the patio weekly to prevent organic debris from sitting and breaking down on the surface
- Rinse the patio with a garden hose monthly, more often in autumn when leaves are falling
- Treat any mold or algae spots as soon as you spot them rather than waiting until they spread
- Re-apply sealer every one to three years depending on foot traffic and product type
- Use furniture pads under metal legs to stop rust marks from forming
- Place saucers under plant pots and check them regularly, as water and mineral-laden runoff from pots is a very common source of staining
Fix drainage issues
Efflorescence and mold both come back when the underlying moisture issue isn't addressed. If your patio pools water, develops recurring white deposits, or grows mold repeatedly in the same spot, the source of persistent moisture needs attention. Check that the patio slopes away from the house, clear any blocked drainage channels, and consider whether overgrown planting nearby is keeping the surface too shaded and damp. Treating the stain without fixing the moisture source means you'll be back here doing this again in a few months.
Keeping fertiliser away from patio surfaces is also worth mentioning because iron-based fertilisers are a surprisingly common cause of rust staining that many people don't connect to the problem. If you're noticing rust-orange marks near garden borders, check what fertiliser you're using and apply it carefully. Similar care applies if you have metal features, garden furniture, or wire planters sitting on the patio surface during wet weather.
FAQ
Can I remove patio stains with the same product on every material?
No. You need to match the cleaner to both the stain type and the patio surface. For example, acid-based removers that work on concrete can etch travertine, limestone, and marble, causing permanent dull patches even if the stain disappears.
What’s the safest way to do a spot test before I treat the whole patio?
Pick a hidden spot and do a full mini-cycle (apply, wait the full dwell time, scrub if needed, then rinse and let it dry). Also check texture, not just color, because some cleaners change surface sheen or create tiny pits that only show after drying.
Should I pressure wash first to help the stain remover work?
Often, yes, but do it carefully. A light rinse can remove loose dust so the cleaner contacts the stain, but high PSI or a nozzle held too close can strip sealant and drive grime deeper. If your patio is travertine or other delicate stone, prioritize gentle scrubbing over blasting.
Why does my stain look worse right after cleaning?
Two common reasons are disturbed residue and drying effects. Some minerals and oils look darker when wet and then lighten, while efflorescence can temporarily spread as moisture mobilizes salts. Always wait for full drying and only then decide whether to repeat treatment.
How do I tell if a white stain is efflorescence or something else?
Wet the area and watch what happens. If the white deposit disappears when wet and returns as it dries, it strongly points to efflorescence (soluble salts). If it stays the same or looks like fuzzy growth, it is more likely a different issue such as organic growth.
Do I need to rinse after using oxygen bleach or enzyme cleaners?
Yes. Rinse thoroughly after scrubbing because leftover product can keep reacting and leave residue. For enzyme cleaners, also ensure the stain stays wet for the full dwell time, but do not let the chemistry dry on the surface.
Can I use bleach to remove rust stains if it says it can kill mold?
Avoid it. Bleach is not effective at dissolving iron oxide, and it can worsen rust discoloration by changing how the stain sits on the surface. Use a masonry rust remover designed for iron stains instead, and verify it is safe for your stone type.
How many times should I try the same treatment before switching methods?
If you have the correct stain identification and product, one full cycle may be followed by a second or third application. If three appropriate attempts show no visible progress, reassess the stain type first, then consider mechanical methods or professional help rather than escalating blindly.
What’s the correct way to clean joints between patio pavers?
Avoid aiming the spray directly into the joints at high pressure, because it can wash out polymeric sand and make the pavers shift. Use controlled angles and keep moving the wand, and if you see sand coming up, reduce pressure immediately.
How can I prevent stains from coming back after I clean them?
Address moisture sources first (poor drainage, blocked channels, constant shade). Then consider sealing only after the patio is fully cleaned and completely dry, and avoid sealing if rain is expected within 24 hours.
If my patio is sealed, will stain removers damage the seal?
It can. That’s why spot testing matters, and why mechanical scrubbing is often safer than aggressive chemical soaking. After treatment, watch for localized dullness or patchiness, and avoid overlong dwell times on sealed surfaces.
Is vinegar always a safe alternative for stain removal on concrete?
It’s gentler than many acids, but it is still an acid, so you must avoid it on acid-sensitive stones. Even on concrete, use it cautiously since it can require more repeat applications and can leave areas slightly changed if overused.
What should I do if chemicals run off into my lawn or plants?
Wet nearby walls, fence areas, and plants before you apply anything, and use enough control that the cleaner stays on the target area. If runoff happens, rinse the surrounding surfaces promptly to reduce chemical contact and prevent dead vegetation or new discoloration.
How do I remove deep oil stains from porous concrete when surface scrubbing fails?
Use a poultice approach: mix absorbent powder with a solvent-based cleaner into a thick paste, cover it with plastic wrap, and leave it about 24 hours so the solvent draws oil out into the absorbent. Repeat if needed, and only then consider sealing after the surface is fully cured and residue-free.
Next Articles
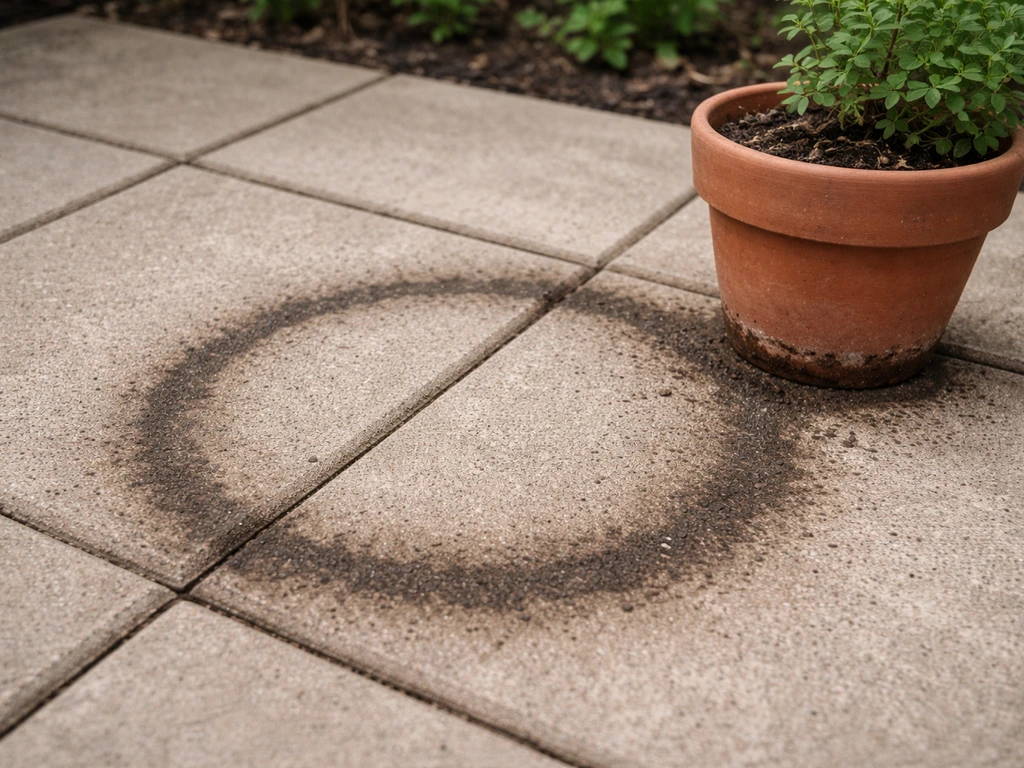
How to Stop Plant Pot Stains on Your Patio
Stop patio plant pot stains fast with diagnosis and step by step cleaning for concrete, brick, stone, pavers
How to Remove Thompson’s Patio Sealer Step by Step
Step-by-step removal of Thompson’s patio sealer on concrete, brick, pavers, and stone, with safety, tests, and cleanup.
Can You Remove Patio Sealer? How to Strip It Safely
Learn if you can remove patio sealer and how to strip it safely by type, material, and method.