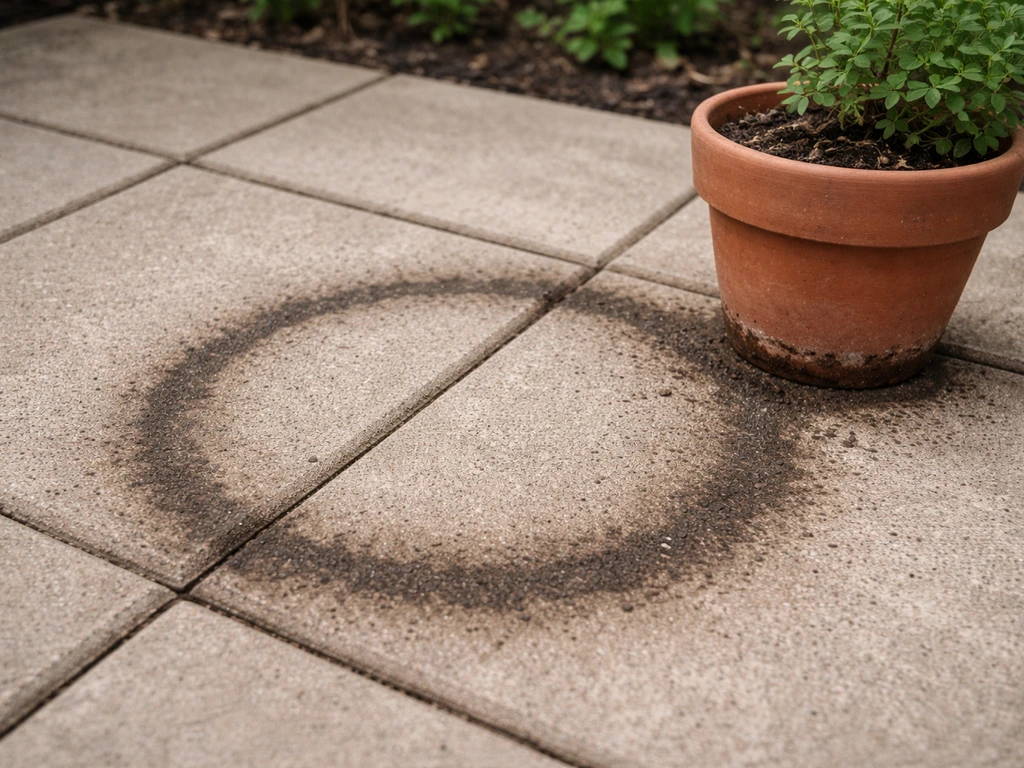
Plant pots stain patios in three main ways: dark organic rings from soil, moisture, and tannins; white chalky deposits from mineral salts or fertilizer residue (called efflorescence); and reddish-brown rust marks from metal pot bases or iron-rich water. Once you know which type you're dealing with, the fix is straightforward. This guide walks you through identifying the stain, cleaning it off your specific patio surface, and then setting things up so it doesn't happen again. For a detailed walkthrough of how to remove stain from patio surfaces based on material and stain type, follow the step-by-step guidance above clean the stain.
How to Stop Plant Pot Stains on Your Patio

Dylan Hale
7 May 2026
What's actually causing the stain under your pot?
Before you grab a cleaner, spend 60 seconds diagnosing the stain. The color and texture tell you almost everything you need to know, and choosing the wrong product can make things worse, especially on natural stone.
| What it looks like | Likely cause | What you're dealing with |
|---|---|---|
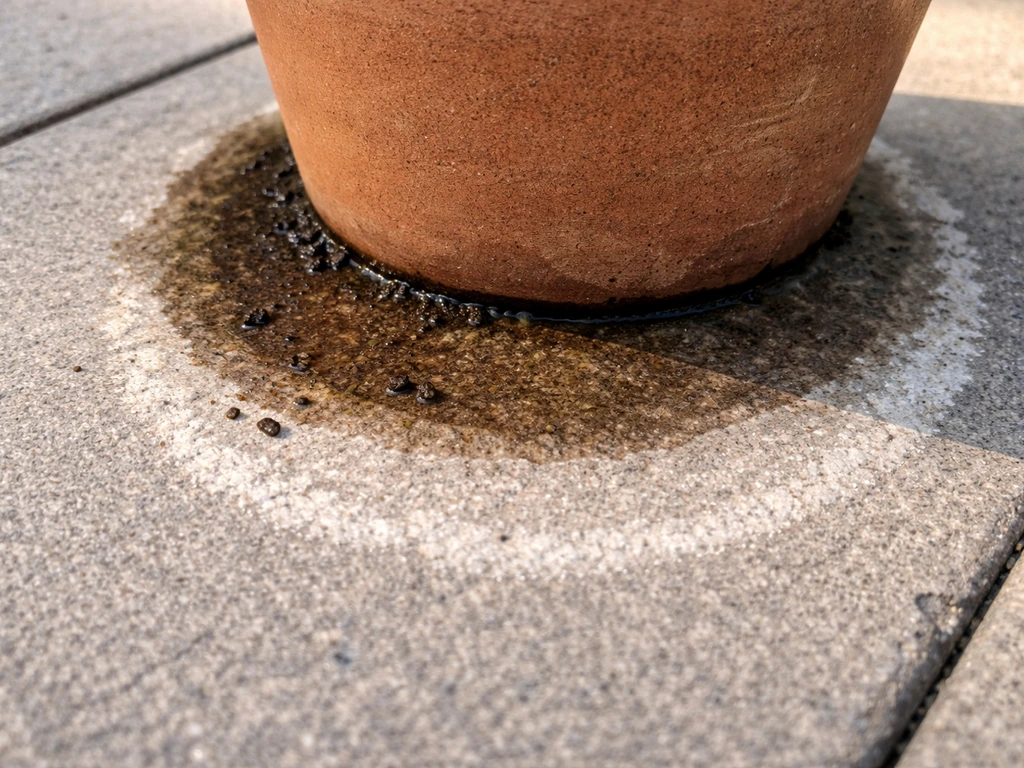
| Dark brown or black ring, sometimes slimy | Soil runoff, tannins from bark/compost, algae or mildew buildup | Organic staining |
| White or gray chalky powder or haze on the surface | Water-soluble salts migrating out of the patio material or from fertilizer runoff | Efflorescence / mineral salt deposit |
| Reddish-brown or orange discoloration | Rust from a metal pot base, iron-rich water, or iron-based fertilizer | Rust / iron staining |
| White crust around pot rim or at pot edge contact point | Fertilizer salt buildup washed onto the patio surface | Fertilizer residue |
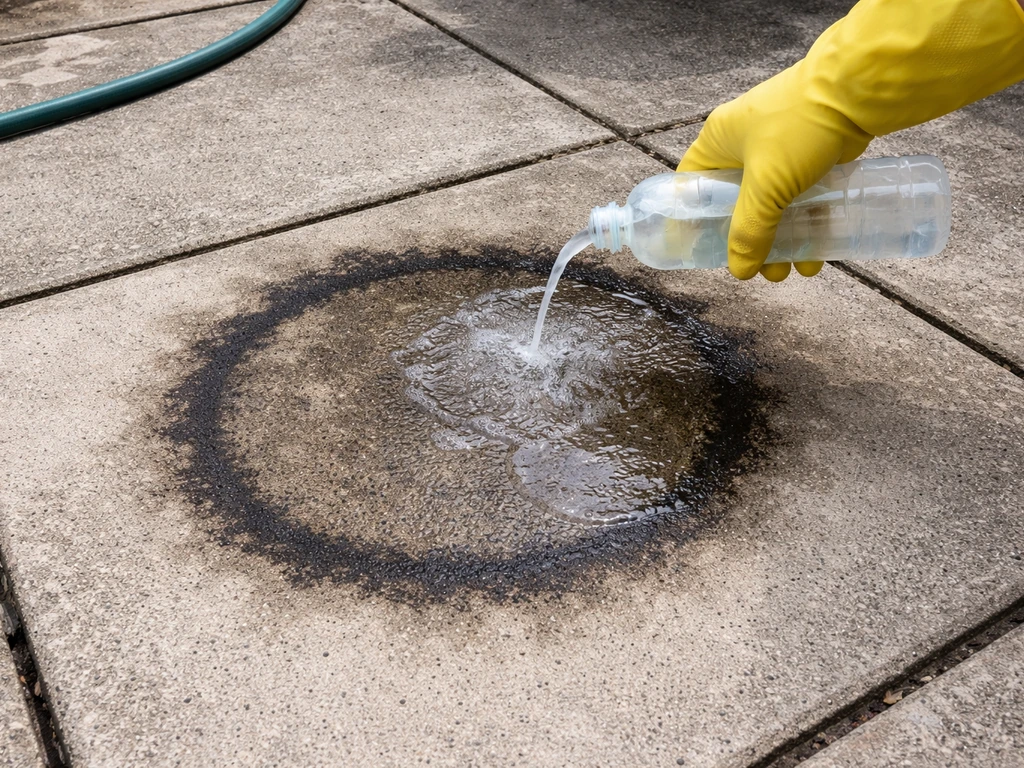
Here's a quick field test I've found really useful for white deposits: pour a little water over the chalky area. If it disappears while wet and then comes back as the surface dries, that's efflorescence, which is water-soluble salt crystals. If it stays white and powdery even when wet, it's more likely a surface residue from fertilizer or limescale. This distinction matters because efflorescence responds well to a diluted acid-based cleaner, while a mildew-based organic stain needs an oxidizing cleaner or bleach solution instead.
Prep the area before you start cleaning
A little prep saves you a lot of grief, especially if you have nearby plants, pets, or grass that could be harmed by cleaning products splashing around. Don't skip this step even if the stain looks minor.
- Move all pots and furniture away from the stained area so you have clear access.
- Sweep or blow off any loose dirt, dead leaves, and debris from the surface.
- Wet down any surrounding lawn, soil, or plant beds adjacent to the patio with plain water. This dilutes any chemical runoff and protects roots.
- If you're using bleach or acid-based products, lay old towels or plastic sheeting along the patio edges nearest to your garden beds.
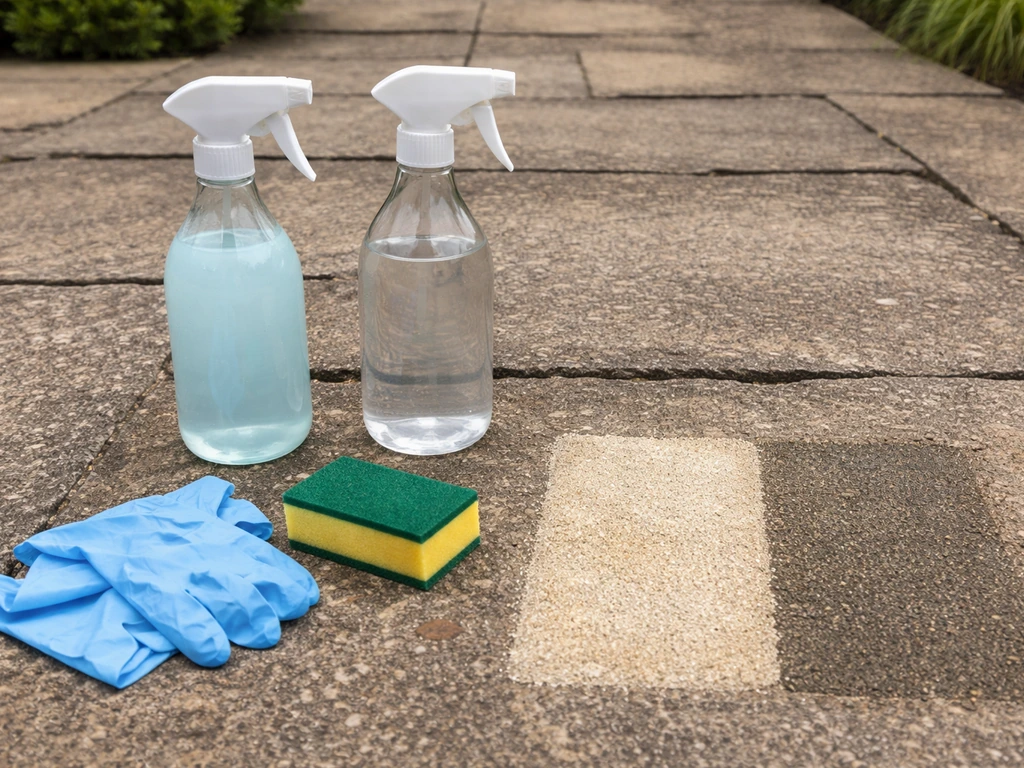
- Put on rubber gloves and safety glasses before handling any chemical cleaner, including vinegar-based solutions. Diluted products still irritate eyes and skin.
- Test any cleaner on a small hidden spot first, especially on travertine, flagstone, or any sealed surface. Wait 5 minutes and check for discoloration or etching.
How to remove the stain based on your patio material and stain type
Different patio materials have very different tolerances for cleaning products. If you want wood stain specifically, match the steps to your patio material first, then use the right solvent or cleaner so you do not damage the finish how to get wood stain off patio. Concrete and brick can handle stronger chemistry. Natural stone like travertine and limestone cannot. And if you’re dealing with limestone specifically, the cleaning approach is different because acid can etch the surface, so use the limestone-safe method for how to remove stains from limestone patio limestone patio stains. Here's what works on each surface, broken down by stain type.
Concrete patios
Concrete is the most forgiving surface to clean. For dark organic staining, mix one part sodium hypochlorite bleach (the kind you find as pool shock or patio cleaner, around 10% concentration) with three parts water. Apply it to the stain, let it sit for 10 to 15 minutes, then scrub with a stiff-bristled brush and rinse thoroughly.
For white efflorescence on concrete, a diluted muriatic acid solution works well: mix 1 part muriatic acid to 10 parts water, apply carefully, let it fizz for 2 to 3 minutes, then neutralize with a baking soda and water rinse before flushing with plain water. For rust stains, skip bleach entirely and use an oxalic acid-based rust remover (products like Iron Out work). Apply, leave for 5 to 10 minutes, scrub, and rinse.
Brick patios
Brick is porous and can absorb stains deeply, but it handles most cleaning products well. For organic dark rings, a diluted bleach solution (1 part bleach to 4 parts water) scrubbed in with a deck brush works reliably. [Efflorescence on brick looks like a chalky white powder that sits on the surface](https://en. wikipedia.
org/wiki/Efflorescence); the water test mentioned earlier is the easiest way to confirm it. For efflorescence, a specialist efflorescence remover or a 5% diluted white vinegar solution applied and scrubbed with a stiff brush often lifts it without needing acid. For stubborn mineral deposits on brick, diluted muriatic acid (1:10 ratio) is effective but always pre-wet the brick first so the acid doesn't absorb too fast and damage the surface. Rust stains on brick respond best to oxalic acid products.
Natural stone patios (flagstone, slate, granite)
Most natural stone is acid-sensitive to varying degrees. Flagstone and slate can tolerate very mild acidic cleaners, but you should always test first. For organic staining, use a pH-neutral stone cleaner or a diluted dish soap solution, scrub gently with a soft brush, and rinse well. Avoid bleach on colored or patterned stone as it can bleach the surface unevenly.
For efflorescence on natural stone, a very diluted white vinegar solution (1 part vinegar to 5 parts water) applied briefly and rinsed immediately can help lift light deposits. Don't leave it sitting. For rust marks on stone, an oxalic acid poultice is your best bet: mix oxalic acid powder with water into a paste, spread it over the stain, cover with plastic film, leave for 24 to 48 hours, then rinse clean.
Travertine patios
Travertine is a calcium carbonate stone, which means acids will etch and permanently damage it. This is the one surface where I'd say vinegar, muriatic acid, and bleach are all off the table. For dark organic staining on travertine, use only pH-neutral or alkaline stone cleaners specifically labeled safe for travertine or marble. Scrub gently with a soft nylon brush and rinse immediately. For white mineral deposits or efflorescence, do not use acid. A specialized efflorescence remover formulated for calcium carbonate stone is worth buying here. For any rust staining, use a travertine-safe iron stain remover, usually a non-acidic chelating agent, which you'll find at tile and stone supply stores.
Paver patios (concrete or clay pavers)
Concrete pavers behave much like concrete slabs. Clay pavers are more delicate. For concrete pavers, the same approach as concrete slabs applies: bleach solution for organics, diluted muriatic acid for efflorescence (rinse thoroughly), and oxalic acid for rust. For clay pavers, skip muriatic acid and use a gentler efflorescence remover. For organic staining on either type, a good oxygenated cleaner (sodium percarbonate-based products sold as patio brighteners or deck cleaners) is an excellent middle-ground option that's safer for surrounding plants than bleach and still very effective. Mix according to the package, apply, leave for 15 to 20 minutes, scrub, and rinse.
Bleach vs vinegar vs other cleaners: what to reach for and when
Choosing the right cleaner comes down to the stain type and the patio material. Here's a straight breakdown of when each option earns its place, and when to leave it on the shelf.
| Cleaner | Best for | Safe on | Avoid on | Key caution |
|---|---|---|---|---|
| Diluted bleach (sodium hypochlorite, 1:3 to 1:4 with water) | Dark organic staining, algae, mildew | Concrete, brick, concrete pavers | Travertine, limestone, colored natural stone, near plants | Rinse surrounding plants with water first; neutralize runoff |
| White vinegar (undiluted or 1:1 to 1:5 with water) | Light efflorescence, mild organic marks, fertilizer crust on brick | Brick, concrete, concrete pavers, flagstone (brief contact) | Travertine, limestone, marble, any calcium carbonate stone | Do not leave sitting on stone; rinse within 2 minutes |
| Muriatic acid (1:10 with water, minimum) | Heavy efflorescence, mineral scale on concrete and brick | Concrete, brick (pre-wetted) | All natural stone, travertine, clay pavers, anywhere near metal | Wear full PPE; neutralize with baking soda solution before rinsing |
| Oxalic acid / rust remover | Rust stains, iron deposits | Most surfaces including natural stone (test first) | Avoid ingestion and skin contact; toxic to fish | Rinse very thoroughly; keep away from drains if possible |
| Oxygenated cleaner (sodium percarbonate) | Organic staining, general brightening, safer alternative to bleach | All patio types including natural stone | None significant, but test on colored surfaces | Gentler but may need longer dwell time (15 to 30 min) |
| pH-neutral stone cleaner | All stain types on delicate stone | Travertine, limestone, marble, flagstone, slate | Not ideal for heavy efflorescence or rust alone | Best combined with gentle mechanical scrubbing |
One thing I want to flag: if you also have fertilizer staining from washed-out granules or liquid feed, that's a slightly separate problem worth its own attention. The residue left is often a combination of mineral salts and organic compounds, so an oxygenated cleaner followed by a vinegar rinse (on compatible surfaces) often works better than either product alone.
How to stop pots from staining your patio going forward
This is honestly the most valuable part of the whole process. Once you've cleaned the stain, a few simple habits and setups will keep you from repeating the job every season.
Use saucers, drip trays, and barrier mats
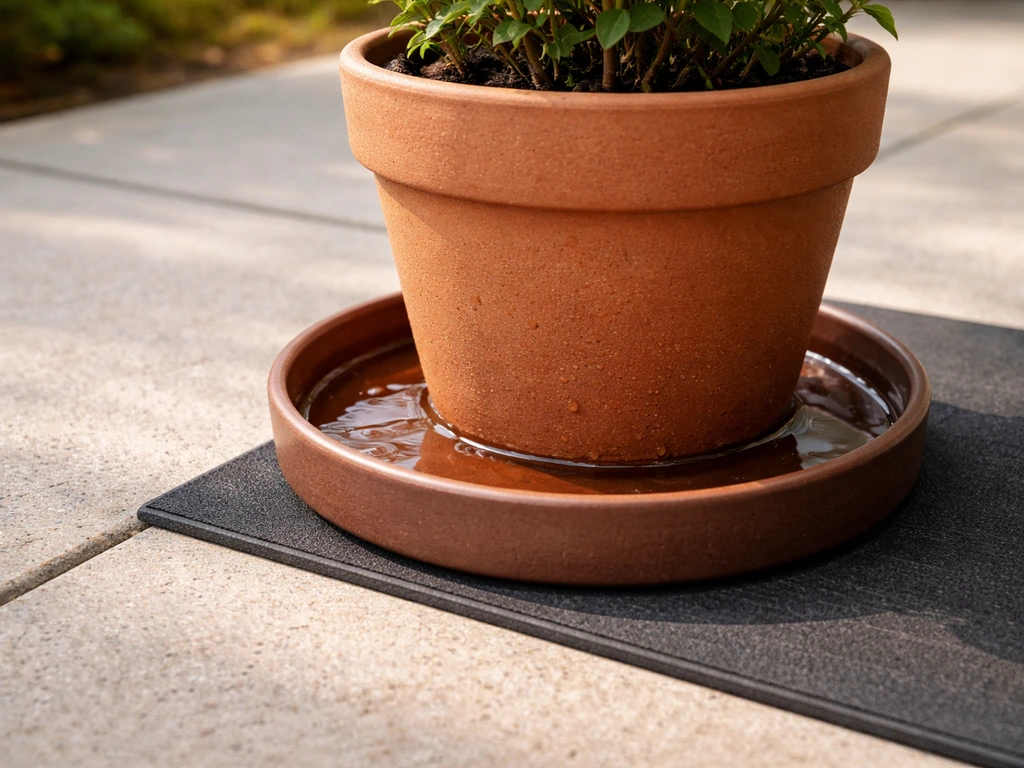
A quality drip saucer under every pot catches the water and dissolved soil or fertilizer before it ever touches the patio surface. Choose saucers with a lip at least 2 to 3 cm deep so they genuinely contain runoff rather than letting it spill over. For heavier pots, rubber or cork pot feet lift the base off the patio surface entirely, improving airflow and preventing the wet-contact zone where most organic staining and rust marks originate. Patio mat barriers made from rubber, coir, or woven polypropylene placed under pots also work well, and they're easy to remove, rinse, and replace.
Fix drainage at the source
Overwatering is one of the biggest contributors to pot staining. When pots drain excessively, they carry dissolved soil, fertilizer salts, and tannins out through the drainage holes and straight onto the patio surface. Make sure your potting mix drains well so water isn't flushing through constantly. Raising pots off the ground with feet also speeds drainage and reduces the puddle that forms underneath. If a saucer is collecting standing water for more than an hour after watering, tip it out, as stagnant water accelerates both staining and algae growth.
Clean pot bases regularly
The underside of terracotta, ceramic, and plastic pots accumulates a layer of damp soil, algae, and salt deposits over time. That compressed organic material is exactly what transfers as a dark ring onto your patio. Every month or so, lift your pots and wipe the base with a damp cloth. If you see white crust or green slime starting to build up, scrub with a stiff brush and rinse the base thoroughly before putting the pot back down. For metal-based pot stands or containers, check for rust on the base regularly and apply a coat of rust-inhibiting primer or wax if you spot any early oxidation.
Watch your fertilizing routine
Granular and liquid fertilizers washed out through pot drainage are a major source of both white salt crusts and general discoloration. Try to fertilize when you can move the pot temporarily off the patio onto grass, gravel, or another non-staining surface. If you need a clean start, avoid letting grass or plant debris sit on the stones while you work move the pot temporarily off the patio. Alternatively, use slow-release fertilizer pellets buried in the pot rather than liquid feeds that flush straight through. This dramatically reduces the salt load washing out of the drainage hole onto the patio below.
Sealing your patio to reduce future marks
Sealing is one of the most effective long-term defenses against pot staining because it closes up the pores in the patio surface, making it much harder for organic residue, minerals, and moisture to penetrate and leave a mark. On concrete and concrete pavers, a penetrating concrete sealer (silane-siloxane based) repels water and makes the surface dramatically easier to clean. On brick, a breathable masonry sealer works well without trapping moisture inside the material. On natural stone like flagstone or travertine, use only a sealer specifically rated for natural stone, as generic concrete sealers can cloud or damage the surface.
Before sealing, the surface must be completely clean and dry, ideally for at least 48 to 72 hours after any washing. Any stain sealed underneath will be locked in rather than lifted later. Plan to reseal every 2 to 3 years on concrete and pavers, or annually on natural stone and travertine in high-traffic or high-moisture areas. A quick bead test tells you when resealing is due: drop a small amount of water on the surface. If it soaks in rather than beading up, the sealer has worn off and it's time to reapply.
What to do when the stain just won't budge
If you've gone through one or two cleaning attempts and the stain is still visible, don't automatically reach for something harsher. There's usually a reason it's lingering, and escalating straight to the strongest chemical can damage the surface.
- Repeat the same treatment one more time with a longer dwell time. Organic stains in particular can need two or three applications before they fully lift, especially on porous brick or concrete that has absorbed the residue deeply.
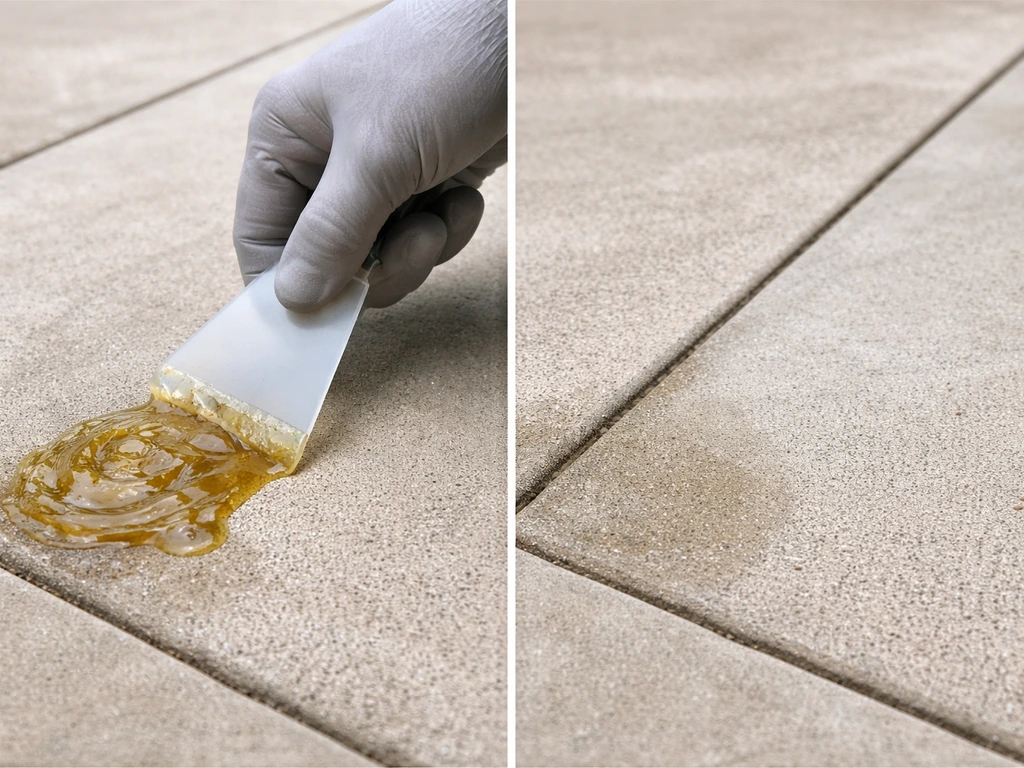
- Try a poultice method for deep-set stains on stone or brick. Mix your chosen cleaning agent (oxalic acid for rust, baking soda paste for organics) into a thick paste, spread it 1 cm thick over the stain, cover with plastic film, and leave for 12 to 48 hours. The slow release draws the stain out rather than just treating the surface.
- If efflorescence keeps returning after removal, the source of the water movement causing it hasn't been fixed. Check that pots aren't sitting in standing water and that the patio has adequate drainage slope away from the house.
- For organic staining that still won't shift after multiple attempts, consider hiring a pressure washer. A domestic pressure washer (around 1,400 to 2,000 PSI with a 25-degree fan nozzle) combined with a cleaning agent can flush residue from deep within the porous surface. Keep the nozzle at least 30 cm from the surface on brick and natural stone to avoid surface damage.
- If rust staining on travertine or natural stone is deeply embedded and won't respond to a non-acid rust remover, consult a stone restoration specialist before attempting anything stronger. Acid on travertine causes irreversible etching and the cost of fixing that outweighs the stain.
Sometimes a stain that looks impossible to fully remove is actually quite faint once the surrounding surface has been cleaned and the area dried properly. Take a photo before and after, and look at both in daylight. You may find a result that seemed inadequate when wet looks perfectly acceptable once dry. If the stain is genuinely permanent and you're considering replacing the surface, it's worth looking at whether a different patio material or a full sealing program would be better value than ongoing remediation.
Your quick decision guide: pick your next step right now
Here's the workflow I'd use if someone handed me this problem today. Match your stain and surface, pick the cleaner, do the prep, clean it, then set up the prevention measures before you put the pots back.
- Dark organic ring on concrete or brick: diluted bleach solution (1:4), 10 to 15 minutes, stiff brush, rinse well. Or use an oxygenated cleaner if you have pets or nearby plants.
- White chalky deposit on concrete, brick, or pavers: do the water test first to confirm efflorescence. If confirmed, try diluted white vinegar (1:5) for light deposits or diluted muriatic acid (1:10) for heavy buildup. Always pre-wet the surface and neutralize with baking soda rinse after acid.
- White or crusty deposit on travertine or limestone: never use acid or vinegar. Use a pH-neutral efflorescence remover rated for calcium carbonate stone only.
- Rust or orange staining on any surface: oxalic acid-based remover or a dedicated iron stain remover. Test on natural stone first. Avoid bleach, it won't touch rust.
- Stain won't lift after two attempts: try the poultice method or upgrade to pressure washing with a cleaning agent before going stronger.
- Everything clean and you want to stop it happening again: add drip trays and pot feet, clean pot bases monthly, seal the patio surface, and adjust your fertilizing routine.
FAQ
If I rinse the patio and the stain looks better when wet, will it stay gone once dry?
Yes, but only in a limited way. If the spot is efflorescence or a chalky salt crust, wetting can temporarily make it look lighter, then it reappears as it dries. For dark organic rings, the color usually does not “reset” with drying, it often lightens a bit, but the stain is still there in the pores.
Is it okay to mix cleaners (bleach, acid, rust remover) to speed up removal?
Don’t. Even on surfaces labeled “concrete safe,” mixing bleach with acid or rust removers can create dangerous fumes. If you are doing multi-step cleaning (for example, removing organics then dealing with salts), rinse thoroughly with plain water, let the area dry, then start the next product.
What’s the biggest mistake people make when removing white chalky deposits from pot drainage?
For efflorescence, a common mistake is using acid too aggressively on the first try. Acid can temporarily change the appearance, but it may not remove the underlying salt load in porous areas. Confirm with the water test, then use the gentler approach (specialized efflorescence remover or appropriate dilution) first, reserving muriatic acid for confirmed mineral deposits and surfaces that can tolerate it.
Why does muriatic acid sometimes make the problem worse on brick or stone?
Always pre-wet porous surfaces before using muriatic acid, especially brick and natural stone that are easily damaged by rapid absorption. If you skip pre-wetting, the acid can “flash” into the material and cause uneven etching, spot discoloration, or a rough patch that looks worse than the original stain.
Where and how should I test a cleaner before treating the whole patio?
For natural stone, the safest “test spot” strategy is to clean in a hidden corner or under where a pot normally sits, then wait for full dry time (at least overnight). Some damage or uneven bleaching shows up only after drying, especially with bleach and stronger cleaners.
What should I do if the stained area has algae or mildew starting to grow?
If you see green slime or fuzzy growth, treat it as biological growth plus staining, not just discoloration. Start with an oxygenated cleaner or an appropriate mildew/organic cleaner approach, then follow with a rinse and only then address salts or rust marks if they remain.
Can I clean the patio without moving the pots and without harming nearby plants?
Yes, but timing matters. If you can move the pots off the patio, clean while they are away so you can work without splashing. If you must keep them, shield surrounding plants and turf with plastic sheeting and do the cleaning in calm weather, then fully rinse runoff before it reaches grass.
Why do rust stains return even after I removed them once?
If the pot base is rusty, the rust mark can keep reappearing even after cleaning until the source is stopped. Check every pot and stand regularly, clean and dry the metal contact points, and consider swapping damaged bases or applying a rust-inhibiting primer or wax on the metal that touches the patio.
Will sealing the patio remove the existing stains, or only prevent new ones?
Not always. A penetrating sealer can reduce future staining, but it will not fix an already trapped deposit. You need the patio fully clean and dry before sealing, otherwise you lock residue underneath. Also, some older stains may lighten but not disappear if sealed while still present.
How can I tell when it’s time to reseal after cleaning pot marks?
Usually you should reseal on a schedule because wear is gradual. Use the bead test to decide timing, then plan a maintenance cycle (for example, more frequent on high-moisture natural stone areas). If water soaks in quickly, the protection is gone and staining risk rises again.
If the first cleaner fails, can I switch to a different “type” of cleaner safely?
Yes, but it depends on the stain and material. For stubborn dark rings on concrete, oxygenated cleaners can be a safer middle option than bleach in some cases. If the stain is confirmed rust or mineral salts, the “wrong” category (for example, oxygen cleaner for rust) will look like it does nothing, so correct identification is the key.
Why do white salt stains on patios keep coming back after I scrub them?
Efflorescence is not just a surface dirt film, it is salts migrating and crystallizing. Scrubbing alone can smear or remove some of the crust, but the salts can re-form. The practical fix is to use the right efflorescence remover approach, rinse well, and then prevent continued salt wash-in from pot drainage.
Next Articles

How to Remove Thompson’s Patio Sealer Step by Step
Step-by-step removal of Thompson’s patio sealer on concrete, brick, pavers, and stone, with safety, tests, and cleanup.
Can You Remove Patio Sealer? How to Strip It Safely
Learn if you can remove patio sealer and how to strip it safely by type, material, and method.
How to Remove Resin From Patio Safely by Surface Type
Step by step guide to remove resin from patio by surface type with safe scraping, softening and solvent methods.