You can remove patio stone sealer, but the method depends entirely on what type of sealer is on your stone. Topical or film-forming sealers (the kind that sit on top of the surface and create a wet-look or shiny finish) need chemical strippers or mechanical help. Penetrating sealers that have soaked into the stone are a different beast and are much harder to fully pull out. Get the identification step right first, and the rest of the process becomes a lot more straightforward.
How to Remove Patio Stone Sealer: Step-by-Step Guide
Dylan Hale
29 Apr 2026
How to tell what sealer is on your patio stone
Before you buy anything or start scrubbing, spend five minutes figuring out what you're dealing with. The two big categories are topical (film-forming) sealers and penetrating sealers, and they behave very differently during removal.
Topical sealers form a visible protective film on the surface. They're what give stone and pavers that glossy or wet look. When they fail, you'll notice peeling, flaking, white haze, blotchy patches, or a sticky tacky surface. These are water-based acrylics or solvent-based acrylics, epoxies, or polyurethanes, and they require a proper stripper to lift them off.
Penetrating sealers (also called impregnating sealers) soak into the pores of the stone and become part of the substrate. They don't change the look of the surface much, and they don't peel. If you're removing one of these to reseal, the honest answer is that chemical sealers deep in the pores are very difficult to completely strip out, and in most cases you're better off cleaning the surface thoroughly and applying a compatible new sealer on top.
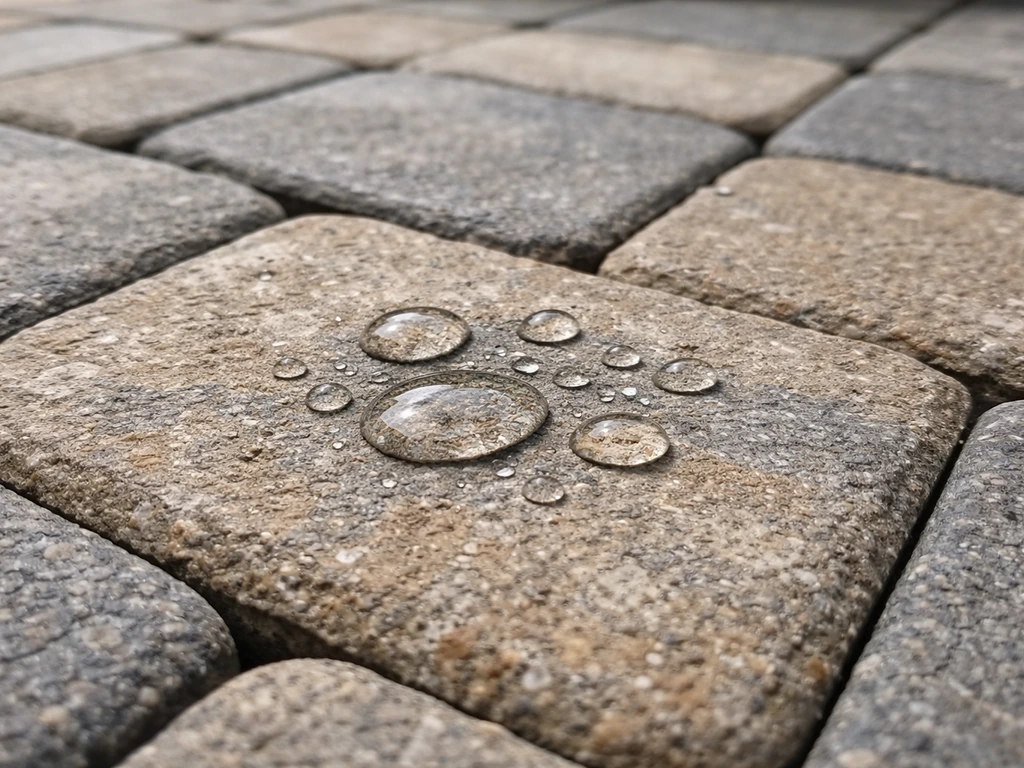
The simplest diagnostic test is the water droplet test. Drip a few drops of water onto the stone and watch what happens. If the water beads up and sits on the surface, there's a film-forming sealer (or heavy contamination) present. If the water soaks in and darkens the stone, you're either dealing with a penetrating sealer or bare unsealed stone. This test is also useful after removal to confirm you've actually gotten the product off.
The tape test is another quick check. Press a strip of duct tape firmly onto the surface and rip it off fast. If a layer of material comes up on the tape, you have a film-forming topical sealer and it's ready to be stripped. If nothing comes up and the surface looks clear, the sealer is likely penetrating or the topical sealer is well bonded and will need more aggressive treatment.
Also check your original product, if you can find it. Labels or brand names give you the chemistry type. Acrylic sealers (like many Thompson's-style patio sealers) are among the most common topical sealers on residential stone and pavers, and there are specific strippers formulated for them. Knowing whether yours is water-based or solvent-based acrylic helps you choose the right stripper and predicts how stubborn removal will be.
Tools and prep: protect plants, test spots, gather supplies
Don't skip the prep. Sealer strippers are strong chemicals and can damage grass, plants, and the surrounding home if you're careless. I've seen people rush straight to the stripping phase and end up with dead garden beds along the patio edge, so take ten minutes here.
Protect the area
- Water down all surrounding plants, grass, and garden beds before you start. This dilutes any stripper that splashes or rinses onto them.
- Cover plants right along the patio edge with plastic sheeting or drop cloths.
- Tape plastic sheeting over any painted or stained walls, fences, or structures adjacent to the work area.
- Remove or cover furniture, grills, and anything you don't want chemical contact on.
- If you're working near a drain, pond, or storm grate, check local rules about disposal. Some strippers should not go directly into stormwater systems.
PPE and ventilation
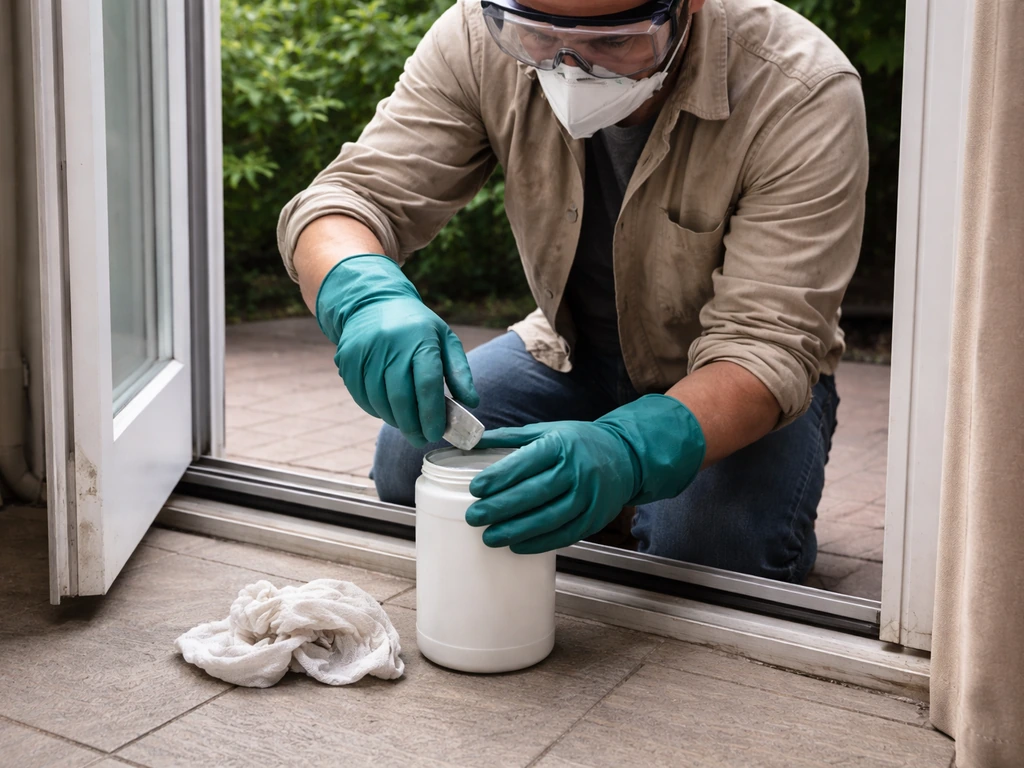
- Chemical-resistant gloves (nitrile or neoprene, not thin latex).
- Safety glasses or goggles, not just sunglasses.
- Old clothes you don't mind ruining.
- If you're using a solvent-based stripper or working in an enclosed or semi-enclosed patio, wear a respirator rated for organic vapors.
- Work in good ventilation. Open any nearby windows or doors, and don't work in a covered space without airflow.
Supplies to gather before you start
- Sealer stripper appropriate for your sealer type (more on this below)
- Stiff-bristle brush or natural bristle broom for scrubbing
- Plastic scraper or floor scraper (avoid metal on soft stones like travertine)
- Pressure washer or garden hose with a high-pressure nozzle
- Garden sprayer or paint brush/roller for applying stripper
- Plastic drop cloths and painter's tape
- Buckets and clean rinse water
Do a spot test before applying anything to the whole patio. Pick a small inconspicuous area, apply the stripper according to its instructions, and check the result. This tells you how the stone responds, whether the product is working, and whether the dwell time needs adjusting. Travertine, marble, and limestone are especially sensitive, so the spot test is not optional on those surfaces.
Chemical removal: strippers and solvent-based options
Chemical stripping is the most reliable approach for topical/film-forming sealers on stone, pavers, flagstone, and travertine. The right product depends on your sealer chemistry.
Water-based acrylic sealer strippers
For most residential acrylic patio sealers (which covers a huge percentage of what's on pavers and natural stone), a water-based alkaline stripper is the first tool to reach for. Products like Aqua Mix Sealer and Coating Remover, SRW Products SS Sealer Stripper, and SureCrete EnviroStrip fall into this category. They're non-flammable, lower in volatile organic compounds, and safer to use around the home than solvent-based alternatives, while still being genuinely effective on acrylic films.
- Clean the patio surface first. Remove loose dirt, debris, and anything sitting on top. A cleaner surface means better stripper contact.
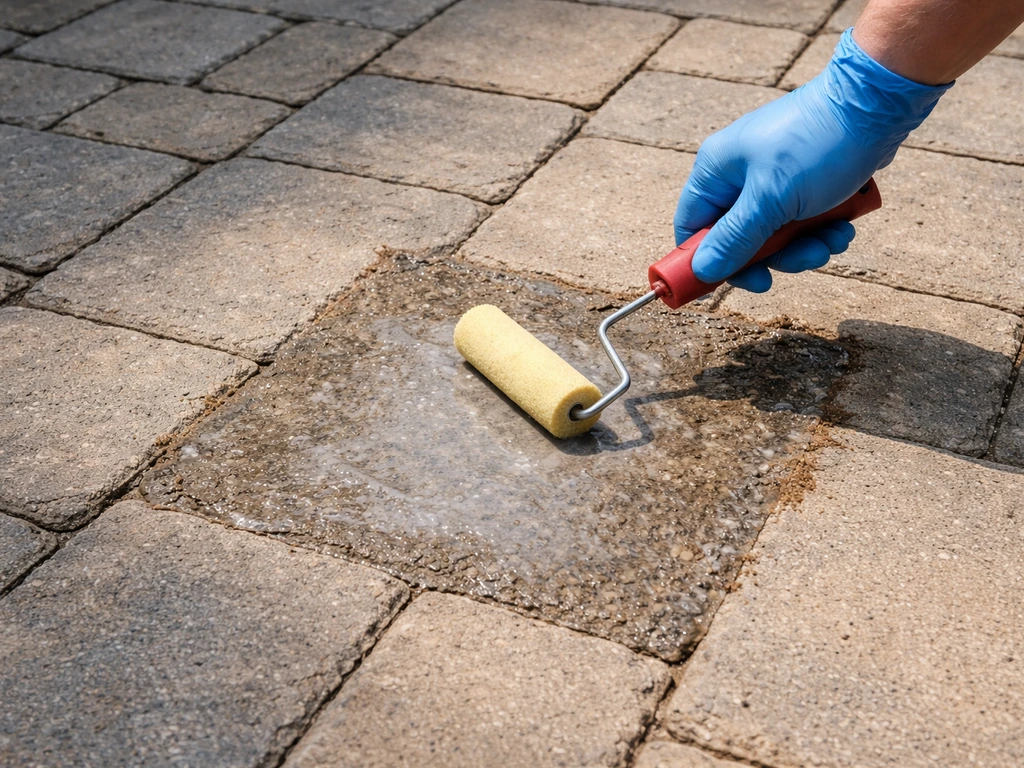
- Apply the stripper using a garden sprayer, paint brush, or roller. Cover the surface evenly and make sure it doesn't pool excessively in low spots.
- Allow the stripper to dwell. Most products need 10 to 60 minutes of contact time. SRW Products SS Sealer Stripper specifies about 10 minutes to soften the coating. Aqua Mix Sealer and Coating Remover allows up to 1 hour dwell time. Do not let the product dry on the surface. If it starts to dry before your dwell time is up, add more stripper to keep it wet.
- Scrub with a stiff-bristle or natural bristle brush, working the softened sealer up from the surface. For large areas, a floor scrubbing machine speeds this up considerably.
- Rinse thoroughly with clean water. Use a pressure washer if you have one (more on technique below) or a powerful garden hose. Rinse until there's no slippery residue left.
- Inspect the result. Use the water droplet test again. Water should absorb into the stone rather than bead on top if the sealer film is gone.
Solvent-based strippers for tougher coatings
If the water-based stripper doesn't cut through the sealer after a couple of attempts, or if you know you're dealing with a solvent-based acrylic, epoxy, or polyurethane sealer, move up to a solvent-based product. SureCrete FastStrip Plus is one example. These are more aggressive, more effective on thick or solvent-based topical coatings, and also more hazardous. The process is similar: apply, dwell, scrub, then add a small amount of water to emulsify the dissolved sealer before rinsing or wet-vacuuming it away.
One category to be aware of and to avoid if at all possible: methylene chloride (also called dichloromethane) strippers. These are extremely effective but carry serious health risks including severe skin irritation and documented risk of permanent organ damage with repeated exposure. There are good non-methylene-chloride options available for residential use, so I'd steer clear of the heavy industrial stuff unless you're a professional with proper equipment.
PROSOCO Sure Klean Fast Acting Stripper is another product you'll see cited for masonry and concrete sealer removal. It works by emulsifying old sealer so it can be rinsed away, and like other strippers it may need multiple applications for thick or layered coatings. Always check the SDS (Safety Data Sheet) for any chemical stripper before you use it. Manufacturers are required to provide these, and they tell you exactly what you're handling.
Gentler alternatives and when they actually work
I get asked about vinegar and dish soap a lot, and the honest answer is: these have a very limited role in sealer removal. They're not going to strip a topical acrylic film. Where they can help is with light surface residue, water-based residue that hasn't fully cured, or as part of post-removal cleanup to neutralize and clean the stone before rinsing.
Important caveat: do not use vinegar or any acid-based cleaner on travertine, marble, or limestone. These stones are calcium carbonate-based, and acids etch them fast, leaving permanent dull marks or surface damage. Muriatic acid is equally destructive on these materials. For travertine and similar stones, stick to pH-neutral cleaners specifically formulated for natural stone, and use a stone-safe stripper rather than acidic alternatives.
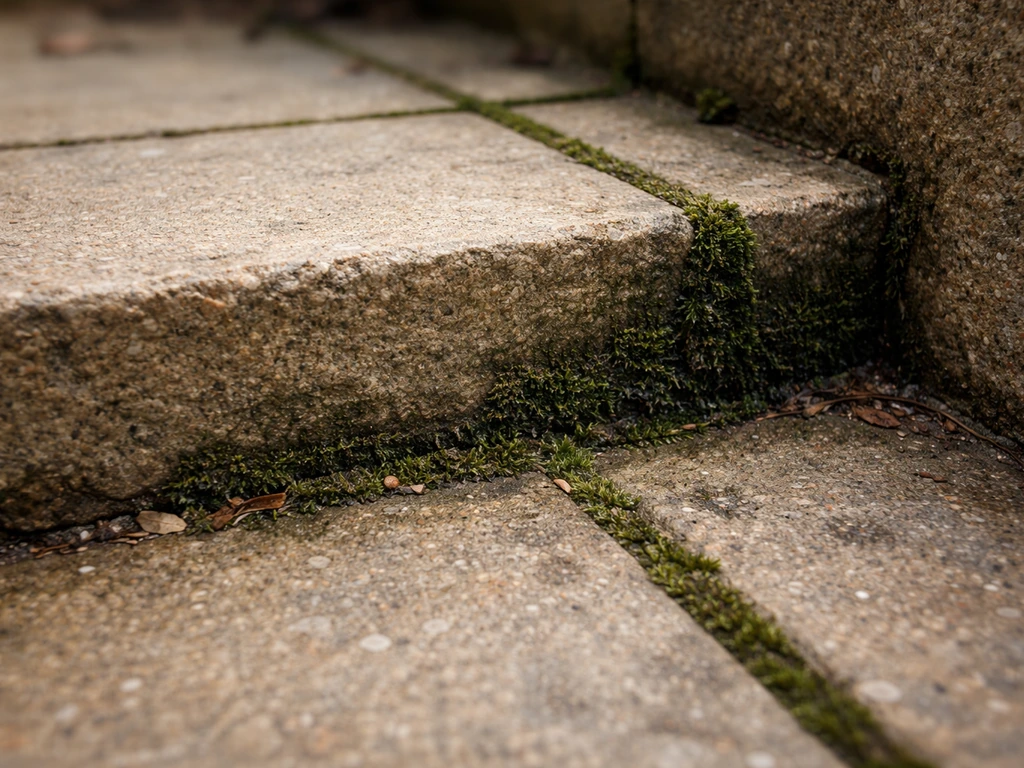
Bleach and sodium hypochlorite are sometimes effective for killing mold or algae that's growing under or through a failing sealer, but they don't strip the sealer itself. They can be useful as a pre-treatment to clean biological growth before stripping, but they're not a sealer removal tool on their own.
Dish soap and warm water do a decent job of post-strip scrubbing once the sealer film is already gone. The Concrete Network's guidance for post-removal cleanup is to scrub with soap and water and rinse thoroughly, which is a solid step before you assess whether more stripping is needed.
Mechanical removal: scrape, sand, and pressure wash without damaging the stone
Mechanical removal works best as a complement to chemical stripping, not a replacement for it. Pressure washing alone is unlikely to remove a properly cured topical sealer because the film's bond to the stone surface resists water impact. That said, pressure washing is very effective at rinsing up emulsified sealer after a chemical stripper has done the softening work.
Pressure washing technique
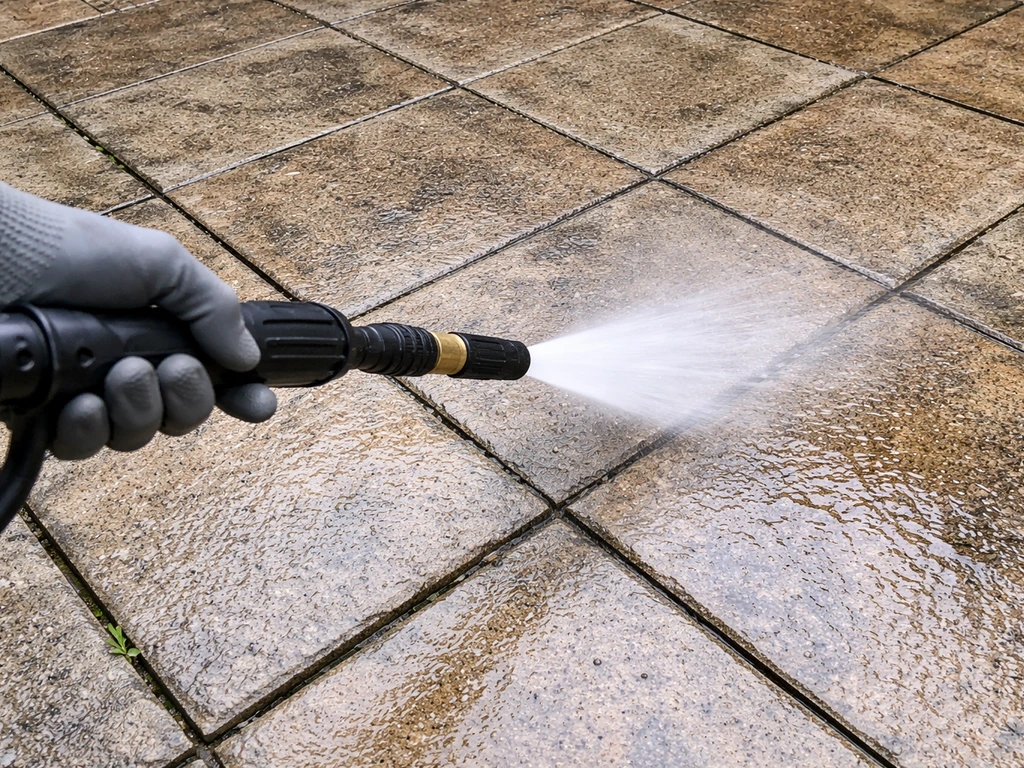
For rinsing after stripping, use 2000 to 3000 PSI on pavers and durable stone. Keep the nozzle 12 to 18 inches from the surface and hold it at a 30 to 45 degree angle rather than pointing straight down. Straight-down pressure concentrates force in one spot and can chip, spall, or erode softer stones like travertine or sandstone-based flagstone. Start at the lower end of that pressure range, test on a small area, and increase only if needed. A 25-degree nozzle tip is a reasonable starting point for most stone surfaces.
For travertine specifically, I'd keep pressure lower (under 1500 PSI) and rely more on the chemical stripper and scrubbing to do the work. The stone is porous and relatively soft, and aggressive pressure can widen the natural voids and pits in the surface.
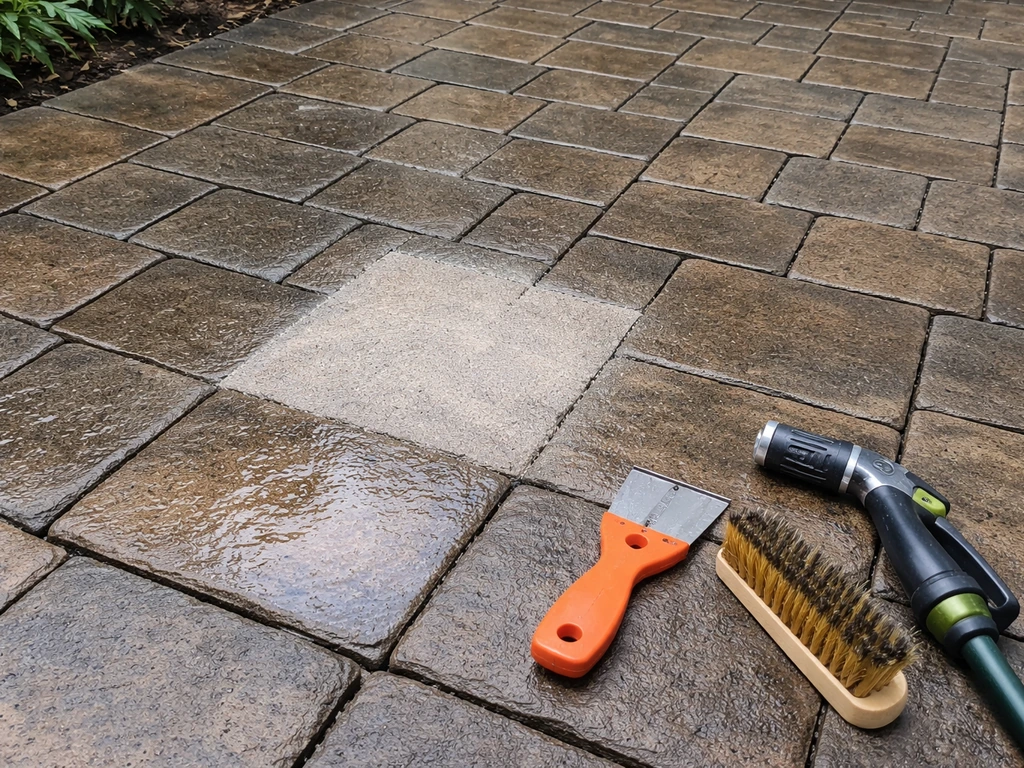
Scraping
A plastic floor scraper works well for lifting softened sealer after the stripper has done its job. Avoid metal scrapers on travertine, sandstone, or soft flagstone because they can scratch and gouge. On harder concrete pavers or dense natural stone, a metal scraper is fine. Work at a shallow angle and let the chemistry do the heavy lifting. If you're having to put a lot of muscle into scraping, the dwell time probably needs to be longer.
Sanding and grinding
Sanding or grinding is a last resort and is really only appropriate on concrete pavers or flagstone that can handle abrasion. It's not something I'd recommend for travertine, marble, or delicate natural stone. If you do go this route, use a floor grinder or angle grinder with a diamond cup wheel, and expect to do significant cleanup afterward. This approach removes the sealer by physically abrading the surface layer, which also removes a thin layer of the stone itself.
Troubleshooting sticky, hazy, or stubborn sealer residue
If your sealer isn't coming off, or the surface looks worse than when you started (sticky, hazy, white blotchy patches), here's how to work through the most common problems. If your issue is actually resin or tar-like buildup on the surface, the removal steps are different than generic sealer stripping how to remove resin from patio.
| Problem | Likely Cause | Fix |
|---|---|---|
| Surface still sticky after stripping | Sealer emulsified but not fully rinsed, or stripper dried on surface | Re-wet with stripper, scrub thoroughly, rinse completely with clean water |
| White haze or milky film remains | Water-based sealer that clouded during application or partial removal | Apply water-based stripper, keep wet for full dwell time, scrub and rinse |
| Blotchy or uneven darkening | Sealer applied unevenly or partially stripped, with some film remaining | Spot-apply stripper to darker areas, dwell, scrub, full re-rinse |
| Sealer won't lift at all after one treatment | Thick coating, solvent-based sealer, or multiple layers | Switch to solvent-based stripper, allow full dwell (up to 1 hour), repeat treatment |
| Peeling but won't fully come off | Old topical sealer losing adhesion but still partially bonded | Scrape loose sections, apply stripper to bonded sections, scrub and rinse |
| Streaky appearance after rinsing | Residue left in low spots or joints | Scrub joints with a stiff brush and re-rinse, use a nozzle to direct water into gaps |
The most common mistake I see is letting the stripper dry on the surface. Once it dries, it stops working and can actually bond residue in place. If you're working in hot weather or direct sunlight, work in smaller sections (maybe 4 to 6 square feet at a time) to make sure you can keep the product wet for the full dwell time. Re-wet with fresh stripper if any section starts to dry before you're ready to scrub.
For truly stubborn coatings, the correct escalation path is: start with a water-based stripper at full dwell time, then move to a solvent-based stripper if that doesn't work, then consider mechanical help (scraping or pressure washing combined with the chemical). Each pass removes more. Sometimes thick or layered sealers need two full chemical treatments before the stone is clear.
If you're dealing with hard water stains, salt deposits (efflorescence), or calcium carbonate buildup that looks like sealer residue but isn't, those need a different approach entirely. Efflorescence removers are formulated to dissolve salt and lime deposits, but again, avoid acid-based versions on travertine, marble, or limestone.
Post-removal cleanup and how to prep for re-sealing
Once the sealer is off, you're not done. What you do next determines whether your new sealer bonds properly or you end up with the same problems in six months.
- Scrub the entire surface with dish soap or a pH-neutral stone cleaner and warm water. This removes stripper residue, dissolved sealer material, and any remaining contamination.
- Rinse thoroughly with clean water. Rinse twice if you used a strong stripper. Some alkaline strippers benefit from a light acid neutralization rinse (a diluted solution of citric acid or specific neutralizing product), but check your stripper's instructions. Skip acids entirely on travertine, marble, and limestone.
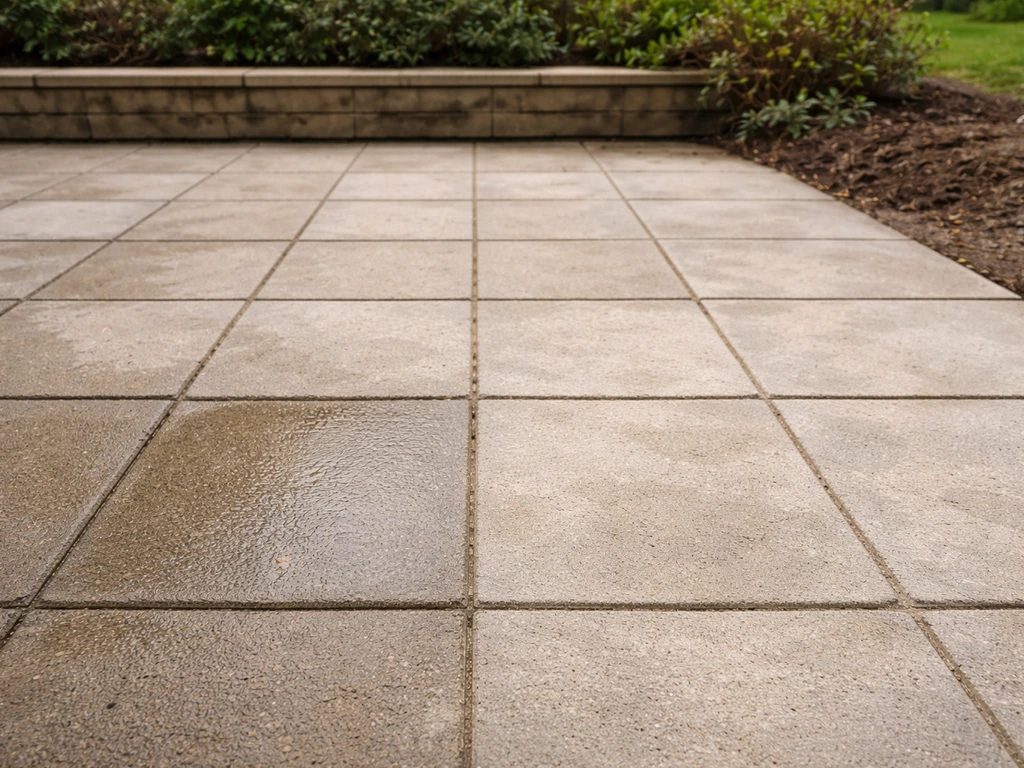
- Run the water droplet test. Water should now absorb into the stone rather than bead on top. If it still beads, there's sealer or contamination remaining. Go back and strip again before proceeding.
- Let the stone dry completely. This typically means 24 to 72 hours depending on your climate, the stone's porosity, and weather conditions. Applying new sealer over damp stone is one of the most common causes of hazy or failed re-sealing jobs.
- Inspect for damage. Removal can sometimes reveal cracks, missing joint sand, or etched areas that need attention before you reseal.
- Choose your new sealer carefully. If you had problems with the old topical sealer (peeling, hazing, stickiness), consider switching to a penetrating sealer appropriate for your stone type. Make sure whatever you choose is compatible with the stone and with any products used during removal.
If you're planning to reseal with the same type of product you just removed, make sure you understand why the original sealer failed. Was it applied to a wet surface? Was the stone too cold? Did it get heavy foot traffic too soon after application? Timing matters because how soon you can let people walk on or use the patio again depends on whether the sealer has fully cured and dried. Answering those questions before you apply the next coat saves you from doing this whole process again in a year. For reference, most sealers need the stone to be completely dry and free of any residue before application, and many require specific temperature windows (typically above 50°F and below 90°F).
If the removal was for a specific brand like Thompson's Water Seal or Sika patio products, the process above applies but you'll want to check whether a brand-specific stripper is recommended, as some manufacturers formulate removal products to work best with their own chemistry. If your goal is to remove Thompson's patio sealer, start by identifying whether it's a topical acrylic or a penetrating sealer so you can choose the right stripper. To apply Sika patio sealer correctly after removal, follow the temperature, drying, and application steps on the product label. The same goes for specialty sealers used on travertine or high-end natural stone, where being extra careful during both removal and re-sealing protects a costly surface.
FAQ
How can I tell if all the sealer residue is truly gone before resealing?
Yes. If you plan to reseal, you need to confirm the stone is genuinely residue-free, not just “mostly clean.” After stripping and rinsing, let the patio dry completely, then do the water droplet test again. If water still beads like a film is present, you likely have leftover sealer or stripper residue and the next coat may fail or look blotchy.
What should I do if the sealer is still there after one stripping attempt?
Don’t assume a second stripper pass will fix it if the first pass dried out, or if you only removed the top layer. For stubborn film-formers, re-wet and keep the stripper active for the full dwell time in small sections. If it still won’t lift after two full applications, switch chemistry (water-based to solvent-based acrylic stripper), then finish with emulsification rinse or wet-vac removal.
Can I remove patio sealer from only a small section without making a noticeable patch?
Yes, you can remove sealer from a small area, but the key is to avoid “feathering” patches that leave a visible halo. Use masking tape to define the work area, keep dwell time controlled, and rinse the full boundary evenly. Plan to blend by stripping slightly beyond the damaged spot so the new sealer doesn’t flash over a chemically different surface.
Why does my patio look darker or uneven after stripping, and is that normal?
If the stone darkened after stripping, that usually indicates either trapped moisture or loosened residues that need another rinse. Wait until the surface is fully dry (not just cool to the touch), then re-check with the water droplet test. If water still beads, you likely have remaining topical sealer, not just wet stone.
Is it possible to fully remove a penetrating (impregnating) sealer before resealing?
For penetrating sealers, you generally can’t count on removing “all” of the chemistry from inside the pores. If you’re resealing, the practical approach is thorough cleaning (and possibly biological pre-treatment if needed) and then applying a compatible sealer system on top. If you must remove a penetrating sealer for appearance reasons, expect multiple rounds and still imperfect results.
How do I know the patio is dry enough for the next coat after stripping?
Drying time varies by climate and product, but a reliable rule is to reseal only after complete drying and after confirming there is no beading or tackiness from leftover film. Humidity and cool temperatures can slow drying dramatically, even if the surface seems dry. If you seal too soon, you risk whitening, peeling, or reduced adhesion.
Can I use dish soap or vinegar to help after stripping, and will it affect resealing?
Not necessarily. Some cleaners leave soaps or emulsifiers behind, and those can interfere with adhesion. After any vinegar or dish-soap cleanup used for residue, follow with thorough water rinsing, then dry fully before testing with the water droplet test. If you see beading, you may need an additional rinse or a sealer-removal compatible cleanup step.
Will pressure washing by itself remove patio stone sealer?
Pressure washing alone rarely removes a properly cured topical sealer, but it can still damage porous or softer stones if used aggressively. Use pressure washing mainly to rinse emulsified product after chemical stripping, not as the primary stripping method. For travertine and similar stones, keep pressure conservative and rely more on chemical dwell and gentle scrubbing.
How does hot weather or direct sunlight change how I should strip sealer?
Warm or hot conditions can shorten working time because the stripper can evaporate or stop reacting if it dries. Use smaller sections, check dwell time frequently, and keep any section that starts drying re-wet with fresh stripper as directed. Avoid stripping in direct sun when possible, or plan to work in early morning or late afternoon.
Do I need to use the same type of sealer after I remove it?
Yes, but mismatch is a common failure point. If the original was a film-forming acrylic, a penetration sealer or a different solvent chemistry may not bond correctly, and vice versa. Your best move is to match the sealer family (film-forming versus impregnating) and verify the new product’s stated compatibility or overcoating instructions after removal.
Next Articles
How to Apply Sika Patio Sealer: Step-by-Step Guide
Step-by-step how to apply Sika Patio Sealer: prep, cleaning, coating method, curing times, coverage, and fixes for strea
How to Scrape Moss Off a Patio Step-by-Step Guide
Step-by-step on how to scrape moss off patio safely, choose cleaners for your surface, prevent regrowth, and troubleshoo
How to Remove Moss From a Patio: Step-by-Step Guide
Step-by-step guide to remove moss and algae from concrete, slabs, and pavers, with safe cleaners, pressure wash tips, an