
Mix one cup of household bleach into one gallon of water, scrub it onto your patio pavers with a stiff brush, let it sit for five to ten minutes, and rinse thoroughly. That combination clears black algae, green mold, mildew stains, and most organic discoloration from concrete, brick, and manufactured pavers faster than almost anything else you can buy at a grocery store. The catch is that bleach is not right for every surface, it needs proper dilution, and a few prep steps protect your plants, your skin, and your joints from damage. I'll walk you through all of it. For step-by-step instructions on how to clean patio slabs with bleach, see this detailed guide.
How to Clean Patio Pavers with Bleach: Step-by-Step Guide

Dylan Hale
18 Jul 2026
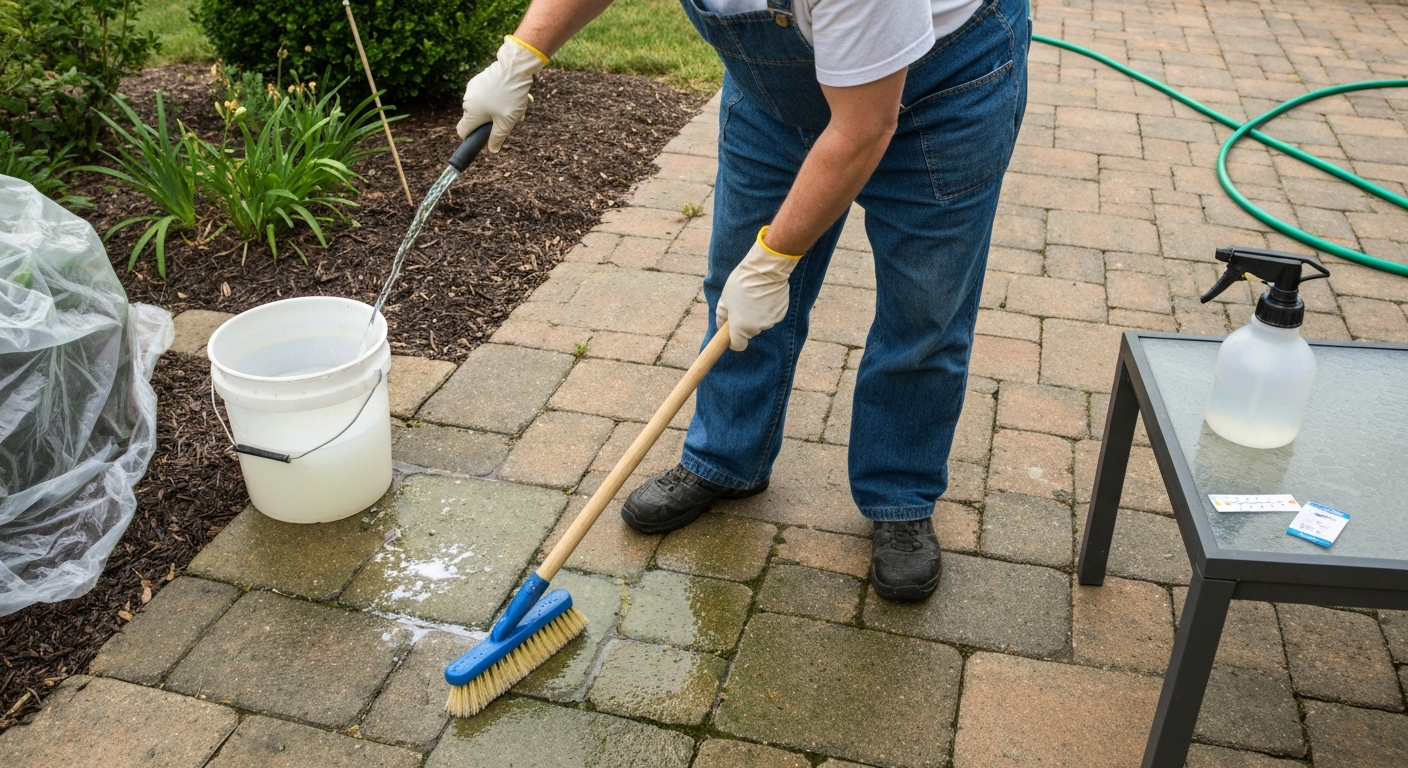
When bleach is actually the right call for patio pavers
Bleach earns its place on the patio when the problem is biological. Algae, green or black mold, mildew, lichen, and organic stains like leaf tannins, wood rot residue, and tobacco all respond well to sodium hypochlorite because it breaks down the organic matter at a cellular level. I reach for bleach when scrubbing alone or a pressure wash leaves behind that stubborn dark green or black film that comes back within weeks. That regrowth pattern is almost always algae or mold, and bleach is genuinely effective at killing it rather than just moving it.
Bleach is less useful, and sometimes counterproductive, for stains that have nothing to do with biology. Rust, oil, grease, tire marks, efflorescence, and mineral deposits will not respond to bleach. For those you need targeted products: oxalic-based rust removers, enzyme degreasers or TSP for oil and grease, and dilute acid-based cleaners for efflorescence. Using bleach on those problems wastes time and can lock in some stains further. Keep that distinction in mind as you diagnose your patio.
Which patio materials are safe for bleach, and which are not
This is the most important question to answer before you mix anything. Bleach is alkaline and oxidizing, which makes it excellent on dense, non-porous, or low-porosity masonry but genuinely damaging to acid-sensitive and calcareous stones. ASTM C1515 and the Natural Stone Institute both explicitly warn against using bleach on marble, limestone, and travertine because the high pH attacks the calcium carbonate binder, causing etching, surface lightening, and long-term degradation. I have seen it ruin a travertine patio in a single application, so this warning is not theoretical.
| Paver / Stone Type | Bleach Safe? | Notes |
|---|---|---|
| Concrete pavers (e.g., Belgard, Unilock) | Yes | Standard 1:16 dilution works well; Belgard explicitly recommends bleach for organic stains |
| Clay brick pavers | Yes (with care) | Stick to diluted solutions; test first as some older bricks can lighten |
| Poured concrete slabs | Yes | Bleach is a go-to for mold and algae on concrete |
| Porcelain and ceramic tile | Yes | Non-porous; rinse well to avoid grout discoloration |
| Bluestone / slate | Generally yes | Test first; bluestone is siliceous and usually tolerates bleach |
| Sandstone | Caution | Porous and variable; test in hidden area; may lighten |
| Granite pavers | Yes (diluted) | Dense and non-porous; handles diluted bleach well |
| Travertine | No | Calcareous stone; bleach etches and lightens the surface |
| Marble | No | High-pH bleach dissolves calcium carbonate; causes permanent etching |
| Limestone | No | Same issue as marble and travertine; use pH-neutral cleaners only |
| Sealed or colored pavers | Caution | Bleach can degrade sealers and fade pigmented pavers; test first and re-seal after |
If you have travertine, marble, limestone, or any stone you are unsure about, skip chlorine bleach entirely. Oxygen bleach (sodium percarbonate) is a much safer alternative for those surfaces, and I cover it in the alternatives section below. For any surface in the caution category, the spot-test process I describe further down is non-negotiable.
Bleach types, strengths, and how to dilute safely
Standard U.S. household bleach (like Clorox Regular or store-brand equivalents) contains roughly 5 to 9 percent sodium hypochlorite. Concentrated versions can reach 8 to 10 percent. Pool chlorine and industrial bleach run higher still and are not necessary or appropriate for patio cleaning. Stick with regular household bleach at 5 to 9 percent for everything in this guide.
The CDC's mold-cleanup guidance recommends no more than 1 cup of bleach per 1 gallon of water (approximately 1:16) for removing visible mold from hard surfaces. Unilock's paver maintenance documentation suggests a lighter mix of 1 part bleach to 10 parts water (1:10) for stubborn algae and mold. I use these as my two benchmarks: 1:10 for lighter organic growth, and 1:16 for heavier infestations or deeply embedded mold. Going stronger than 1:10 does not meaningfully improve results and increases the risk of surface damage and runoff harm.
| Use Case | Bleach-to-Water Ratio | Bleach per 1 Gallon Water | Approx. Sodium Hypochlorite in Solution |
|---|---|---|---|
| Light algae, green mildew | 1:16 | 1 cup (8 fl oz) | ~0.3–0.5% |
| Heavy mold, black algae, organic stains | 1:10 | 1.5 cups (12 fl oz) | ~0.5–0.9% |
| Pre-treatment for stubborn regrowth | 1:10 | 1.5 cups (12 fl oz) | ~0.5–0.9% |
Always add bleach to water, not water to bleach. Mix in a plastic bucket, not metal. Never mix bleach with vinegar, muriatic acid, or any ammonia-based cleaners. NIOSH/CDC guidance recommends preparing bleach fresh, working in well‑ventilated areas, avoiding sprays that create inhalable aerosols, and never mixing bleach with acids or ammonia because those combinations produce toxic chlorine or chloramine gases. Combining bleach with acids produces toxic chlorine gas, and mixing with ammonia creates chloramine gas. Both cause severe respiratory injury. This is not a cautious-label overstatement: it is a genuine chemical hazard.
PPE and site prep before you open the bottle
Rushing the prep is how you end up with bleached shoe prints on your lawn, irritated eyes, or dead plants bordering your patio. Five minutes of setup makes the whole job safer and protects the areas around the patio that you do not want touched.
Personal protective equipment
- Chemical-resistant gloves: nitrile, neoprene, PVC, or butyl rubber. Standard dish gloves usually work for a single session, but thicker nitrile is better
- Safety glasses or goggles (not regular sunglasses): bleach splashes are a real risk when scrubbing or pressure washing
- Old clothes or a plastic apron: bleach will immediately discolor fabric
- Rubber-soled, closed-toe shoes: avoid sandals
- If working in an enclosed area like a covered porch or applying large volumes, add a NIOSH-approved respirator rated for chemical vapors
Site prep checklist
- Move or cover all patio furniture, cushions, and decorative items before mixing any solution
- Remove pets and children from the area and keep them away until the patio is fully rinsed and dry
- Pre-soak all adjacent grass, garden beds, shrubs, and potted plants with plain water. This dilutes any bleach runoff before it reaches the root zone
- Cover sensitive plantings with plastic sheeting weighted down at the edges if they are directly beside the patio
- Sweep or blow loose debris off the paver surface first: dirt and organic matter consume the bleach and reduce effectiveness
- Block or sandbag any storm drains nearby. Bleach is toxic to aquatic life and the SDS for household bleach explicitly warns against allowing it to enter waterways or sewers
- Check weather: do not apply bleach if rain is expected within two hours, and avoid direct hot sun if possible as it accelerates evaporation and reduces dwell time
How to spot-test bleach on your pavers
A spot test takes about 15 minutes and can save you from an expensive regret. This is especially important for renters who may not know the exact stone or paver type, for anyone with colored or pigmented pavers, and for any material in the caution category from the table above.
- Choose a small, hidden area: under a furniture leg, near the edge of the patio, or in a corner that is rarely seen
- Mix a small amount of your intended solution (1: 16 or 1:10) in a cup
- Apply about a tablespoon to the test area and spread it over roughly a 4-inch square
- Leave it for the full intended dwell time (10 minutes)
- Rinse thoroughly with clean water
- Wait 30 minutes for the surface to fully dry, then compare the test patch to the surrounding area in good light
- Look for any lightening, color change, etching, or dull patches. If you see any change you are unhappy with, switch to oxygen bleach or a pH-neutral cleaner instead
If you are a renter, photograph the test area before and after and keep a record in case a landlord raises questions. Renters with no access to a hose can use a watering can for rinsing in the test phase with no issue.
Step-by-step: manual scrubbing method with bleach
This is the method I recommend for most homeowners and renters. For step-by-step guidance on how to clean patio stone with bleach, see this detailed walk-through. It requires no special equipment beyond a stiff-bristle brush, a bucket, a hose (or watering can), and your PPE. It gives you more control over where the bleach goes compared to pressure washing, which matters when you have garden beds close to the patio. For a complete step-by-step guide on how to bleach patio surfaces safely and effectively, see how to bleach patio.
- Complete all site prep and put on your PPE before mixing anything
- Sweep the patio surface thoroughly to remove loose dirt, leaves, and debris
- Pre-wet the entire paver surface with plain water from a hose. This prevents the dry paver from wicking the bleach solution too quickly and helps carry it into surface pores evenly
- Mix your bleach solution in a plastic bucket: 1 cup bleach per 1 gallon of water for heavy mold (1:16), or 1.5 cups per gallon for stubborn algae (1:10). Make only as much as you can use in one session
- Pour or apply the solution directly onto the paver surface, working in sections of about 20 to 30 square feet at a time so you can manage dwell time without the solution drying out
- Allow the solution to dwell on the surface for 5 to 10 minutes. The Clorox label guidance suggests a minimum of about 5 to 6 minutes of contact time for disinfection on hard surfaces. For heavier biological growth, up to 10 minutes is reasonable
- Do not let the bleach solution dry on the surface. If it starts to dry in hot sun or wind, add a little more solution or mist with water to keep it wet
- Scrub vigorously with a stiff-bristle deck brush or handheld scrubbing brush. Use firm circular pressure on stained areas. A long-handled deck brush covers large areas faster and saves your back
- Check that the staining is lifting. For very deep algae or mold, you may need to apply a second round of solution and scrub again
- Rinse the section thoroughly with clean water before moving to the next section. Flush toward a drain or away from plants, using generous water volume to dilute the runoff
- After the full patio is done, give the entire surface a final rinse with plenty of clean water
- Re-soak any adjacent plants and grass with clean water after rinsing the patio surface
Belgard's official maintenance guide lists this exact approach (apply household bleach, scrub with a stiff-bristle brush, rinse) for leaf stains, wood rot, and tobacco residue on their concrete pavers. Following the same method for mold and algae is consistent with how the paver manufacturer intends the product to be maintained.
Step-by-step: pressure washing with bleach
Pressure washing speeds up the application and rinsing phase, but it introduces some considerations that the manual method does not. The biggest one is that spraying bleach creates a fine mist that drifts, so protecting plants and bystanders matters even more. The second is that high pressure can erode joint sand between pavers if you are too aggressive.
Equipment and dilution for pressure washing
Use a downstream injector (also called a chemical injector) if your pressure washer has one. This mixes the bleach solution after the pump, which protects the pump seals from the corrosive bleach. Never run straight bleach through the pump itself. The downstream injector typically dilutes the chemical further (often 10:1 or more), so start with a stronger mix in your tank: roughly 1 part bleach to 3 or 4 parts water going into the injector reservoir. The final dilution hitting the surface will be approximately 1:10 or lighter, which is the target range.
If your pressure washer does not have a downstream injector, apply the bleach solution manually with a pump sprayer or watering can, let it dwell, then use the pressure washer with plain water for rinsing only. This is the approach I use most often because it gives better dwell time control.
Pressure settings and technique
- Use 1,000 to 1,500 PSI for concrete pavers and brick. Going higher risks eroding joint sand and damaging paver surfaces, especially on older or softer materials
- Use a 25-degree (green) or 40-degree (white) nozzle tip for cleaning. Never use a zero-degree (red) tip on pavers
- Keep the wand at least 12 inches from the surface and angle it at about 45 degrees to push debris forward rather than down into joints
- Work in consistent overlapping passes rather than dwelling in one spot
- Unilock recommends using a hose or power washer at a low angle specifically to minimize joint sand erosion
- Complete all site prep and PPE, with extra attention to eye protection given the mist created by pressure washing
- Pre-wet the patio with plain water
- Apply bleach solution via downstream injector or manually with a pump sprayer
- Allow the solution to dwell for 5 to 10 minutes, keeping the surface visibly wet
- Pressure wash with plain water using the 25 or 40-degree tip at 1,000 to 1,500 PSI, working systematically from one end to the other
- Check joints after rinsing. If joint sand has been displaced, allow the surface to dry and re-sand joints with polymeric sand before sealing
- Rinse surrounding plants and grass with plain water as a final step
How long to leave bleach on patio pavers
Dwell time is the most underappreciated part of the process. Too short and you are just wet; too long and you risk surface damage, dried bleach residue, and unnecessary plant runoff. For a quick guideline on how long to leave bleach on patio, see the dwell time recommendations in this section. The science backs up a clear range: laboratory research published in Biofouling (2019) found that sodium hypochlorite concentrations of 0.2 percent and above produced visible reductions in algal and cyanobacterial biofilms after just 1 hour of contact, with 2 percent concentrations producing substantial reductions. At the dilutions used for household patio cleaning (roughly 0.3 to 0.9 percent), a 5 to 10 minute dwell time is the practical sweet spot recommended across paver manufacturers and cleaning product labels.
| Stain / Growth Type | Recommended Dwell Time | Notes |
|---|---|---|
| Light green algae or mildew | 5 minutes | Usually lifts easily; scrub and rinse |
| Heavy black mold or thick algae | 8 to 10 minutes | May need a second application |
| Organic stains (leaf tannins, wood rot) | 5 to 8 minutes | Per Belgard guidance; scrub while wet |
| Lichen or moss (surface-level) | 10 minutes | Harder to kill; consider a second treatment after drying |
The single most important rule about dwell time: do not let the bleach dry on the surface. Dried bleach leaves a white chalky residue that is difficult to remove, can affect the appearance of colored pavers, and does not improve cleaning efficacy once dry. If the sun or wind is working against you, mist the surface with a little extra solution or plain water to keep it wet through the dwell period. Work in sections if needed, especially on large patios.
Rinsing and neutralizing bleach runoff
Rinsing is not optional. The goal is to remove all active bleach from the paver surface and to dilute any runoff before it reaches soil, grass, or drainage systems. Flush the surface generously with clean water, and then do it again. I typically rinse for twice as long as I think is necessary.
For most backyard patio jobs, thorough rinsing into a lawn or garden soil (after pre-soaking) is adequate: the chlorine dissipates quickly in open soil and sunlight. However, if your runoff goes directly into a storm drain, or if you are working near a pond, stream, or sensitive plantings, neutralizing the wash water before discharge is the responsible approach. Sodium thiosulfate is the standard neutralizer for free chlorine: chemical supplier guidance indicates approximately 2.85 grams of sodium thiosulfate pentahydrate neutralizes 1 gram of free chlorine. For small patio jobs, dissolve a tablespoon of sodium thiosulfate pentahydrate (available at pool supply stores) in a bucket of water and apply it to the rinsed surface or mix it into the collected runoff before disposal. Use chlorine test strips to confirm the free chlorine reads zero before allowing water to enter a drain.
What bleach will and won't remove from pavers
Being clear about bleach's limits saves a lot of frustrated scrubbing. Here is an honest breakdown of the most common patio stain types and what actually works on each.
| Stain Type | Bleach Effective? | Better Alternative if Not |
|---|---|---|
| Algae (green, black-green) | Yes | Oxygen bleach if bleach is restricted |
| Mold and mildew | Yes | Oxygen bleach for sensitive surfaces |
| Lichen | Partially (surface kill only) | Repeat treatments or paver-specific biocide |
| Leaf tannins and organic discoloration | Yes | Oxygen bleach for delicate stones |
| Wood rot and tobacco stains | Yes | Per Belgard guidance |
| Rust stains | No (may worsen) | Oxalic acid-based rust remover |
| Oil and grease | No | TSP, enzyme degreaser, or solvent degreaser |
| Efflorescence (white mineral deposits) | No | Dilute acid cleaner (test first on paver type) |
| Tire marks | No | Degreaser or solvent cleaner |
| Paint | No | Paint stripper appropriate to the paver type |
Gentler alternatives: when to use oxygen bleach or vinegar instead
Oxygen bleach (sodium percarbonate) is my first recommendation when chlorine bleach is not appropriate. It releases hydrogen peroxide when dissolved in water, which kills algae and mold through oxidation rather than chlorination. It is gentler on sealers and colored pavers, produces less fumes, is less harmful to plants, and is generally considered safer for the environment. The tradeoff is that it works more slowly: most oxygen bleach products need 15 to 30 minutes of dwell time and perform better in warm water. It is the right choice for sandstone, pigmented concrete pavers, sealed surfaces, and situations where you want to avoid chlorine entirely.
White vinegar (5 percent acetic acid) is a popular alternative for readers who want to avoid all chemicals, but it has a real limitation on pavers: you absolutely cannot use it on travertine, limestone, marble, or any calcium carbonate-based stone because the acid will etch the surface immediately. On concrete and brick it will kill some surface algae and mildew, but it is less effective than chlorine bleach at penetrating biofilm. It also cannot be mixed with bleach under any circumstances, since the combination produces chlorine gas. Use vinegar as a standalone option or a maintenance rinse, not as part of a bleach-based cleaning session.
Troubleshooting: when bleach doesn't work or causes problems
Bleach is not lifting the stain
- Confirm the stain is biological (organic). If it is rust, oil, or efflorescence, bleach will not work regardless of concentration or dwell time
- Check that your bleach is fresh. Bleach degrades over time, especially if stored in heat or sunlight. Bleach older than six months may have lost significant potency. Buy a new bottle
- Increase dwell time slightly (up to 10 to 15 minutes) and scrub more vigorously
- Try a second application after the first has rinsed and dried. Very thick algae biofilm often needs two treatments
- For persistent lichen or deeply embedded growth, consider a dedicated paver biocide cleaner after the bleach treatment to prevent rapid recolonization
Pavers look lighter or discolored after bleach
- If the paver is a calcareous stone (travertine, marble, limestone) and appears etched or pitted, the damage is likely permanent. Switch to pH-neutral cleaners going forward
- If it is a colored or pigmented concrete paver and looks faded, bleach may have degraded the pigment or the sealer. Re-seal once the paver has dried fully (at least 24 to 48 hours)
- A white chalky film after rinsing usually means the bleach dried before being flushed. Re-wet with water and scrub gently to remove the residue, then rinse thoroughly
Joint sand washed away after rinsing
Aggressive pressure washing or very heavy hose rinsing can displace the sand between paver joints. This is a normal result of heavy cleaning rather than a bleach-specific issue. Allow the patio to dry completely (24 hours minimum), then sweep polymeric sand into the joints, compact it lightly, and mist with water to activate the binding agent. Sealing the patio after cleaning helps lock the sand in place.
Aftercare: drying, sealing, and keeping the pavers cleaner longer
After cleaning, let the patio dry for at least 24 to 48 hours before applying any sealer. Sealing damp pavers traps moisture and causes the sealer to cloud or peel. A penetrating sealer or a surface-applied paver sealer both reduce the porosity that allows algae and mold to take hold, making future cleaning easier and less frequent. Belgard's maintenance guidance specifically recommends sealing after heavy cleaning and after re-sanding joints.
For ongoing maintenance, a light clean with a diluted bleach solution (1:16) once or twice a year prevents the heavy buildups that require aggressive treatment. In shaded or damp climates where algae regrows quickly, a biocide-enhanced paver sealer can slow the regrowth cycle meaningfully between deep cleans. Sweep the patio regularly to remove organic debris, which is the food source for algae and mold, and you will find the annual cleaning session becomes much less of a project.
FAQ
What surfaces is household bleach appropriate for when cleaning patio pavers and masonry?
Use sodium hypochlorite (household bleach) for hard, non‑porous or dense masonry surfaces to remove mold, mildew, algae and other organic stains: concrete, typical concrete pavers, standard clay brick, and some dense natural stones (test first). Avoid bleach on polished, calcitic or acid‑sensitive stones (marble, travertine, limestone) and on colored/painted or specially sealed pavers unless the manufacturer permits it—bleach can lighten color, strip sealers and damage binders.
What strength of household bleach do consumer products contain and what working dilutions are recommended?
Most U.S. household bleaches contain about 5–9% sodium hypochlorite. Recommended working dilutions: - Light organic growth: ~1:32 (1/2 cup bleach to 1 gallon water). - Routine mold/algae cleaning: CDC‑style ~1:16 (1 cup bleach to 1 gallon water). - Stubborn heavy growth: up to ~1:10 (1 part bleach to 10 parts water) or product label directions. Do not exceed very strong mixes (e.g., 1:4) without manufacturer guidance—higher concentrations increase substrate and plant/runoff risk. Always prepare fresh solution and follow product label.
What dwell/contact times should I use for bleach on pavers?
Allow the bleach solution to remain wet on the surface for 5–15 minutes for routine disinfection/organic removal (many product labels specify ~5–6 minutes). For heavy, established biofilms longer contact (up to 20–30 minutes) can improve visible removal—keep the surface wet and avoid drying. Rinse thoroughly before the solution dries. Follow label contact‑time instructions.
What personal protective equipment (PPE) and site‑preparation steps are required?
PPE: chemical‑resistant gloves (nitrile/ neoprene/PVC), safety goggles or face shield, long sleeves and pants, closed shoes, and consider a NIOSH‑approved respirator if working in confined/poorly ventilated areas or using large volumes. Site prep checklist: remove furniture/loose debris, cover or protect plants and lawn (plastic sheeting), shut off nearby drains if possible, wet down nearby vegetation if you cannot cover it, post warning signs for occupants/pets, ensure good ventilation, keep children/pets away, and read the bleach product SDS/label for specific PPE.
Step‑by‑step: manual scrubbing method using household bleach
1) Sweep and remove loose debris. 2) Test a small inconspicuous area for color change (24–48 hr). 3) Apply your diluted bleach solution (see dilutions) with a plastic pump sprayer or watering can—avoid aerosolizing and don’t use metal containers. 4) Let it sit 5–15 minutes (longer for heavy growth), keeping the surface wet. 5) Agitate with a stiff nylon or poly bristle brush (do not use wire brushes on softer stones). 6) Rinse thoroughly with plenty of clean water; use a hose and low‑pressure nozzle and direct runoff away from plants/soil/drains if possible. 7) If residues persist, repeat or use an oxygen‑bleach follow up. Neutralize runoff if required (see neutralization).
Step‑by‑step: pressure‑washing with bleach—safe practice
1) Read both the bleach label and pressure‑washer manual; do not mix bleach and power‑washer detergents unless specified. 2) Use low to moderate pressure and a wide fan nozzle to avoid joint erosion (start at 800–1200 psi for pavers). 3) Prewet the area and surrounding vegetation; protect plants. 4) Apply bleach solution manually with a pump sprayer or with a pressure‑washer detergent tank only if compatible (follow equipment instructions). 5) Allow recommended dwell time (5–15 min) without letting it dry. 6) Rinse at low angle, working downhill so runoff is controlled, and never aim at grout joints to avoid displacement. 7) Reapply if needed; after final rinse, re‑sand joints if necessary and allow to dry fully before sealing or foot traffic.
Next Articles
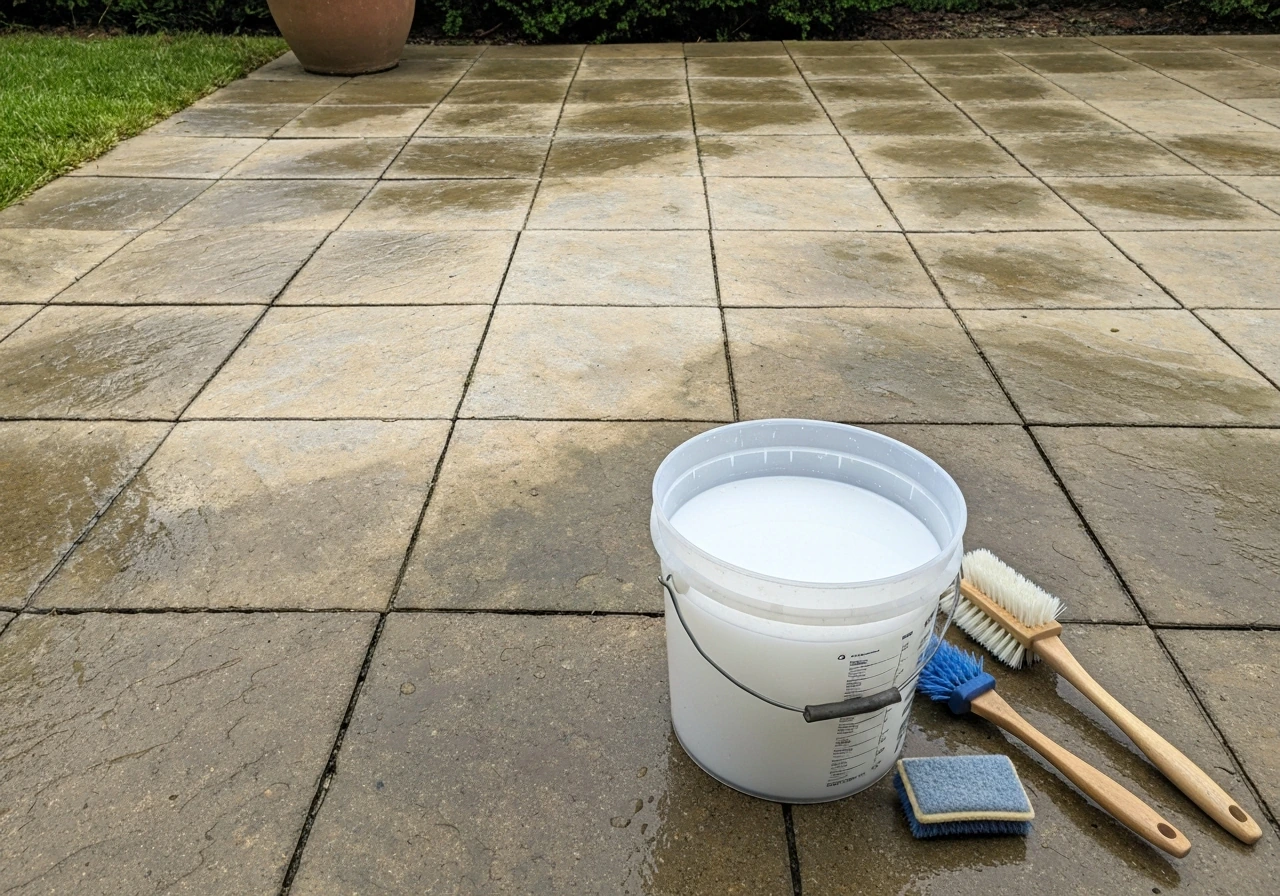
How to Clean Patio Slabs With Bleach Safely and Effectively
Step-by-step guide to clean patio slabs with bleach: dilution, safety prep, dwell time, rinsing, and material-specific t
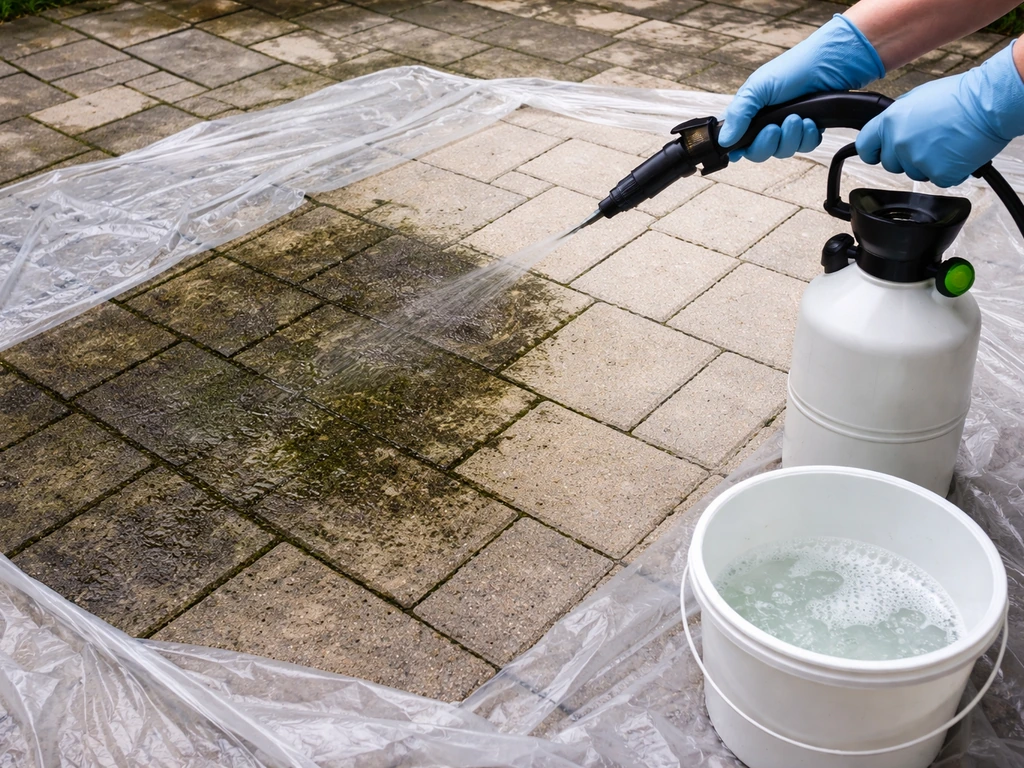
How to Bleach a Patio Safely: Step-by-Step Guide
Step-by-step how to bleach a patio safely, remove mold and algae, and avoid damage on concrete, brick, pavers, and trave
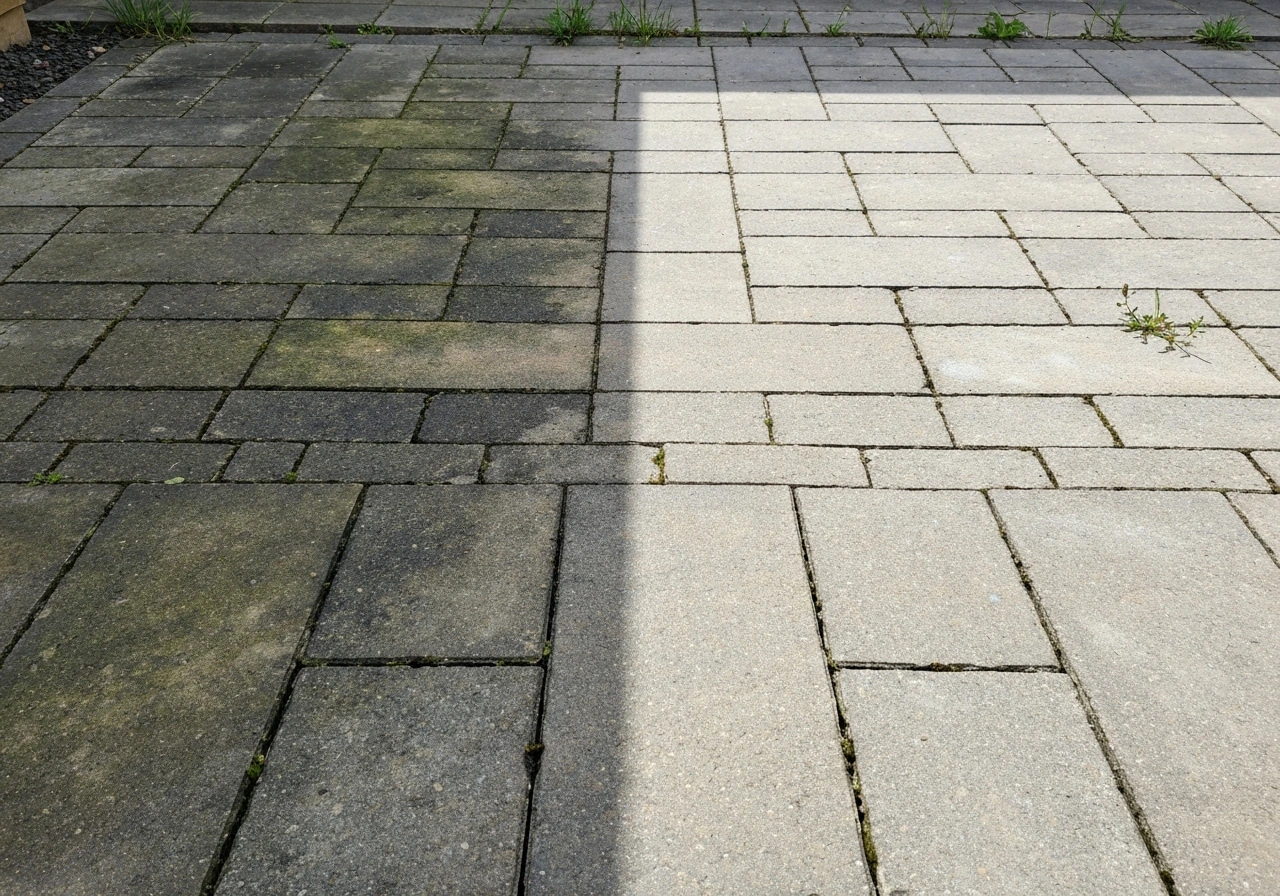
How to Clean Patio Stone With Bleach Step by Step
Step-by-step bleach cleaning for patio stones, including dilution, scrubbing, rinsing, safety, and when to avoid bleach.