
For most patios, a diluted bleach solution of roughly 1 part bleach to 10 parts water, left to sit for 10 to 15 minutes and then scrubbed and rinsed thoroughly, will clear mold, mildew, algae, and general discoloration effectively. That works well on concrete, brick, and most pavers. The catch is that bleach is not a one-size-fits-all solution: it can seriously damage natural stones like travertine, marble, and limestone, and it can strip sealers or cause uneven whitening if you rush the process. Here is everything you need to know to get it right the first time.
How to Bleach a Patio Safely: Step-by-Step Guide

Dylan Hale
8 Jul 2026
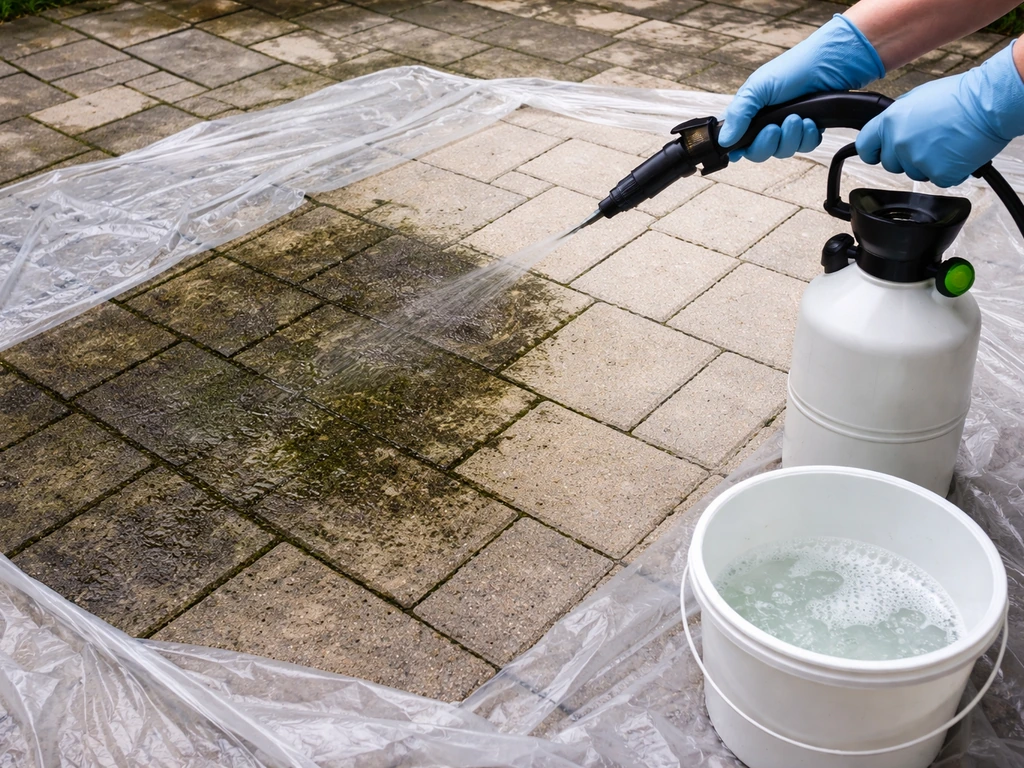
When bleach is the right call (and when it isn't)
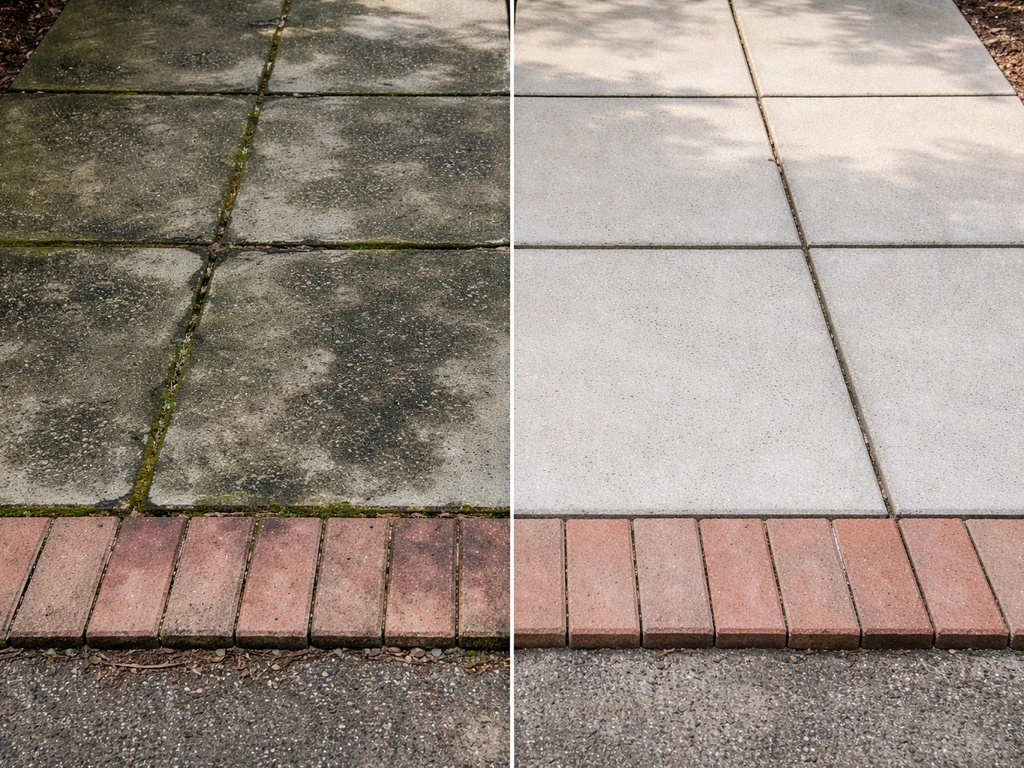
Bleach earns its place in patio cleaning when you are dealing with biological growth: mold, mildew, algae, moss, and general green or black organic staining. It kills the organisms at the root rather than just scrubbing the surface clean, which is why growth tends to come back faster when you skip it. It is also genuinely useful for general discoloration and grime on hard, non-porous surfaces.
Where bleach gets risky is with natural stone. Travertine, marble, limestone, and similar calcium carbonate-based stones should never be cleaned with bleach. It can break down the stone's pore structure, discolor any sealer that is present, and cause etching that cannot be reversed without professional restoration. Flagstone is a mixed category: some flagstone is sandstone or slate (more tolerant) while other flagstone is limestone-based (a hard no for bleach). If you are not sure what your natural stone is made of, skip bleach entirely and use a pH-neutral cleaner instead.
You should also skip bleach (or at least patch-test first) if your patio surface has been sealed within the past year or two, if there is a decorative coating or paint on the surface, or if you have metal furniture, fixtures, or edging sitting directly on the patio. Bleach is corrosive to metals at higher concentrations. For sealed concrete or sealed pavers, bleach at the standard dilution is usually fine, but aggressive concentrations or long dwell times can degrade the sealer over time.
Prep and safety before you open the bleach
Getting the prep right is what separates a job that goes smoothly from one that kills your garden or leaves you with irritated lungs. Do not skip this part.
Protect your plants and surrounding landscaping
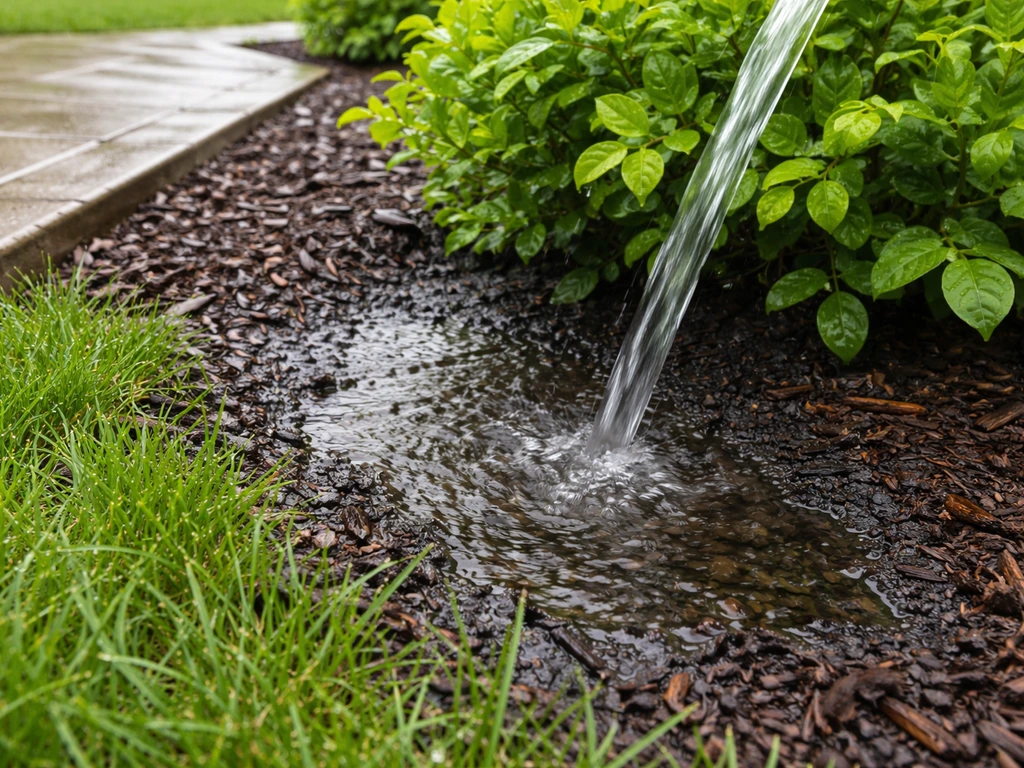
Wet down every plant, shrub, or lawn area within about 3 to 5 feet of the patio before you start. Soaking the soil dilutes any bleach that runs off. For larger or more delicate plants right at the patio edge, cover them with plastic sheeting during the application and scrubbing phase. After you rinse the patio, go back and re-water all exposed plants and grass again. This extra rinse step is important because bleach residue can linger in the soil even after the patio itself looks clean.
Personal protection
- Wear chemical-resistant gloves (not thin latex ones) for the full job.
- Put on safety glasses or goggles, especially when spraying or scrubbing.
- Wear old clothes you do not mind ruining. Bleach splatter will discolor fabric permanently.
- If you are working in an enclosed area like a covered patio or under a pergola with little airflow, wear a respirator or N95 mask. Chlorine fumes from bleach can irritate your airway quickly in confined spaces.
- Rinse your gloves and boots with a garden hose before taking them off.
Pre-rinse the surface and do a patch test
Always rinse the patio with plain water before applying bleach. This removes loose dirt and organic debris that would otherwise inactivate the bleach and waste your solution. It also pre-wets the surface, which helps the bleach spread evenly. If you have never used bleach on your specific patio before, apply a small amount of your diluted solution to an inconspicuous corner and wait 10 minutes to check for discoloration, etching, or sealer damage before committing to the whole surface.
One hard rule: never mix bleach with other cleaners
Do not mix bleach with any other cleaning product. This includes vinegar, ammonia-based products, general-purpose sprays, or even dish soap that contains ammonia. Mixing bleach with ammonia or acids releases toxic chlorine gas, which is genuinely dangerous. Use bleach on its own, diluted only with clean water.
How to bleach different patio materials
The process is similar across materials but the dilution strength, dwell time, and scrub pressure all shift depending on what you are working with. Here is the material-by-material breakdown.
| Material | Bleach Safe? | Recommended Dilution | Max Dwell Time | Notes |
|---|---|---|---|---|
| Concrete | Yes | 1 part bleach to 10 parts water | 15 minutes | Most forgiving surface; handles full recommended dilution well |
| Brick | Yes (unsealed) | 1 part bleach to 10 parts water | 10–15 minutes | Check mortar joints; rinse very thoroughly |
| Concrete pavers | Yes | 1 part bleach to 10 parts water | 10–15 minutes | Avoid prolonged contact with polymeric sand joints |
| Natural stone pavers (sandstone, slate) | Use caution; patch test first | 1 part bleach to 15–20 parts water | 5–10 minutes max | Always patch test; rinse immediately |
| Travertine | No | Do not use bleach | N/A | Use pH-neutral cleaner only; bleach etches and discolors |
| Marble / Limestone | No | Do not use bleach | N/A | Calcium carbonate reacts badly with bleach |
| Flagstone (sandstone or slate type) | Proceed with caution | 1 part bleach to 20 parts water | 5 minutes max | Patch test essential; stop immediately if color changes |
Concrete
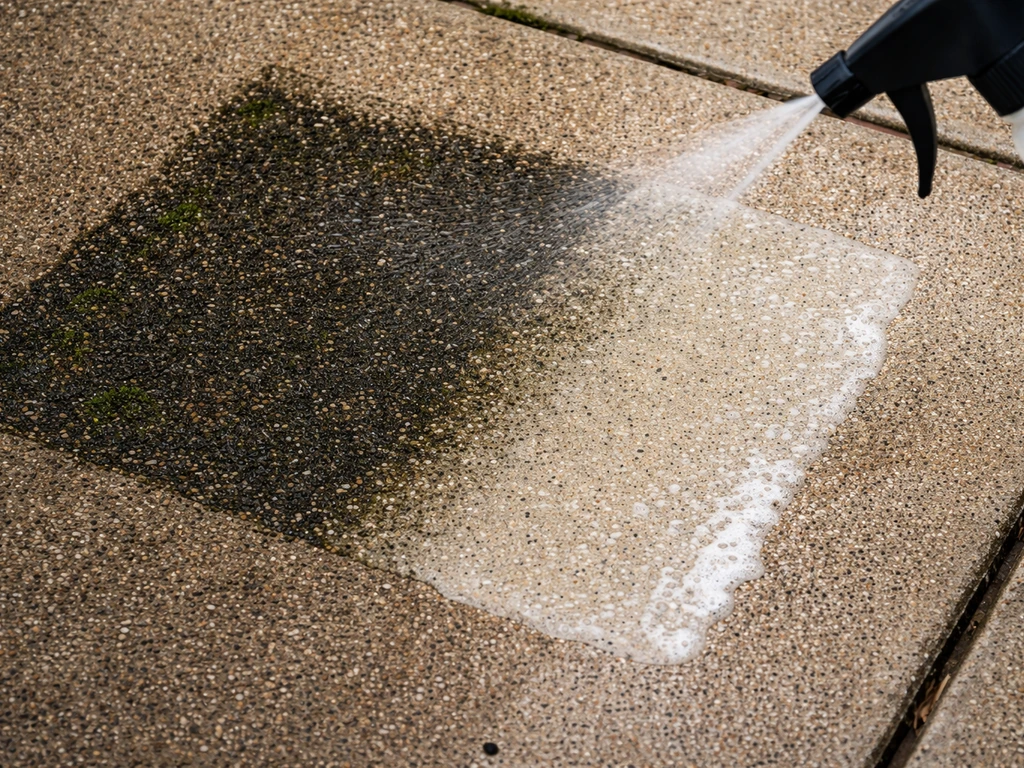
Concrete is the most straightforward surface to bleach. It handles the standard dilution well and responds visibly within minutes. I have found it works best to apply the solution with a pump garden sprayer, let it sit for 10 to 15 minutes, scrub with a stiff-bristled deck brush, and rinse with a strong hose or pressure washer. Stubborn black mold spots sometimes need a second application.
Brick and mortar
Bleach works on brick, but pay attention to the mortar joints. Old or crumbling mortar is vulnerable to chemical wear over repeated bleach applications. For a patio in good condition, the standard 1:10 dilution is fine. Rinse very thoroughly because bleach residue trapped in porous brick or the joints can cause a white chalky residue (efflorescence) to surface later. Scrub with a medium-stiff brush rather than a wire brush, which can damage the brick face.
Concrete pavers
Concrete pavers respond similarly to poured concrete. The one extra consideration is the jointing material between them. If you have polymeric sand in the joints, keep dwell time under 10 minutes and rinse promptly, as extended bleach exposure can break down the binding agents in the sand over time. If your patio has regular sand joints with heavy mold growth inside them, it is worth applying bleach directly into the joints with an old brush before your main application.
There is also more detailed guidance available specifically on cleaning patio pavers with bleach if your pavers need targeted attention. If you are dealing with targeted grime or mold on your pavers, follow the step-by-step guidance on how to clean patio pavers with bleach.
Natural stone (travertine, marble, limestone, flagstone)
[Bleach is destructive to calcium carbonate-based stones like travertine, marble, and limestone. ](/how-to-clean-patio-stone-with-bleach) It opens up the pore structure, can discolor the stone itself and any sealer on top of it, and the damage is not reversible with DIY methods. Multiple stone industry guides and manufacturers are explicit about this: do not use bleach or acid-based cleaners on these surfaces. For flagstone, the risk depends on the stone type.
Slate and sandstone flagstone can sometimes handle a very weak bleach solution with a short dwell time and immediate rinsing, but only after a patch test in a hidden spot. For a full treatment of cleaning patio stone safely with bleach (and alternatives), that topic deserves its own focused approach given how different natural stone is from concrete.
Mixing bleach and applying it correctly
The right dilution
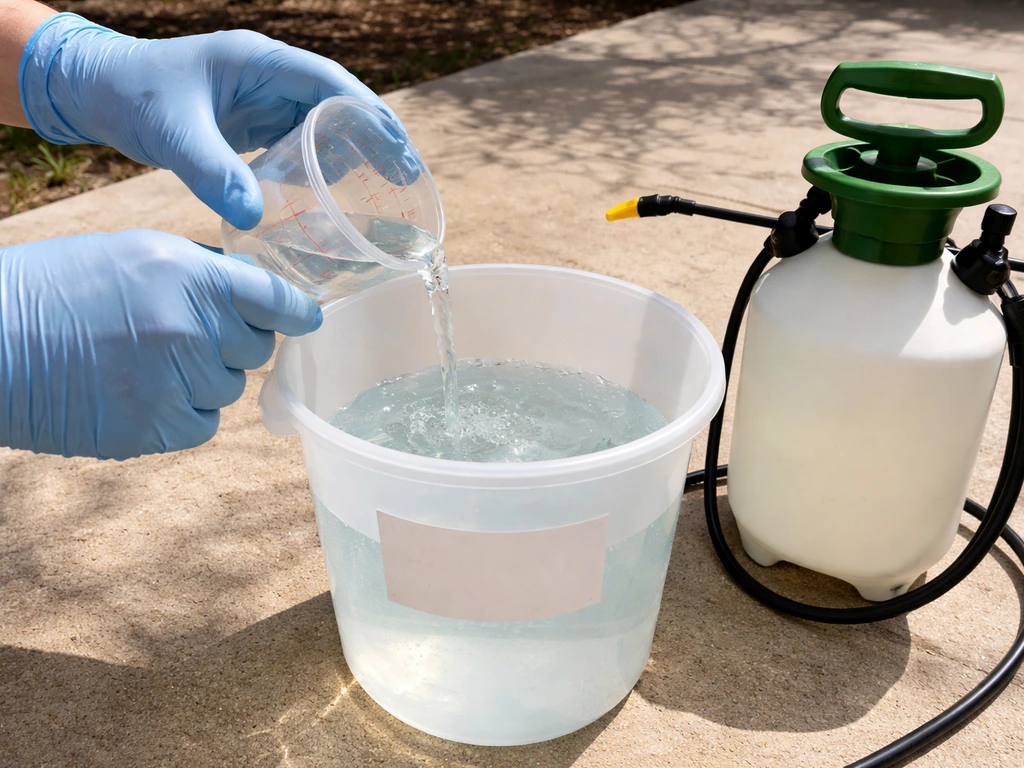
For outdoor patio cleaning, a 1:10 ratio of bleach to water is the standard starting point. To make roughly 1 gallon of solution, that is about 1.5 cups of household bleach (sodium hypochlorite, typically 5–6% concentration) topped up to a gallon with water. If you are using a concentrated outdoor bleach product (8–10% sodium hypochlorite), dial back the bleach to about 1 cup per gallon. Do not go stronger thinking it will work faster: highly concentrated bleach causes more surface damage and does not necessarily kill mold any better than the standard dilution.
Application method
A pump garden sprayer gives you the best control and even coverage. Mix the solution in the sprayer, apply it generously across the section you are working, and let it dwell. For smaller areas or targeted spots, a bucket and brush works just as well. Avoid applying bleach on a hot, sunny day if you can: it evaporates faster, which reduces the contact time and can leave streaks. Early morning or an overcast day is ideal.
Dwell time and scrubbing
Let the solution sit for 10 to 15 minutes on concrete and standard pavers, or 5 to 10 minutes on more sensitive materials. You should see mold and algae visibly lighten or turn white during this time. That is the bleach working. After the dwell period, scrub with a stiff deck brush using firm, overlapping strokes. For grout lines and deep joints where mold hides, use a smaller stiff brush or an old grout brush. Do not let the bleach dry on the surface: if it starts drying before you are done scrubbing, add a light mist of water to keep it active.
Rinsing
Rinse thoroughly, and then rinse again. Residual bleach left on the surface leads to white chalky residue, grout damage over time, and continued chemical action on the surface after you are done. If you have a pressure washer, use it on the rinse step: it clears out the joints and crevices better than a garden hose alone. Direct the rinse water away from storm drains when possible, or dilute heavily by running a hose into the drain at the same time, since concentrated bleach runoff is considered a household hazardous waste concern by the EPA.
Targeting specific stains
Mold and mildew (black, grey, or fuzzy growth)
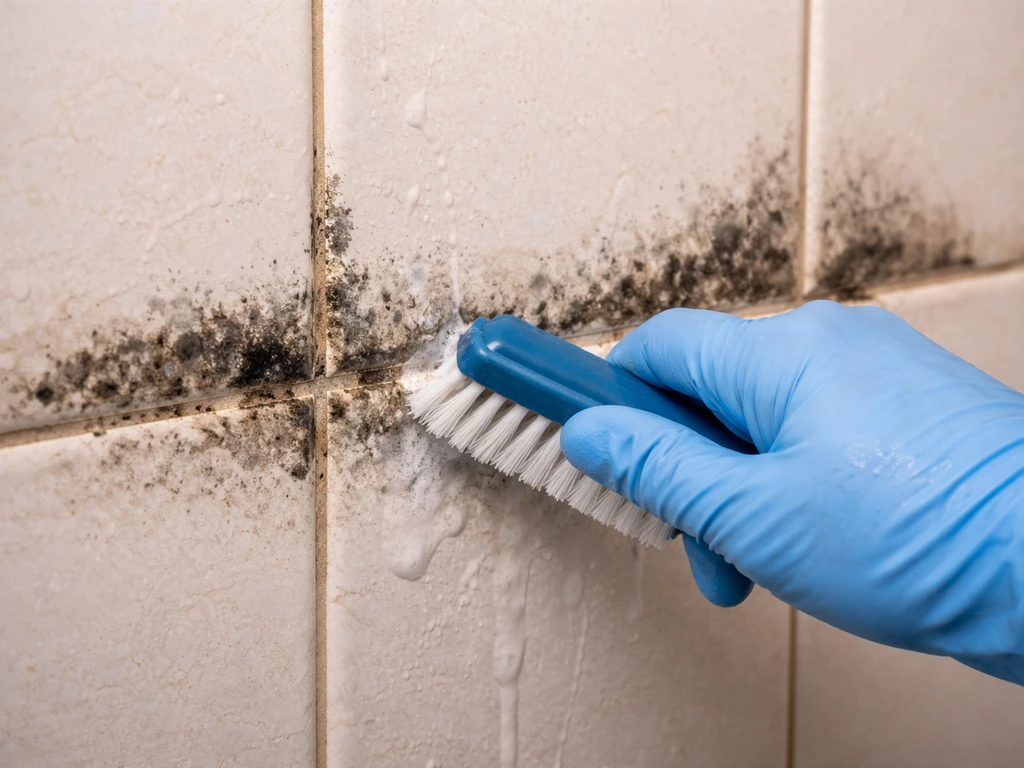
Mold and mildew are where bleach genuinely earns its reputation. Apply the diluted solution, let it dwell the full 15 minutes, and scrub well. For heavy mold that has been there for a season or more, a second application after rinsing the first often gets what the first pass missed. The key is not just removing the visible growth but killing the spores, which is what the dwell time does. Pay extra attention to joints, grout lines, and any shaded corners where mold tends to re-establish first.
Algae and green growth
Green algae responds very well to bleach, often faster than mold does. You will frequently see the green turning brown or white within just a few minutes of application. The standard 1:10 dilution works well, and a dwell time of 10 minutes is usually sufficient before scrubbing. Algae tends to make surfaces slippery, so be careful walking on the patio during and just after application.
For patio slabs with widespread green coverage, the approach to cleaning patio slabs with bleach follows the same steps but may benefit from a longer pre-soak with plain water to loosen the algae layer first. If you want the best results, pre-rinse the surface, use the standard 1:10 dilution, let it dwell, scrub, and rinse thoroughly after cleaning patio slabs with bleach.
Organic stains (leaves, berries, dirt)
Tannin stains from leaves, berry stains, and general organic discoloration respond well to bleach on concrete and brick. These stains often look brown or dark grey and sit in the surface of the patio rather than on top of it. A full-strength dwell at 1:10 for 10 to 15 minutes, combined with firm scrubbing, usually lifts them significantly. Deep stains may not disappear completely but will lighten noticeably. For very stubborn organic stains on concrete specifically, a slightly stronger solution (1:8) and a second application sometimes finishes the job.
General discoloration and grime
If your patio just looks dingy, grey, or dirty without a specific stain, bleach can brighten it up considerably. Apply the standard dilution, scrub the entire surface evenly, and rinse well. The result will not look brand new if the concrete is old and worn, but it does restore a lot of the original color. Keep the application even to avoid blotchy results.
Common mistakes and how to fix them
Uneven whitening or bleach streaks
This happens when the bleach solution dries unevenly before rinsing, or when it is applied in patches rather than as a continuous coverage. If you already have streaks, re-apply the diluted solution evenly across the whole affected area, scrub uniformly, and rinse immediately before it can dry again. Working in sections on a large patio (rather than trying to do everything at once) helps avoid this.
Bleach is not cleaning the surface
If the bleach does not seem to be doing anything, there are usually two causes. First, the surface was too dirty: thick layers of debris or organic material inactivate bleach before it can reach the actual mold or stain. Pre-scrub the surface dry, then rinse it clean before applying bleach. Second, the bleach may have gone off. Household bleach degrades quickly in sunlight and heat, and a bottle that has been sitting in your garage since last summer may have lost most of its active chlorine. Buy a fresh bottle and check the concentration on the label.
Etching or surface damage
Etching (a dull, slightly rough patch where bleach was applied) on natural stone means you have used bleach on a surface that cannot handle it. On concrete, visible etching is rare at the standard 1:10 dilution, but it can happen if you use neat (undiluted) bleach or leave it on for a very long time. There is no DIY fix for etched natural stone: a professional stone restoration company uses diamond polishing to remove etching. For concrete, light etching can sometimes be improved by sealing the surface after cleaning.
White chalky residue after cleaning
White residue after bleaching is usually one of two things: efflorescence (salts drawn to the surface during the wet-dry process) or dried bleach residue from inadequate rinsing. For dried bleach residue, re-wet the area and rinse thoroughly with a strong hose. For efflorescence, a diluted white vinegar solution applied to the white patches, scrubbed, and rinsed can help, but do not use vinegar on natural stone or the jointing material.
Damage to grout or jointing sand
Cement-based grout and jointing sand are vulnerable to repeated bleach exposure. If your patio has grout between tiles or pavers, keep dwell times short (under 10 minutes) and rinse early and thoroughly. Using bleach repeatedly on a grouted surface over several seasons will gradually degrade the grout. If you notice grout crumbling or softening after cleaning, switch to an oxygen-bleach-based alternative for future maintenance cleans.
Previously sealed surfaces
If your patio was sealed, bleach at the standard dilution will usually not destroy the sealer in a single application, but concentrated bleach or repeated use will degrade it over time. After bleaching a sealed patio, inspect the sealer a few days later when the surface is fully dry: if it looks patchy, dull in spots, or peeling, the sealer may need to be reapplied. Always re-seal after cleaning if the patio was sealed before.
Alternatives to bleach worth knowing about
Bleach is not always the right tool, and there are situations where a gentler option is the better choice: you have pets or children using the patio frequently, you are close to a vegetable garden, your patio surface is sensitive, or you just prefer to avoid strong chemicals.
Oxygen bleach (sodium percarbonate)
Oxygen bleach is my top recommendation as a chlorine bleach alternative for patios. Products based on sodium percarbonate release hydrogen peroxide when dissolved in water, which breaks down organic staining and kills mold without the harshness of chlorine bleach. It is much gentler on surrounding plants, safer to handle, and less likely to damage grout or sealers.
To use it, dissolve about half a cup of sodium percarbonate powder into a quart of warm water first (it needs warm water to activate properly), then dilute further into a gallon of water. Apply it to the surface, let it dwell for 15 to 30 minutes, scrub, and rinse.
To use sodium percarbonate safely and effectively, the guidance recommends dissolving and diluting it for an oxygen-bleach-style solution, then letting it dwell so it can break down stains and growth dilute further into a gallon of water. It works more slowly than chlorine bleach but is genuinely effective on mold, algae, and organic staining on concrete and pavers.
White vinegar
Distilled white vinegar is a legitimate option for light algae and mildew on concrete or brick, applied undiluted or at a 1:1 ratio with water. It is slow, and you typically need a dwell time of 30 minutes to an hour followed by scrubbing. It is not as effective as bleach on heavy mold growth, but for maintenance cleaning between deep cleans it works reasonably well. One strong caution: never use vinegar on natural stone (travertine, marble, limestone) or on cement-based grout. The acidity in vinegar etches calcium carbonate-based materials, just like bleach does.
pH-neutral stone cleaners and dish detergent
For natural stone patios where neither bleach nor vinegar is appropriate, a pH-neutral stone cleaner is the correct product. These are specifically formulated not to etch or discolor calcium carbonate stones. They will not kill mold as aggressively as bleach, but they clean the surface safely and many are formulated with mild disinfectant properties. For very light general grime on any surface, warm water with a squirt of plain dish soap and a stiff brush does a decent job as a weekly or monthly maintenance option without the need for any chemicals.
| Cleaner | Best For | Safe on Natural Stone? | Plant-Friendly? | Effectiveness on Mold |
|---|---|---|---|---|
| Chlorine bleach (sodium hypochlorite) | Concrete, brick, pavers; heavy mold and algae | No | With precautions | Excellent |
| Oxygen bleach (sodium percarbonate) | Concrete, pavers, deck surfaces; mold, algae, organics | Generally yes (test first) | Yes | Good to very good |
| White vinegar | Concrete, brick; light algae and mildew | No (etches stone) | Yes | Moderate |
| pH-neutral stone cleaner | All surfaces especially natural stone | Yes | Yes | Mild to moderate |
| Dish soap and water | All surfaces; light general grime | Yes | Yes | Poor on heavy mold |
The bottom line is this: use chlorine bleach on concrete, brick, and standard pavers for fast, effective results on mold, algae, and organic staining. Switch to oxygen bleach if you want something gentler that still does real work. Use pH-neutral cleaners on any natural stone. And whatever you use, prep properly, rinse thoroughly, and protect your plants. That covers the full job.
FAQ
How can I tell if I rinsed enough bleach off the patio?
After bleaching, wait until the patio is completely dry and then check the treated area by pressing a clean fingertip lightly against it. If you feel tackiness or see chalky transfer, you need more rinsing, then re-check after drying. For sealed surfaces, also re-inspect edges and grout lines in 2 to 7 days, since sealer whitening or dull patches can show up later.
Can I bleach just a few spots instead of the whole patio?
Yes, but only for spot treatment. Mix your bleach fresh, pre-wet the surrounding area, apply with a small brush or sprayer so it stays confined, and keep the dwell time at the low end of the range. Rinse immediately after scrubbing the spot, then re-rinse the border where spray may have drifted.
What should I do if the mold comes back after bleaching?
If the mold is still returning quickly, the usual causes are insufficient dwell time, bleach diluted too much, or growth hiding in joints and shaded corners. Re-clean in the same day: pre-scrub debris away, apply fresh solution evenly, keep it wet for the full dwell time, and use a small stiff brush directly in grout lines or paver joints.
How do I know if my bleach is strong enough to work?
Use fresh household bleach and mix only what you’ll use within the session. Heat and sunlight degrade active chlorine, so avoid storing mixed solution. If your bottle is old, verify the stated sodium hypochlorite concentration on the label, then start at the recommended dilution rather than “guessing” higher.
Is it safe to use bleach on an outdoor patio around kids or pets?
Chlorine bleach can irritate lungs and eyes, so wear eye protection, rubber gloves, and avoid working in heavy wind. Keep people and pets off the patio until after the full scrub and at least one thorough rinse, then let it dry before normal use.
Why does my patio bleach leave streaks or blotches?
For hot concrete or pavers, bleach can flash dry, reducing effectiveness and increasing streaks. The fix is to work in early morning or overcast weather, pre-wet with plain water, and mist lightly with water if the surface starts drying before the dwell period ends.
What if I accidentally bleached natural stone like limestone or travertine?
Stop if you see etching, dull rough patches, or haze on natural stone, and do not try to sand or acid-wash it. For calcium carbonate stones, the proper remedy is usually professional polishing or restoration. For concrete, light etching can sometimes improve after drying and applying a suitable concrete sealer later.
Can I use bleach on pavers with polymeric sand in the joints?
If your patio has polymeric sand between pavers, keep dwell time short, under about 10 minutes, and rinse promptly and thoroughly. For heavy growth inside joints, you may get better results applying bleach directly into joints with an old brush, then rinse right away rather than soaking the whole area longer.
Will bleach damage tile grout or the sand between pavers?
Yes for concrete and brick, but only if you treat the grout and joints correctly. Use a stiff brush for the surface, a smaller brush for joints, and keep dwell times shorter if grout is present. If grout is crumbling or softening after cleaning, switch future maintenance to oxygen bleach rather than chlorine.
How should I handle bleach runoff so it does not harm landscaping or storm drains?
Bleach runoff should be controlled. Rinse in a way that keeps water from heading straight to storm drains, and if runoff must go toward a drain, dilute with a steady flow of water while rinsing. Also avoid bleach application right before rain, since stormwater can carry concentrated residue off-site.
What causes white residue after bleaching, and how do I fix it?
Choose the next step based on residue type. If it is chalky from inadequate rinsing, re-wet and rinse again with a strong hose. If it is white salts from efflorescence, vinegar may help on many concrete surfaces, but it can damage natural stone and cement-based grout, so avoid vinegar there.
My bleach solution isn’t working. What are the most common reasons?
If bleach does nothing, first remove a barrier: pre-scrub dry debris and algae layer, then rinse and apply fresh solution. Second, check dilution and whether the bleach has lost strength due to heat or age. Finally, confirm you are using the right dwell time for the material, and do not dilute beyond the recommended starting ratio.
Next Articles
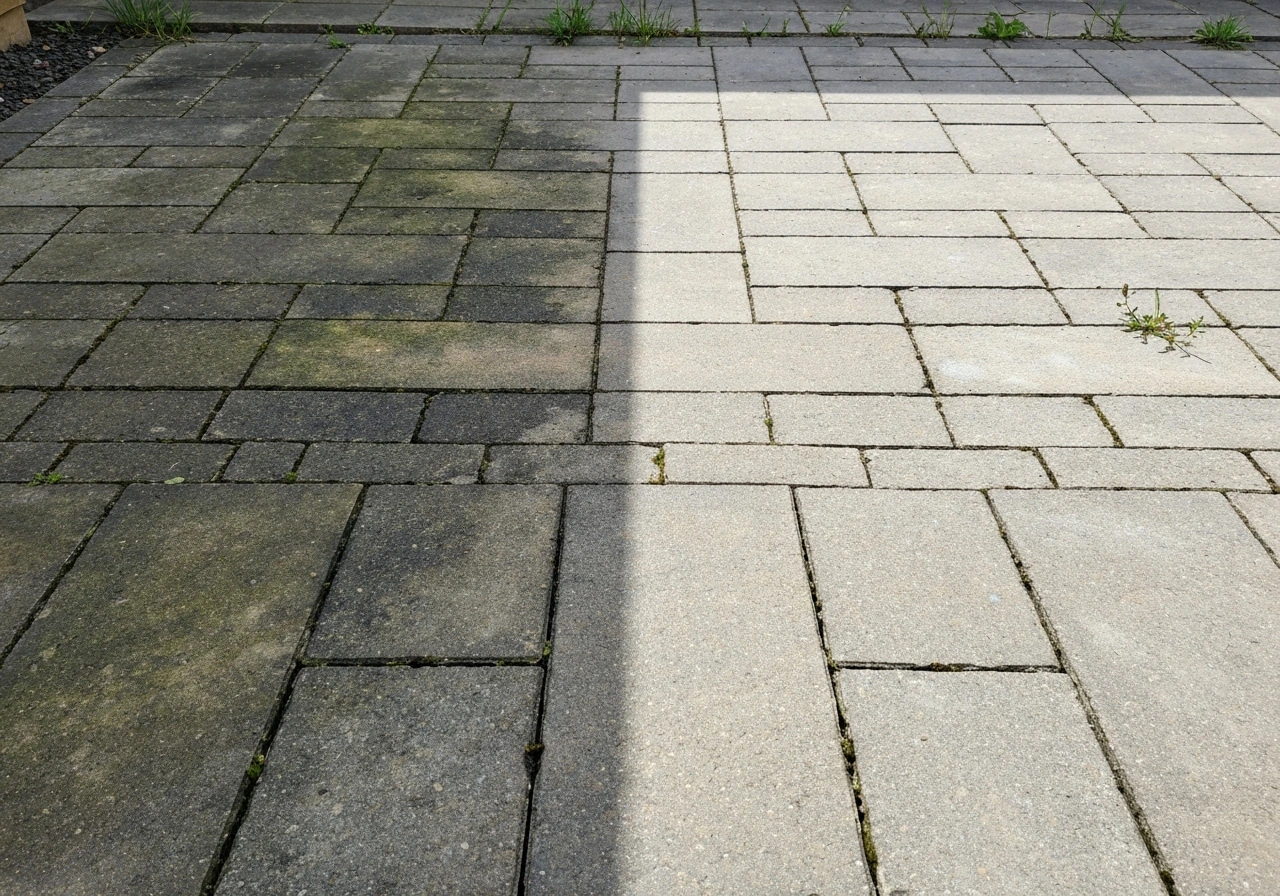
How to Clean Patio Stone With Bleach Step by Step
Step-by-step bleach cleaning for patio stones, including dilution, scrubbing, rinsing, safety, and when to avoid bleach.
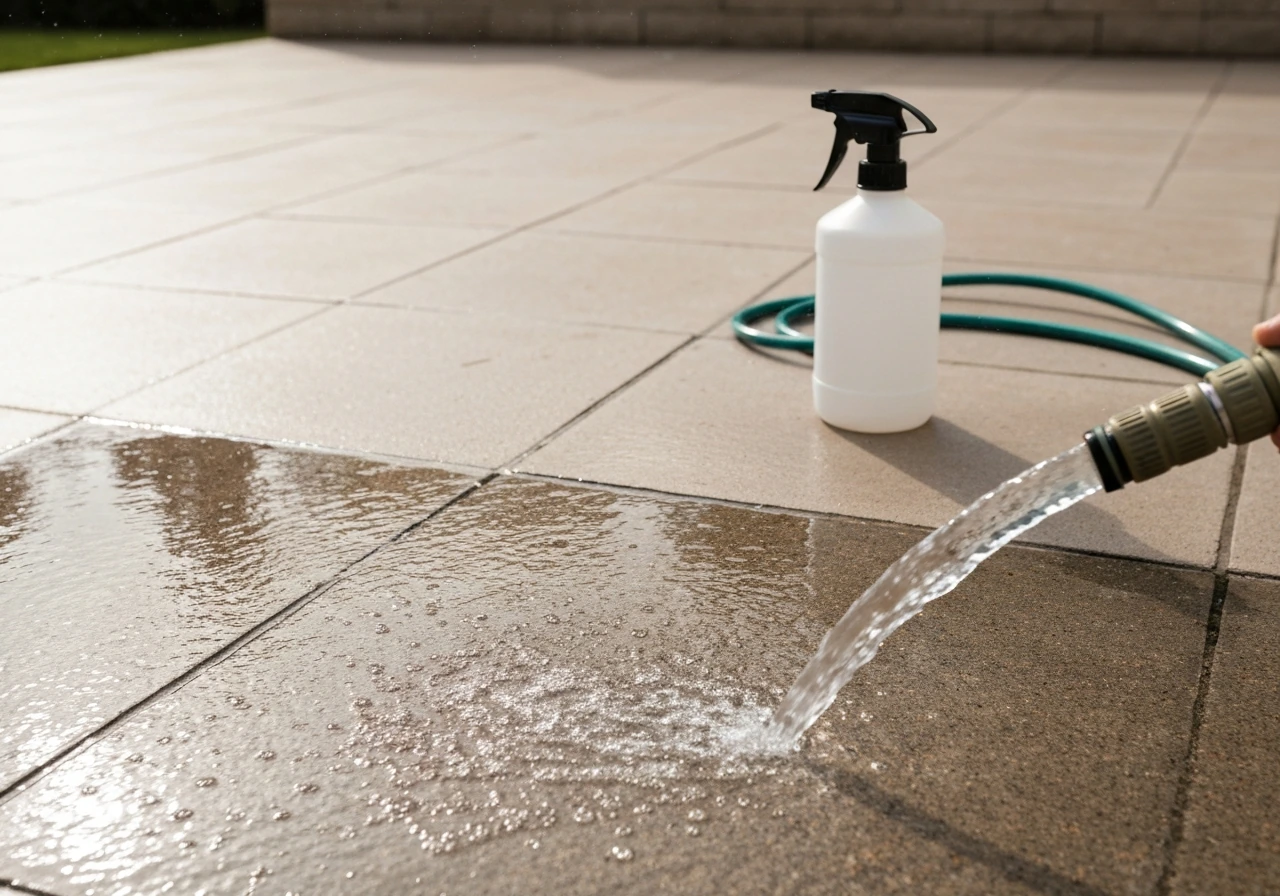
How Long to Leave Bleach on a Patio for Cleaning
Get exact bleach contact times for patio mold and stains, with safe dilution, rinse steps, and alternatives to prevent d
How to Remove Thompson’s Patio Sealer Step by Step
Step-by-step removal of Thompson’s patio sealer on concrete, brick, pavers, and stone, with safety, tests, and cleanup.