
To refresh your patio, start by identifying the surface material and the type of buildup you're dealing with, then match the right cleaner and tool to that specific problem. A concrete patio with oil stains needs a degreaser and stiff brush or pressure washer, not bleach. A brick patio with mold needs diluted sodium hypochlorite, not acid. A travertine or limestone surface should never see muriatic acid at all. Get the pairing right and most patios go from grimy to genuinely clean in a single afternoon with materials that cost under $30.
How to Refresh Your Patio: Guide for Concrete, Brick, Stone & Renters

Dylan Hale
23 Jul 2026
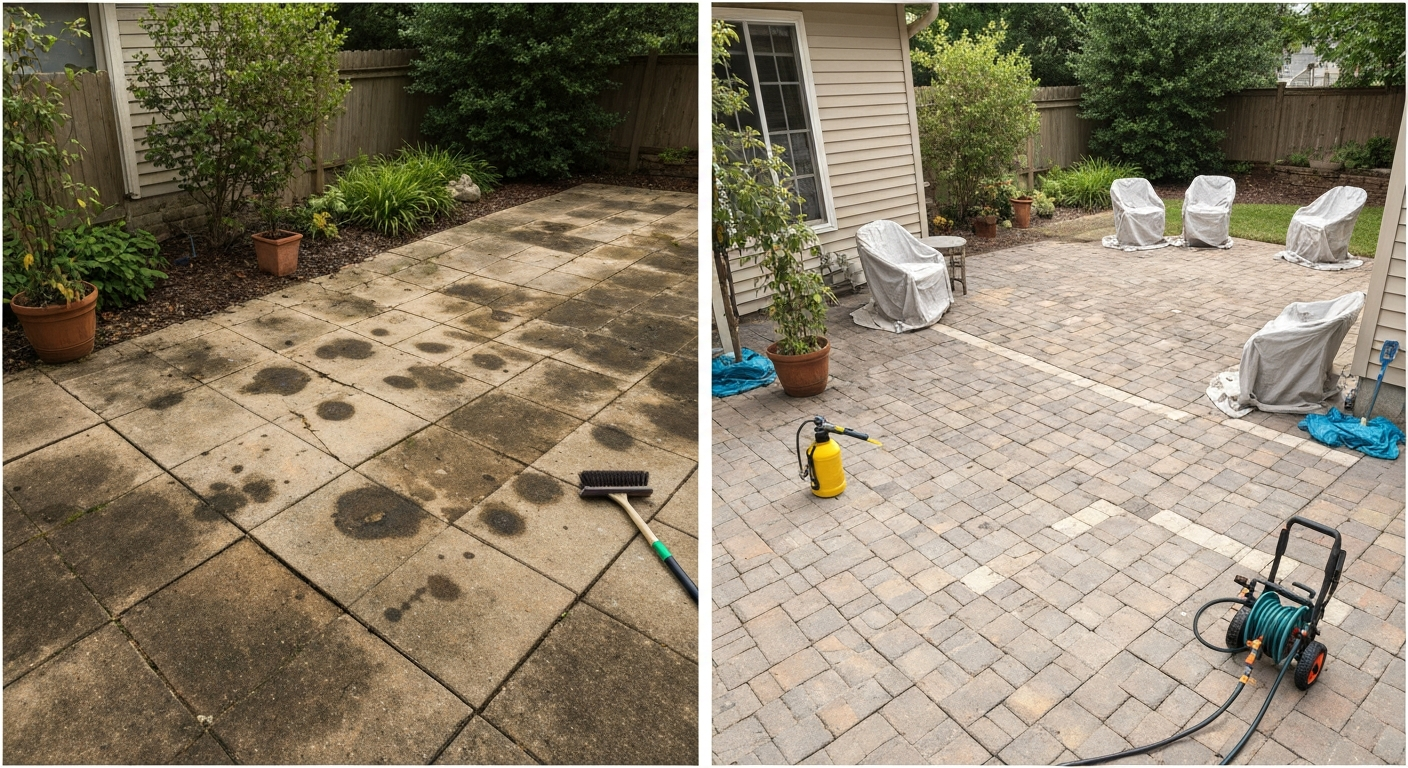
Step 1: Assess Your Patio Before You Touch It
Skipping assessment is how people ruin patio surfaces. I've seen travertine get permanently etched because someone used muriatic acid thinking it was sealed concrete. Spend five minutes running through this checklist before you buy anything.
Quick Assessment Checklist
- Identify the material: Is it poured concrete (continuous slab with trowel marks or saw cuts)? Concrete or clay brick (modular units with visible mortar joints)? Concrete pavers (modular, uniform, with narrow interlocked joints)? Natural stone like travertine, flagstone, limestone, or slate? If you're unsure, do the wet test: pour a small splash of water on the surface. Calcareous stones like travertine and limestone will sometimes darken, and if you place a drop of diluted vinegar on an inconspicuous corner and it fizzes, that confirms you have an acid-sensitive stone. Stop there and skip any acid-based cleaners entirely.
- Identify the stain or buildup type: Green or black discoloration is mold, mildew, or algae. Powdery white crust is efflorescence (mineral salt deposits). Dark spreading stains that look wet even when dry are oil or grease. Orange or reddish-brown streaks are rust. Flaking or peeling color is old paint or failing sealer.
- Check your rental constraints: Do you rent? If so, avoid any treatment that permanently alters the surface (acid etching, grinding, or solvent stripping without landlord approval). Pressure washers are generally fine for renters. Chemical applications that could strip a sealer or etch stone are worth a quick conversation first.
- Check for existing sealer: Drip water on the surface. If it beads up, the surface is sealed. Sealed surfaces need gentler cleaners and lower pressure so you don't strip the sealer prematurely.
- Note the stain age and severity: Fresh oil or mold is far easier to remove than stains that have been baking in for two summers. If the stain has been there for years and has penetrated deeply, set realistic expectations: you may reduce it significantly but not eliminate it completely without professional grinding or resurfacing.
Tools and Cleaners You'll Actually Need
You don't need a truck full of equipment. Here's what covers the vast majority of patio refresh jobs, from gentle maintenance to serious deep cleaning.
Equipment
- Stiff-bristle scrub brush (nylon or polypropylene, not steel): your most-used tool for manual cleaning on any surface. Steel bristles leave rust marks on concrete and scratch natural stone.
- Push broom with stiff bristles: for sweeping loose debris and for scrubbing large flat areas with cleaning solution.
- Garden hose with adjustable spray nozzle: enough for most maintenance cleaning and for rinsing chemicals off any surface.
- Pressure washer (electric or gas): electric units typically run 1,200 to 1,800 psi and handle most residential patio jobs. Gas units reach 2,500 to 3,000+ psi and are worth renting for heavy concrete cleaning. Use a 25-degree (green) or 40-degree (white) nozzle for most surfaces. Never use a zero-degree (red) nozzle on patios.
- Surface cleaner attachment: a rotating disc that attaches to a pressure washer. It cleans evenly without the streaking you get from a wand and is especially good for concrete. I use one almost every time now.
- Plastic scraper or putty knife: for lifting loose debris, old sealer, or thick biological growth before washing.
- Pump sprayer (1 to 2 gallon): for applying diluted chemical solutions evenly across a surface.
- Buckets: at least two, one for mixing cleaner and one for rinse water.
- Wet/dry shop vac (optional): useful for collecting wash water if you need to keep it out of storm drains.
Cleaners and Chemicals
| Cleaner | Best For | What to Avoid It On | Typical Dilution |
|---|---|---|---|
| Sodium hypochlorite / household bleach (5–6% NaOCl) | Mold, mildew, algae, organic stains | Metal fixtures, colored concrete (may bleach), never mix with acids or ammonia | 1 part bleach to 9–10 parts water for patios |
| White vinegar (5% acetic acid) | Light mold, mild efflorescence, general grime | Travertine, limestone, marble, any calcareous stone (will etch) | Undiluted or 1:1 with water |
| Muriatic acid (28–31% HCl) | Heavy efflorescence, mineral deposits, concrete prep for acid wash | Travertine, limestone, marble, brick with soft mortar, any calcareous stone | 1 part acid to 10 parts water minimum; always add acid to water |
| Oxalic acid / Bar Keepers Friend | Rust stains, tannin stains, iron deposits on stone and concrete | Not for sealed surfaces without spot-testing; avoid on soft limestone | Follow product label; typically a paste or light solution |
| Degreaser (alkaline, concrete-specific) | Oil, grease, automotive fluid stains on concrete | Do not use muriatic acid for oil — it won't dissolve it | Follow label; most dilute 1:4 to 1:8 with water |
| Sodium percarbonate (oxygen bleach, e.g., OxiClean) | Mold, mildew, algae, general organic staining on all surfaces | Avoid on polished or highly sensitive stone without testing | ~4 oz per gallon of warm water |
Safety and Environmental Cautions
This is the section people skip, and it's the one that matters most. Chemicals that clean patios effectively are genuinely hazardous, and the runoff from cleaning can harm waterways and violate local ordinances.
Personal Protective Equipment
- Safety goggles (not just sunglasses): required for any chemical work, especially muriatic acid and bleach. Splashback is real.
- Nitrile chemical-resistant gloves: standard latex gloves are not adequate for acids or concentrated bleach.
- Long sleeves, long pants, and closed-toe rubber-soled boots: acid and bleach splash burns skin and can ruin fabric instantly.
- Respirator or N95 mask: muriatic acid fumes are strong and irritating even outdoors. OSHA's respirator standard (29 CFR 1910.134) applies in occupational settings, but even for home use, if you can smell strong fumes, you're being exposed. Work upwind.
- Never mix bleach with muriatic acid, ammonia, or any acid-based cleaner: this creates toxic chlorine gas. Read every product label before combining anything.
Protecting the Environment and Staying Legal
The EPA's stormwater program (NPDES) prohibits discharging pressure-wash or chemical wash water containing detergents, bleach, acids, oil, or paint into storm drains or surface water. Many municipalities enforce this independently, and some areas like King County, Washington have explicit stormwater pollution prevention requirements that can carry fines. Practically, this means: block your nearest storm drain with a drain plug or sandbag before you start, let rinse water collect on the patio, then either direct it to a landscaped area where it can percolate (if you've used only mild soap or oxygen bleach), or collect it in buckets and dispose of it to your household sanitary sewer drain (laundry sink or toilet) if it contains stronger chemicals. If you're using muriatic acid, always neutralize the rinse water with baking soda (until it stops fizzing) before disposal. Also protect nearby plants and grass: wet them down before applying any chemical, and rinse them immediately after any overspray.
Cleaning Concrete Patios
Concrete is the most forgiving surface to clean because it can handle higher pressure and more aggressive chemistry than natural stone. That said, it still rewards the right technique over brute force. For a full walkthrough of restoring worn or stained slabs, see the guide on how to refresh a concrete patio.
Manual Scrubbing Method
- Sweep the entire surface thoroughly and remove any furniture, planters, or rugs.
- Wet the concrete with a hose. This prevents the cleaner from absorbing too fast and helps it work on the surface rather than into it.
- Mix your cleaner: for mold or general grime, use 1 cup of sodium hypochlorite bleach per gallon of water, or 4 oz of sodium percarbonate per gallon of warm water if you prefer a gentler option. For oil or grease, use a concrete degreaser diluted per label.
- Apply the solution with a pump sprayer or pour it on and spread with a push broom. Let it dwell for 5 to 10 minutes. Don't let it dry on the surface.
- Scrub vigorously with a stiff nylon brush or push broom. For oil stains, use a circular motion and apply more degreaser if needed.
- Rinse completely with a hose or pressure washer. Check that no soap or chemical residue remains — it will leave a film when dry.
Pressure-Washing Concrete
For concrete, I use a pressure washer set between 2,000 and 3,000 psi with a 25-degree green nozzle or a surface cleaner attachment. Keep the nozzle 6 to 12 inches from the surface and move in consistent overlapping passes to avoid stripe marks. Pre-treat any stained areas with degreaser or bleach solution and let it dwell before pressure washing. For very heavy staining or a full restoration, apply a concrete-specific cleaner/degreaser through the pressure washer's detergent tank, scrub, let dwell, then blast clean. If your concrete has a smooth troweled finish, use the 40-degree nozzle to avoid surface etching from concentrated impact.
Targeted Stain Removal on Concrete
| Stain Type | Method | Product | Notes |
|---|---|---|---|
| Mold / mildew / algae | Pre-wet, apply, scrub, rinse | Diluted bleach (1:9) or sodium percarbonate solution | Rinse vegetation nearby; never mix bleach with acid |
| Oil / grease | Apply poultice (cat litter or absorbent clay + degreaser), let sit 30–60 min, scrub, rinse | Alkaline concrete degreaser | Do not use muriatic acid on oil — it won't work and is dangerous with organic residues |
| Rust | Apply oxalic acid paste or Bar Keepers Friend, let sit 10 min, scrub, rinse | Oxalic acid cleaner | Test in small area first; may lighten concrete slightly |
| Efflorescence | Dry brush first; if persistent, apply diluted muriatic acid (1:10), scrub, rinse, neutralize | Efflorescence cleaner or diluted muriatic acid | Fix underlying moisture issue or it returns |
| Paint | Scrape loose paint, apply paint stripper or pressure wash at high psi, scrub | Concrete paint stripper | Old latex paint often yields to pressure washing alone at 2,500+ psi |
How and When to Acid-Wash a Concrete Patio
Acid washing concrete (also called etching) opens the surface pores, removes stubborn mineral staining, and prepares concrete for sealer or paint. It's not a cleaning method for everyday grime, and it is genuinely aggressive. I'd only reach for muriatic acid when lighter methods have failed or when I'm prepping bare concrete for a sealer application and the surface is too smooth to absorb it properly.
When Acid Washing Makes Sense
- Heavy, persistent efflorescence that resists scrubbing and efflorescence cleaners
- Mineral deposits from hard water that have built up over years
- Preparing a concrete slab for new sealer, epoxy coating, or paint (the surface needs a slightly open texture to bond)
- After removing an old coating that left residue behind
- Never use acid wash on concrete overlays or thin-set toppings without confirming the system can handle it — thin decorative layers can be destroyed
Step-by-Step Acid Wash Process
- Wear full PPE: safety goggles, nitrile gloves, long sleeves, rubber boots, and a respirator. Work outdoors with good airflow, moving upwind.
- Pre-wet the entire concrete surface thoroughly with a hose. This is critical: the Portland Cement Association recommends prewetting to control how deeply the acid penetrates and to prevent concentrated etching.
- Mix the acid solution in a plastic bucket (never metal): add 1 part muriatic acid (28–31% HCl) to 10 parts water. Always add acid to water, never water to acid. This prevents a violent exothermic reaction.
- Apply the solution to a small section (no more than 10 to 15 square feet at a time) using a plastic watering can or pump sprayer. You should see light fizzing — that's the acid reacting with the concrete. If there's no fizzing, the surface may be sealed and acid washing won't be effective.
- Let dwell for no more than 3 to 5 minutes. Do not let it dry.
- Scrub with a stiff nylon brush, then rinse thoroughly with a hose or pressure washer.
- Neutralize the entire washed area by applying a baking soda solution (1 cup per gallon of water) and scrubbing it in before final rinse. This raises the pH back to neutral.
- Allow the concrete to dry completely (24 to 48 hours) before applying any sealer or coating.
- Collect and neutralize all rinse water before disposal — do not let acid-containing water reach storm drains.
If you're specifically dealing with a heavily stained or discolored concrete slab, the full acid wash process is covered in more depth in the guide on how to acid wash a concrete patio, including concrete types and surface preparation steps.
How to Scrub a Concrete Patio Effectively
Manual scrubbing sounds low-tech, but done correctly it's the most controlled method available, especially for stains that need a chemical treatment to dwell and penetrate before you blast them off. The key is tool selection, dwell time, and elbow grease in the right sequence.
- Start with a dry sweep to remove loose grit. Scrubbing grit into wet concrete with a brush just scratches the surface.
- Pre-wet the slab with a hose so the cleaning solution doesn't instantly absorb and dilute.
- Apply your chosen cleaner generously. For general cleaning, a concrete cleaner or degreaser diluted per label. For mold, diluted bleach. For rust, oxalic acid paste. Use a pump sprayer for even coverage.
- Let the solution dwell. This is the step most people rush. Five to ten minutes is minimum for organic growth. Grease stains may need 20 to 30 minutes with a good degreaser. The chemical should be doing most of the work.
- Scrub with a stiff nylon or polypropylene brush in firm back-and-forth strokes. For large areas, a long-handled deck brush saves your back. For stubborn spots, a smaller hand brush gives you more pressure concentration.
- Rinse with a strong hose spray or pressure washer. Confirm you've removed all residue by checking that the surface looks uniform when wet. If patches remain darker or show residue, reapply and scrub again.
- For repeat stains (oil that keeps bleeding back up), apply the degreaser, cover with an absorbent poultice of cat litter or diatomaceous earth, let it sit for 30 to 60 minutes, sweep it up, then scrub and rinse. This pulls the oil out rather than just pushing it around.
For a more detailed walkthrough of scrubbing techniques by stain type on concrete specifically, the article on how to scrub a concrete patio goes deeper on tool choices and problem patterns.
Polishing and Refinishing Concrete Patios
Polishing concrete is a step beyond cleaning. It involves grinding and buffing the surface to a smooth, semi-gloss or high-gloss finish using progressively finer diamond grinding pads. This is worth considering when you want to genuinely transform the look of a slab, not just clean it.
When Polishing Is the Right Move
- The concrete is structurally sound but dull, pitted, or stained beyond what cleaning can restore
- You want a decorative, low-maintenance finish that doesn't require resealing every year
- You're converting a garage or utility slab into an outdoor living space and want a finished look
- The existing surface is broom-finished and you want to expose the aggregate for a different aesthetic
When Polishing Doesn't Make Sense
- The concrete has deep cracks, spalling, or structural damage: polish will highlight, not hide, flaws
- You're renting: a polishing machine with diamond pads costs $150 to $300 per day to rent and requires experience to use without creating uneven spots
- The slab is a thin overlay: grinding through an overlay destroys it
- Your goal is just seasonal refresh: cleaning, minor repairs, and resealing achieve most of the visual improvement at a fraction of the effort and cost
Refinishing Alternatives That Are More Accessible
For most homeowners, the practical alternative to full polishing is applying a concrete sealer or a penetrating stain plus sealer after a thorough clean. A clear penetrating sealer (silane-siloxane blend) protects without changing the look. An acrylic or epoxy coating adds color and gloss and is far easier to DIY than grinding. If you go the sealer route, the concrete must be fully clean and dry, and if it's been acid washed, fully neutralized and cured for at least 24 to 48 hours before application. The guide on how to polish a concrete patio covers the full equipment and step-by-step process if you decide a full polish is the right call.
Cleaning Brick and Paver Patios
Brick and concrete paver patios look tough, but the weak points are the joints and the faces of the units, both of which can be damaged by excessive pressure or the wrong chemicals. The Interlocking Concrete Pavement Institute (ICPI) recommends keeping pressure washing in the 600 to 2,000 psi range for pavers depending on the equipment and method, with high rinse volume being more important than extreme pressure. Go above 1,500 psi with a direct wand and you risk blasting joint sand loose and etching paver faces.
Pressure-Washing Brick and Pavers
- Use a 25-degree or 40-degree nozzle, never zero. Better yet, use a surface cleaner attachment for pavers — it distributes pressure evenly and avoids direct jet impact on joints.
- Keep the nozzle at least 12 inches from the surface. Closer than that and you'll start pulling joint sand out with the water.
- Work in the direction of the joints, not across them, to minimize sand displacement.
- For clay brick, keep pressure at or below 1,200 psi. Older clay brick can be softer and more porous than concrete pavers and is more easily damaged.
- Pre-treat any mold or staining with diluted bleach (1: 9) or sodium percarbonate solution, let dwell 5 to 10 minutes, then pressure wash clean.
- After washing, inspect the joints. If sand has been displaced, you'll see gaps or low spots between pavers.
Joint Care and Re-Sanding After Washing
This is the step most people forget, and it's what makes a paver patio start to shift, sink, and grow weeds. After cleaning, let the pavers dry completely (at least 24 hours in warm weather). Then sweep polymeric joint sand into any gaps. Polymeric sand contains binders that, when activated with water, set firm and resist erosion, insects, and weed germination. Sweep it in dry, compact it with a plate compactor or hand tamper, sweep off the excess from paver faces, and then mist with water per the manufacturer instructions. One important note: do not apply polymeric sand if rain is expected within 24 hours, and confirm the paver surface is clean and completely dry before you sweep it in, or the binders can leave a haze on the paver face.
Chemical Cautions for Brick and Pavers
- Muriatic acid can be used on concrete pavers and clay brick for heavy efflorescence but at a more conservative dilution (1:15 to 1:20) and with thorough prewetting, very short dwell times, and immediate rinsing to protect mortar joints
- Never use muriatic acid on travertine-look pavers, any paver containing limestone aggregate, or any calcareous natural stone — it will etch and permanently dull the surface
- Bleach is safe on most brick and concrete pavers for mold and algae but can affect the color of pigmented pavers; test a hidden spot first
- Avoid wire brushes entirely — they leave steel particles that rust and cause new staining on both brick and concrete surfaces
Cleaning Natural Stone: Travertine, Flagstone, and Limestone
Natural stone patios are the most demanding to clean correctly because the consequences of a mistake are permanent. Travertine, limestone, and many flagstones are calcareous, they contain calcium carbonate, which reacts immediately with any acid, including mild acids like vinegar. The Natural Stone Institute is explicit that acids can permanently etch calcareous stone. If you've done the vinegar fizz test and it bubbled, treat that surface as acid-sensitive from that point forward.
- Use pH-neutral stone cleaners only for routine cleaning. Many are sold specifically for travertine and limestone.
- For mold or algae, use sodium percarbonate (oxygen bleach) rather than chlorine bleach, which can bleach or stain some natural stones over time.
- Pressure wash at low pressure only: 600 to 800 psi maximum, wide nozzle (40-degree), nozzle held 18 to 24 inches from the surface. Kärcher's guidance specifically calls out marble and travertine as requiring low-pressure, soft cleaning due to their softness and acid sensitivity.
- For rust stains on stone, a diluted oxalic acid cleaner is generally the safest option, but test it first on a hidden corner — even oxalic acid is mildly acidic.
- Efflorescence on travertine: use a stone-specific efflorescence remover, not muriatic acid. These products are buffered for use on sensitive stone.
- After cleaning, apply a penetrating stone sealer annually. This fills the pores, repels moisture, and reduces staining without changing the stone's appearance.
Post-Cleaning: Repairs, Drying, and Sealing
Cleaning is half the job. What you do in the 24 to 72 hours after cleaning determines how long the results last and whether your patio is protected going forward.
Minor Repairs Before Sealing
- Fill hairline cracks in concrete with a concrete crack filler (polyurethane caulk or self-leveling crack filler rated for exterior use). Don't seal over unfilled cracks — water will still enter and the sealer will peel along the crack line.
- Repoint any crumbling mortar joints in brick or stone with mortar mix matched to the existing joint color.
- For pavers, re-sand joints with polymeric sand as described above before sealing.
- Let all repairs cure fully before applying sealer. Polyurethane fillers typically cure in 24 hours; mortar joints need 48 to 72 hours minimum.
Sealing: Products and Timing
| Surface | Sealer Type | Reapplication Interval | Notes |
|---|---|---|---|
| Concrete (unsealed) | Silane-siloxane penetrating sealer or acrylic surface sealer | Every 2–3 years | Surface must be clean and dry; acid-washed surfaces need full neutralization and 24–48 hr cure |
| Concrete pavers | Paver-specific acrylic sealer or wet-look urethane | Every 2–3 years | Enhances color; apply after polymeric sand is set (minimum 24 hr) |
| Brick | Silane-siloxane penetrating sealer | Every 3–5 years | Avoid film-forming sealers on old clay brick — can trap moisture |
| Travertine / limestone | Penetrating impregnating stone sealer | Annually to every 2 years | Never use acrylic or epoxy on natural stone |
| Flagstone / slate | Penetrating stone sealer | Every 1–3 years depending on traffic | Test water absorption (water should bead) to gauge when reapplication is needed |
Renter-Friendly and Low-Equipment Alternatives
If you don't own a pressure washer and don't want to rent one, you can handle most patio refresh jobs with a garden hose, a stiff brush, a bucket, and the right cleaner. The formula is always the same: pre-wet the surface, apply a dwell-time cleaner, scrub with physical effort, and rinse with strong water flow. For mold and algae, sodium percarbonate mixed in warm water is highly effective with just a brush and hose. For oil stains, a cat litter poultice followed by dish soap scrubbing removes a significant portion of fresh staining. For efflorescence, a stiff dry brush plus a vinegar scrub (on non-calcareous surfaces only) handles light deposits. If you're a renter, stick to pH-neutral cleaners and oxygen bleach, avoid anything that could permanently alter the surface, and photograph the patio condition before and after cleaning in case any questions arise about the deposit.
Maintenance Schedule to Keep the Work Manageable
| Frequency | Task |
|---|---|
| Weekly (during use season) | Sweep or blow off debris, leaves, and dirt |
| Monthly | Hose down the surface; spot-treat any new mold or staining before it sets |
| Every spring | Full wash with appropriate cleaner for your surface; inspect joints and sealer condition; repoint or re-sand if needed |
| Every 1–3 years | Reseal the surface (interval depends on material and sealer type; use the water-bead test to confirm when sealer is depleted) |
| After any chemical spill | Immediately absorb with cat litter or sawdust, remove, then clean with degreaser or neutralizing solution as appropriate |
Realistic Costs and Time to Expect
For a typical 200 to 400 square foot patio, a DIY full refresh (clean, minor repairs, reseal) takes 4 to 8 hours across two days to allow drying time. Materials run $30 to $80 for cleaners, $25 to $60 for crack filler and joint sand, and $30 to $80 for sealer depending on coverage and product quality. Renting an electric pressure washer costs $40 to $75 per day; a gas unit with surface cleaner attachment runs $75 to $150 per day. An acid wash job adds the cost of muriatic acid ($15 to $25 per gallon) and requires more caution but no additional equipment.
When to Hire a Professional
Most patio cleaning is genuinely DIY territory. Hire a professional when the scope or risk is beyond what a single person can manage safely or effectively.
- The patio is made of sensitive natural stone (travertine, marble, limestone) and has significant staining or damage: professionals have stone-specific chemical systems and low-pressure equipment that won't cause permanent damage
- The concrete has major spalling, heaving, or cracks wider than 1/4 inch: cleaning won't fix structural issues and you need a masonry contractor
- You're considering full concrete polishing on a large area: rental equipment requires experience to use without creating visible grinding patterns or uneven finishes; pros with commercial grinders achieve far better results
- The patio has oil or chemical contamination from a significant spill: professional remediation may be required for proper disposal and cleanup under local environmental regulations
- You need to meet a landlord standard or HOA requirement before a move-out or sale: a documented professional cleaning with before/after photos protects you legally
FAQ
What is the quick assessment checklist before you start refreshing a patio?
Check (1) material: concrete, concrete pavers, clay brick, natural stone (travertine, flagstone, limestone, slate), or stamped/overlay—note calcareous stones (travertine/limestone/marble) are acid‑sensitive. (2) Stain types present: organic (mildew/mold, leaves), biological/algae, oil/grease, rust, paint, efflorescence, general dirt. (3) Substrate condition: cracks, settled pavers, loose joint sand, crumbling mortar. (4) Rental constraints: landlord rules, allowed chemicals/tools (pressure washer, power tools), and requirement to return to original condition. (5) Environmental/runoff limits: don’t discharge detergent/chemical rinse to storm drains—plan containment/collection. Test an inconspicuous spot for cleaning sensitivity before full work.
What tools and cleaners should I have on hand (including safety notes)?
Tools: broom, leaf blower, stiff nylon push broom, medium-stiff hand brushes, long-handled scrub brush, plastic scrapers, sponges, shop vacuum, pressure washer (with variable PSI and wide fan/nozzle or surface cleaner), plastic sheeting/container for rinse collection, bucket, poultice materials (absorbent clay or cat litter), jointing sand, pointing mortar/tuckpoint tools. Cleaners: mild detergent or paver cleaner, commercial degreaser (biodegradable preferable), oxygenated bleach (sodium percarbonate), household bleach (sodium hypochlorite) for mildew (dilute), oxalic acid or rust remover for tannin/rust stains, muriatic acid only for controlled concrete etch/efflorescence per guidance. PPE & safety: chemical‑resistant gloves (nitrile or neoprene), eye protection, long sleeves/pants, rubber boots, respirator if using acids or in confined areas (follow SDS and OSHA respirator rules), and good ventilation. Never mix bleach with acids or ammonia. Contain rinse water; protect plants and nearby drains.
How do I identify patio materials safely?
Visual and quick tests: poured concrete is continuous with trowel marks; pavers/brick are modular with joints; clay brick has kiln texture/color; travertine/limestone/travertine and flagstone are natural sedimentary stones and may fizz with acid. To test, pick an inconspicuous spot: wet with water to observe darkening behavior; for acid sensitivity, apply a tiny droplet of diluted muriatic acid or vinegar and rinse immediately—calcareous stones will fizz or etch. When in doubt, treat stone as acid‑sensitive and avoid acids until confirmed.
What are general cleaning steps that apply to all patio types?
Start by removing loose debris (sweep/blow). Prewet the surface to reduce chemical absorption. Apply the appropriate cleaner for the problem and material; let dwell per label but do not let strong acids bleach or sit on stone. Agitate with a stiff nylon brush or surface cleaner attachment on a pressure washer kept at safe distance. Rinse thoroughly with lots of water, collecting rinse if required. Allow to dry; inspect for remaining stains and make targeted treatments. Repair minor joint sand loss or cracks, then apply sealer if appropriate for material.
What pressure washer guidance should I follow?
Use the lowest effective PSI and a wide-angle fan nozzle or surface-cleaner attachment. General ranges: 600–1,500 psi for pavers and most stones; avoid >1,500 psi on interlocking pavers and acid‑sensitive natural stones to prevent joint sand loss and etching. Keep nozzle at least 12–18 inches away, move steadily, and never use a concentrated 0° nozzle on masonry. Test a small area first and favor high rinse volume over aggressive pressure. Use professional strength only for very heavy buildup and on durable surfaces (plain poured concrete can take higher pressure than travertine).
How do I clean concrete patios (basic scrubbing and pressure wash)?
Sweep and prewet. For routine dirt: use household detergent and stiff broom or a pressure washer at 1,500–3,000 psi for heavy soiling—start low and increase cautiously. For grease/oil, apply a commercial degreaser per label, agitate with a stiff brush, let dwell, then pressure rinse. For mildew, use oxygenated bleach or dilute sodium hypochlorite (follow label dilution), scrub and rinse. Avoid acids for oil removal. After cleaning, consider applying a concrete sealer if surface is sound.
Next Articles
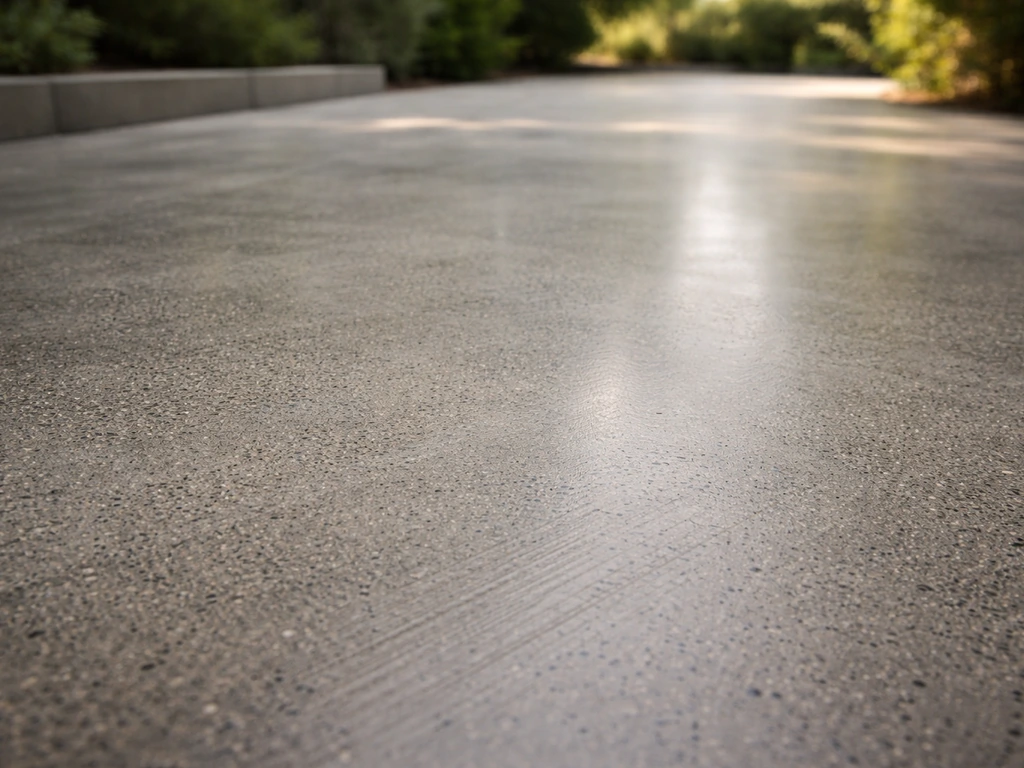
How to Polish Concrete Patio: Step-by-Step Guide
Step-by-step guide to polish a concrete patio for smooth, stain-resistant results, from prep and grits to sealing and fi
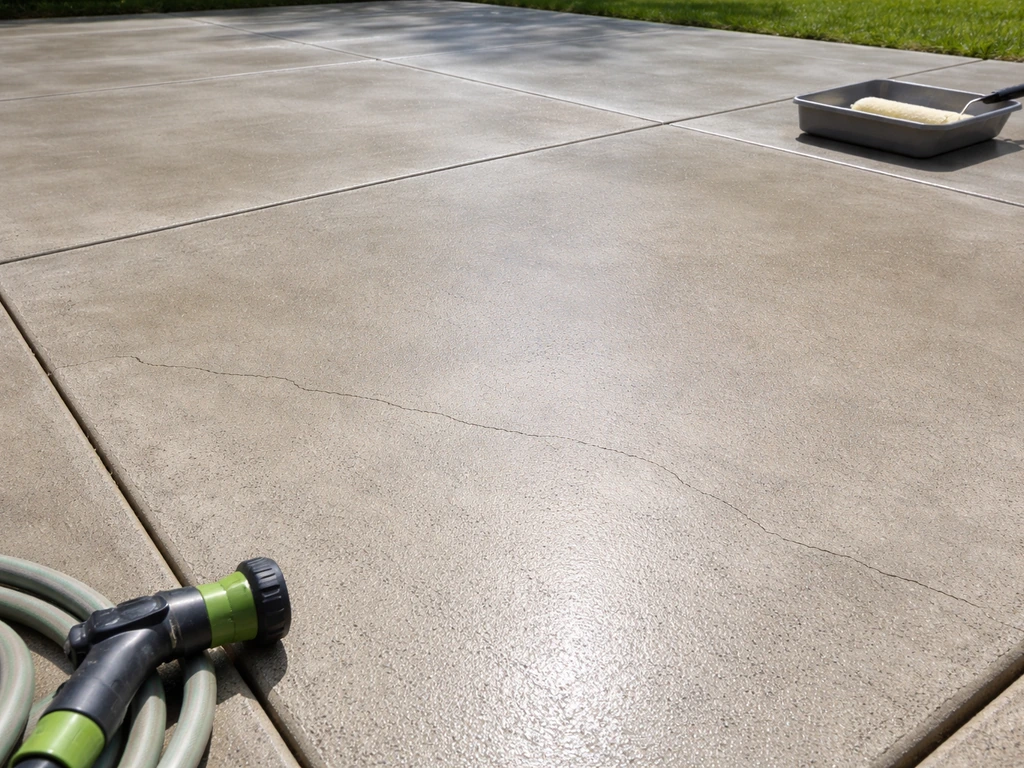
How to Refresh Concrete Patio: Step by Step Guide
Step-by-step how to refresh a concrete patio: assess damage, clean stains, repair cracks, then seal for protection.
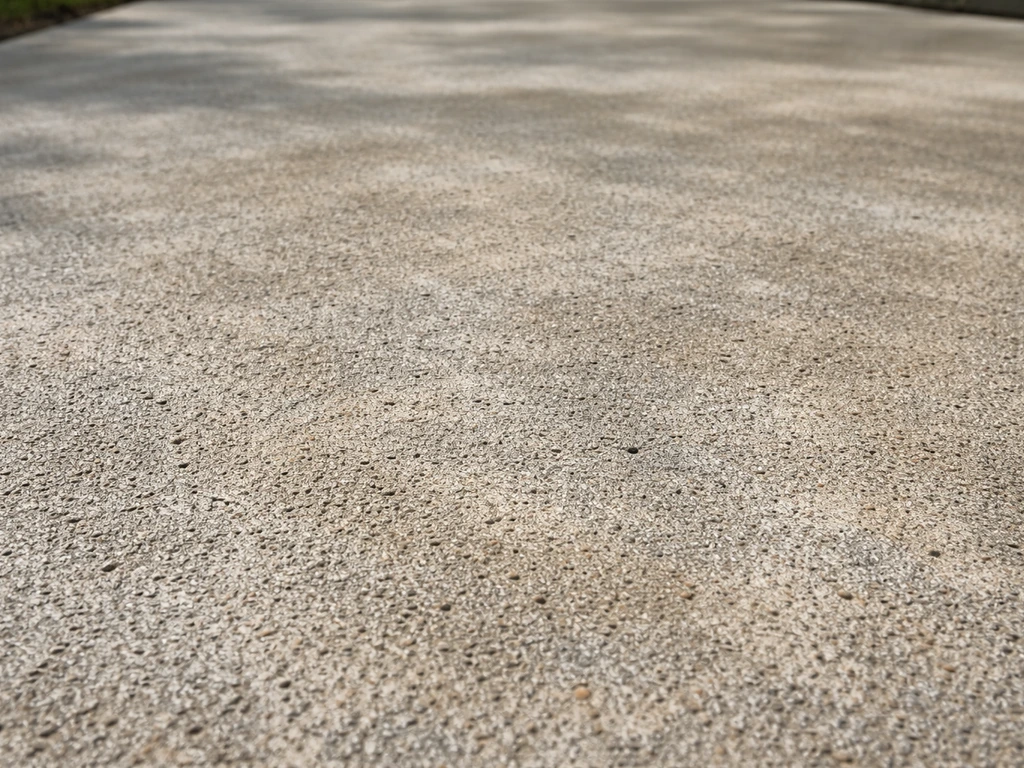
How to Acid Wash Concrete Patio Step by Step Safely
Step-by-step guide to acid wash concrete safely: choose acid, dilute, scrub, rinse neutralize, and seal for better bondi