
You can get paint off a stone patio using a combination of manual scraping, chemical strippers, poultices, and pressure washing, but the right method depends on two things above all: what kind of paint it is and what kind of stone you have. Get those two diagnoses right first and you will avoid the most expensive mistakes, like etching travertine with acid or spalling limestone with a heat gun.
How to Get Paint Off Stone Patio: Step-by-Step Guide

Dylan Hale
6 Aug 2026
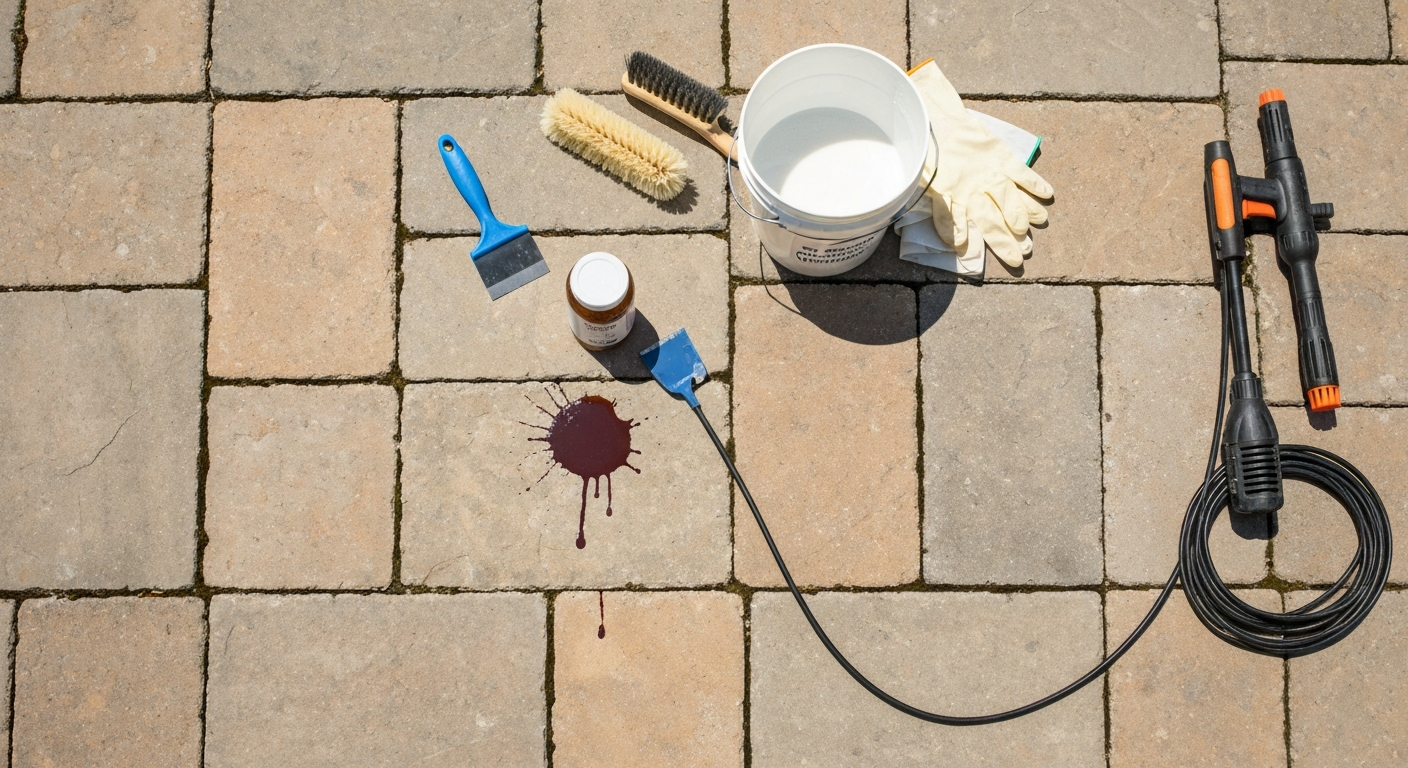
What this guide will help you figure out
This article walks you through every decision you need to make before you touch the paint, from identifying the paint type and stone type to choosing a removal method that matches your situation, your budget, and whether you own or rent the property. I have structured it so you can follow the diagnostic steps in order and land on a clear method, whether that is a soap-and-scrub approach you can do this afternoon or a call to a professional restoration company. Masonry paint, paint on pavers, and paint on patio tiles each have their own quirks, so those are addressed separately where the method differs.
Renter vs. homeowner: choosing your approach before you start
Your legal situation shapes your choices as much as any chemistry does. If you are a renter, you have a narrower lane: you need methods that carry no risk of permanent damage and ideally leave no trace. If you own the patio, you have more latitude, but you are also the one who pays for repairs if something goes wrong.
| Situation | Recommended approach | Methods to avoid | Risk level |
|---|---|---|---|
| Renter, fresh latex paint spill | Soap and warm water, soft brush, minimal scraping | Solvents, pressure washer, acid | Low |
| Renter, dried latex paint | Citrus/biodegradable stripper gel (NMP-free), poultice, gentle scraping | Heat guns, grinding, strong solvents | Low-medium |
| Renter, oil-based paint | Consult landlord first; if approved, mineral spirits on a rag, poultice method | Pressure washing, acid strippers | Medium |
| Homeowner, small latex spill | Soap, scraping, citrus stripper, pressure washer at low PSI | Acid on calcareous stone, flame tools | Low |
| Homeowner, large or old oil/masonry paint | Gel paint stripper, poultice, pressure washer (stone-appropriate PSI) | Acid on travertine/limestone, methylene chloride products | Medium |
| Homeowner, delicate calcareous stone (travertine, limestone) | Poultice with neutral solvent, very low-pressure rinse, professional consult | Any acid-based cleaner, heat gun, abrasive grinding | High without care |
A quick note on methylene chloride: the EPA finalized a rule in March 2019 prohibiting the manufacture, processing, and distribution of methylene chloride paint removers for consumer use. You will not find legal consumer-grade products containing it on shelves anymore, but if you have old stock or buy something unlabelled, check the SDS. Do not use it.
Diagnostic checklist: what to inspect before you touch anything
Running through this checklist takes about ten minutes and saves you from buying the wrong product or damaging the stone. Go through every item before you choose a method.
- Paint type: Is it latex (water-based), oil-based/alkyd, dedicated masonry paint, or a chalk or temporary decorative finish? (See the identification section below.)
- Paint age and cure state: Was it spilled recently (hours to days) or is it fully cured and hardened (weeks to years)? Fresh paint always responds to gentler methods.
- Coverage area: A drip or splatter responds differently from a full painted section. Large coverage areas may need a stripper rather than manual scraping alone.
- Number of coats or layers: Scrape a corner carefully with a plastic scraper. One thin layer is far easier than multiple built-up coats.
- Stone type: Is your stone calcareous (travertine, limestone, marble) or siliceous (bluestone, granite, quartzite, dense sandstone)? This is the single most important safety checkpoint. (See the stone identification section.)
- Stone condition: Is the surface sealed, unsealed, or previously refinished? Sealed stone holds paint at the surface; unsealed stone may have absorbed paint deeper into the pores.
- Existing damage: Check for cracks, spalling, or loose mortar before you start. Chemical soaking or pressure washing can worsen existing damage.
- Drainage and surroundings: Note where runoff will flow. Are there garden beds, a lawn, a drain? Paint-laden runoff needs containment before you begin.
Identifying your paint type
Getting the paint ID right tells you which solvent or stripper will actually work. I always do a quick solvent spot test on a small flake of paint before buying anything. Here is how to run it.
The solvent spot test
- Dampen a cloth with plain warm water and press it on the paint for 30 seconds. If the paint softens, smears, or transfers, it is a fresh or uncured water-based (latex) paint.
- If water does nothing, try a small amount of mineral spirits on a rag. If the paint softens or transfers, you are likely dealing with an oil-based or alkyd paint.
- If mineral spirits do nothing, try denatured alcohol or acetone on a cotton ball. Softening here points to shellac, lacquer, or some specialty finishes.
- If all three solvents fail on a fully cured paint that sits on top of the stone without penetrating, you are likely dealing with a masonry paint or elastomeric coating, which needs a dedicated gel paint stripper or mechanical removal.
Paint type quick reference
| Paint type | How it cures | Field test clue | Primary removal method |
|---|---|---|---|
| Latex (water-based acrylic) | Water evaporation, then polymer film formation | Softens with water when fresh; scrapes as rubbery flakes when cured | Soap + scraping (fresh); citrus stripper or gel stripper (cured) |
| Oil-based / alkyd | Oxidative hardening | Softens with mineral spirits; slightly glossy appearance | Mineral spirits, paint thinner, or gel oil paint stripper |
| Masonry / elastomeric paint | Chemical cross-linking; bonds deeply to porous surfaces | Very tough film; solvents may only soften surface | Dedicated masonry paint stripper gel, poultice, mechanical action |
| Chalk or temporary decorative paint | Minimal bonding, water-dispersible pigment | Smears with water immediately | Soap and water, light brush; often removed by rain naturally |
One thing worth knowing about products labelled 'citrus stripper': many of them are actually NMP (N-methyl-2-pyrrolidone) blends with d-limonene added for scent. The d-limonene gives the citrus smell but NMP often does the heavy stripping work. The EPA completed a risk evaluation for NMP in December 2020 documenting reproductive and developmental toxicity concerns. Check the ingredient list on any product you buy, and if it lists NMP, treat it as a professional-grade chemical: use heavy-duty nitrile gloves, eye protection, and work in fresh air. For renters and households with pets or children, I would look for genuinely NMP-free formulas first.
Identifying your stone and the calcareous-stone warning
The Natural Stone Institute divides natural stone into two broad categories based on mineral composition, and this split is the most important safety checkpoint in this whole guide. Get it wrong and you can etch or dissolve the surface of your stone with a cleaner that would be perfectly safe on a different material.
Siliceous stones (more tolerant)
Siliceous stones are composed primarily of silica or silicate minerals. They are generally more resistant to mild acids, stronger solvents, and higher-pressure water. Common examples on outdoor patios include bluestone, granite, quartzite, dense sandstone, and most manufactured concrete pavers. If your stone does not react to a drop of white vinegar placed on an inconspicuous edge (no fizzing), it is almost certainly siliceous.
Calcareous stones (handle with care)
Calcareous stones contain calcium carbonate as their main mineral. This reacts chemically with acids, which means any acidic cleaner, including vinegar, muriatic acid, and many commercial patio cleaners, will etch, pit, or dissolve the surface. Travertine, limestone, and marble are the three most common calcareous stones you will find on outdoor patios. Some flagstone slabs are also calcareous, particularly if they are a soft, layered variety. The vinegar drop test is your friend: if you see or hear any fizzing when a drop of white vinegar touches the stone surface, treat it as calcareous and avoid all acidic products.
| Stone type | Category | Acid-safe? | Notes for paint removal |
|---|---|---|---|
| Bluestone | Siliceous | Yes | Tolerates moderate-pressure washing and solvent strippers |
| Granite | Siliceous | Yes | Very durable; tolerates higher pressures and most solvents |
| Quartzite | Siliceous | Yes | Hard and dense; use normal stone-safe methods |
| Dense sandstone | Siliceous | Mostly | Softer varieties can erode; test pressure carefully |
| Flagstone (varies) | Siliceous or calcareous | Depends on type | Always do the vinegar test; composition varies widely |
| Travertine | Calcareous | No | No acids, no harsh abrasives, very low pressure washing only |
| Limestone | Calcareous | No | Same restrictions as travertine; very acid-sensitive |
| Marble | Calcareous | No | Most sensitive of all; professional consultation recommended |
| Concrete pavers / patio tiles | Cement-based | No (cement reacts with acid) | Avoid muriatic acid; solvent strippers and pressure washing generally fine |
Masonry paint on pavers and paint on patio tiles often overlap with this stone discussion because concrete-based pavers and ceramic or porcelain tiles have their own rules. The core principle holds: if the base material reacts with acid, no acidic cleaner. For detailed guidance on those surfaces specifically, the methods for masonry paint and for patio tiles each deserve their own treatment.
How to safely test an inconspicuous area
This step is non-negotiable regardless of how confident you are in your diagnosis. The National Park Service guidance on cleaning historic masonry puts it clearly: always test on a discreet mockup first. I apply this rule even to brand-new patios because stone finish, seal coats, and local mineral variations all affect how a product behaves.
- Choose a spot that is hidden from view: under a planter, behind a step, in a corner covered by furniture.
- Apply your chosen product in the smallest useful quantity, following the product directions for dwell time.
- After the dwell time, rinse thoroughly and let the area dry completely (at least 2 hours in dry conditions, longer in humidity).
- Inspect under good light, ideally with a flashlight held at a low angle to show surface texture. Look for: colour change, hazing or whitening, loss of surface texture, etching (tiny pitting), softening of the stone, or any change in sheen.
- If you see any of those changes, stop, switch to a gentler method, and test again.
- If the test area looks identical to the surrounding untreated stone, you can proceed, using the same product, dwell time, and application method on the painted area.
For pressure washing, run the same test: start at your lowest pressure setting and the widest fan nozzle, hold the wand at least 18 inches from the surface, and increase gradually only if nothing is happening to the stone itself.
Tools, materials, and PPE you will need
You do not need professional equipment for most paint removal jobs on a home patio. Here is what I recommend across two tiers: a basic renter-friendly kit and a more capable homeowner kit for larger or tougher jobs.
Basic renter-friendly kit
- Plastic scraper or putty knife (use plastic to avoid scratching stone)
- Stiff-bristle nylon scrub brush (not wire, which can leave metal particles that rust on stone)
- Bucket, warm water, and pH-neutral dish soap or stone-safe cleaner
- White cotton rags or absorbent cloths
- Small amounts of mineral spirits (for oil-based paint spot tests and removal)
- NMP-free citrus or biodegradable gel paint stripper
- Plastic drop sheets or painter's plastic sheeting for containment
- Nitrile gloves (heavy-duty, 8-mil minimum when using any stripper)
- Safety glasses or goggles
- Old clothes or a disposable coverall apron
Expanded homeowner kit
- All items from the basic kit, plus:
- Electric pressure washer (1,200-2,000 psi for siliceous stone; use the lowest effective setting for calcareous stone, staying under 1,000 psi where possible)
- 25-degree or 40-degree fan tip nozzle (never a 0-degree pin jet on stone)
- Poultice materials: kaolin clay, fuller's earth, or diatomaceous earth, mixed with your chosen solvent or stripper to a thick paste consistency
- Plastic food wrap or painter's plastic for sealing poultice applications
- Tape to seal plastic over poultice
- Chemical-resistant respirator rated for organic vapors if using solvent-based strippers
- Stone sealer appropriate to your stone type for post-removal resealing
- Pump garden sprayer for even application of stripper or rinse water
Site prep and containment before you start
Paint strippers, solvents, and paint-laden rinse water are harmful to plants and water systems. Spending fifteen minutes on containment before you start is much easier than dealing with dead plants or a drain complaint afterward.
- Move or cover all plants, pots, and garden beds adjacent to the patio using plastic sheeting weighted down at the edges.
- Identify where water drains from the patio. If it flows to a garden, a lawn, or a storm drain, you need to block or redirect it. Use absorbent materials (cat litter, sawdust, sand) or a portable berm to catch runoff.
- Lay plastic sheeting around the work area to catch any dripping stripper or paint flakes, especially near stone edges or gaps in jointing.
- If you are using a pressure washer, position the spray so water flows toward the centre of the patio or toward an open containment bucket, not directly off the edge onto soil.
- Pre-wet surrounding surfaces (adjacent stone, walls, steps) with clean water before applying any chemical stripper so they are less likely to absorb splashes.
- Keep a bucket of clean water and a sponge nearby for immediate clean-up of any splashes on unintended areas.
- Collect all paint-laden rinse water, solvent residues, and stripper waste in a sealed bucket for proper disposal. Do not pour solvent-based materials down a drain. Contact your local household hazardous waste facility for disposal options.
- Check weather: do not apply chemical strippers in direct strong sun (accelerates drying before the product works) or if rain is forecast within 4-6 hours (dilutes and spreads the product).
Step-by-step removal methods by paint type and severity
Work from the gentlest method upward. Starting too aggressively is the most common mistake I see, and it usually creates more damage than the paint itself.
Method 1: Fresh or water-based (latex) paint
- Act as quickly as possible. Fresh latex paint is water-dispersible before it cures.
- Flood the area with warm water immediately and scrub with a stiff nylon brush.
- Add a few drops of pH-neutral dish soap and continue scrubbing in circular motions.
- Rinse with clean water and check progress. For small spills, this is often all you need.
- If the paint has begun to cure (feels rubbery or tacky), apply a small amount of warm soapy water and let it sit for 5 minutes before scrubbing again.
- For cured latex paint on siliceous stone, apply an NMP-free biodegradable gel stripper to the painted area, cover with plastic film to prevent drying, and let it dwell for the time on the product label (typically 30 minutes to 2 hours).
- Lift a corner of the plastic and test with a plastic scraper. The paint should lift in sheets or soft chunks. If it does not, re-cover and wait longer.
- Scrape off the softened paint into a plastic bag, then scrub with soapy water and rinse thoroughly.
Method 2: Cured latex or oil-based paint on siliceous stone
- Dry-scrape as much loose paint as possible with a plastic scraper held at a low angle to the surface.
- Apply a gel-format solvent-based paint stripper (look for those using benzyl alcohol or dibasic esters as active ingredients; these are among the safer NMP-free alternatives). Gel stays on vertical or textured surfaces better than liquid.
- Cover with plastic film and seal the edges with tape to hold moisture and extend dwell time. NPS guidance recommends this approach because it limits how deep the solvent penetrates into the stone.
- Dwell time: minimum 30 minutes for thin coats; up to several hours for thick or multiple coats. Check every 30 minutes by lifting a corner.
- Scrape the softened paint away using a plastic scraper. For textured stone, use a stiff nylon brush to work paint out of low points and pores.
- Rinse thoroughly with clean water. For siliceous stone, a pressure washer at 1,000-1,500 psi with a 25-degree fan nozzle held at least 12 inches from the surface speeds rinsing significantly.
- Repeat the stripper application if paint remains, rather than scraping harder.
Method 3: Masonry paint or heavy coating on stone or pavers
Masonry paint is formulated to bond deeply to porous surfaces, so it resists normal strippers and needs either a dedicated masonry paint remover or a poultice approach. This is also the typical scenario when you need to remove paint from concrete pavers or remove full paint coverage from a patio surface. For detailed, step-by-step options specific to pavers, see my guide on how to get paint off patio pavers.
- Dry-scrape any loose or flaking edges first. Do not use a metal scraper on calcareous stone; use plastic.
- Apply a dedicated masonry paint stripper gel in a thick, even coat (roughly 1/8 inch thick) using a brush or a trowel.
- Cover immediately with plastic sheeting and tape down all edges. Allow a minimum 3-4 hour dwell time; overnight (8-12 hours) is often more effective for heavily bonded coatings.
- Scrape away the softened coating in sections. Expect it to come away in a paste-like material mixed with the stripper. Collect this waste carefully.
- For stubborn residue in the stone's pores, make a poultice: mix an absorbent material (kaolin clay, fuller's earth, or diatomaceous earth) with a small amount of the same stripper liquid to a thick peanut-butter consistency. Apply 1/4 to 1/2 inch thick over the residue, cover with plastic, and leave for 24-48 hours. As the poultice dries slowly, it draws dissolved paint up and out of the pores.
- Remove the dried poultice, scrub with a nylon brush and clean water, then rinse.
- For siliceous stone or pavers after chemical removal, a pressure wash at 1,200-2,000 psi with a 25-degree fan tip removes the last residue effectively.
- For calcareous stone, keep pressure at or below 1,000 psi with a 40-degree fan tip held at least 18 inches from the surface.
Method 4: Chalk or temporary decorative paint
Chalk-based and temporary decorative paints are designed to weather off naturally. If you're wondering does chalk wash off a patio, the short answer is yes, chalk and many temporary decorative paints typically rinse away with water and scrubbing, or fade with rain over time. In many cases they wash away with rain over a few weeks. If you need them gone faster, warm soapy water and a stiff nylon brush removes fresh applications almost immediately. For older dried-on chalk paint, a gentle spray from a garden hose at normal pressure, combined with scrubbing, is usually sufficient. If residue stains the stone surface, a light application of a pH-neutral stone cleaner and a scrub brush handles it without any chemical strippers.
Pressure washer guidance for stone patios
Pressure washing is excellent for rinsing away loosened paint and stripper residue, but it can also damage stone if you pick the wrong settings. The GSA technical guidance for calcareous stone recommends starting water application at 100 psi or less for the most sensitive materials, with rinse sprays not exceeding 300 psi for marble and limestone. For outdoor patio stone that is less delicate, the practical range most contractors and cleaning guides use is wider, but the hierarchy is clear.
| Stone type | Recommended PSI range | Nozzle tip | Minimum distance from surface |
|---|---|---|---|
| Travertine, limestone, marble | 100-500 psi (test at lowest first) | 40-degree fan | 18-24 inches |
| Soft flagstone (calcareous variety) | 300-800 psi (test first) | 40-degree fan | 18 inches |
| Hard flagstone, bluestone, dense sandstone | 800-1,500 psi | 25-degree fan | 12-18 inches |
| Granite, quartzite | 1,000-2,000 psi | 25-degree fan | 12 inches |
| Concrete pavers, patio tiles | 1,000-1,800 psi | 25-degree fan | 10-15 inches |
A few firm rules regardless of stone type: never use a 0-degree (pin) nozzle on stone, always sweep the wand in a steady moving pass rather than holding it in one spot, and test at the low end of the range first. Work in the direction of any natural stone grain where visible.
Eco-friendly and low-chemical options
If you have pets, children, or a garden close to the patio, reducing chemical exposure matters. The gentlest effective option is always worth trying first, partly because it protects the stone and partly because it is safer for the surrounding environment.
- Soap and hot water with a stiff nylon brush: works on fresh latex paint and chalk finishes. Safe on all stone types.
- White vinegar solution (1: 1 with water): effective on some water-based paint residue on siliceous stone only. Never use on calcareous stone (travertine, limestone, marble).
- Baking soda paste (mix with water to a thick paste): a mild abrasive and mild alkali. Works on light latex paint residue; safe on most stone when used gently with a soft brush.
- Steam cleaning: low-pressure steam (not power steam at high PSI) softens latex paint effectively and uses no chemicals. Works well on small areas and is safe for calcareous stone because there is no acid involved. Rent a steam cleaner if you do not own one.
- Genuinely NMP-free biodegradable gel strippers: look for products using benzyl alcohol or dibasic ester chemistry. These biodegrade more readily and carry fewer reproductive toxicity concerns than NMP-based products.
Post-removal cleaning, repair, and resealing
Once the paint is off, you are not quite done. The removal process may have lifted any previous sealer from the stone, and if the stone was unsealed, you now have clean pores that are more vulnerable to future staining. This is actually the best time to reseal.
- Rinse the entire treated area thoroughly with clean water and allow it to dry completely. For most outdoor conditions this means 24-48 hours of dry weather.
- Once dry, inspect for any hazing, whitening, or residue. A second light scrub with a pH-neutral stone cleaner and a nylon brush usually removes any remaining film.
- Check for physical damage: small chips, surface etching, or erosion. Minor etching on calcareous stone can sometimes be honed out by a stone restoration professional. Deep pitting may need a stone filler compatible with your stone type.
- Apply a penetrating stone sealer appropriate to your stone. Siliceous stones typically take solvent-based or water-based penetrating sealers. Calcareous stones need sealers specifically formulated for marble and travertine, as some sealers can trap moisture or darken the stone.
- Apply sealer according to the product instructions, usually in thin coats with a clean cloth or foam applicator, buff off the excess before it dries.
- Allow full cure time (typically 24-72 hours) before allowing foot traffic or replacing furniture.
When to stop and call a professional
There is no shame in calling a stone restoration professional. Calcareous stone in particular is unforgiving, and a mistake that costs a few hours of DIY time can result in permanent etching that costs hundreds or thousands of dollars to address. Here are the situations where I would call in professional help rather than continue.
- The stone is travertine, limestone, or marble and the paint is a masonry-bonded or multi-coat coating that has not responded to gentle methods after two attempts.
- You have already seen surface etching, hazing, or colour change from a previous cleaning attempt.
- The paint covers a large area (more than roughly 10-15 square feet) of calcareous stone.
- The stone has historical or architectural significance where any damage would be irreversible.
- After two full applications of an appropriate gel stripper, significant paint remains bonded to the stone.
- You are a renter who has not been able to get approval from the landlord for chemical treatment and the paint is anything stronger than a chalk or latex finish.
- Any paint you suspect may contain lead (patios of homes built before 1978 where the paint was applied decades ago): lead paint removal requires specific protocols and disposal methods beyond the scope of DIY.
FAQ
What is the first thing I should do when I find paint on my stone patio?
Start with a diagnostic test on a small, inconspicuous area. Identify the stone type (calcareous — travertine, limestone, marble; or siliceous — bluestone, granite, sandstone, quartzite). Determine paint type roughly by age and feel: fresh/water‑based (latex/acrylic) will soften with warm soapy water; oil/alkyd reacts to mineral spirits; hardened industrial or masonry paints may require stronger treatment. Always document the test result before broader treatment.
How do I identify the stone type and why does it matter?
Visual/ DIY checks: calcareous stones often fizz or lightly react to a drop of vinegar (do not use vinegar on larger areas — test only) and are softer and porous; bluestone/granite/sandstone feel harder and don’t react to mild acids. Knowing this tells you what to avoid: calcareous stones are acid‑sensitive and easily etched, so avoid acids, strong etching cleaners, or very aggressive mechanical abrasion. For uncertainty, treat the surface as sensitive and proceed more gently.
What basic materials, tools and PPE should I have on hand?
Materials & tools: soft bristle brushes, plastic or wooden scrapers, razor scrapers (with care), microfiber cloths, bucket, warm water, mild detergent, white vinegar (for tests only), citrus or soap‑based cleaners, poultice materials (kaolin, diatomaceous earth, whiting, baking soda), plastic film and tape, mineral spirits, acetone (small spot tests), consumer gel/peelable strippers (NMP‑free if possible), pressure washer (adjustable PSI, fan nozzle), plastic sheeting to protect adjacent soils/plants. PPE: nitrile gloves, chemical‑resistant gloves for solvents, eye protection, respirator (organic vapor cartridges for solvents), long sleeves, and knee pads. Have absorbent materials and containers for waste.
What safety and environmental cautions should I follow?
General safeguards: work upslope from storm drains; contain and collect runoff with absorbent pads or berming; never discharge concentrated solvent or paint slurry to drains or soil. Follow product SDS for PPE and ventilation. Note regulatory bans: consumer methylene‑chloride paint removers are prohibited (EPA); do not use banned products. Prefer NMP‑free strippers and limit solvent use; use gels/poultices to minimize penetration and runoff. For calcareous stone, avoid acids, abrasive grinding and open flame/heat that can crack stone.
What is a practical diagnostic checklist I can follow before choosing a removal method?
Diagnostic checklist: 1) Photograph the stain and note paint color and thickness. 2) Identify stone type (calcareous vs siliceous). 3) Try soap & water on a hidden edge; if it softens, likely latex. 4) If not, apply mineral spirits on a cotton swab; if paint softens, likely oil/alkyd. 5) If still unaffected, test acetone on a tiny spot (for lacquers/shellacs) or a gel stripper on a hidden patch. 6) Check adhesion: is it thick coated paint or a thin finish (chalk/temporary)? 7) Choose the gentlest effective treatment first and note results.
What renter‑friendly (least invasive) methods should I try first?
Start with: 1) Warm soapy water and stiff nylon brush — best for fresh/water‑based paints. 2) Citrus or biodegradable paint removers labeled for outdoor use (check ingredients; prefer d‑limonene only or NMP‑free). 3) Manual scraping with plastic or wooden scrapers, and stiff nylon or brass brushes (not steel). 4) Poultices made from kaolin/whiting/baking soda mixed to toothpaste consistency with a mild solvent or detergent — cover with plastic and let dry 8–48 hours to draw pigment out. These methods minimize substrate penetration and are usually permitted for renters.
Next Articles
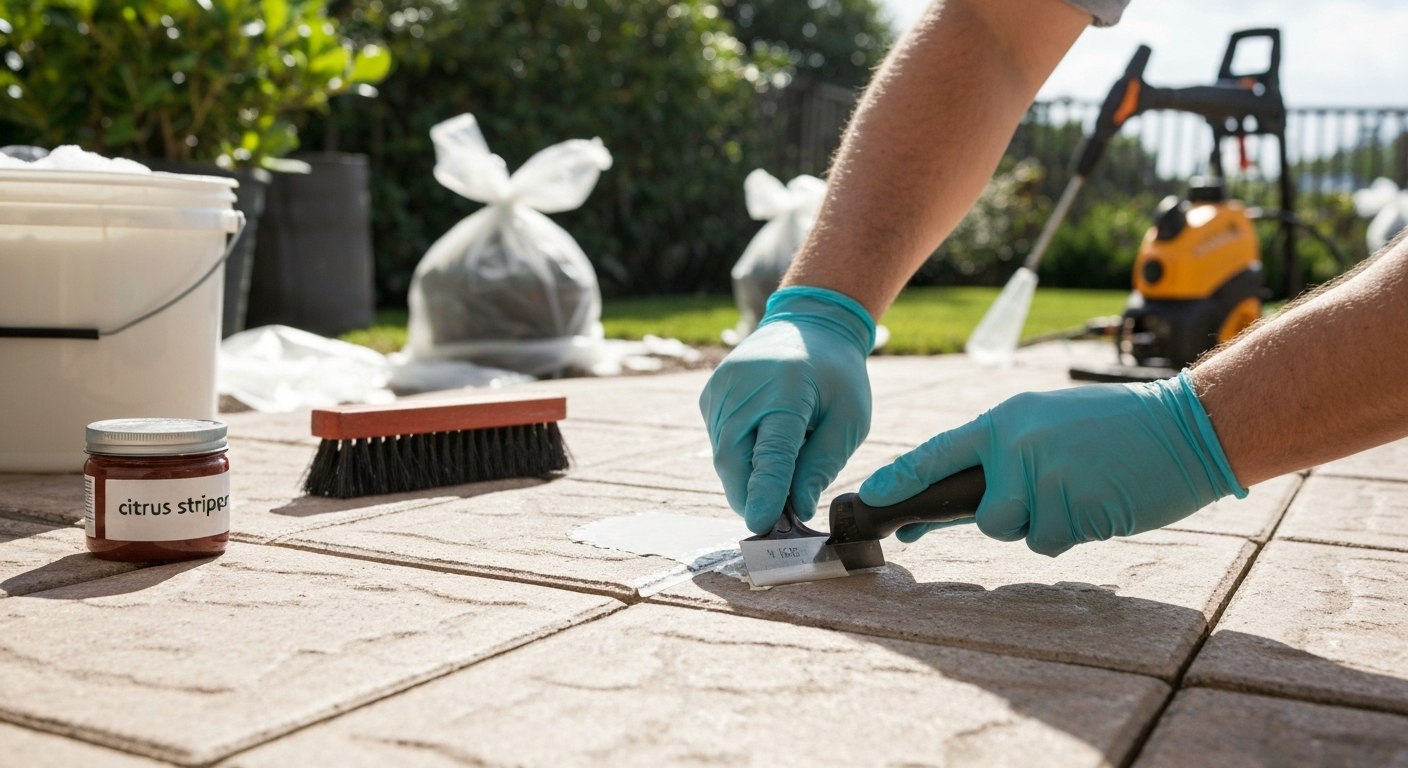
How to Remove Paint from Patio Tiles: Step-by-Step Guide
Learn how to remove paint from patio tiles and hardscape: step-by-step fixes, safe cleaners, and renter-friendly options
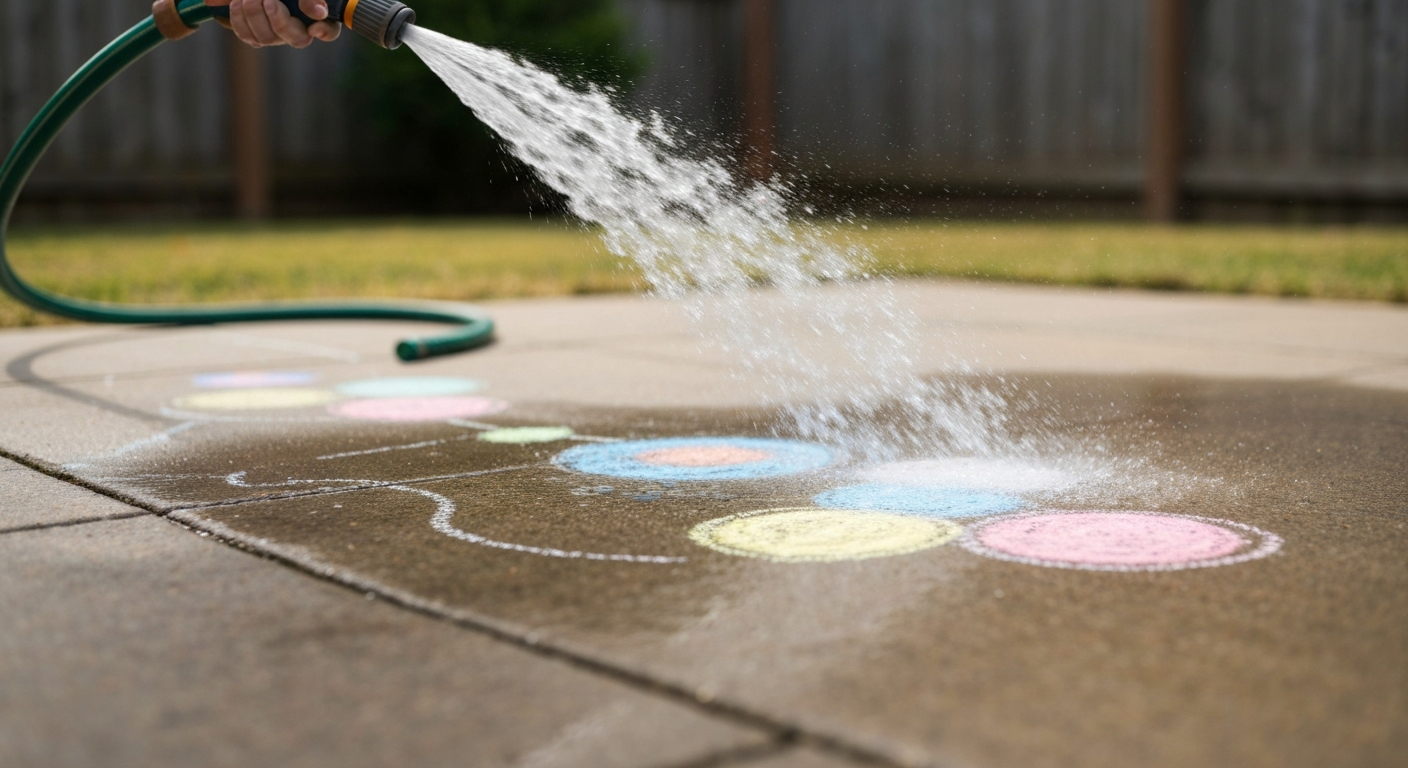
Does Chalk Wash Off Patio? Removal Guide for Every Surface
Does chalk wash off patio? Learn quick answers, material-specific cleaning steps, renter-safe and stronger options.
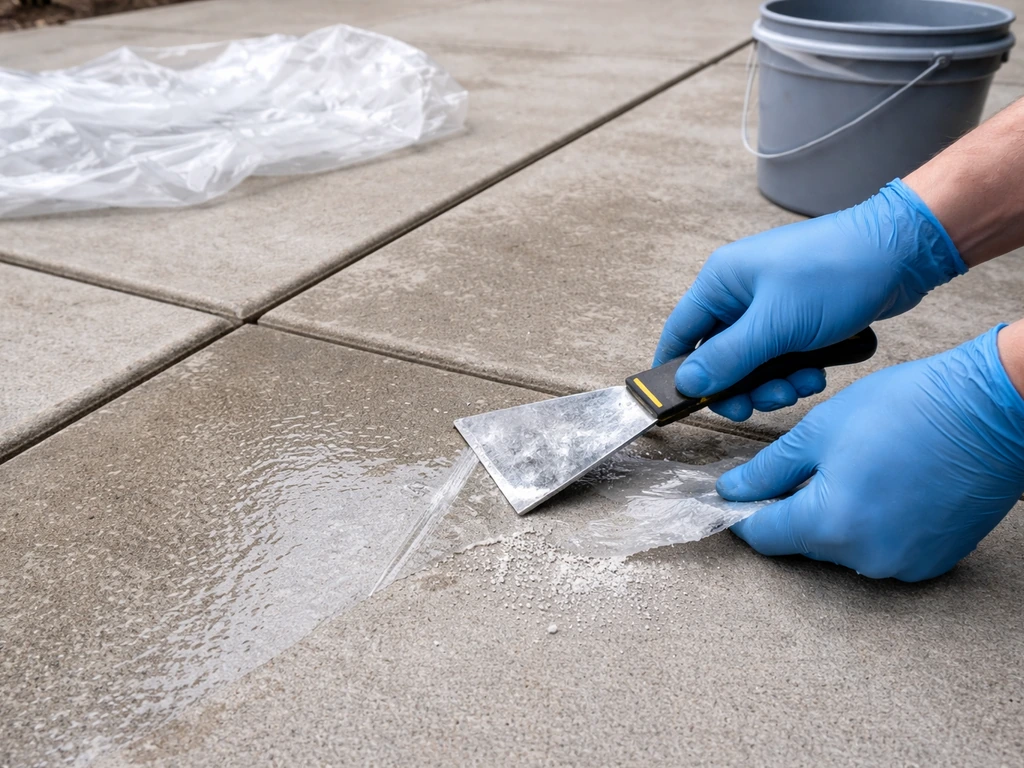
How to Remove Thompson’s Patio Sealer Step by Step
Step-by-step removal of Thompson’s patio sealer on concrete, brick, pavers, and stone, with safety, tests, and cleanup.